Atari ST520M
Atari ST520M
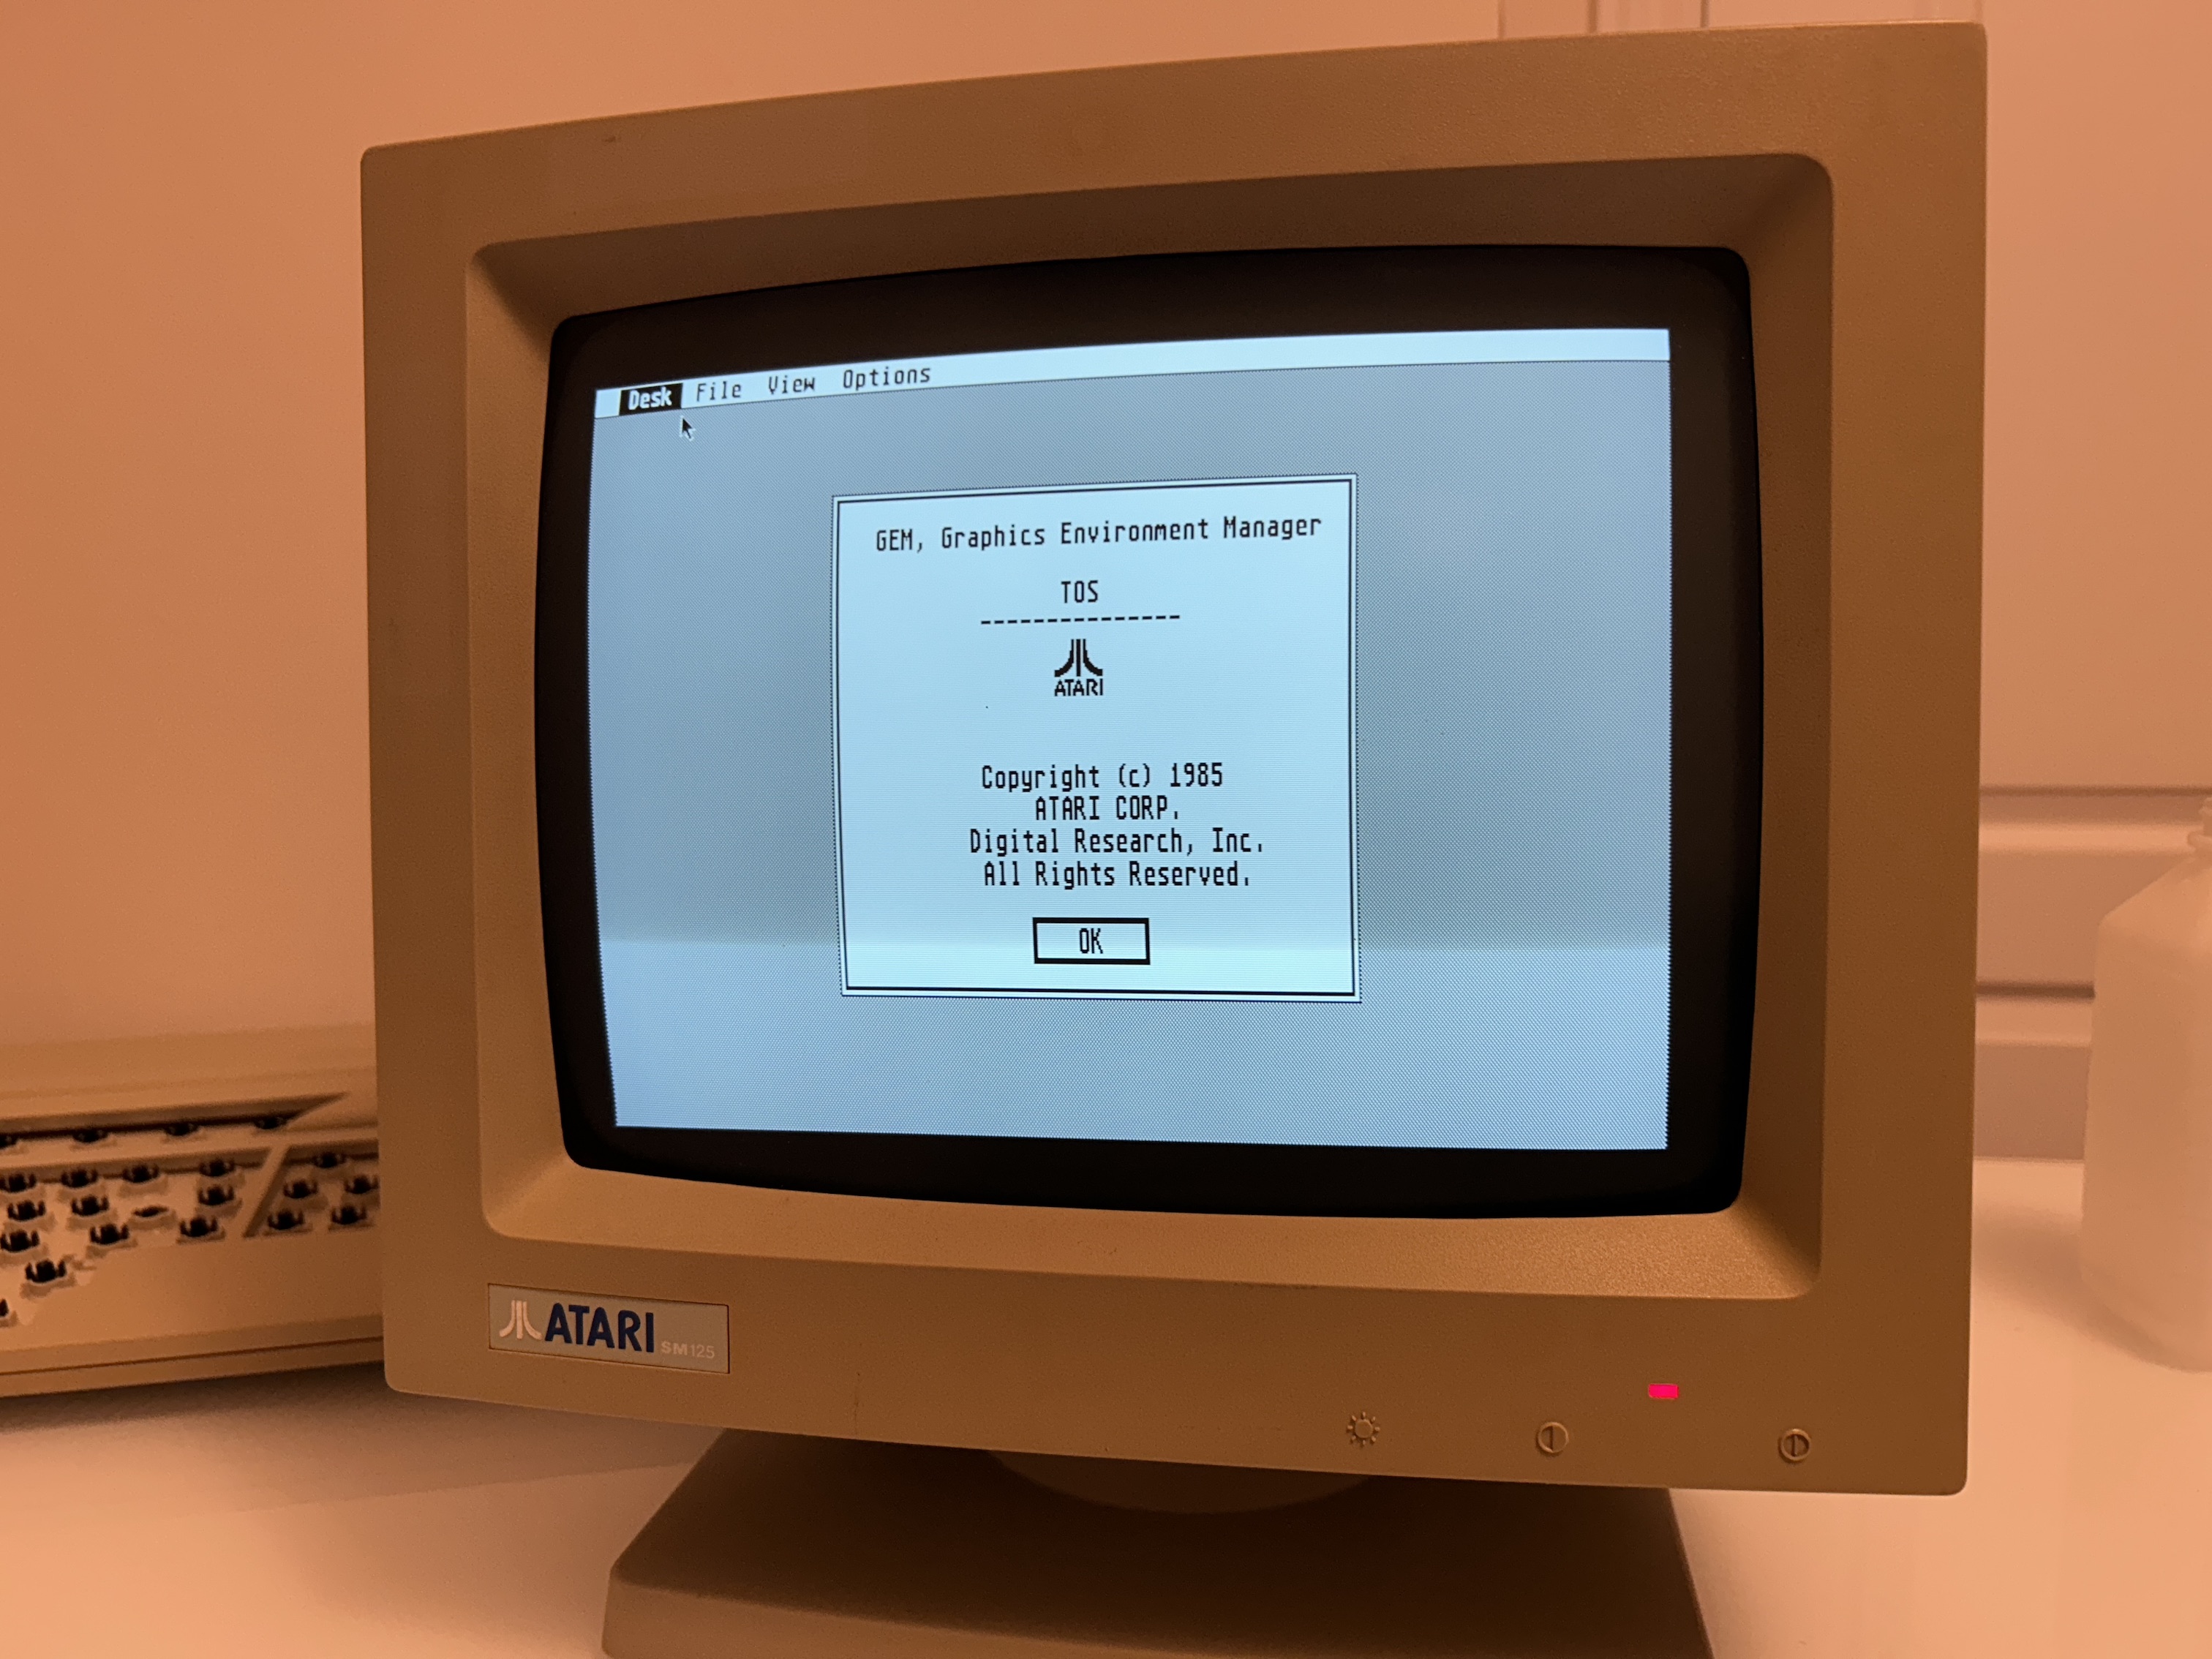
I never had one of these Atari ST520M machines before. I didn't even know about them when they first came out because I was too young, and computers didn't become popular in my country until the late 90s. It turns out, according to Wikipedia, this computer from 1985 was the first one to have a colorful screen, and it was called GEM.(Graphics Environment Manager).
Someone in the local marketplace was selling this Atari ST520M they found in the shed. They didn't have the power cord to test, so it was let go at a reasonable price. Despite having no prior experience with a 520ST, I decided to try it out simply because I was curious. I'd heard that it's capable of playing older Atari games in RGB, and that was enough to pique my interest in this direction. This Atari 520ST remained unused for some time. It almost ended up in my shed to spend another decade, but I couraged up and ordered a compatible power supply from Electroware (I should note that this is not a sponsored endorsement). As of my last check, there was an audible clicking sound coming from the power supply when the unit was powered off, so I'm not ready to give Electroware my recommendation just yet.
Once I received the power supply, to my surprise I was able to power this on and get to GEM without any issues. Since this successful attempt, I have been reading up on Atari 520ST and also came across a video on Adrian's Digital Basement channel. And that was super helpful
I'm likely going to edit this article multiple times. But, at the time of this writing (October 22, 2023), I was only able to test this by powering on. I did not have any mouse or other peripherals to load games and such.
I particularly liked this version of Atari 520 STM as it was slimmer and had the RF output. Only problem was it did not have the 1MB ram. Instead it had 512KB of RAM. However, as far as I know there are several options now available to upgrade to 1MB, which is also something I will be exploring in future.
I will also be testing the RF output, RGB output, how to use a generic mouse etc. in the upcoming updates to this page.
Tear down (October 2023)
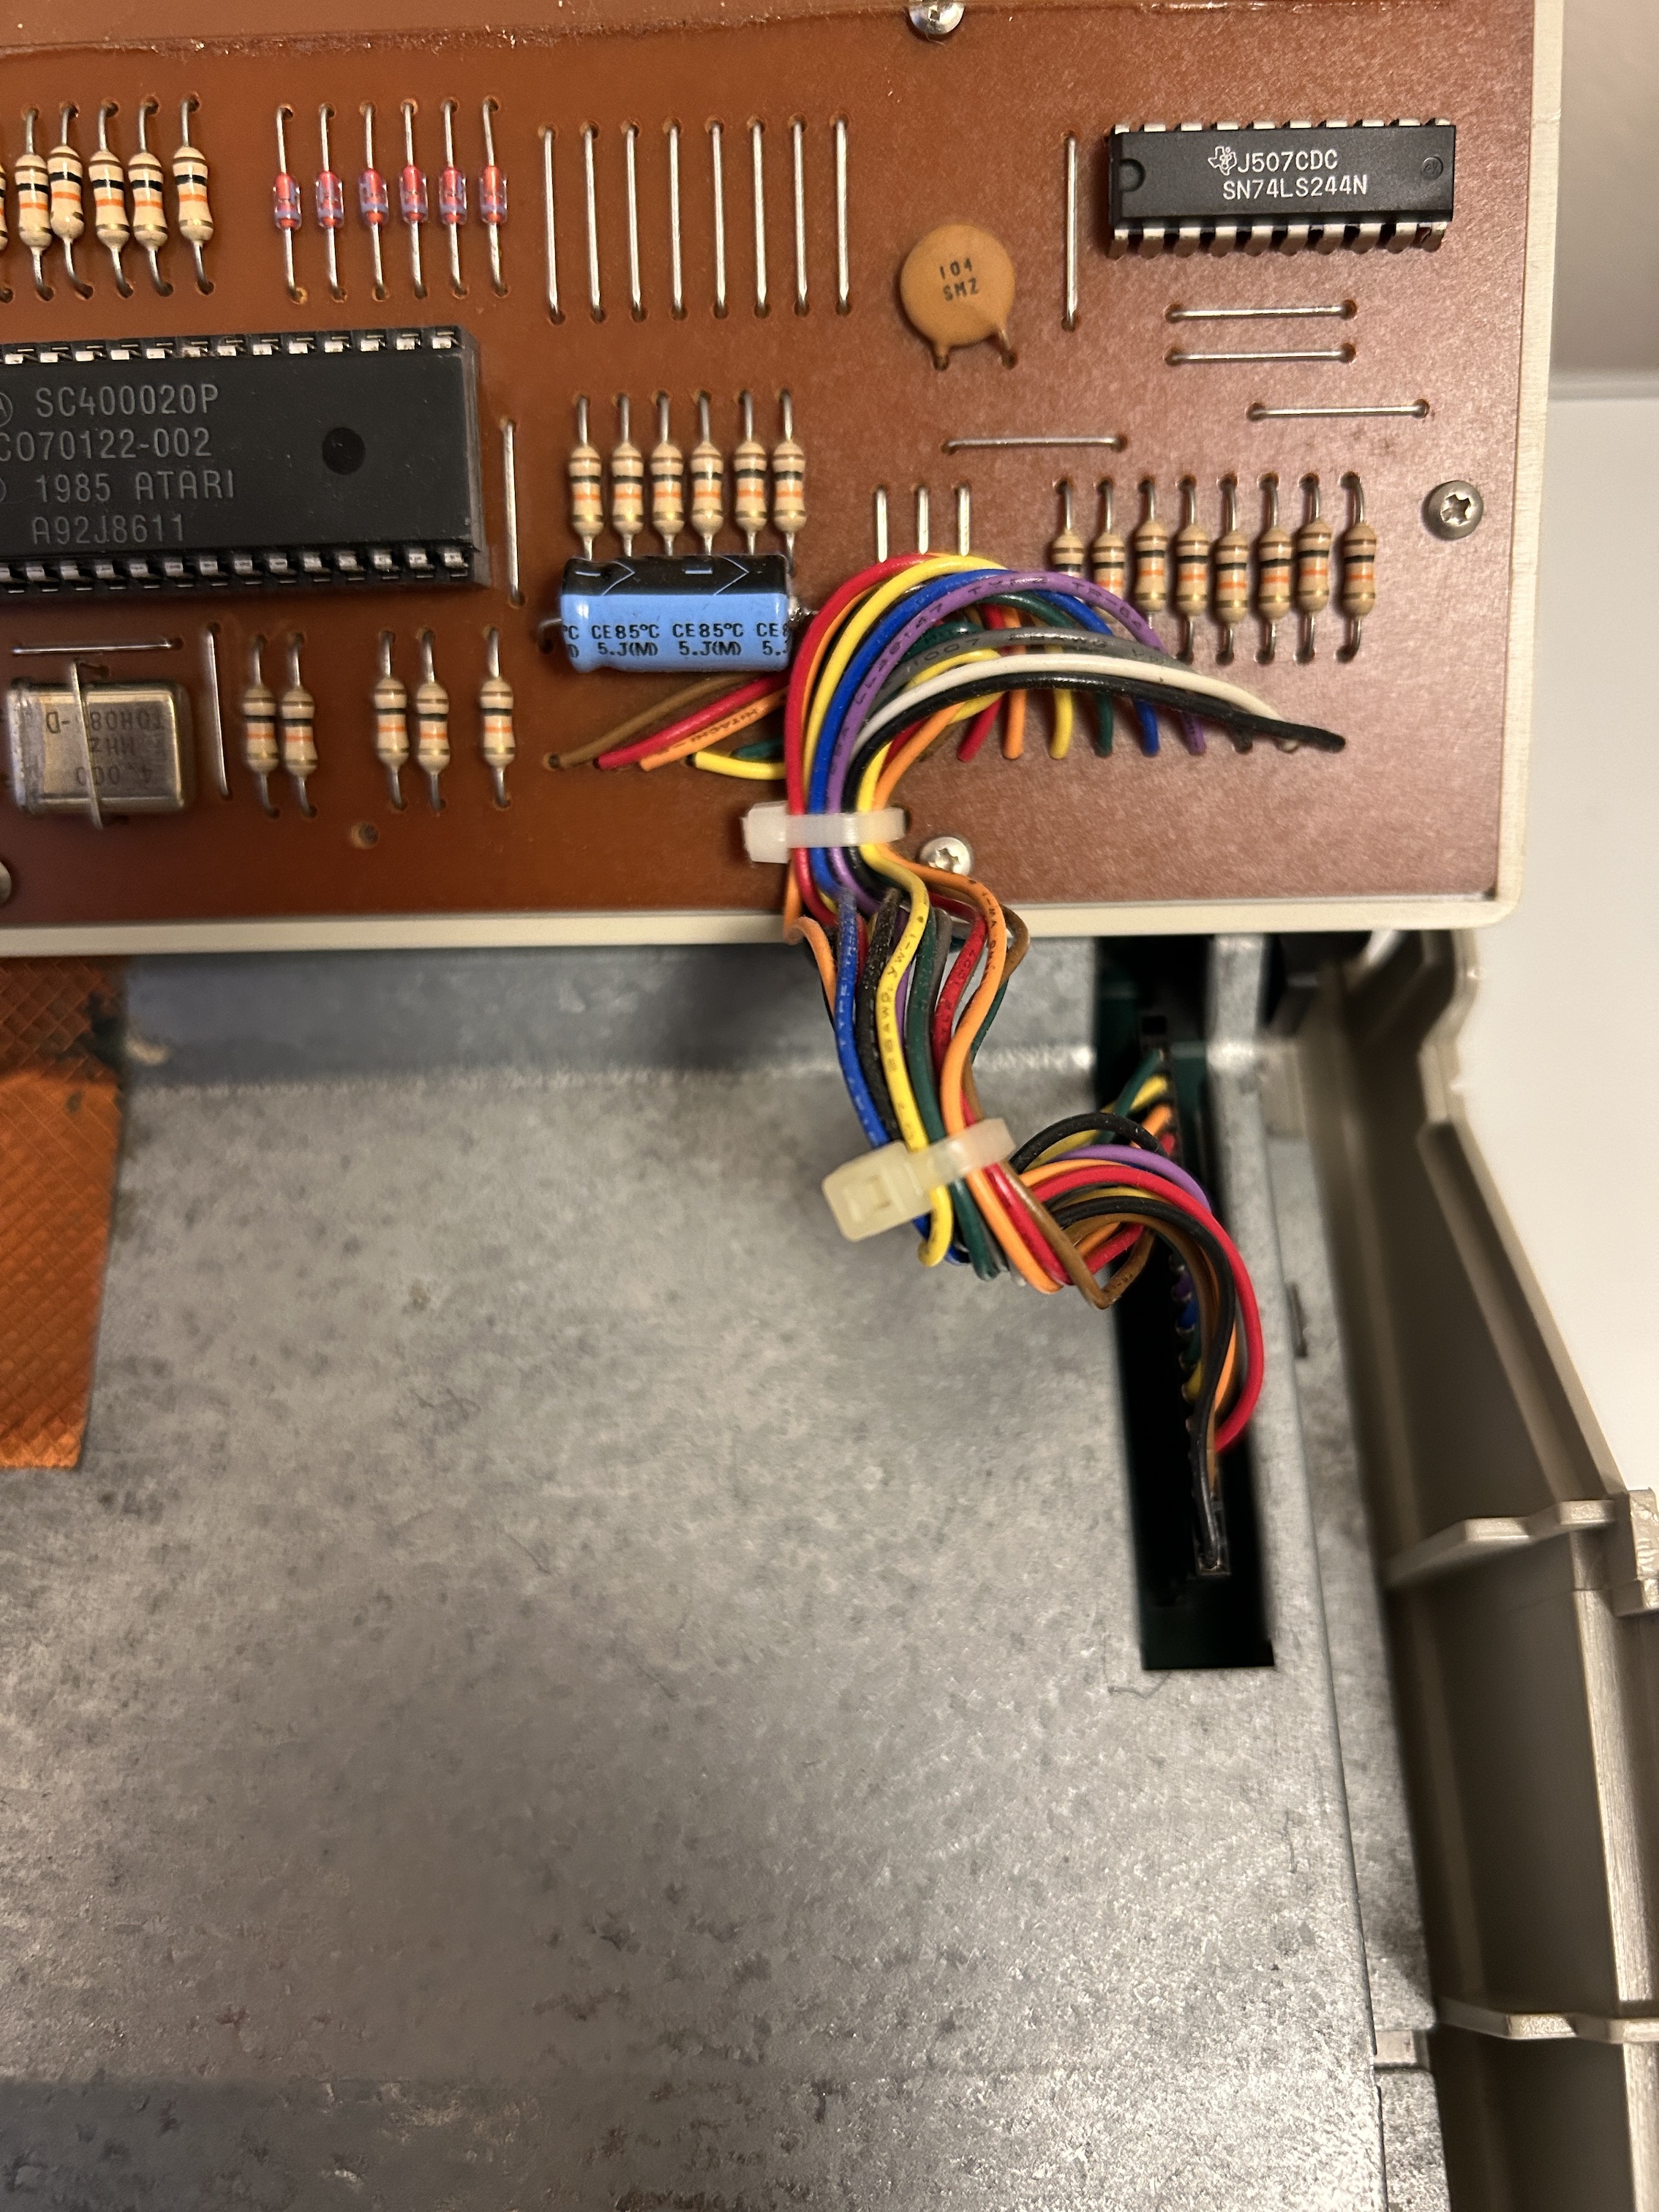
As a first step, I wanted to look at what's inside. The below shows the disassembly process.
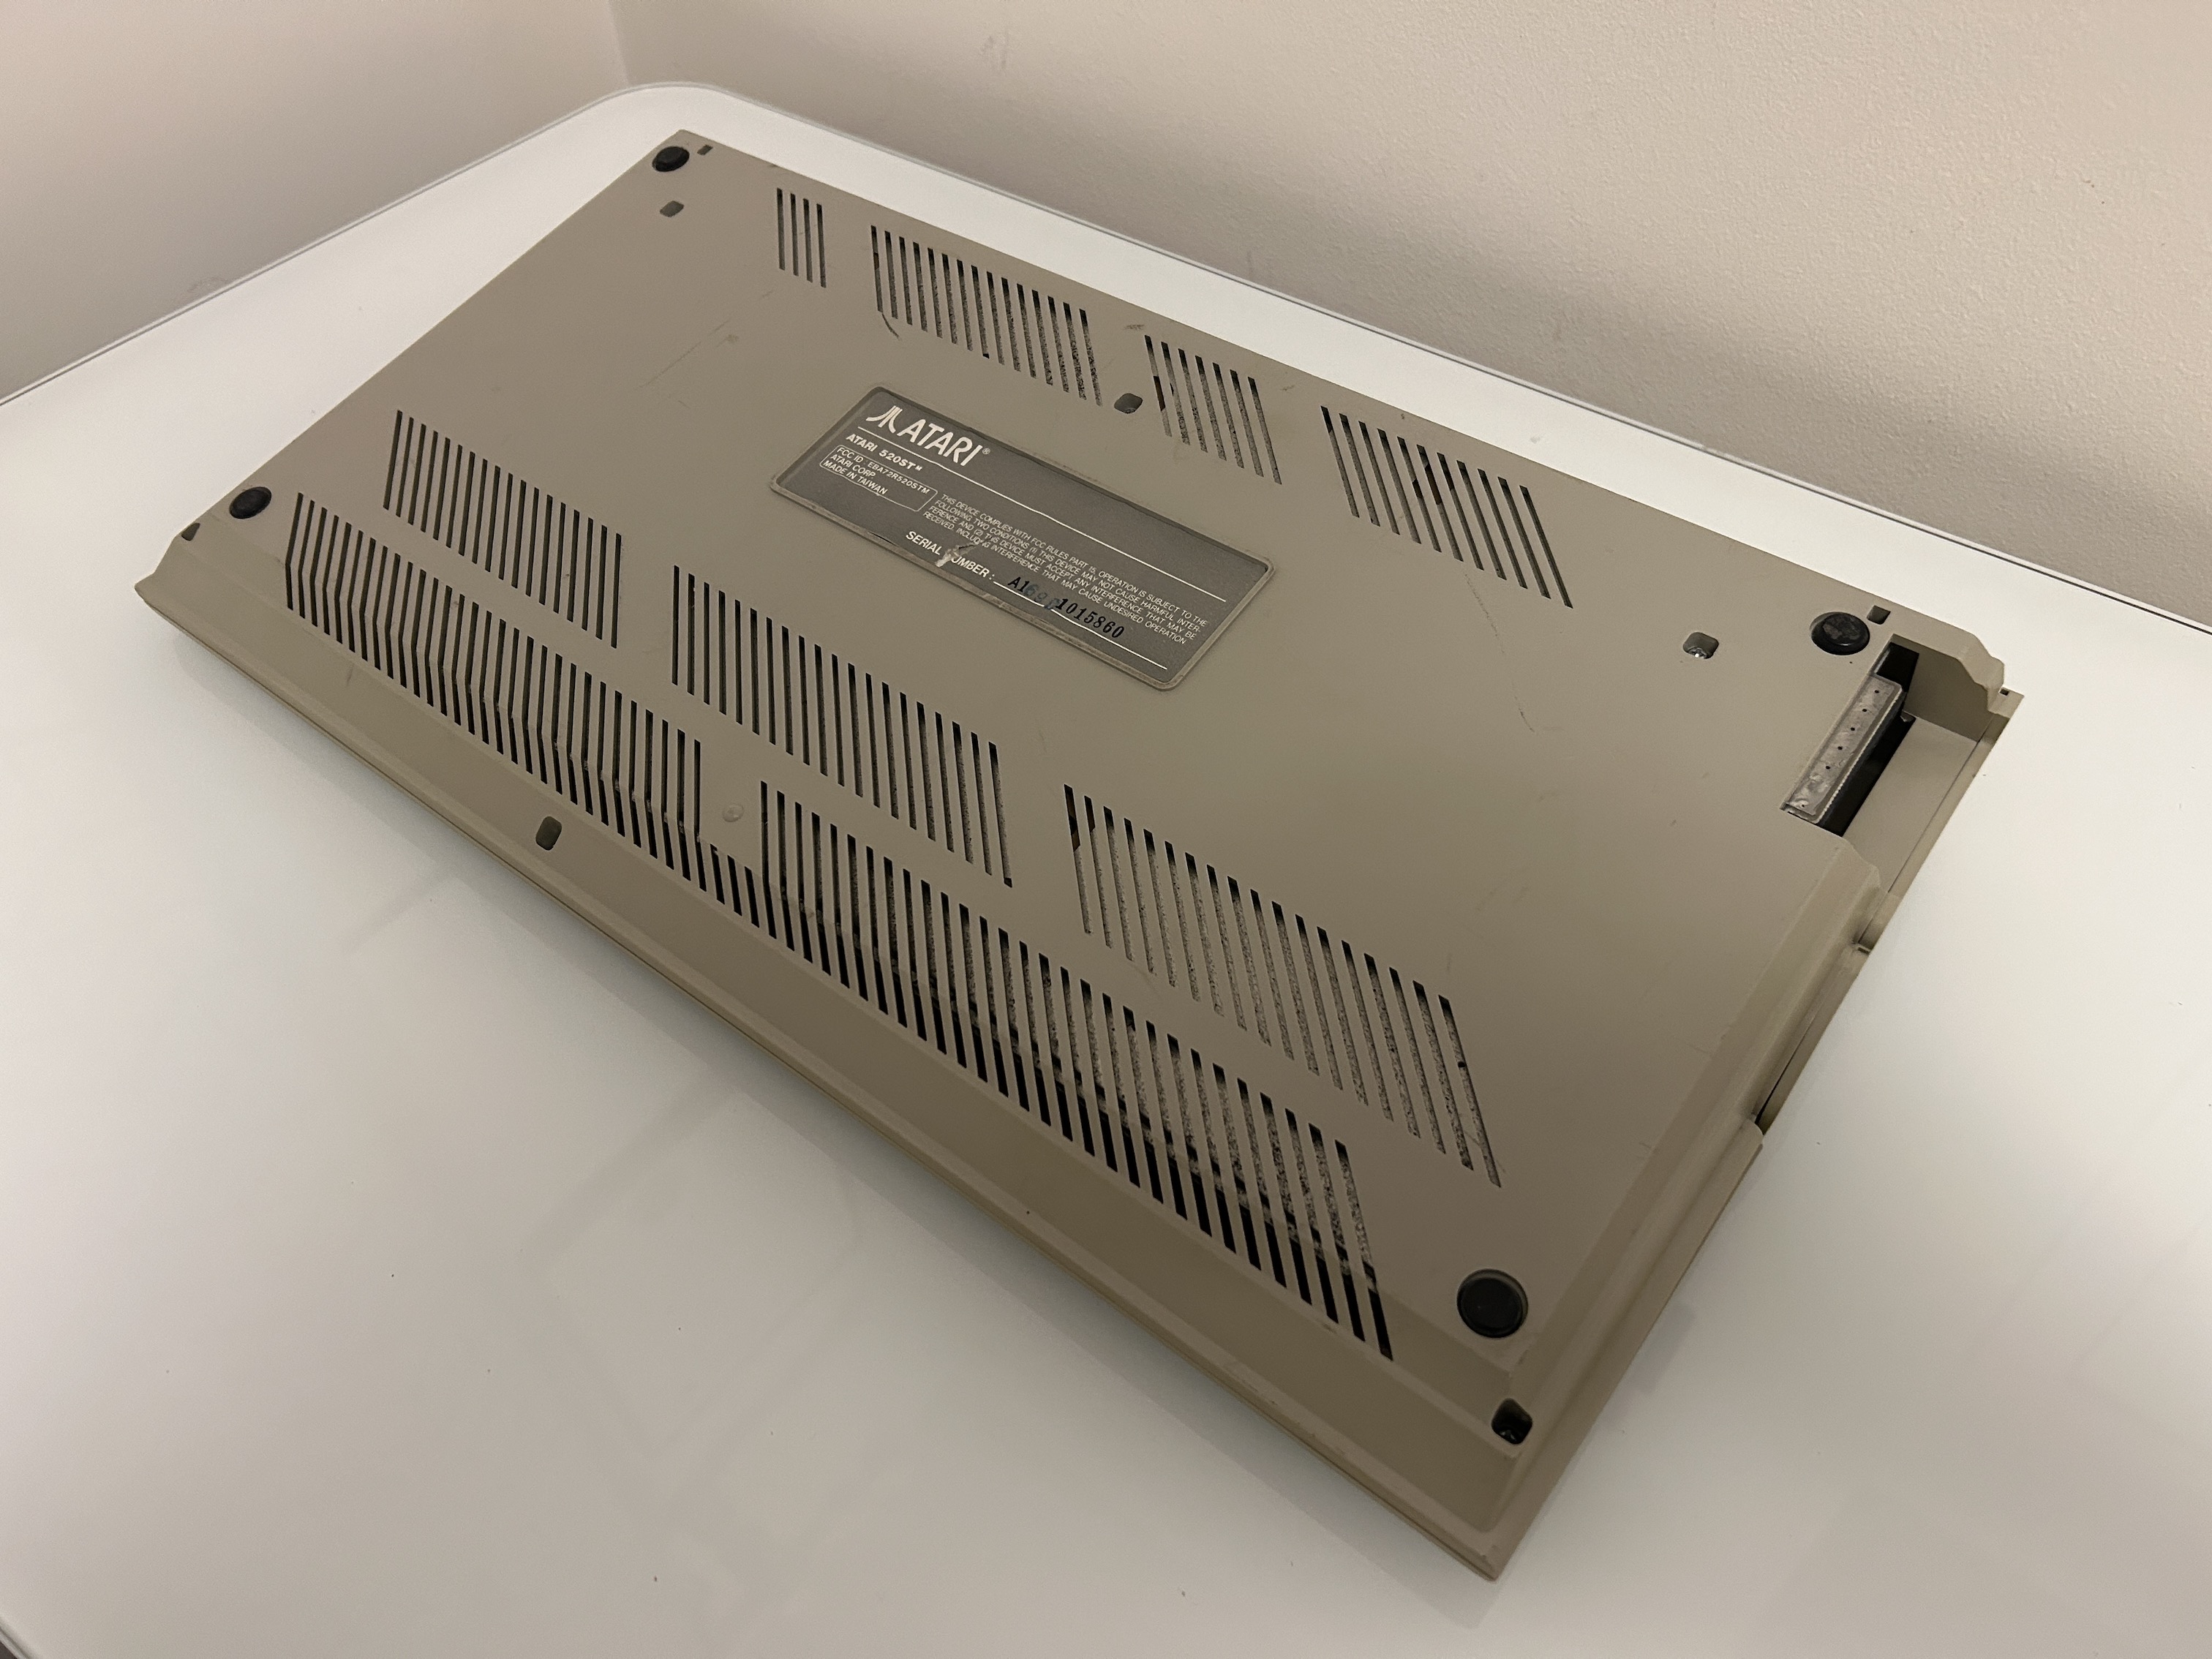
There are six screws that needs to be taken out. Three of them are longer and make sure to keep track of them separately. 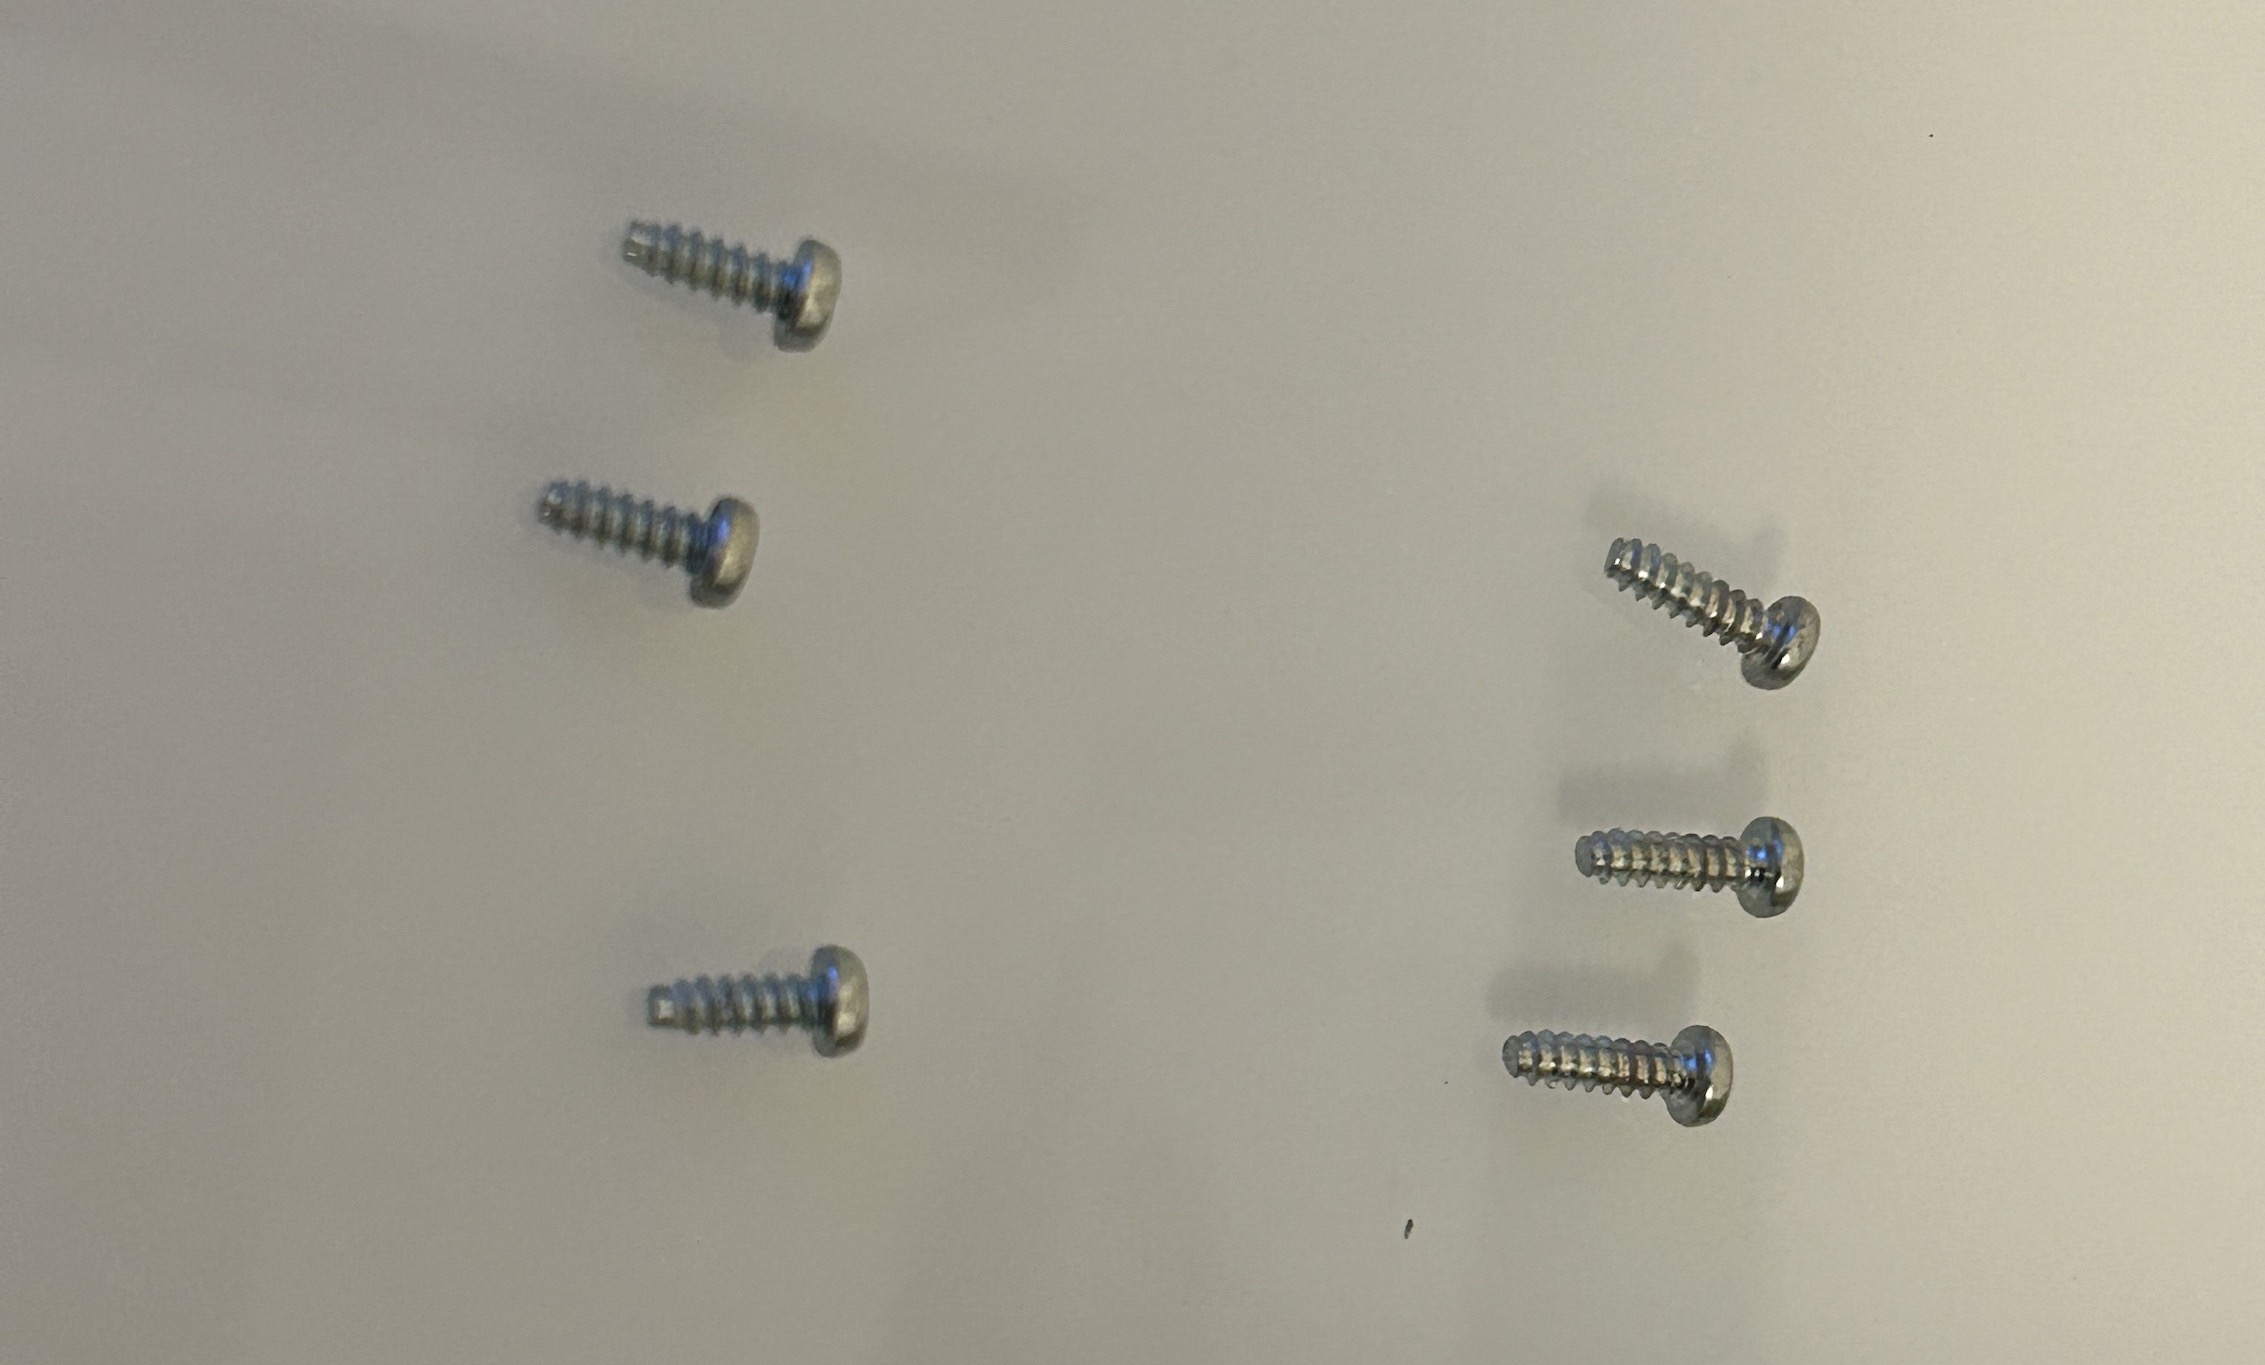
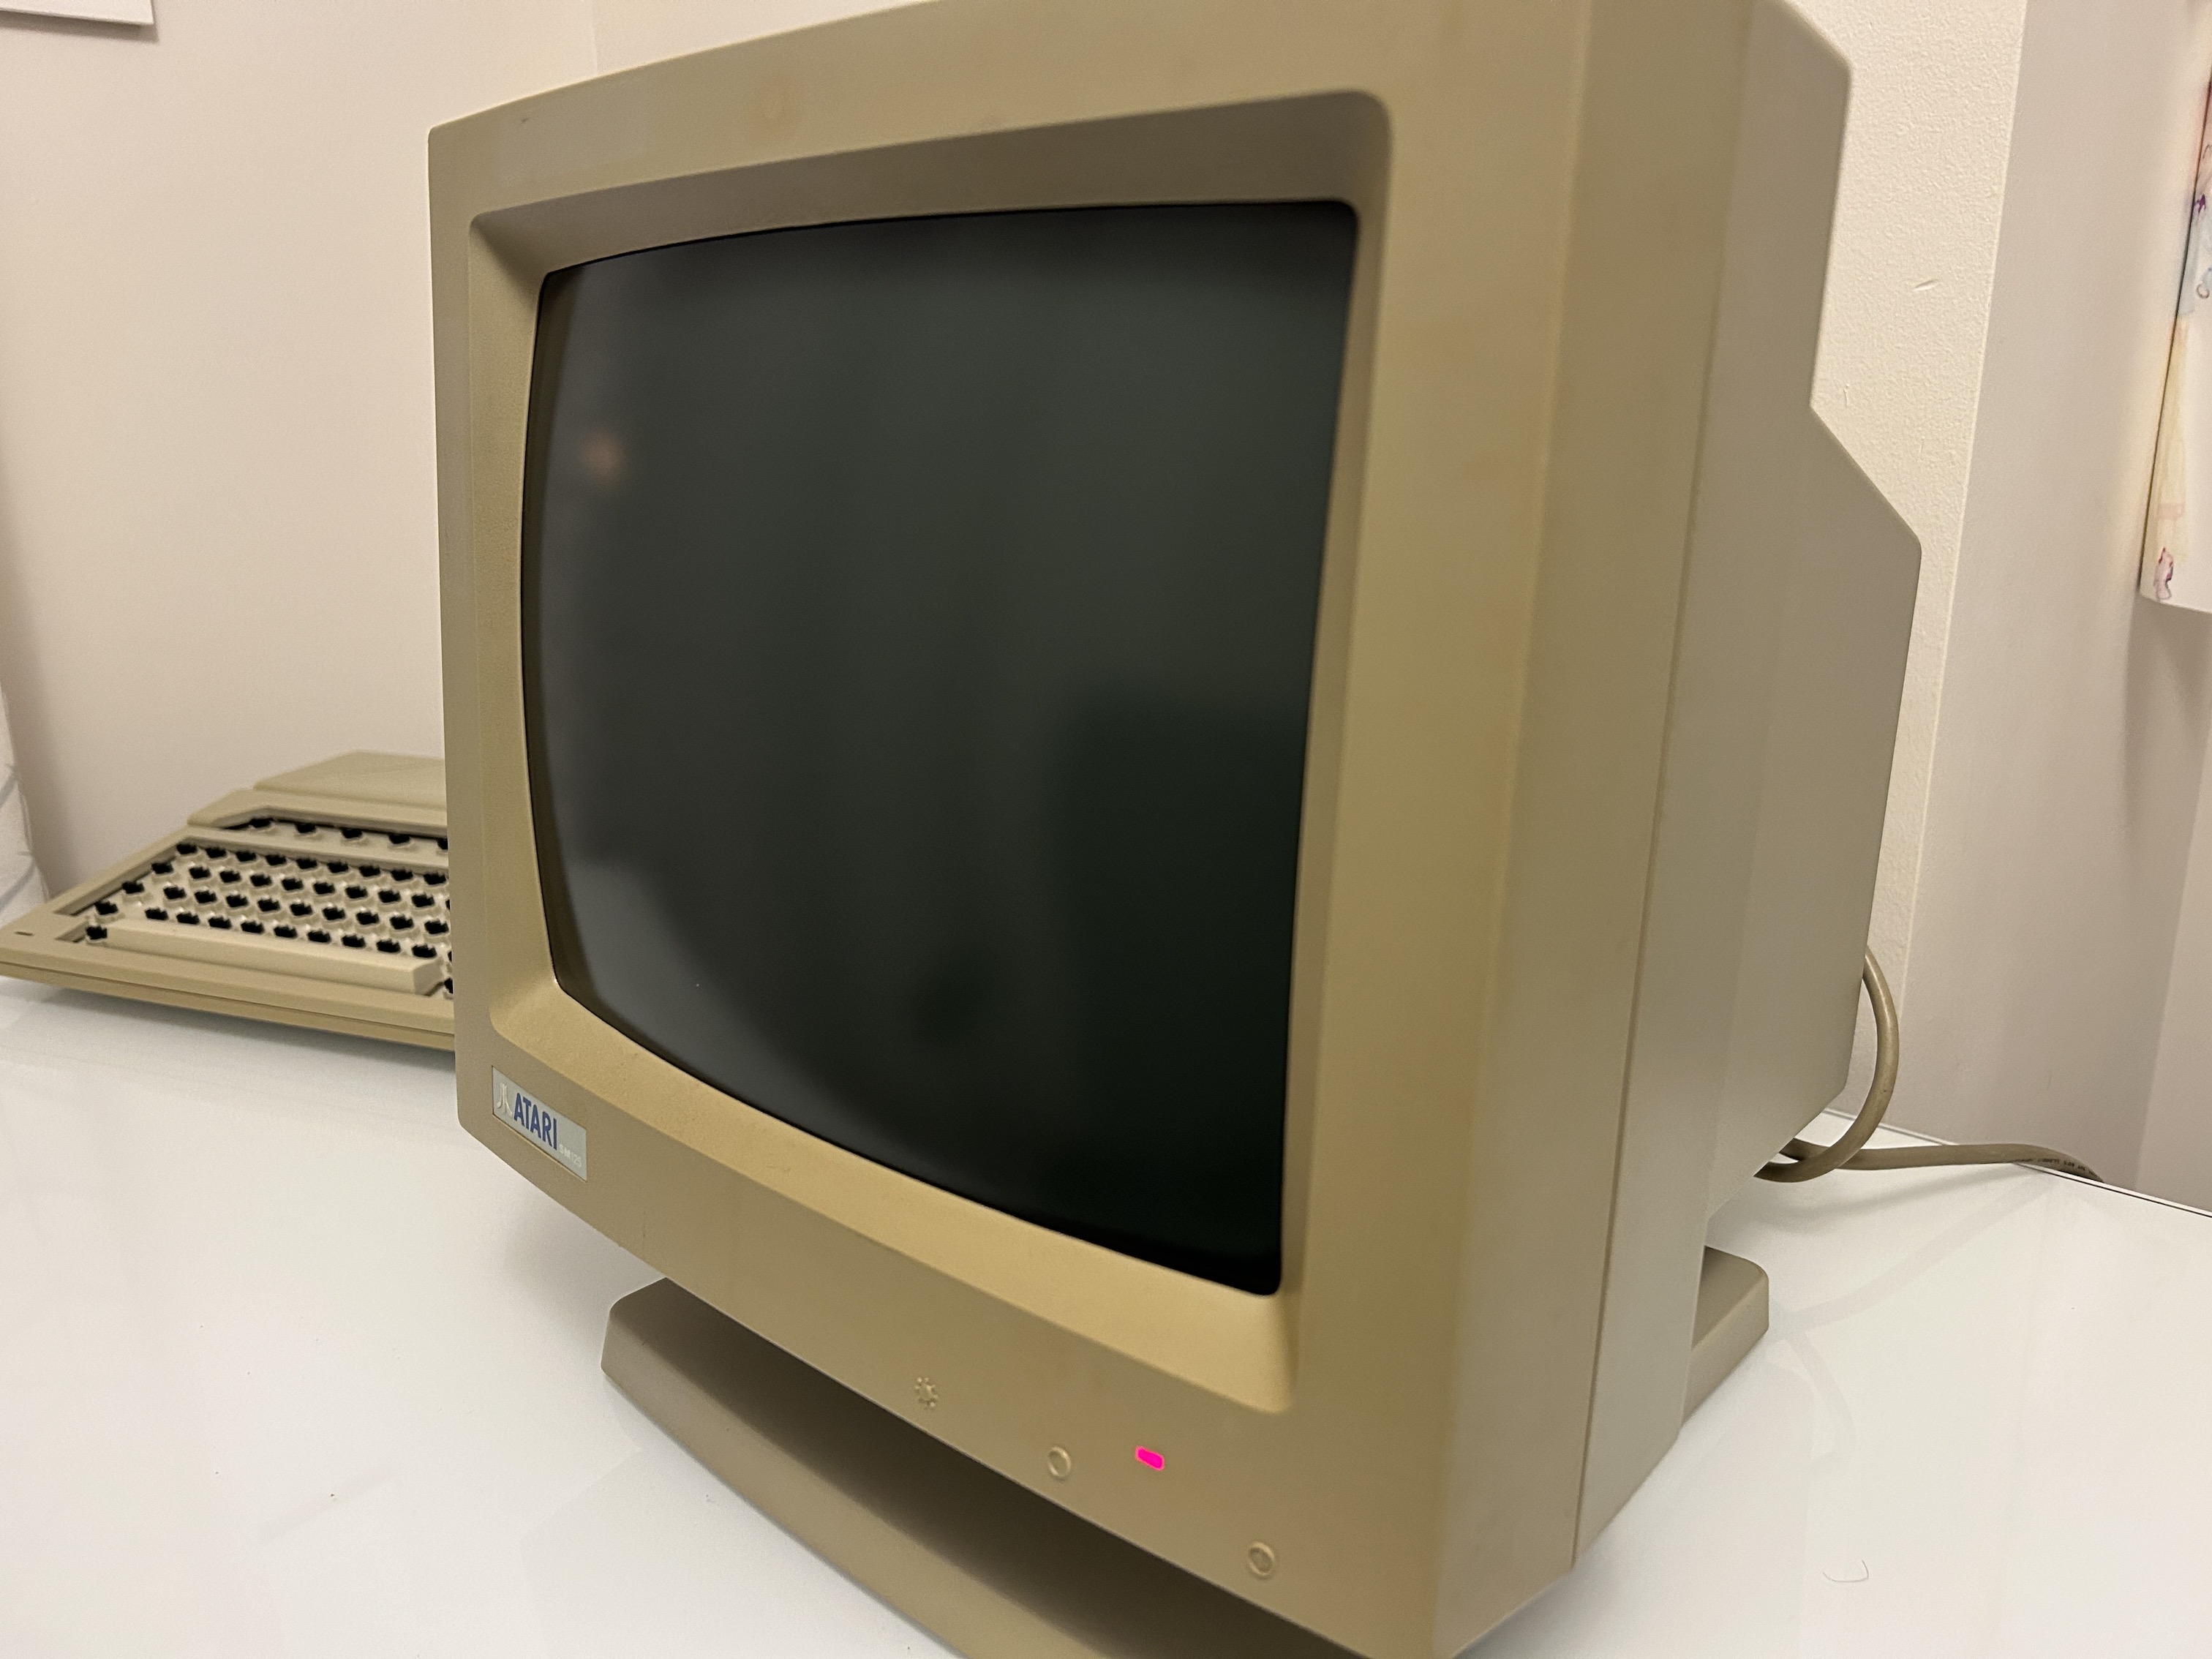
Top plastic just comes off. You can see how much the casing has yellowed here. 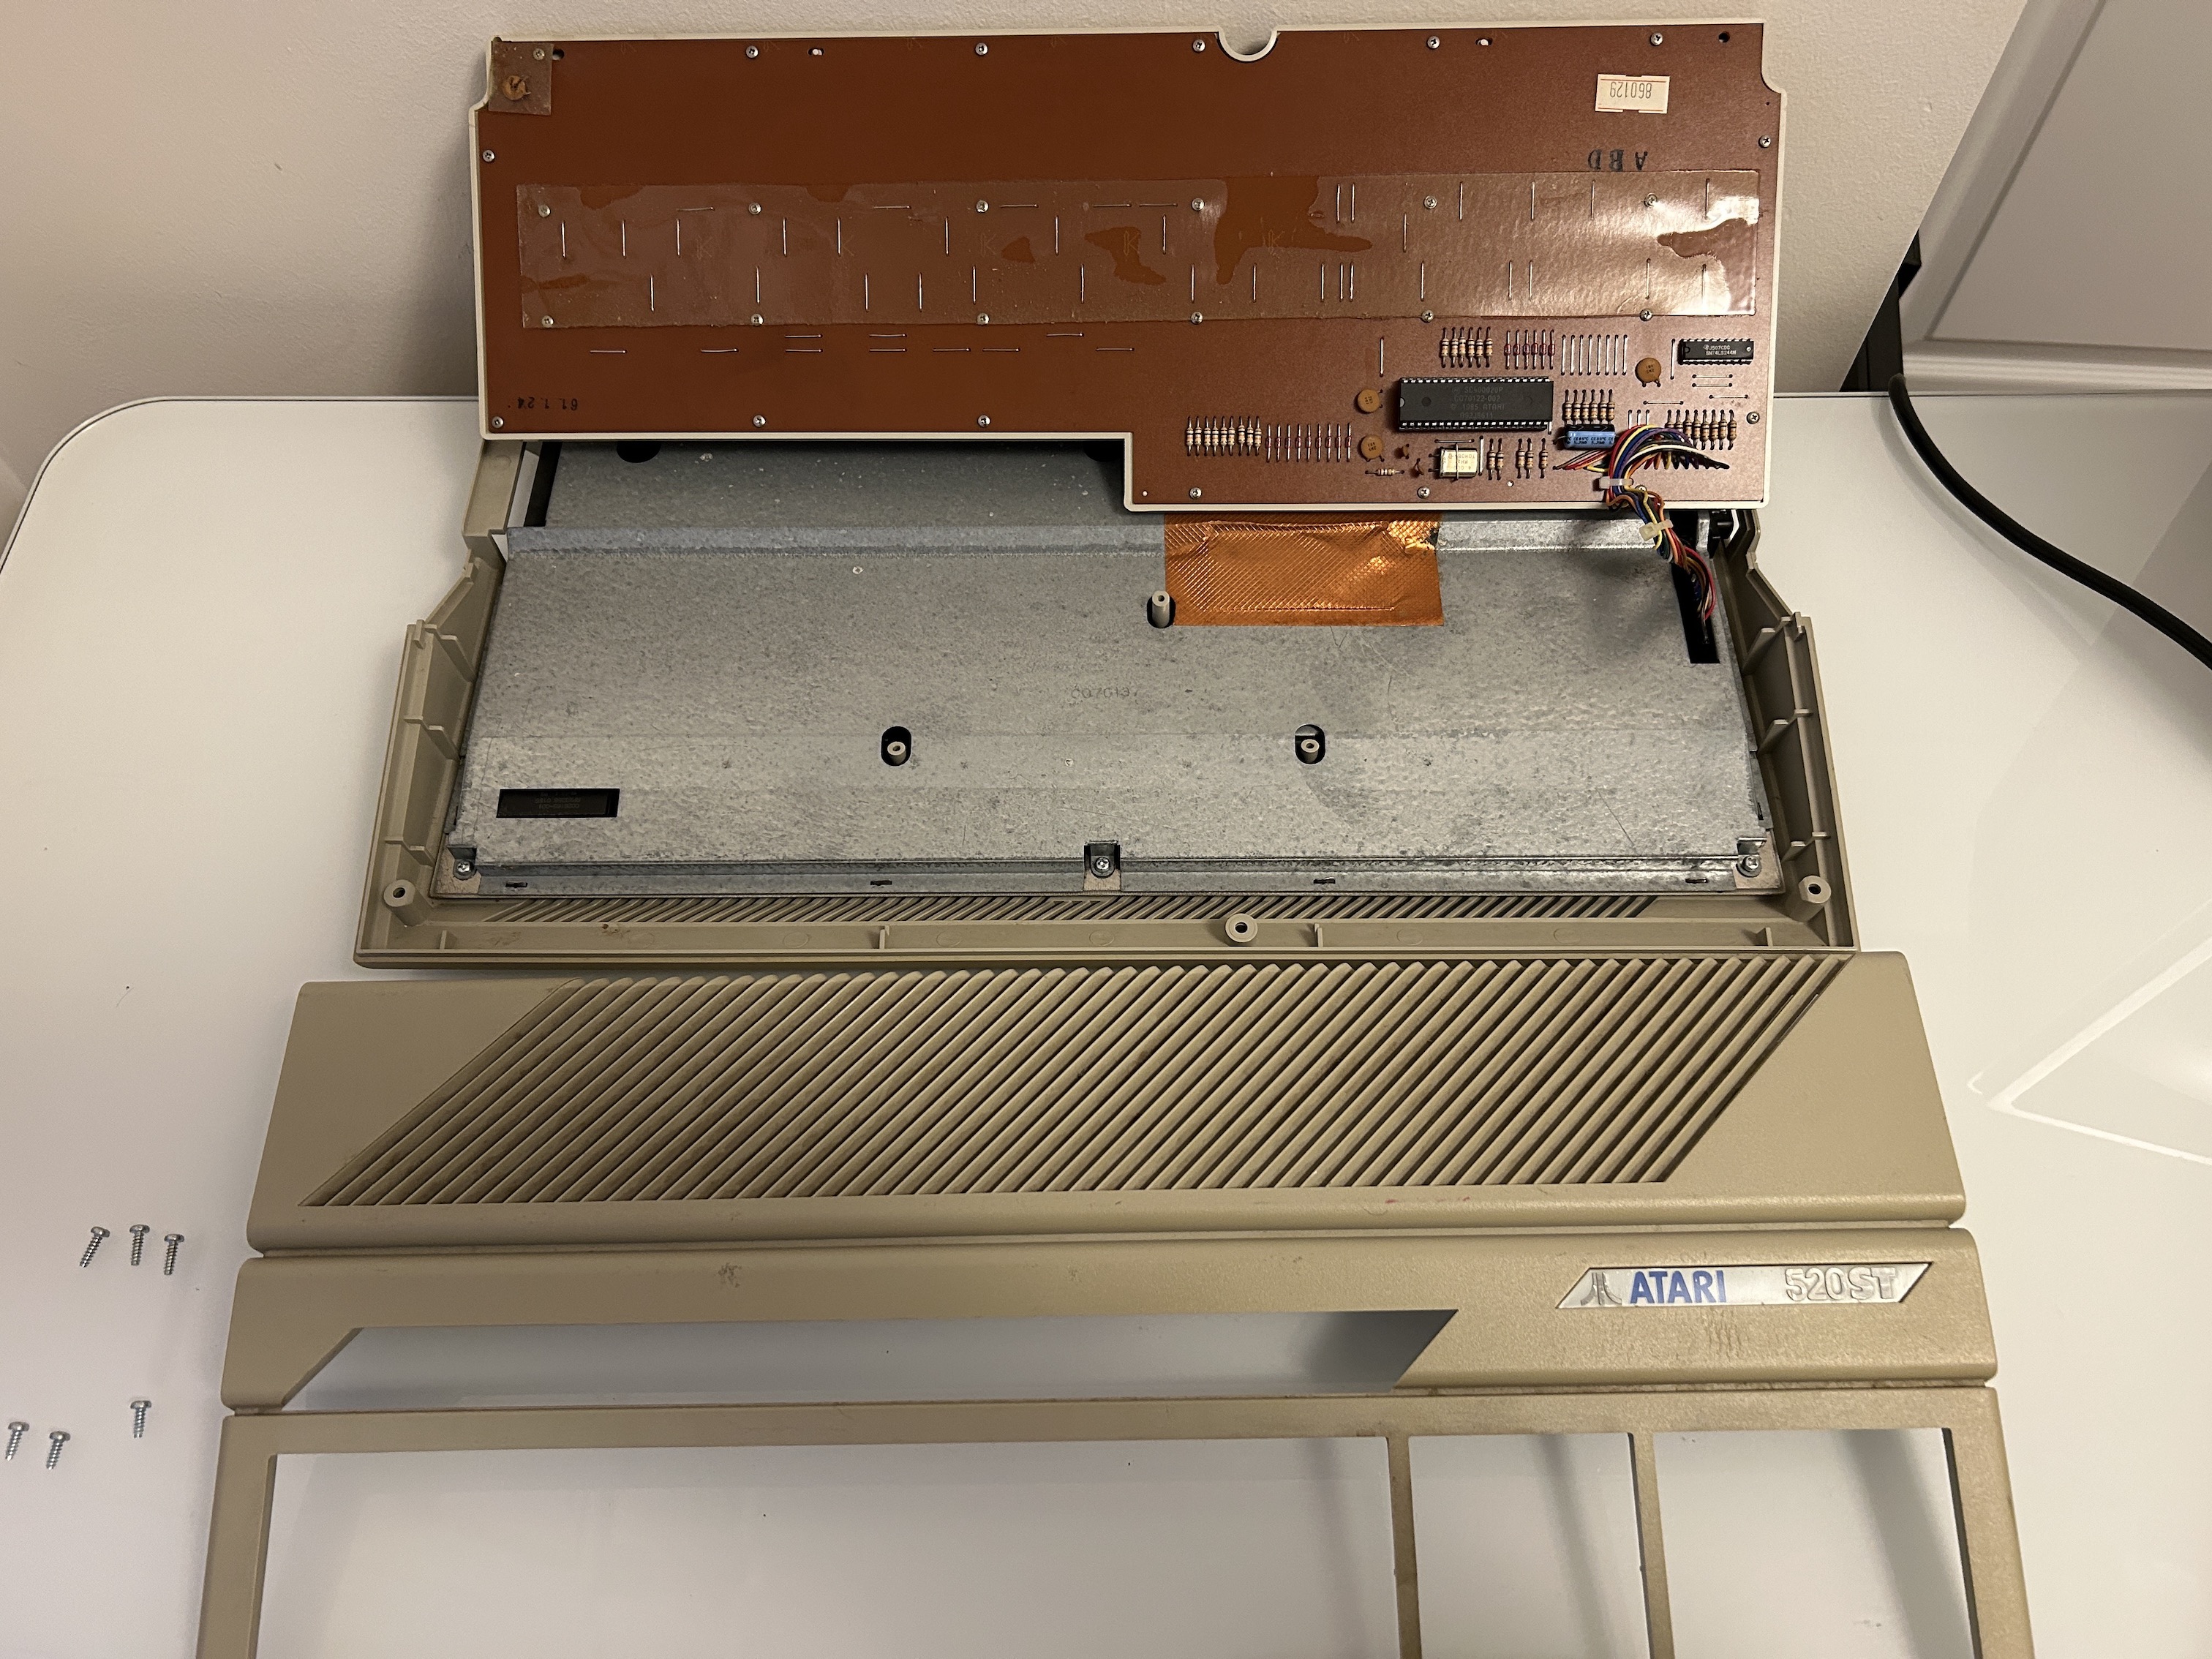
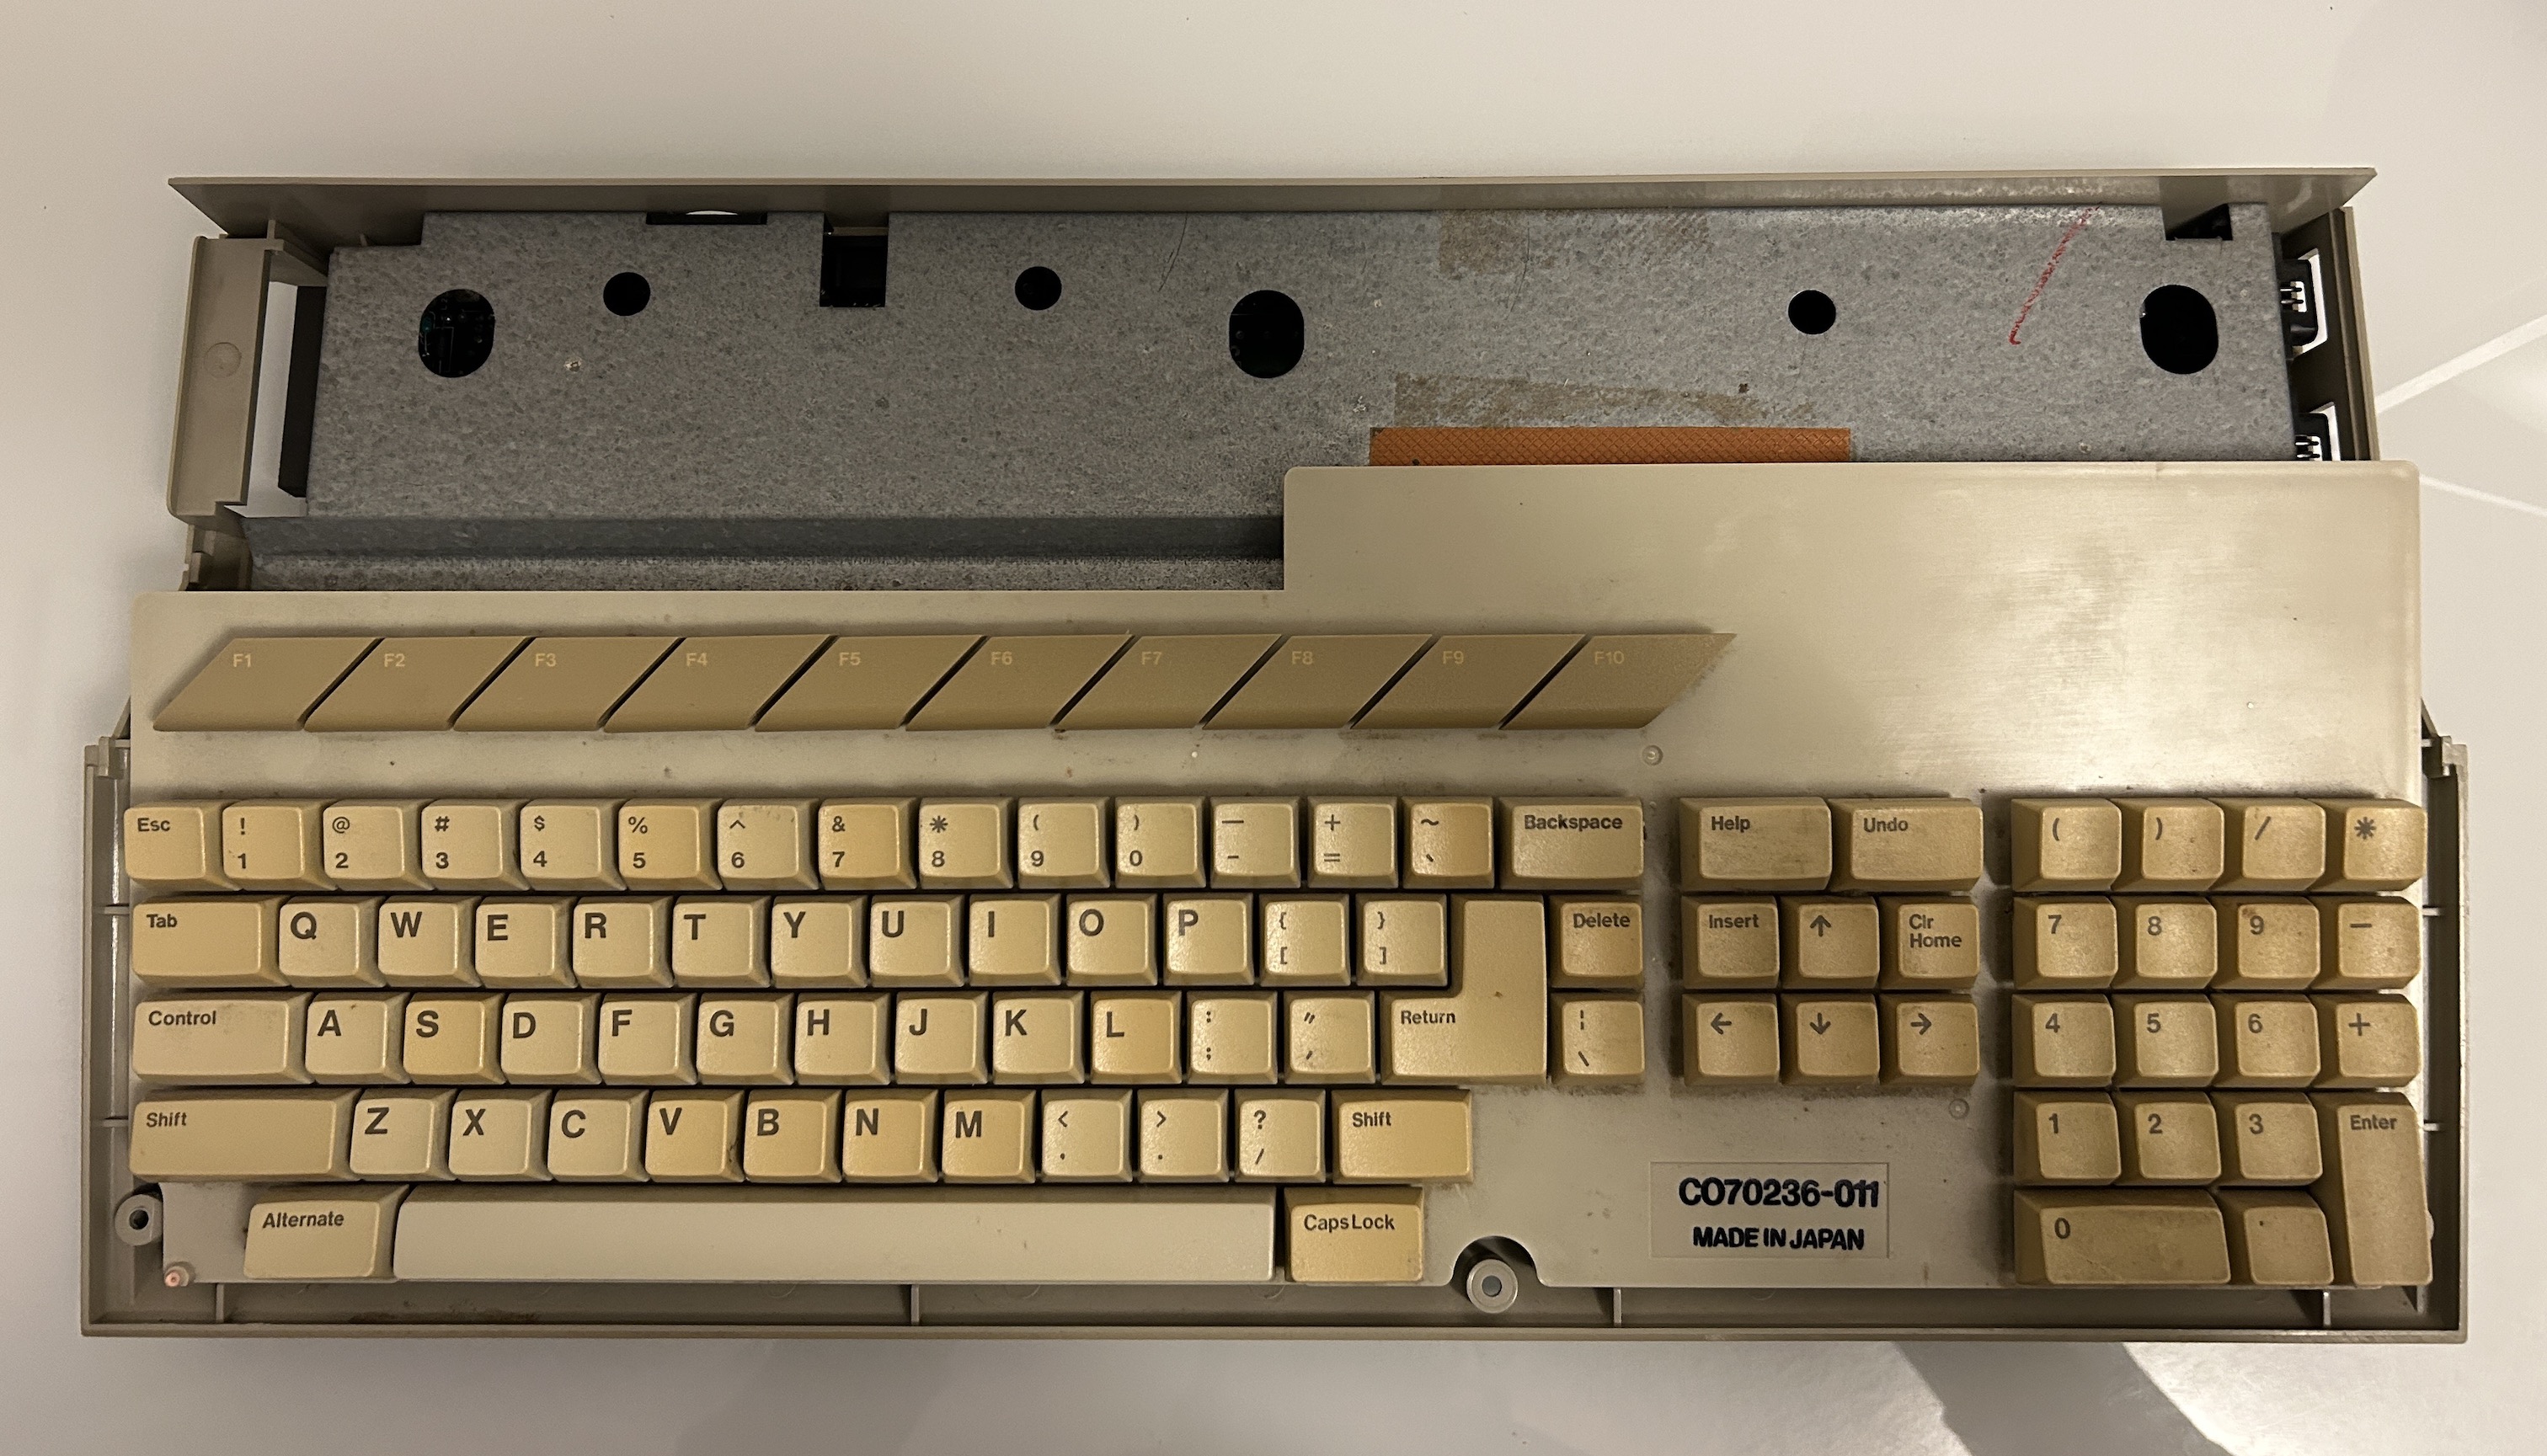
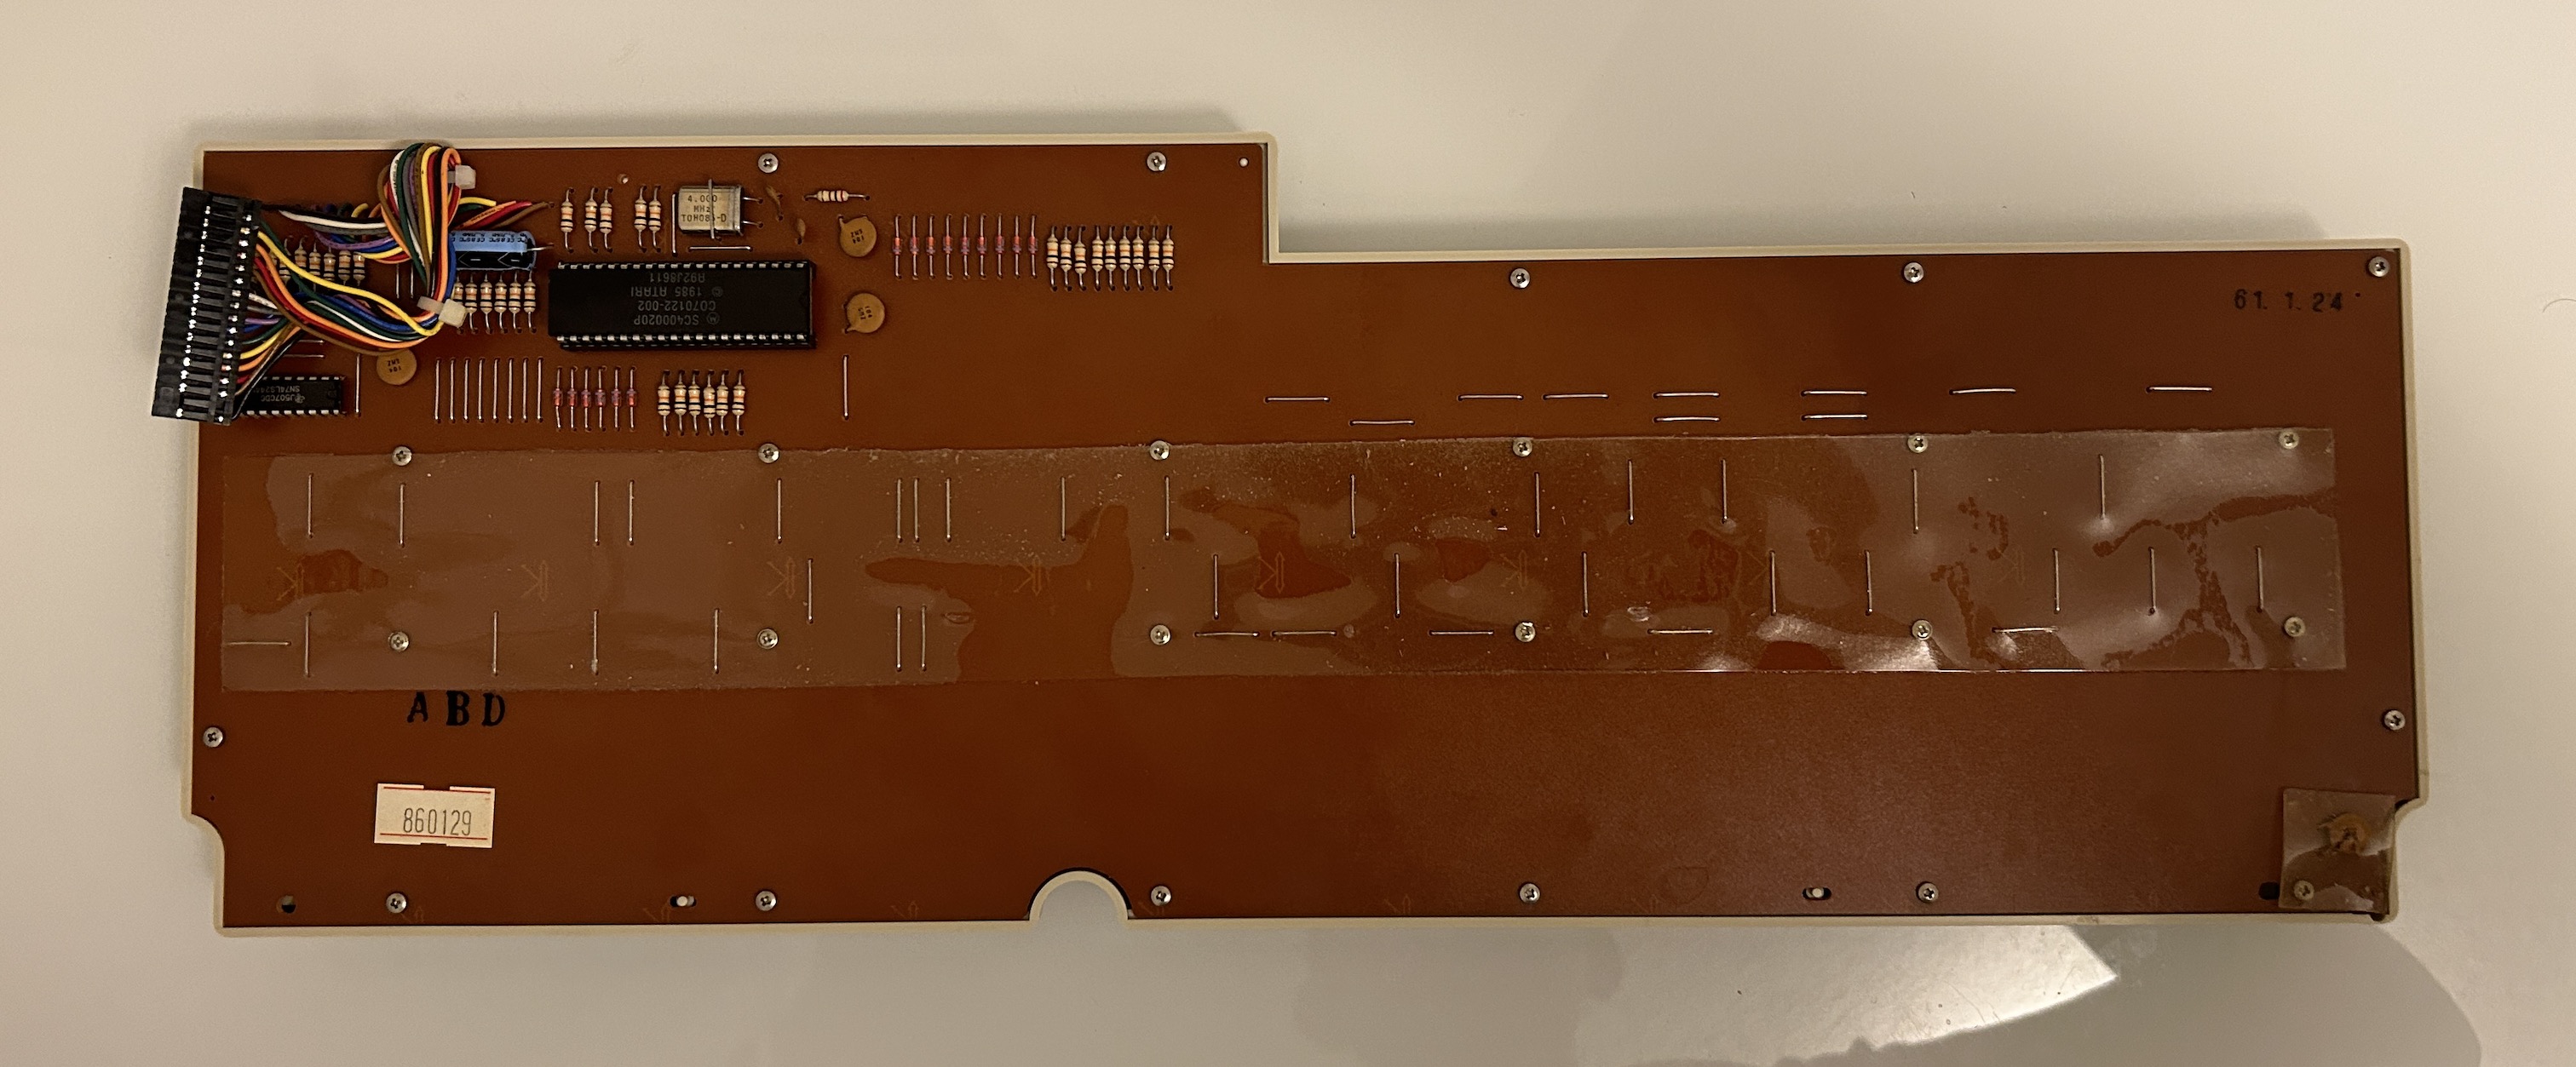
Taking a peek inside the unit. 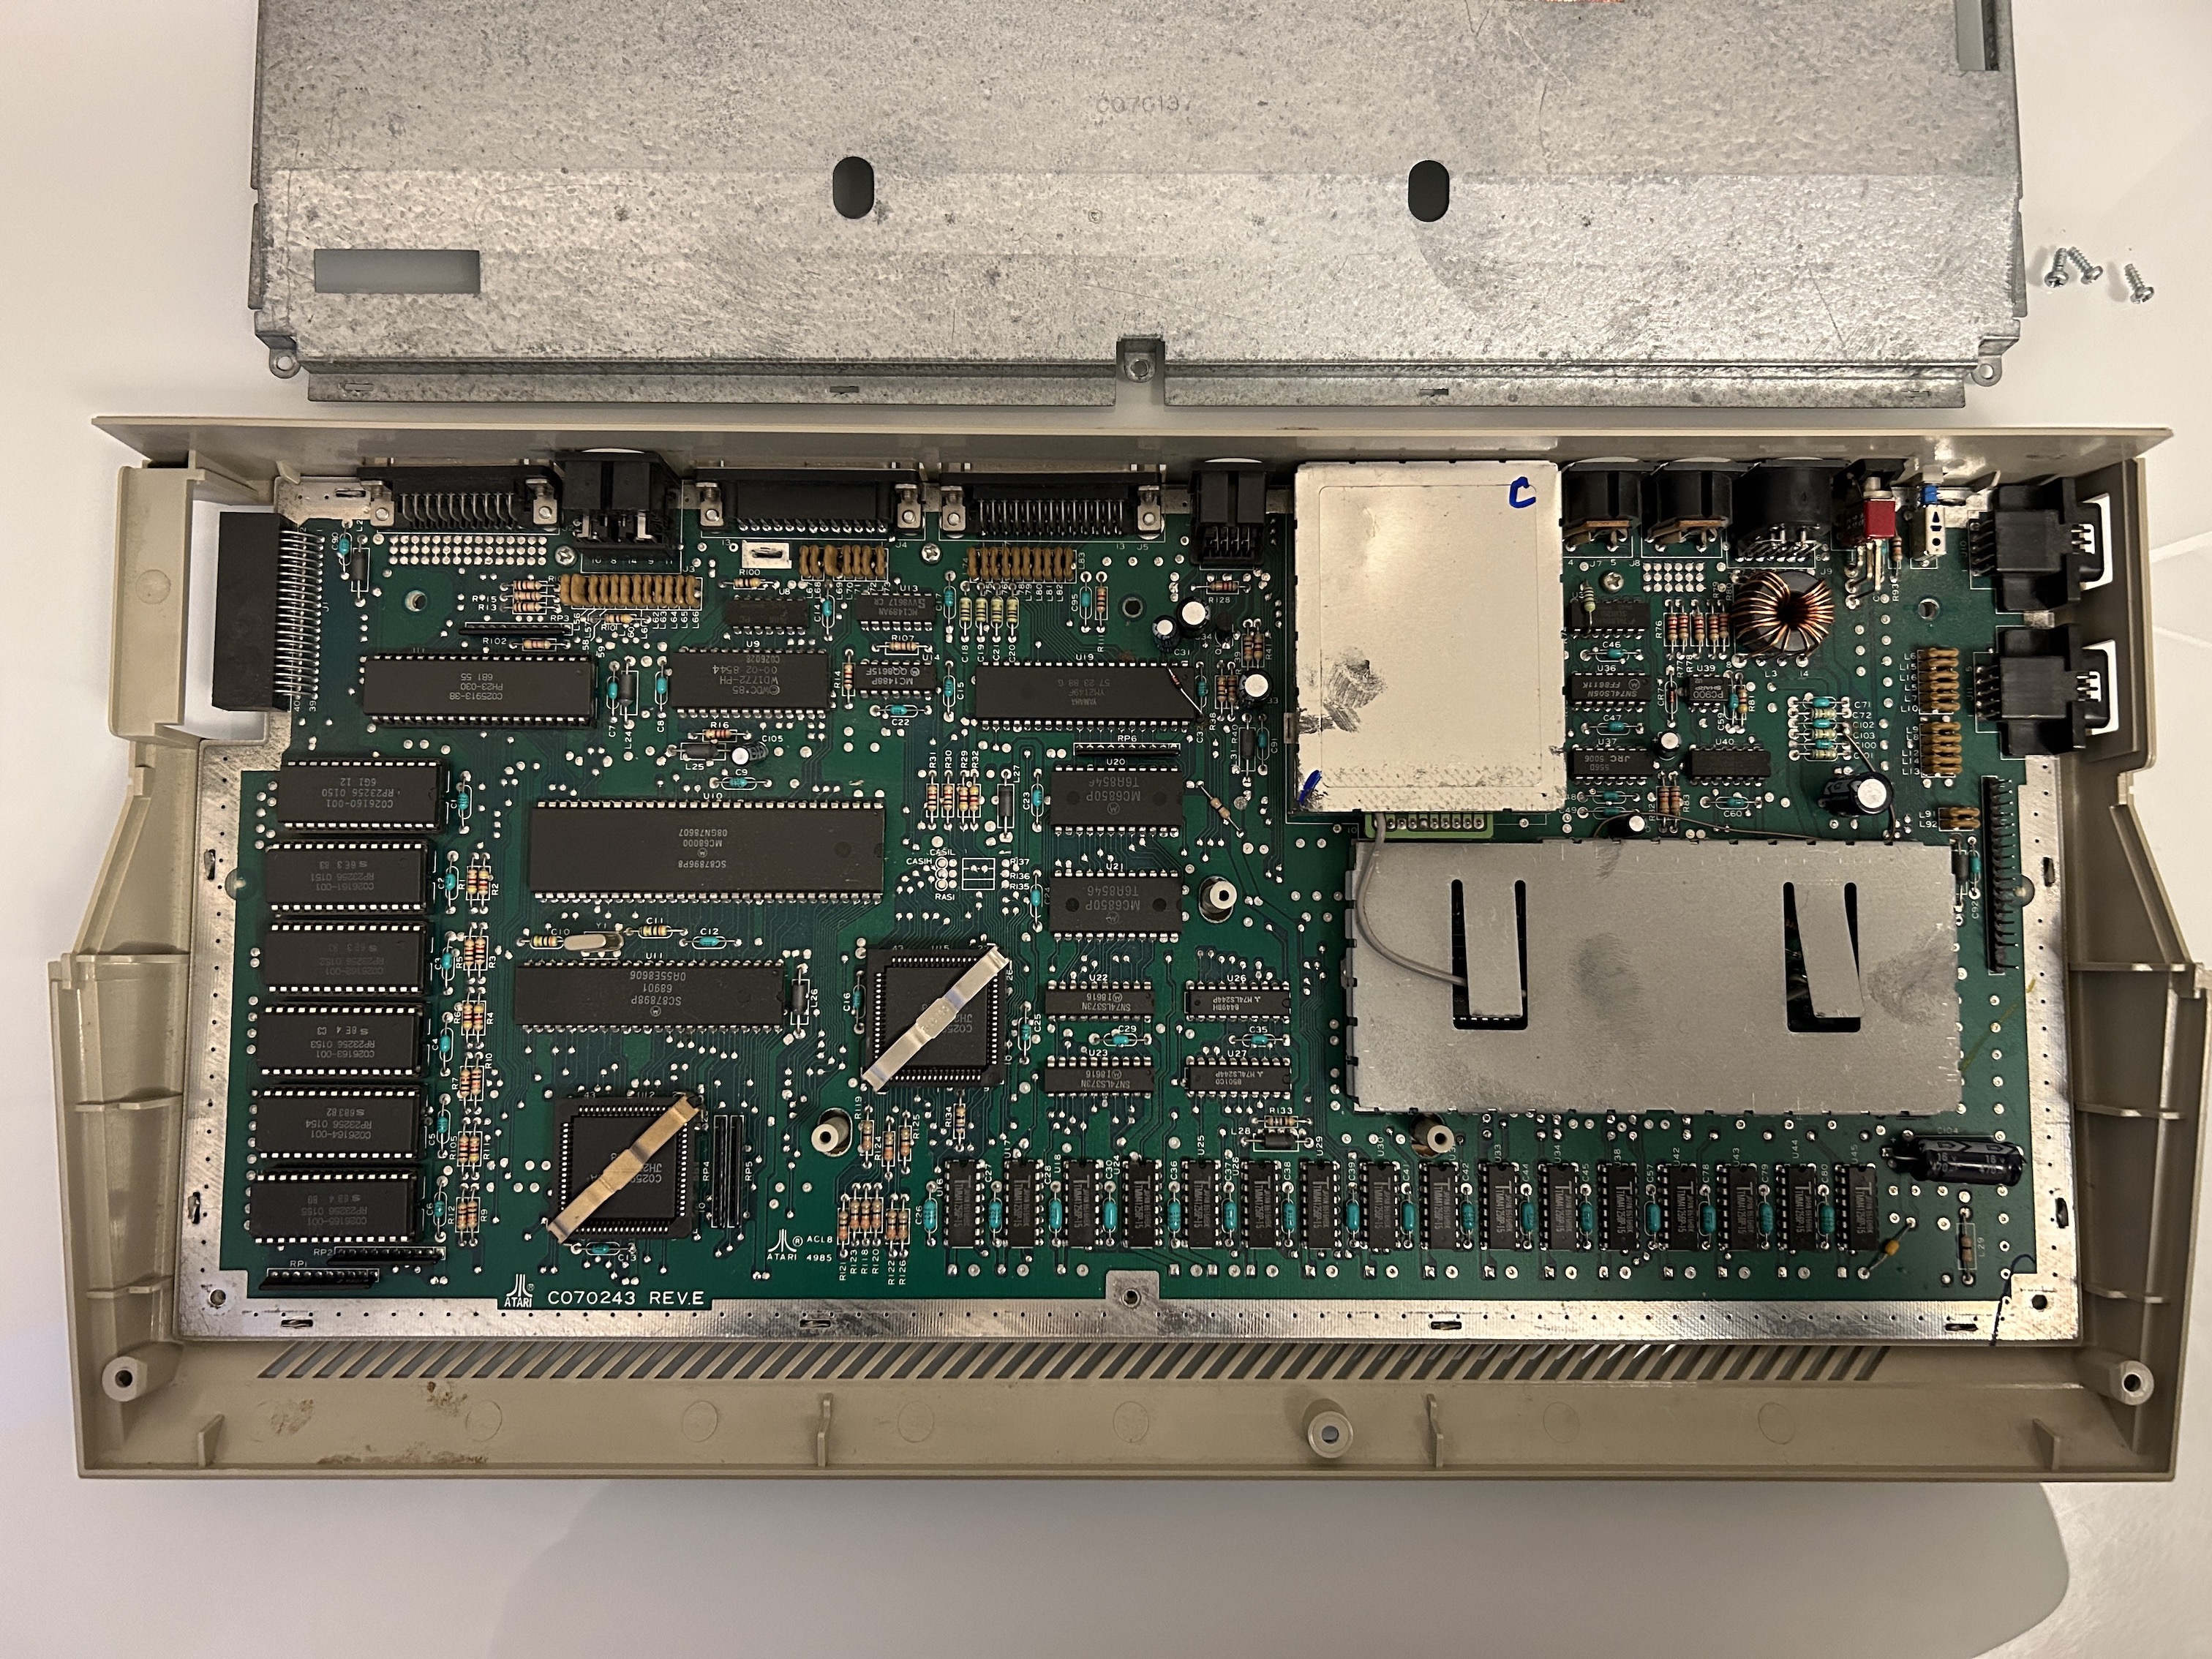
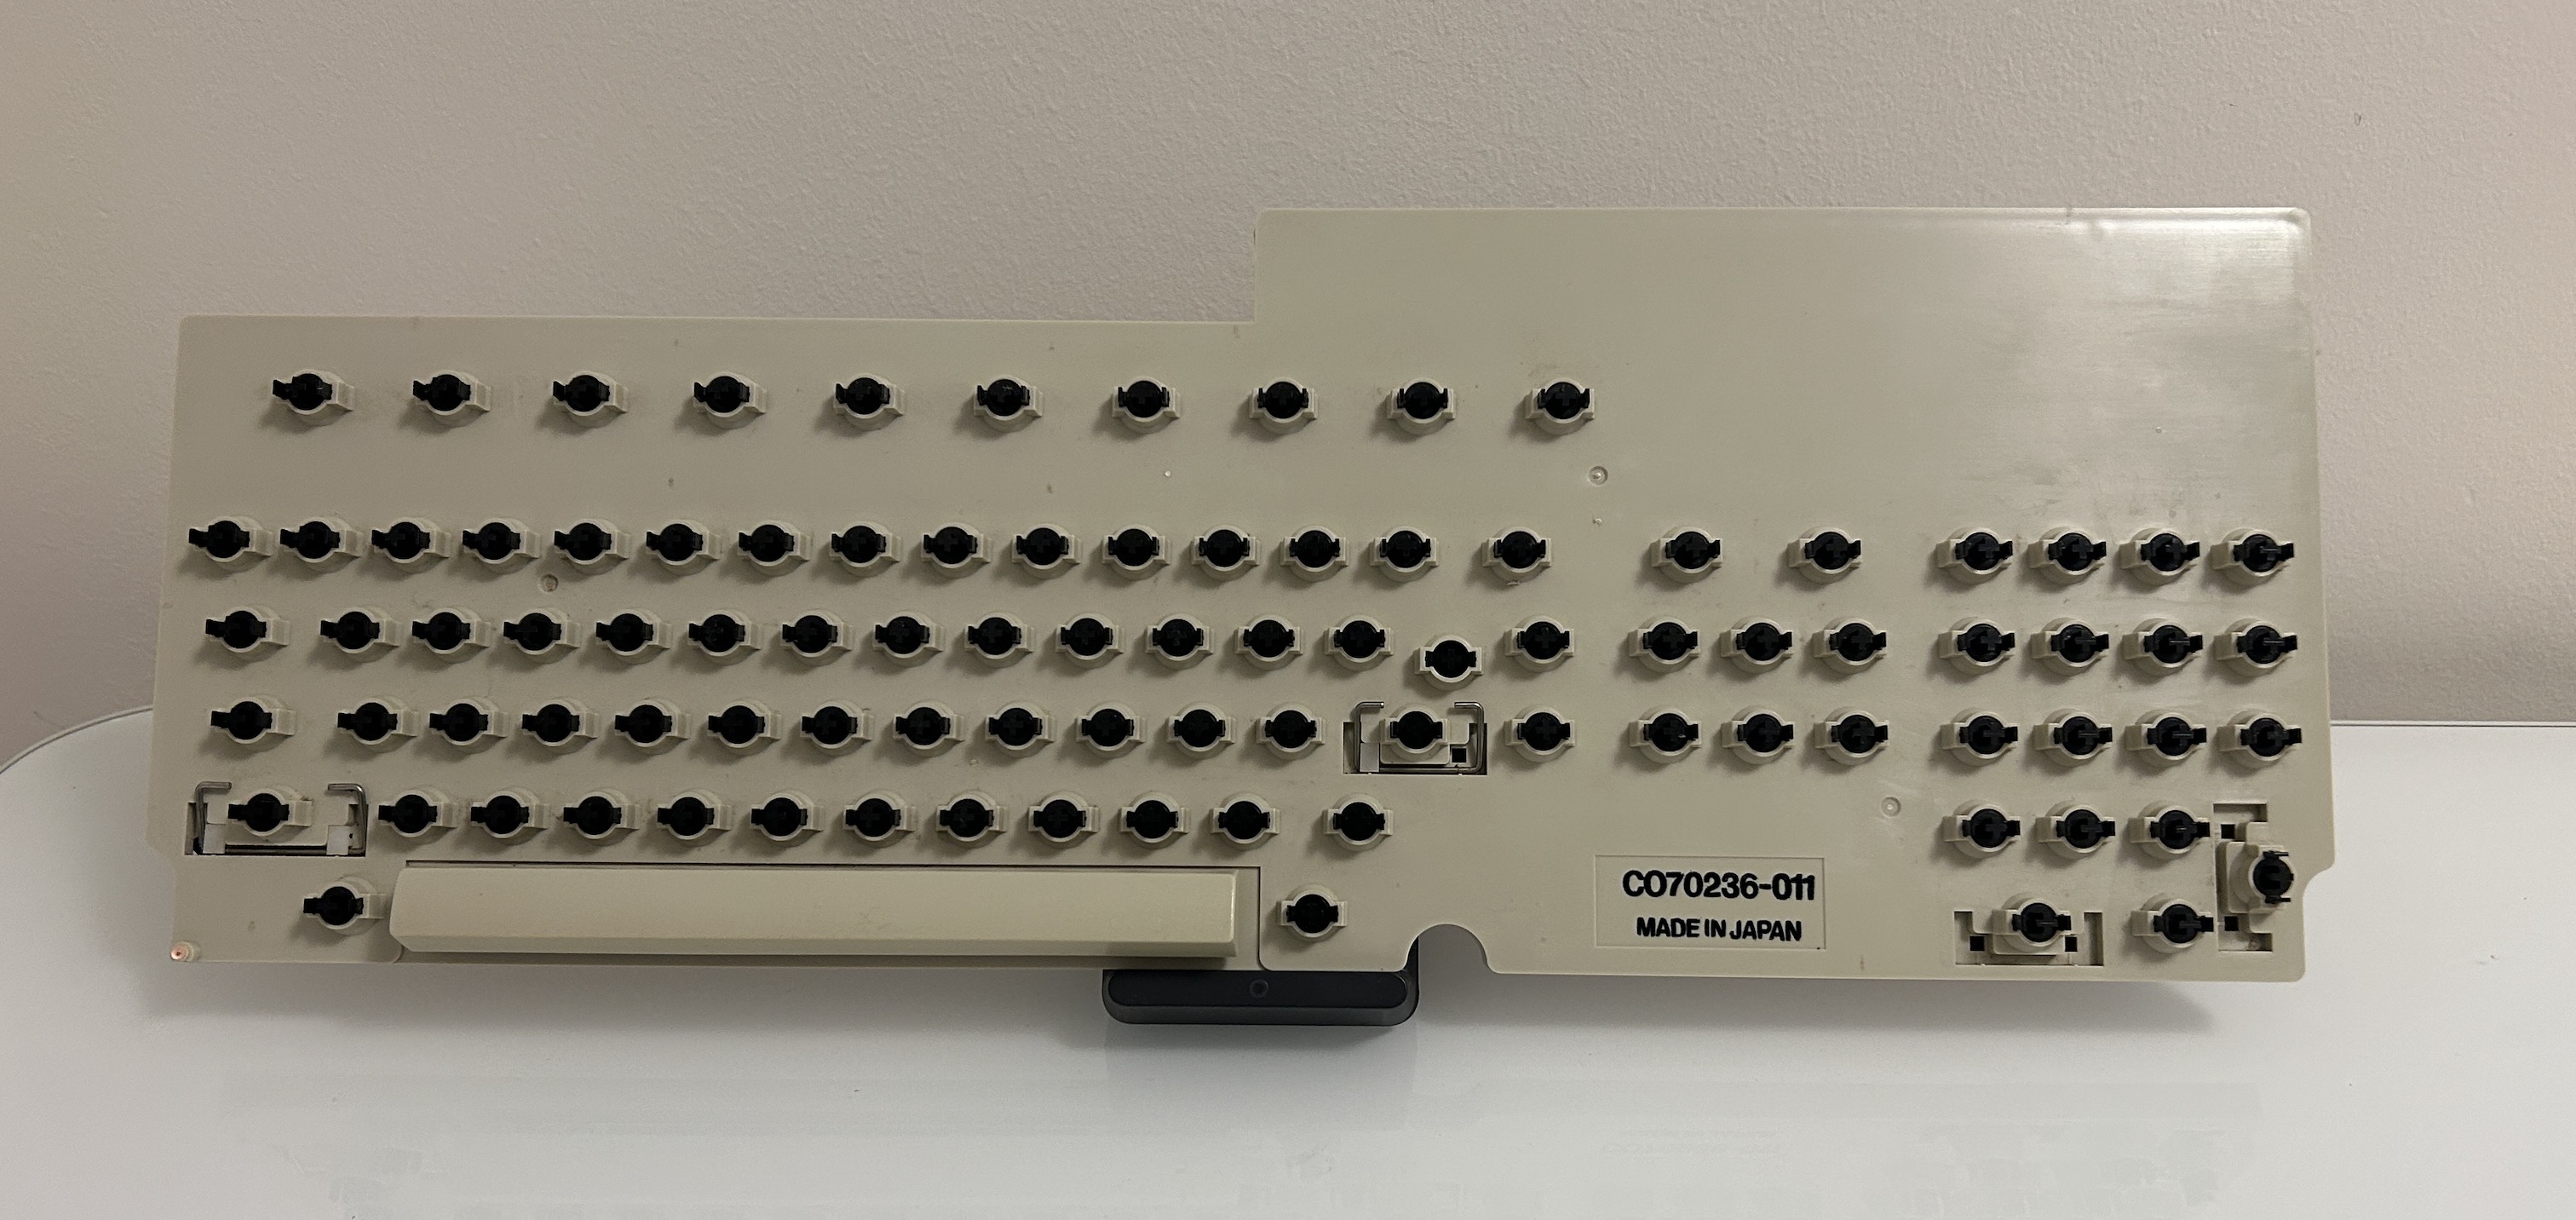
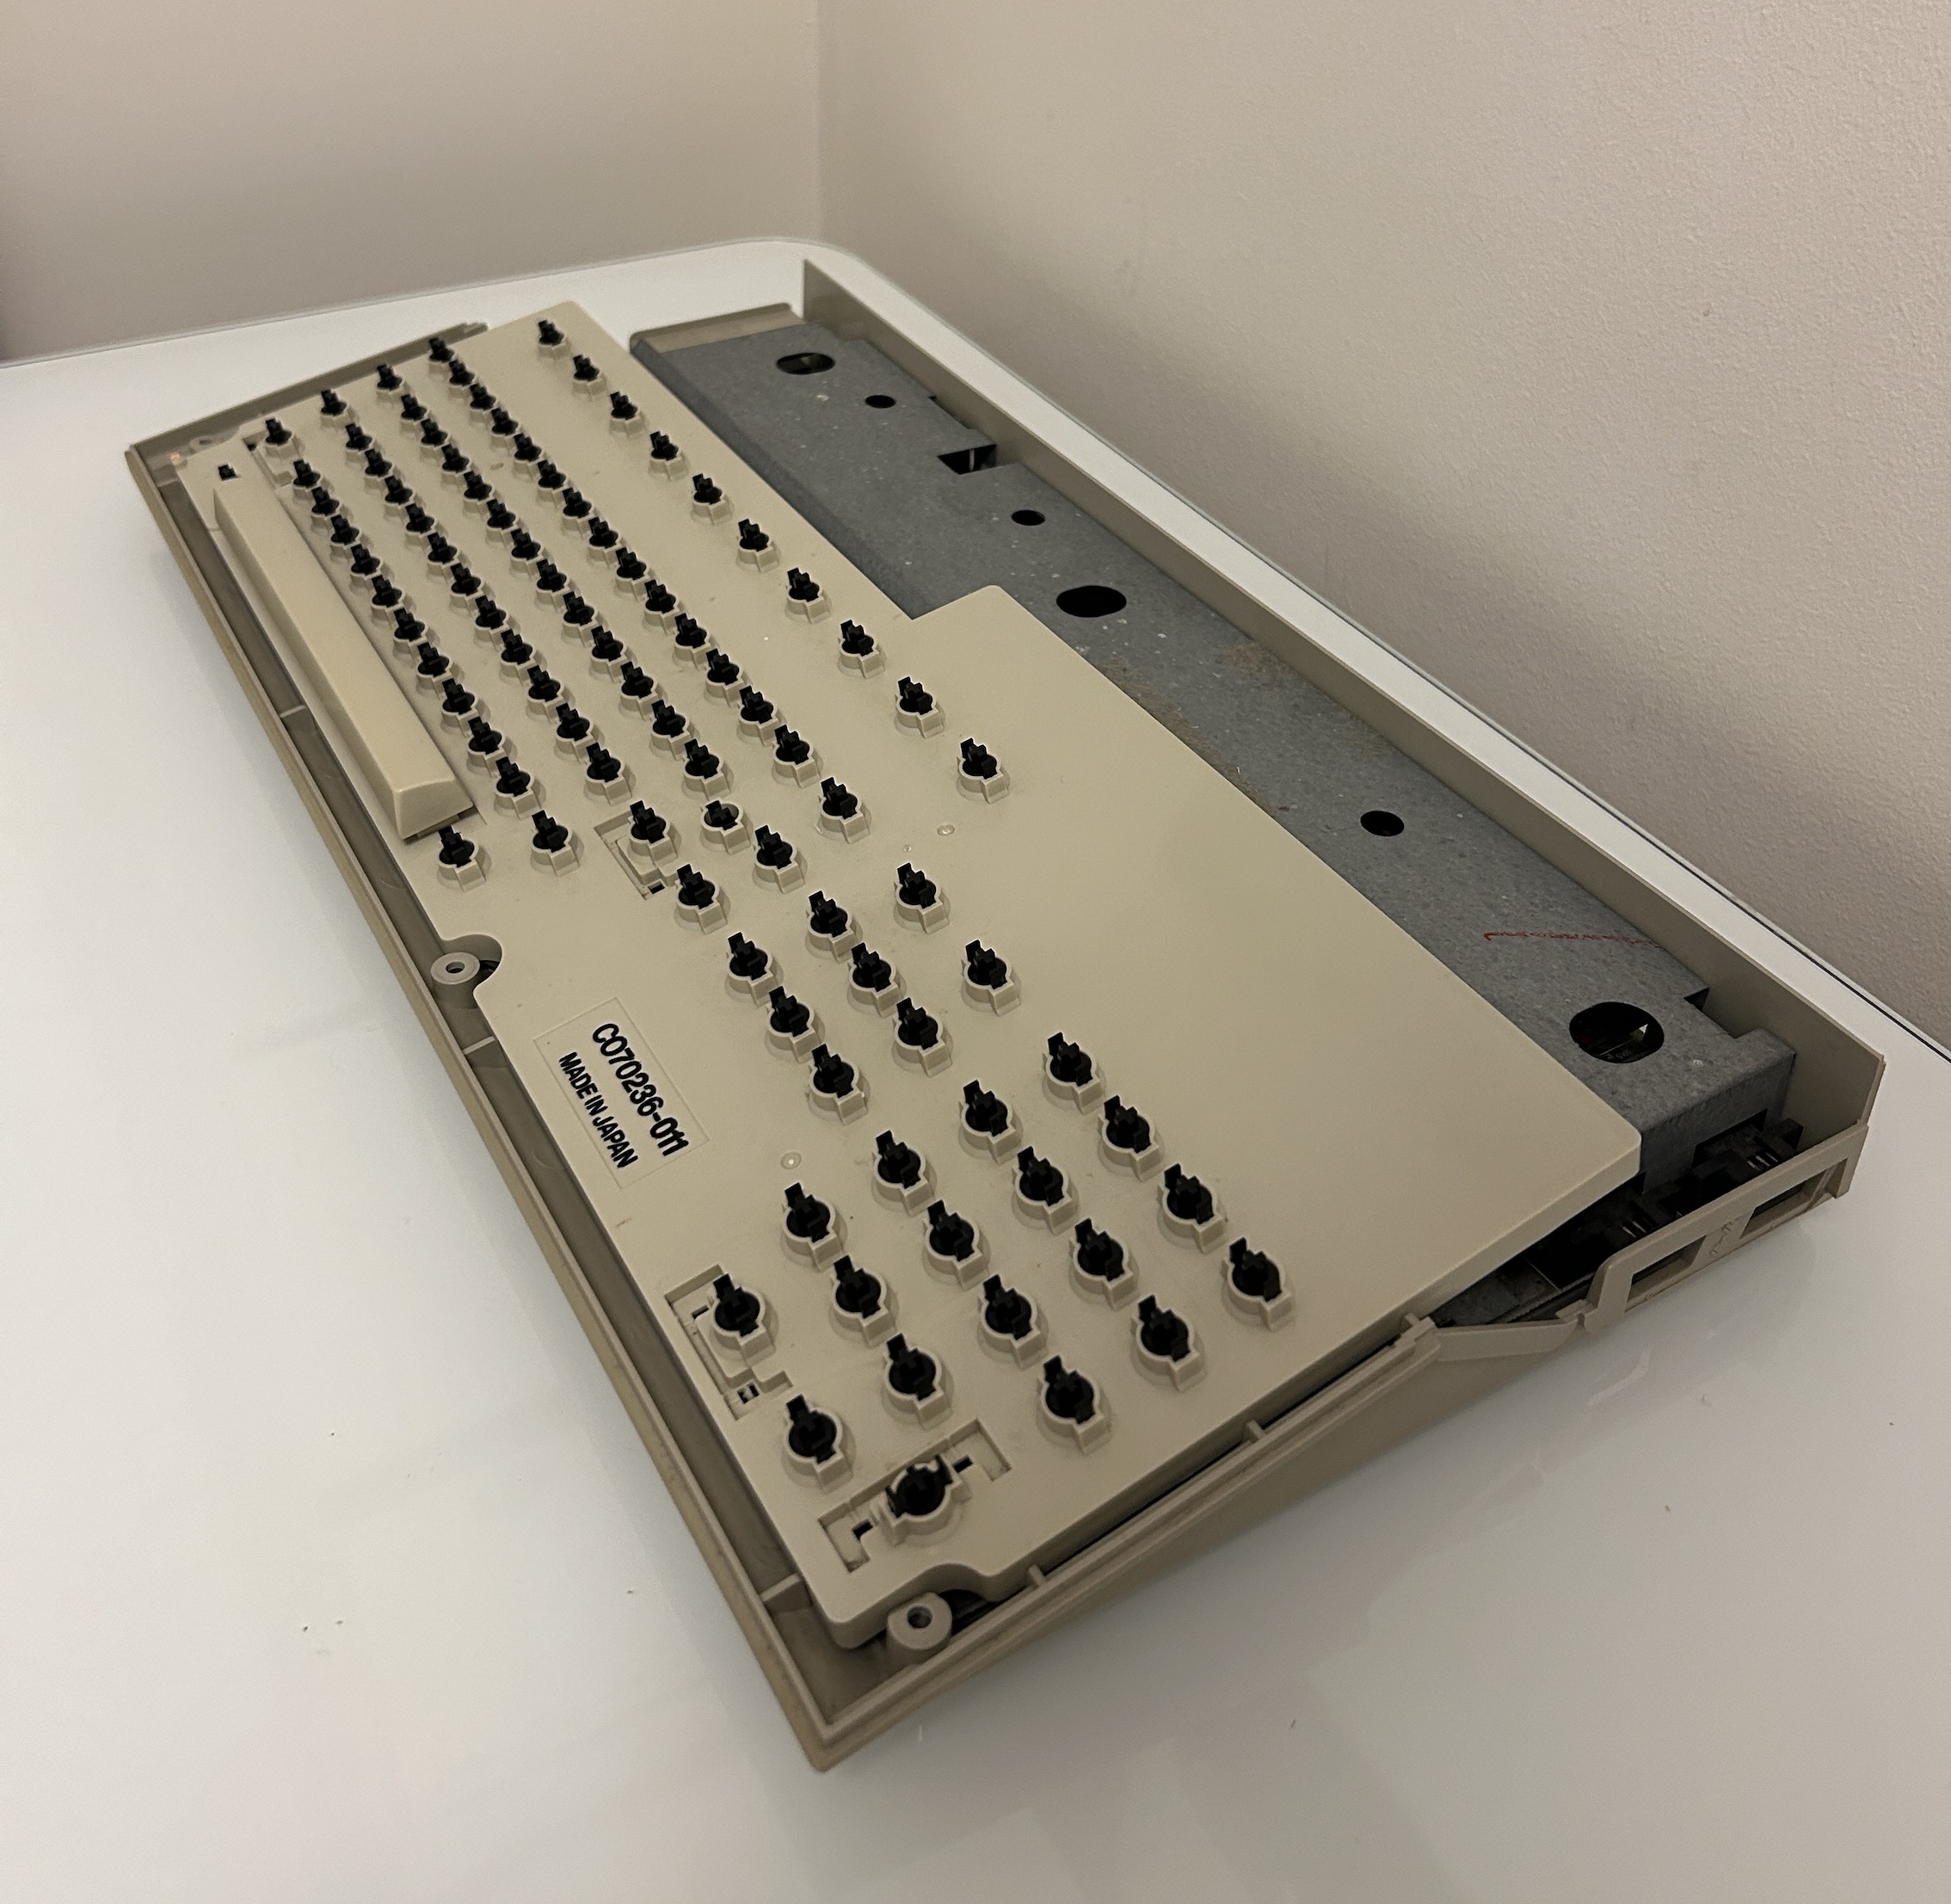
Keyboard keys were really disgusting. They are getting a nice wash after 35 years. 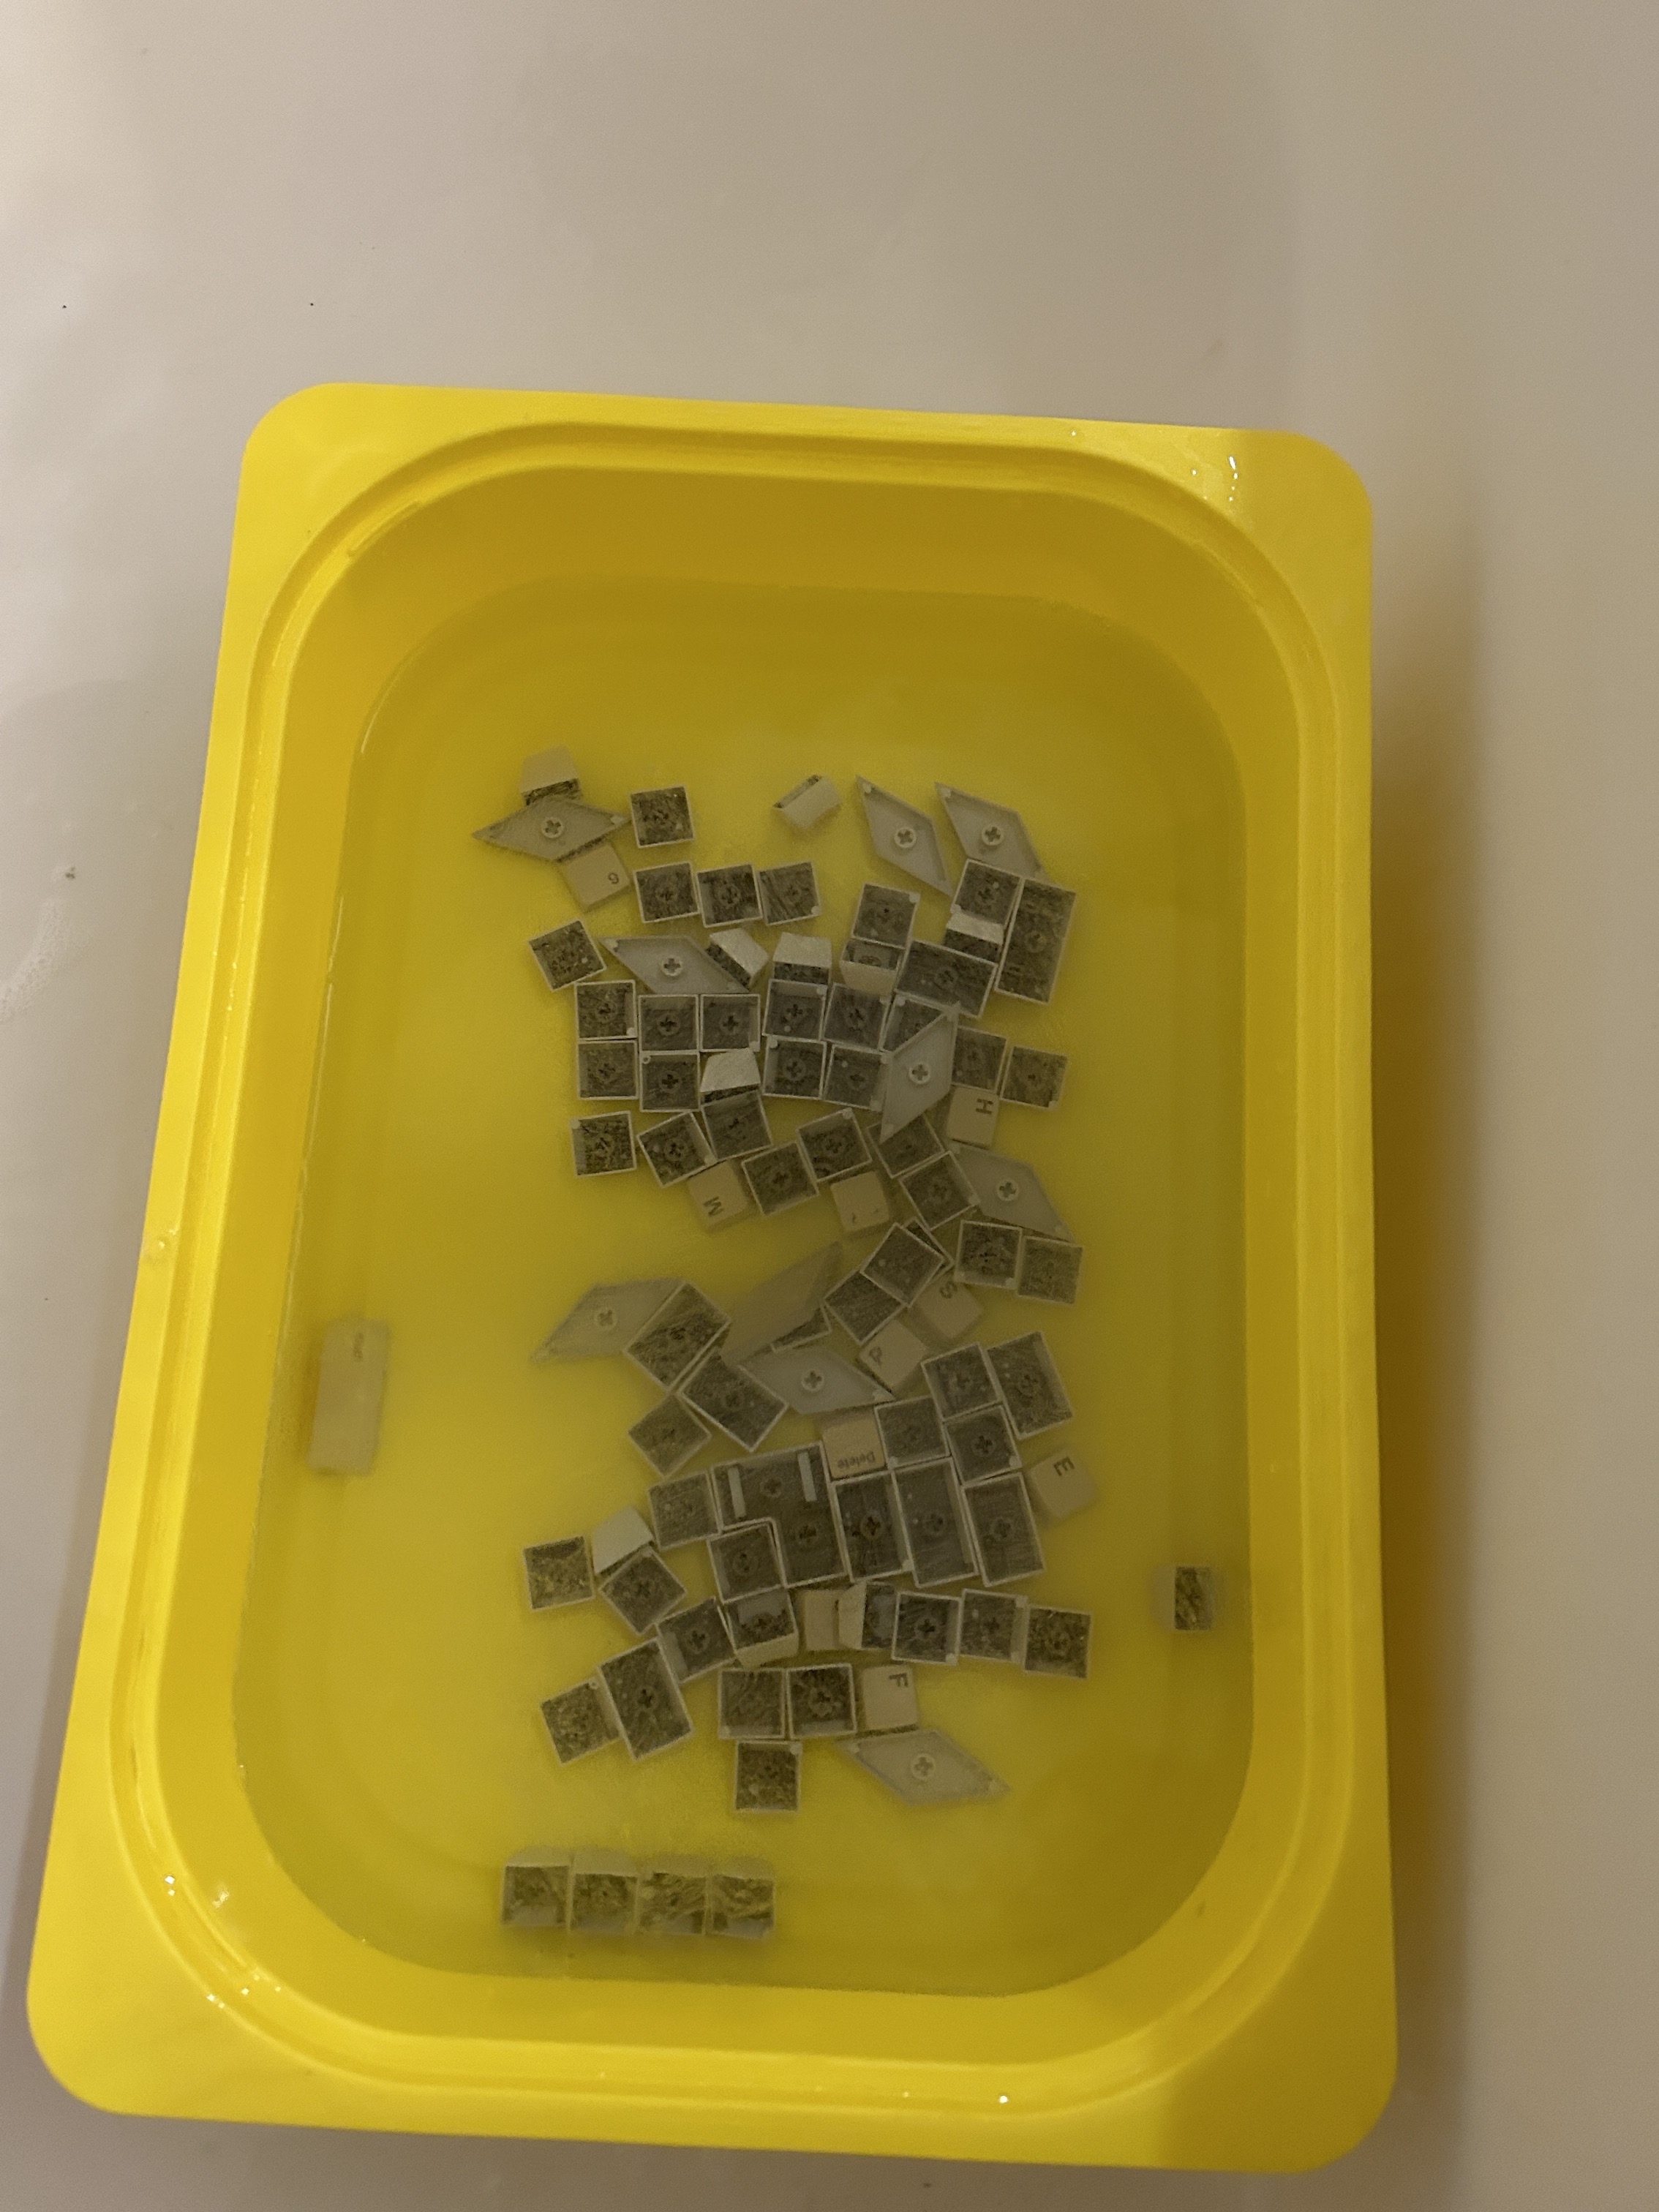
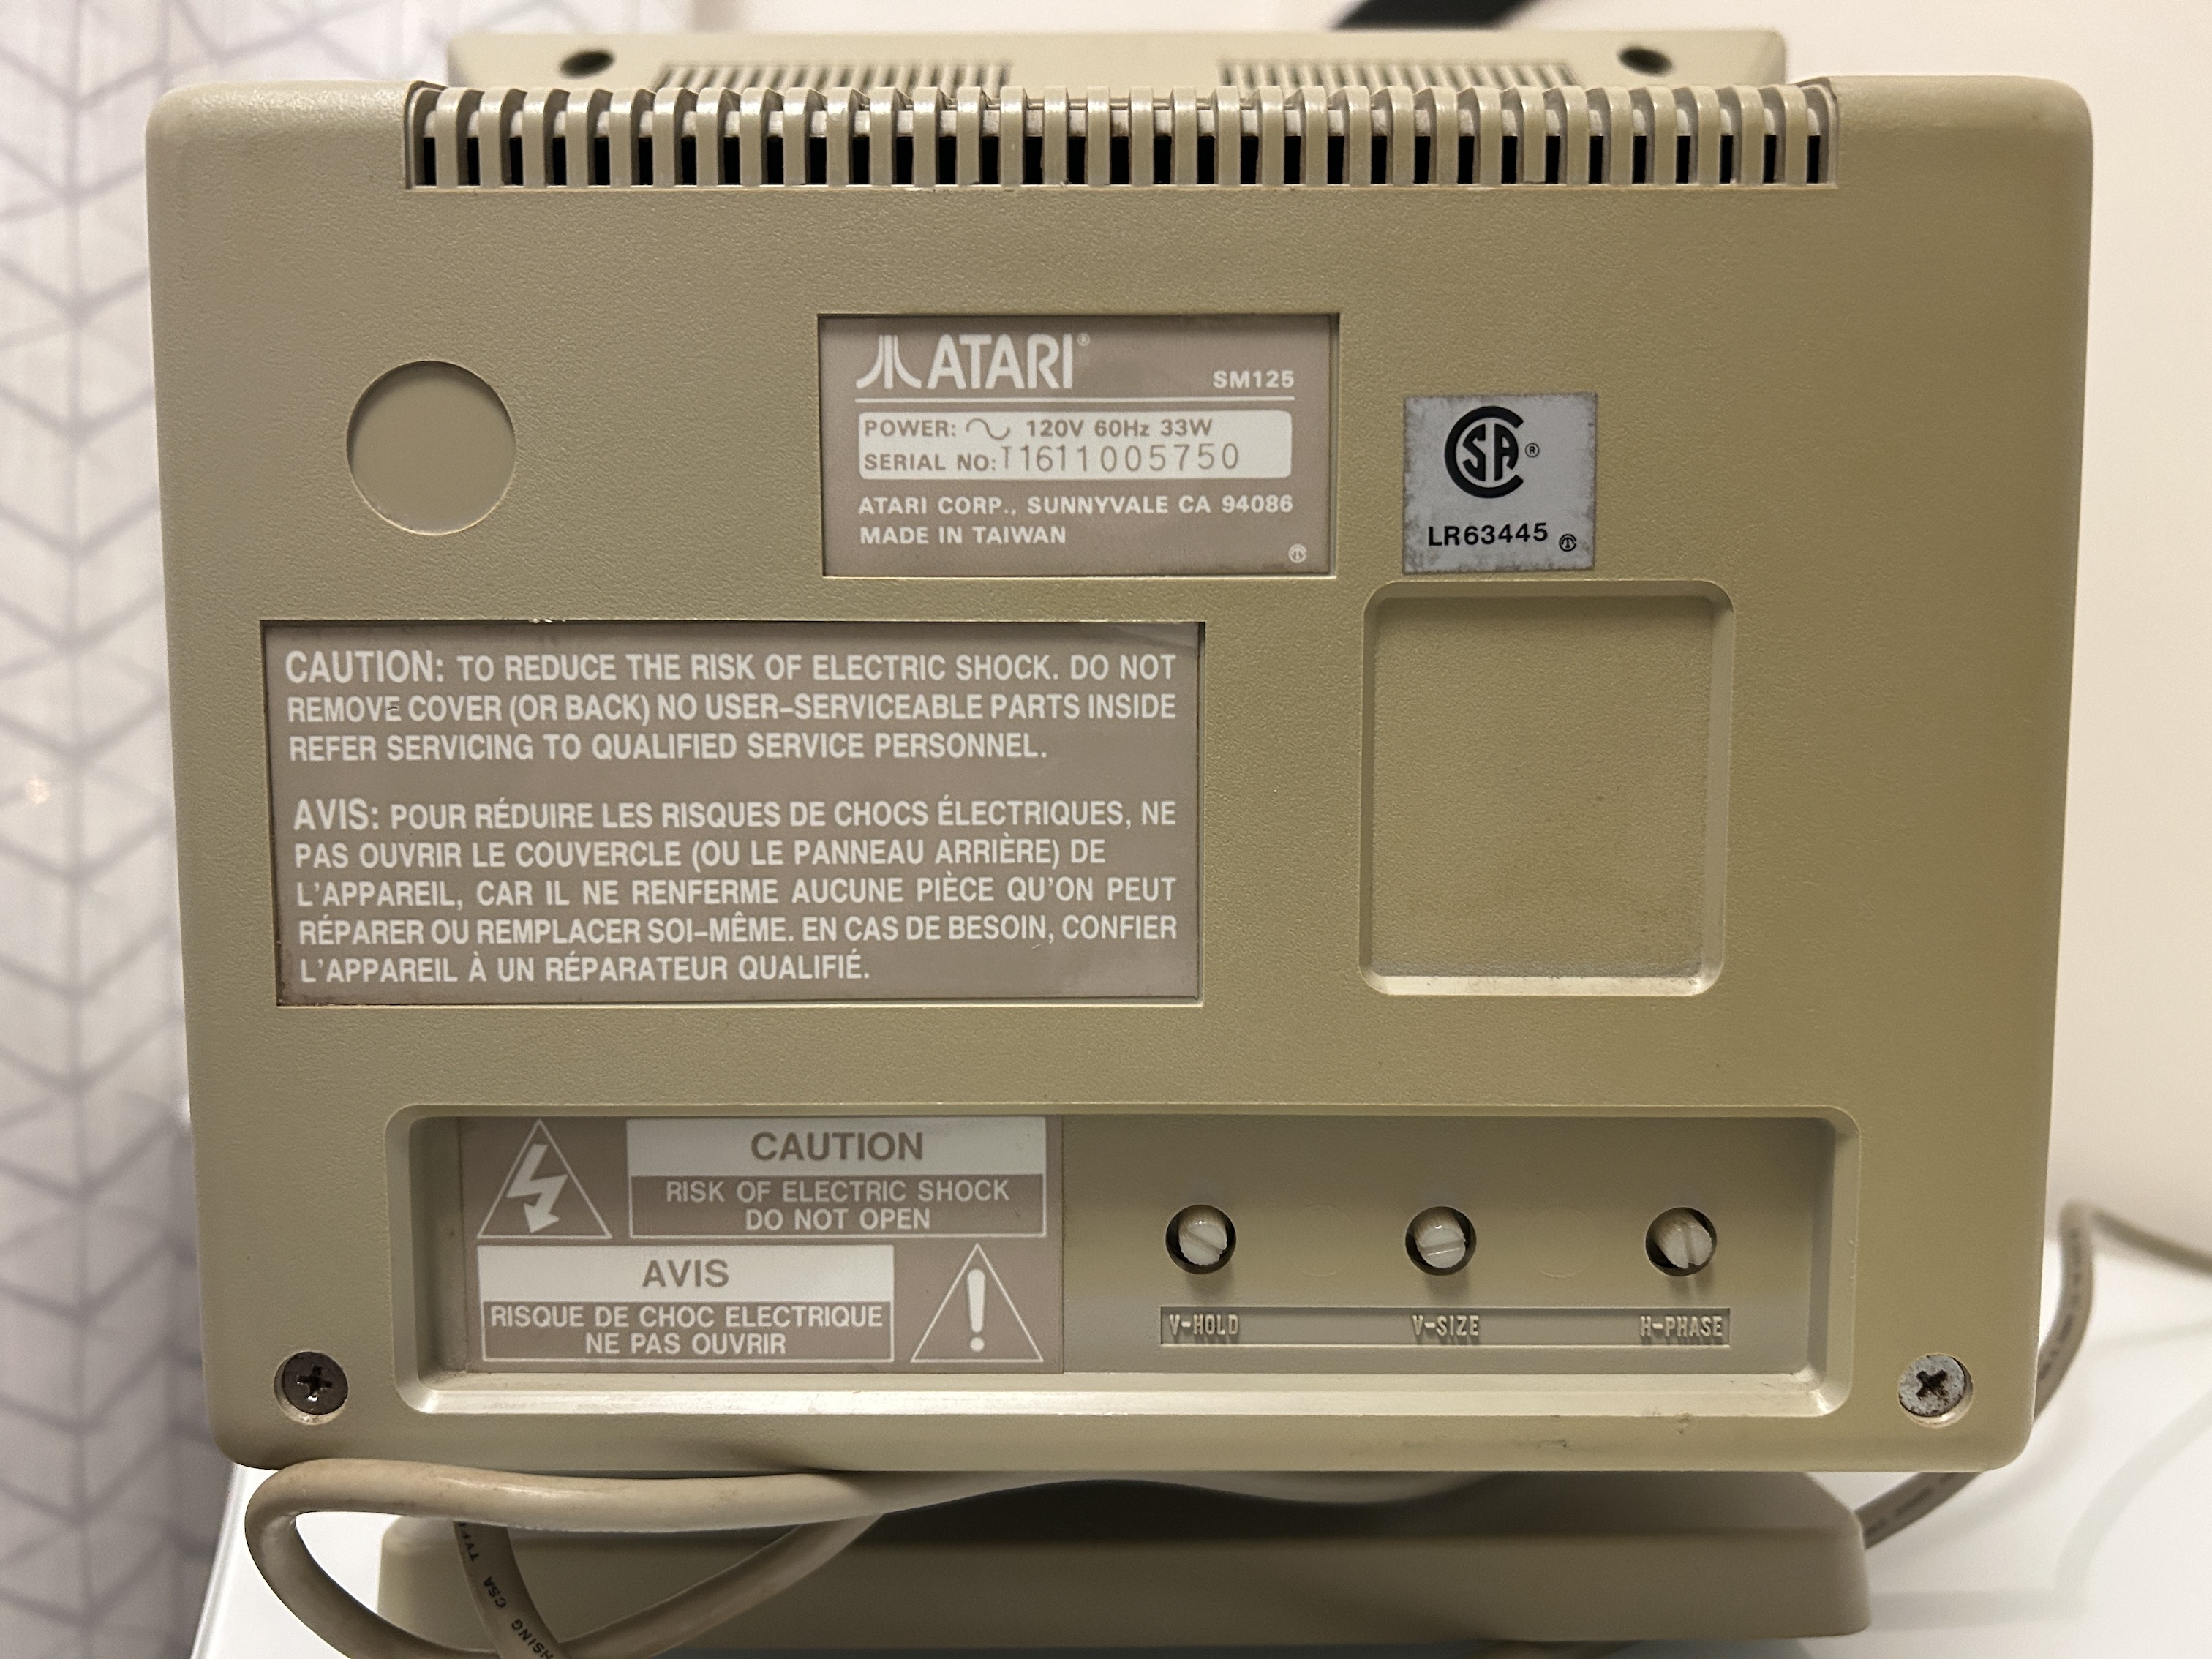
Atari SM-125 Service Manual