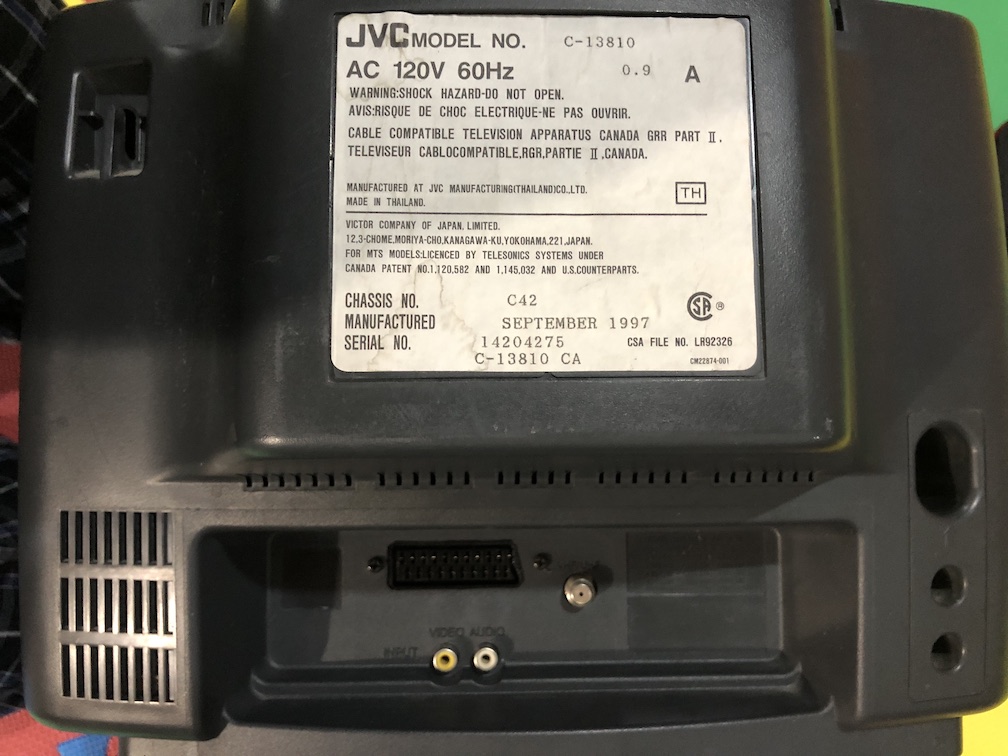
JVC C-13810
JVC C-13810 CRT RGB mod
The JVC C-13810 is a 13" CRT television featuring a full-square tinted picture tube, designed for, compact, and budget-friendly, with mono sound, front/rear RCA inputs, and a, headphone jack.
This set is RGB modifiable for sharper picture.
View full CRT details and more mod examples →
This tutorial covers the RGB mod for JVC C-13810. Looking through the service manuals these instructions should also work for other JVC models (AV-13810 / AV-20810 etc.)
This tutorial should also work for
- JVC C-13810
- JVC C-13811
- JVC AV-13810
- JVC AV-20810
- JVC AV-20811
Contributors
Thank you to everyone who contributed to this guide:
- Sunthar — author, RGB mod and pictures
CRT safety
Caution
You can die doing this! So read carefully! CRT TV is not a toy. Do not open a CRT TV. If you don't have any prior knowledge about handling high voltage devices, this guide is not for you. CRT TV contains high enough voltage (20,000+ V) and current to be deadly, even when it is turned off.
Plan of attack
Manuals and Datasheets
Specs
- Year: 1997
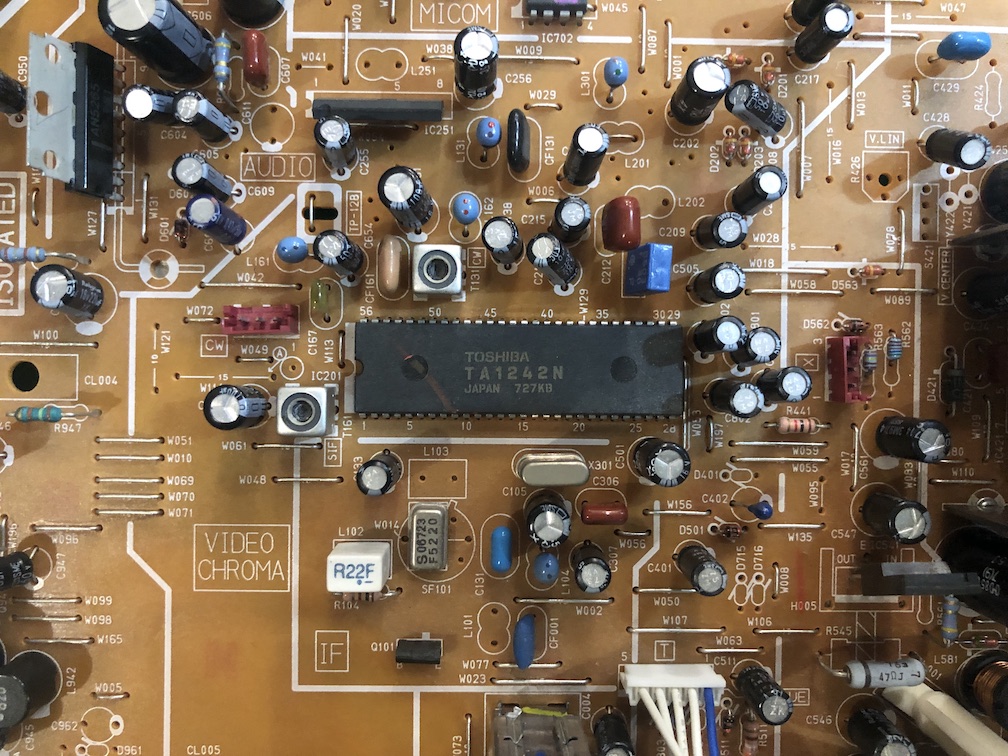
- Jungle Chip: Toshiba TA1242N
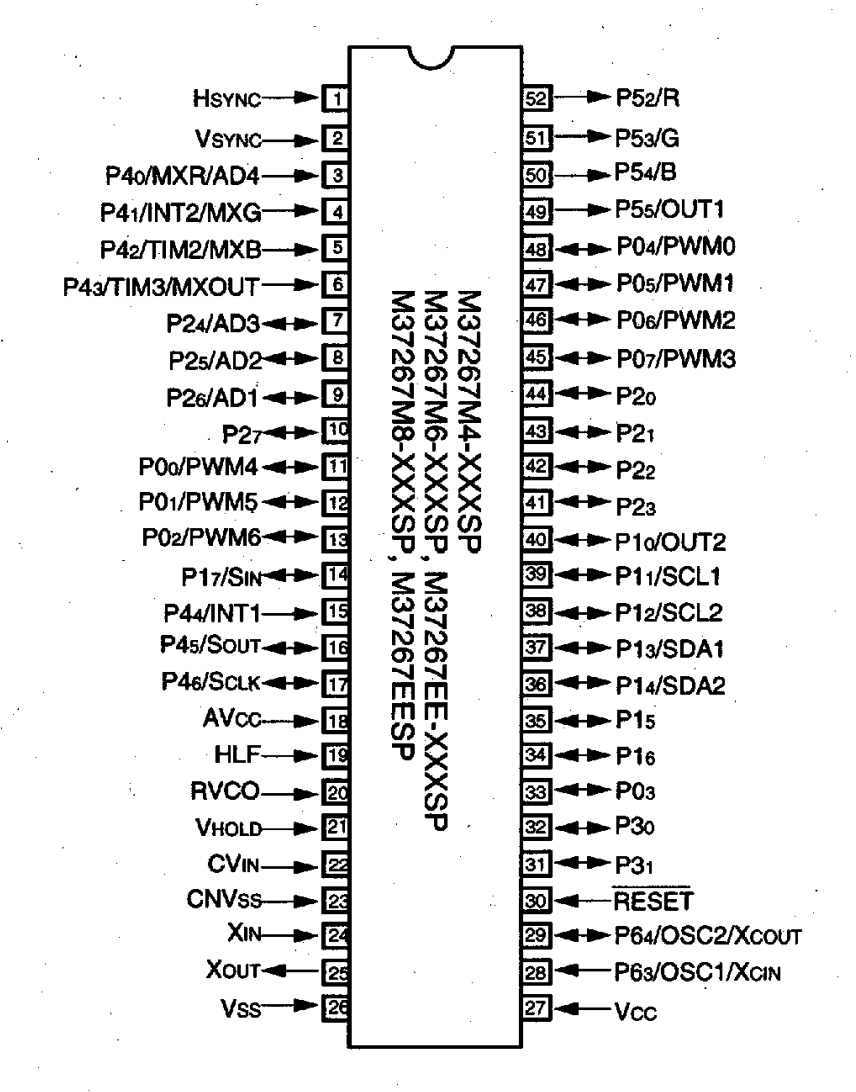
- OSD Chip: Mitsubishi M37267M8
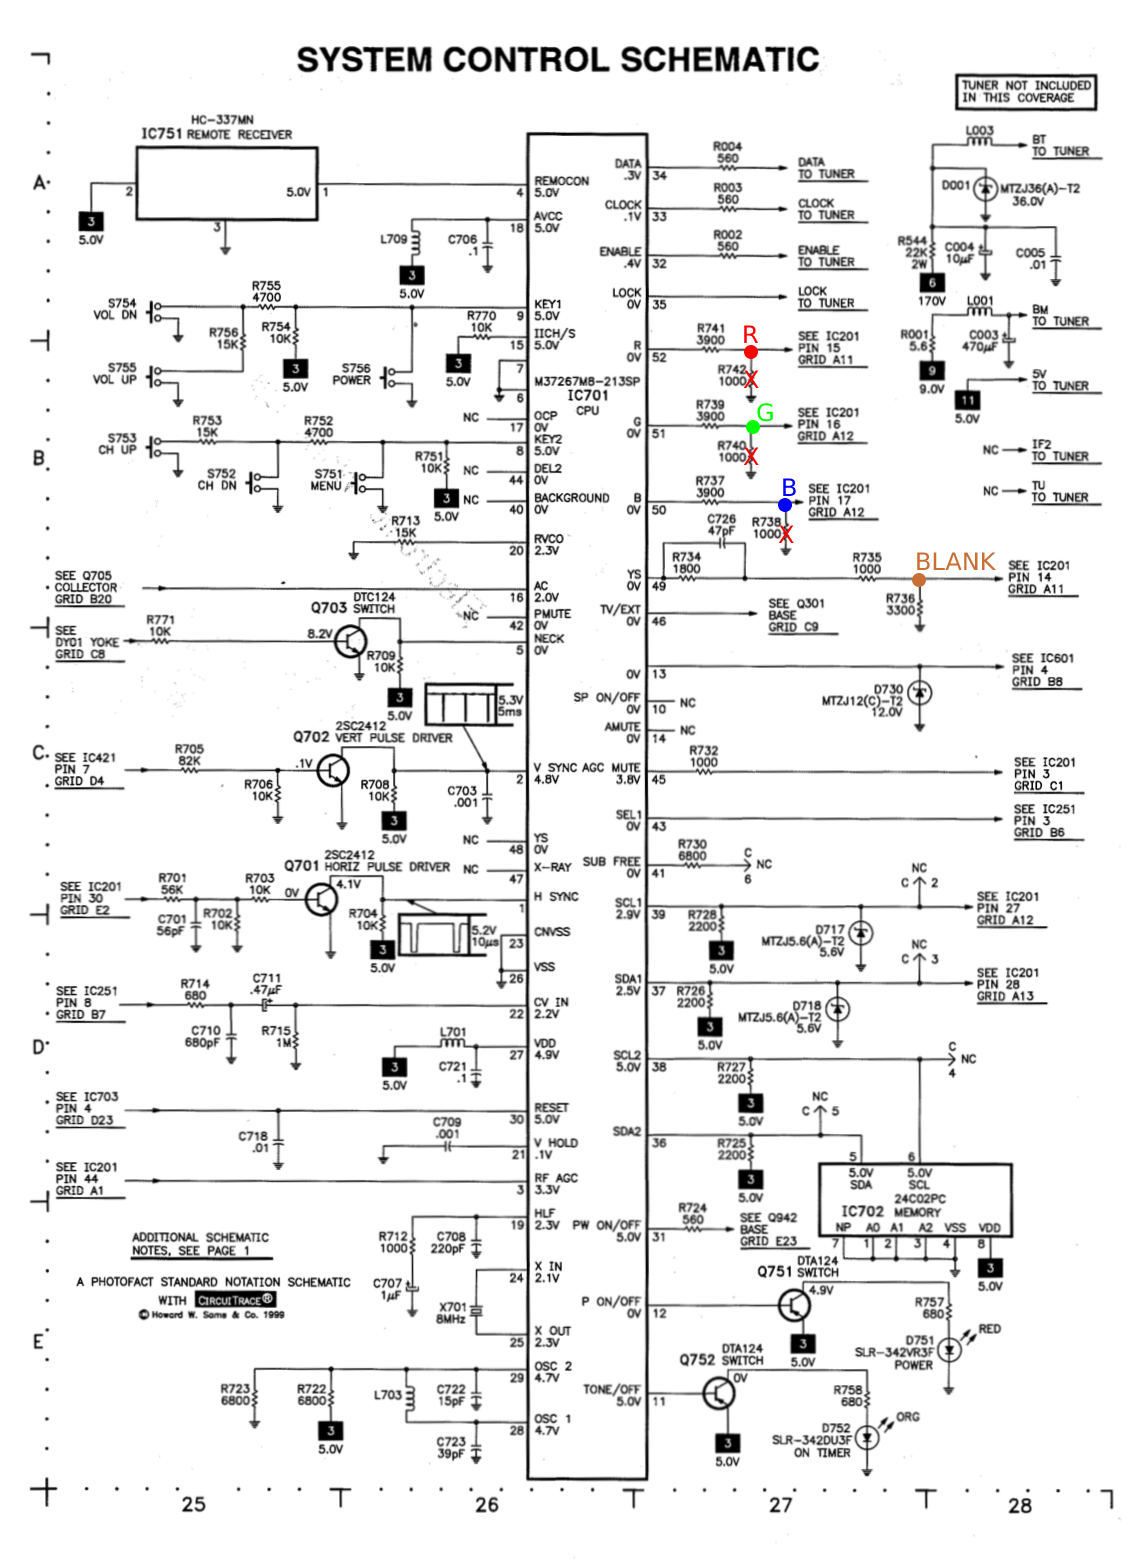
Schematics
I followed the specs from JVC C-20810. The chips used in C-13810 were the same. Resistor values might be different. Measure what's on your chassis.

RGB mux diagram
Prepare the mux diagram. If you are building your own circuit, this diagram should help.
Calculating the RGB external resistor value
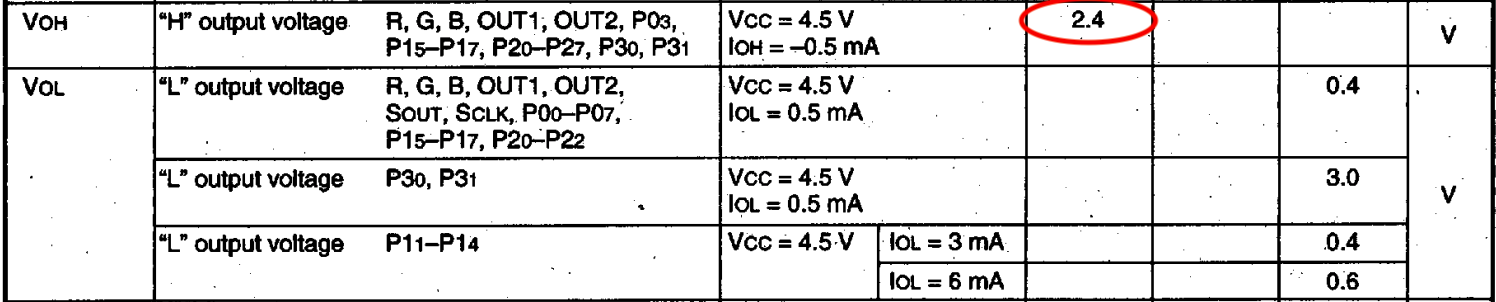
From the M37267M4 (OSD) chip datasheet we know the RGB high voltage is 2.4V.
Let's now calculate the peak-to-peak voltage on the RGB lines that is sent to the chroma chip.

Now that we know the expected peak-to-peak voltage by TA1242N (chroma) chip is 0.5V, let's calculate the RGB resistor value needed.

0.5 x (3900 + 75) - (75 x 2.4) / (2.4 - 0.5) = (1987.5 - 180) / 1.9 = 950Ω
Performing the mod
Now that you roughly know what needs to be done, prepare for the mod. Place the board on a comfortable place. Make sure you are not putting pressure on the flyback or other components.
STEP 1: Remove the following components
Remove the following components. RGB resistors to the ground. Measure twice and mark before you remove.
- R738 (1 kohm)
- R740 (1 kohm)
- R742 (1 kohm)
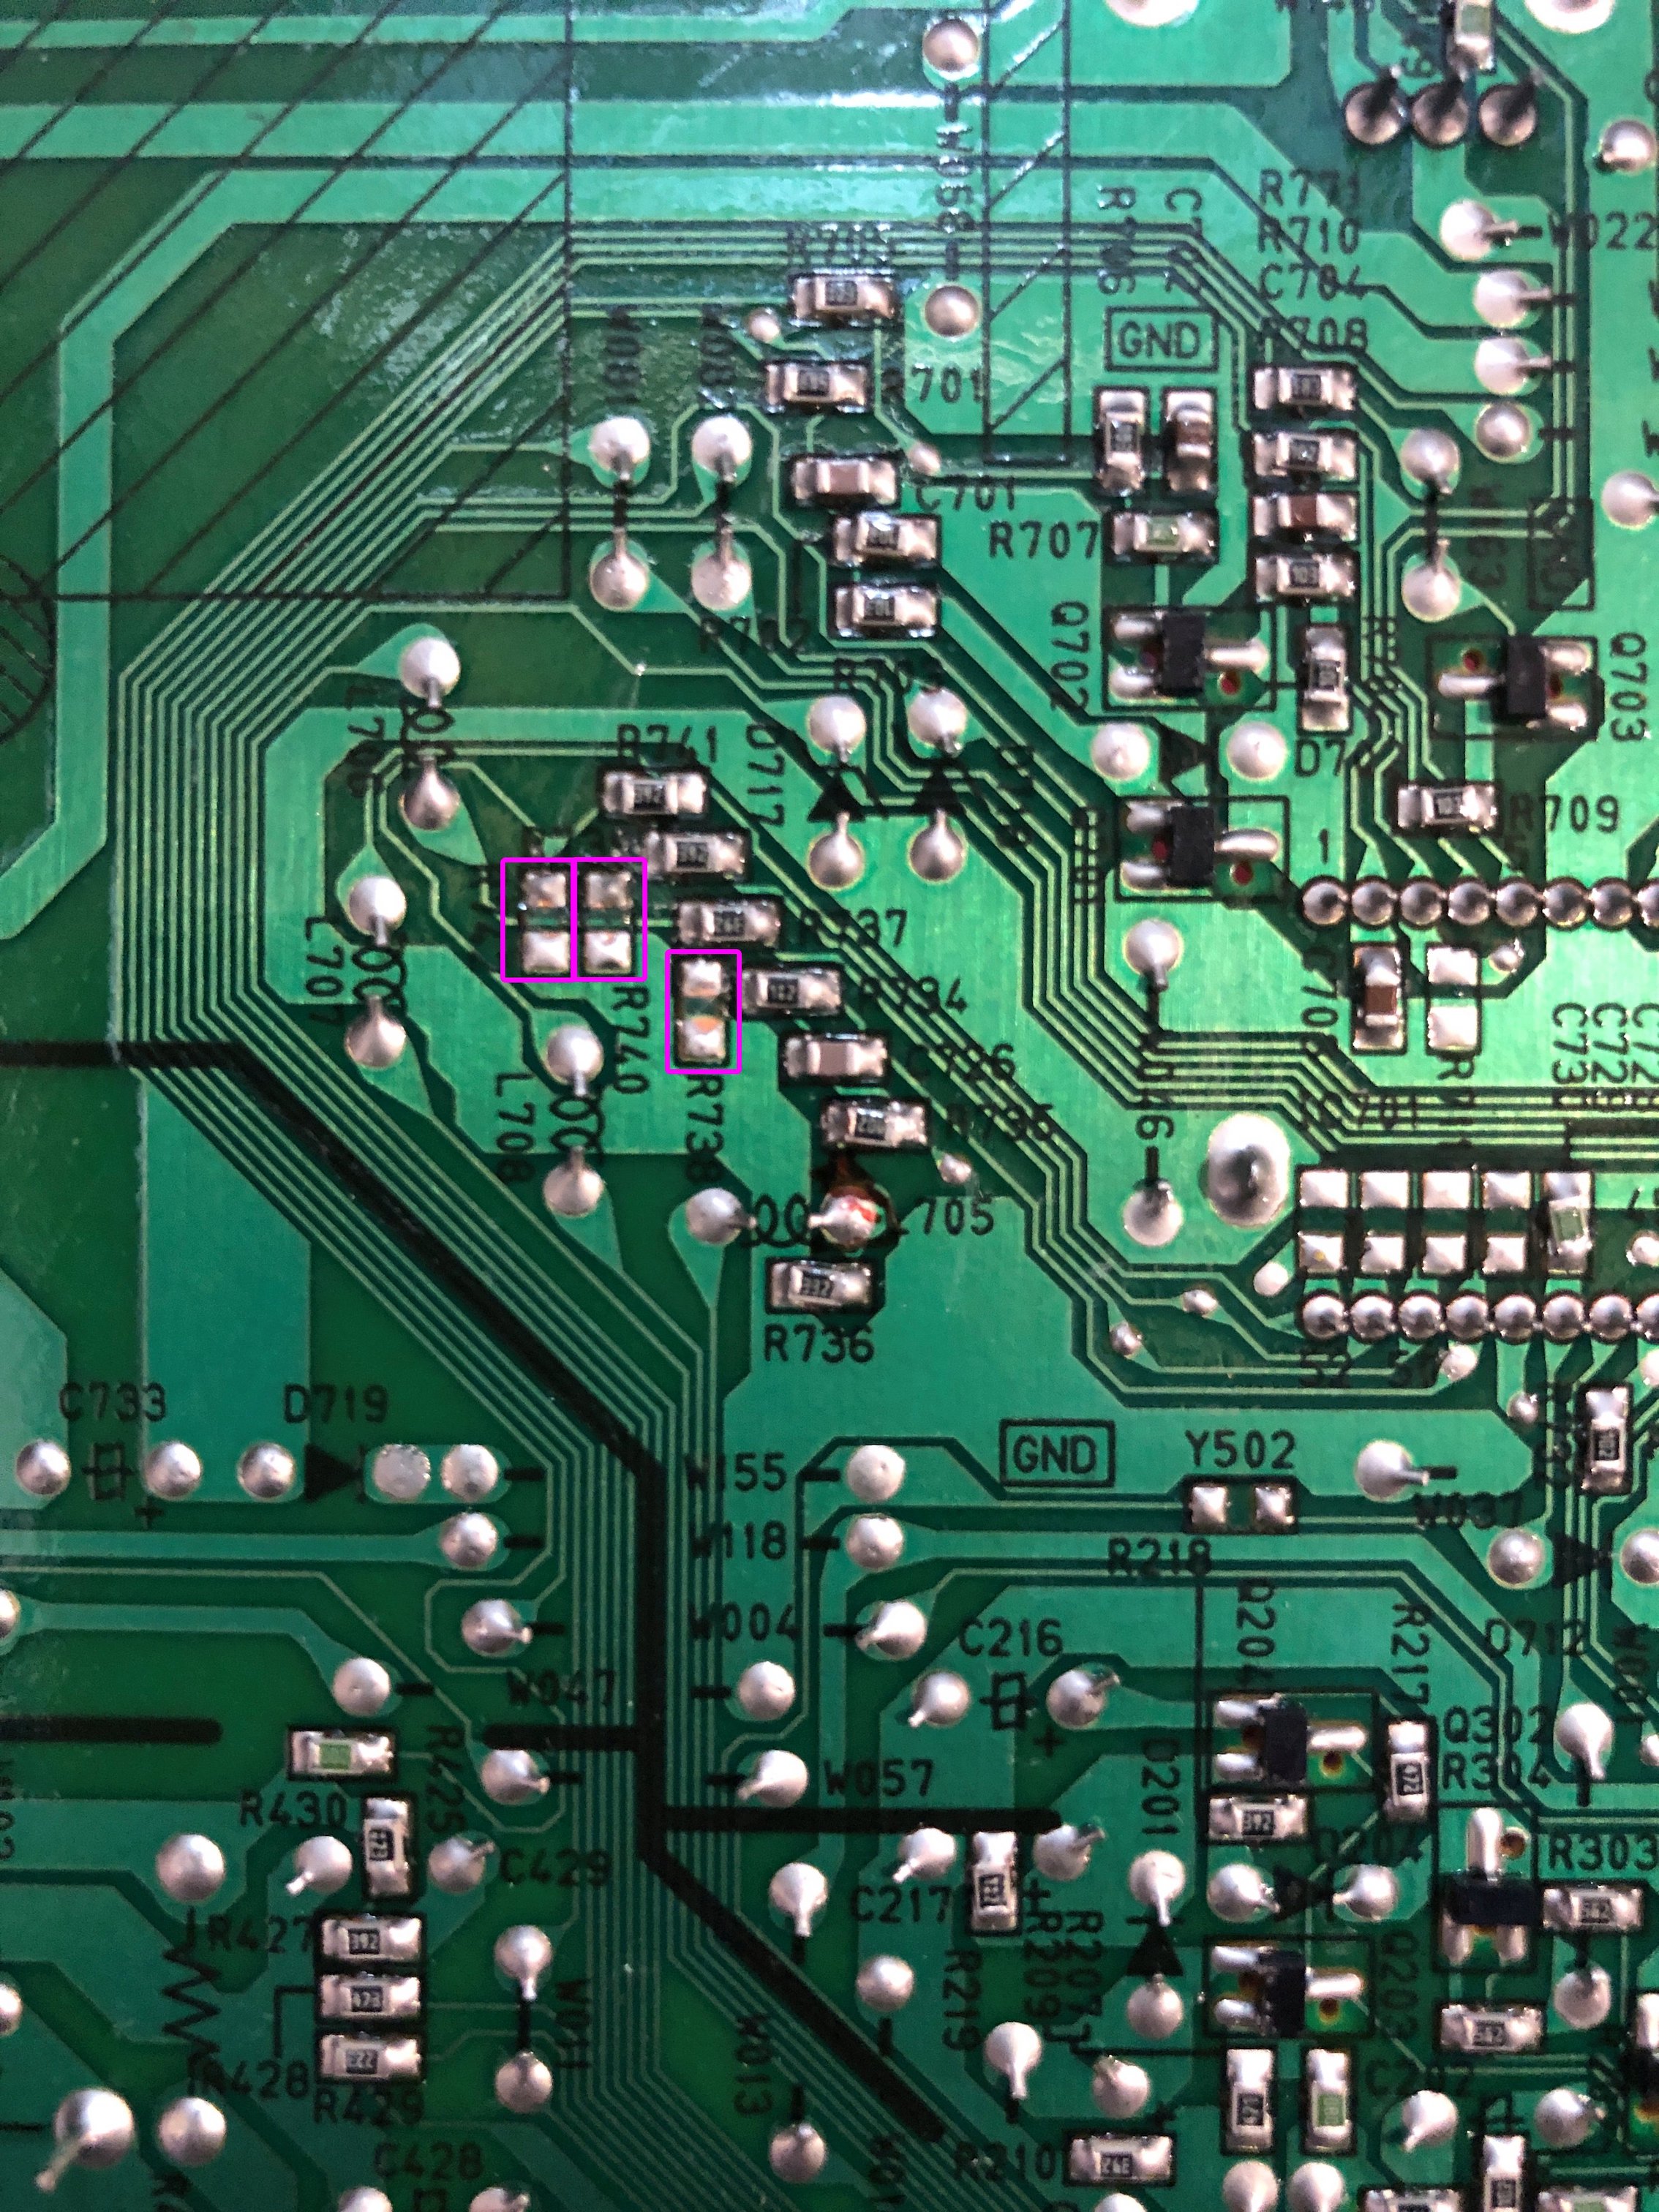
STEP 2: Connect RGBs, Blanking and Audio
This TV doesn't have a schematic to show this on a diagram. But, the picture below shows where the wires should be soldered. This TV was pretty nice as there were holes on the PCB through which I was able to route the wires.
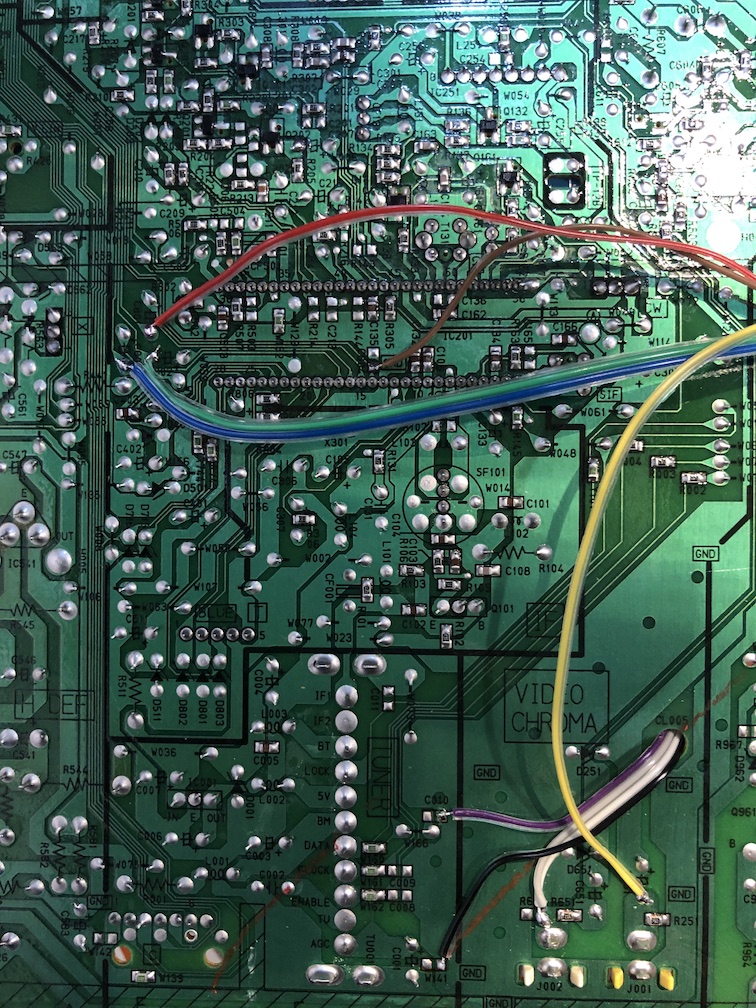
Route the wires through the hole 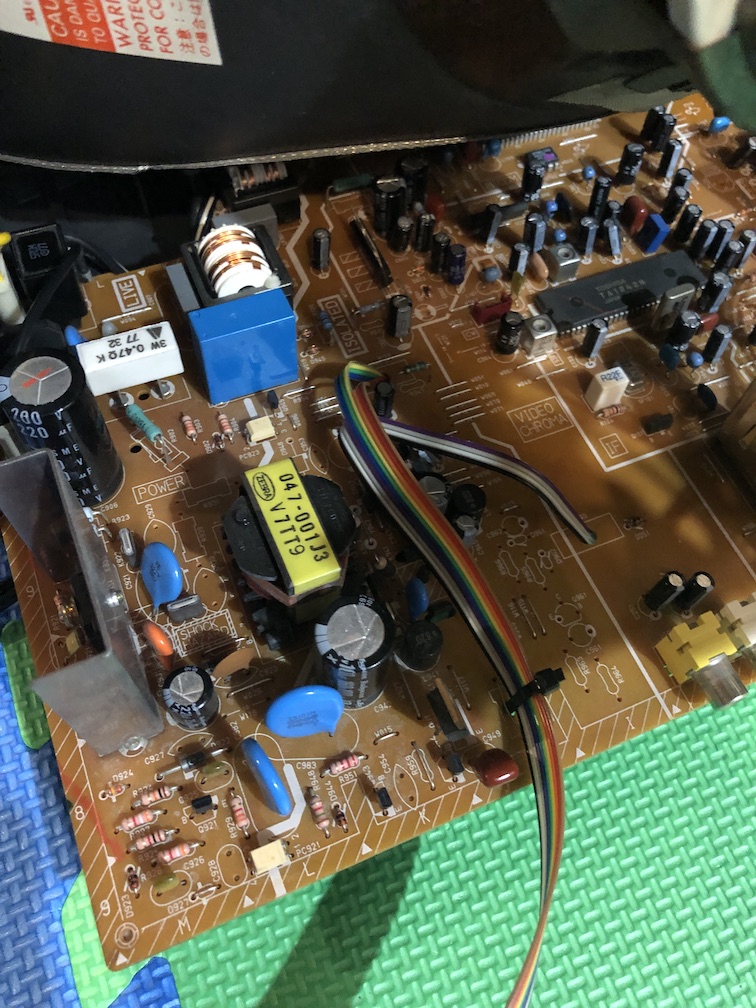
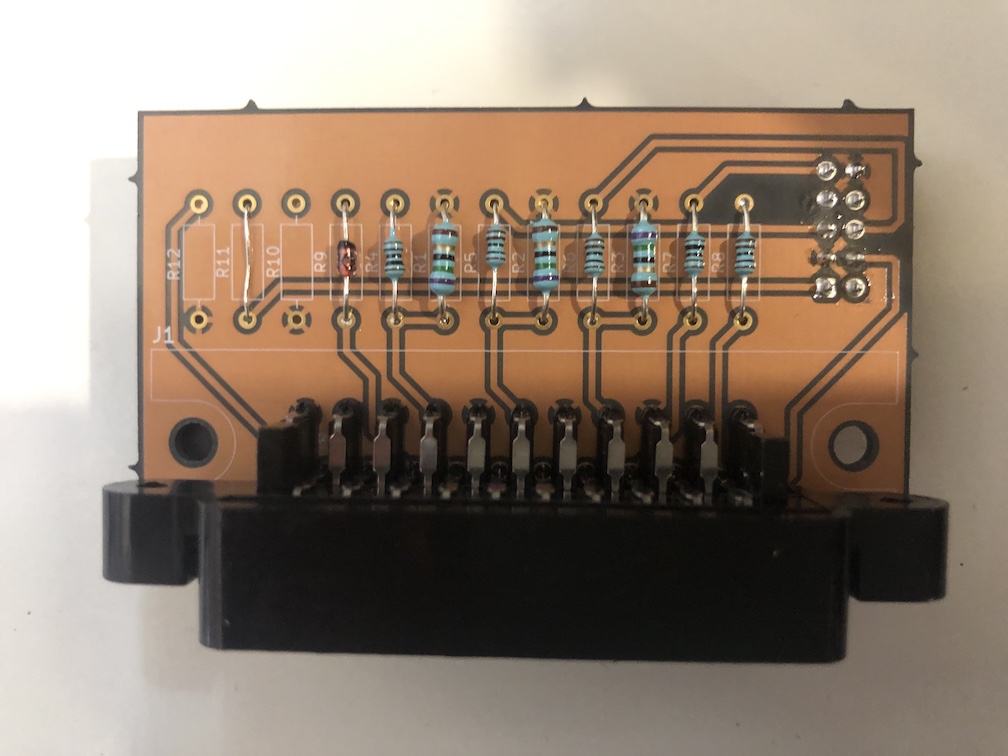
STEP 3: Build your mux board
This mod uses the RGB mux board. This is optional, but will make your mod easier and stable. You can also create the circuit presented in the schematics above without the board. Please also checkout the mux calculator to play with your own values.
| Component | Value |
|---|---|
| RGB/OSD inline resistor (chassis) | 3.9kΩ |
| Removed RGB/OSD resistor (chassis) | 1kΩ |
| 0.1μF caps replaced (chassis) | Yes |
| RGB termination (R1, R2, R3) | 75Ω |
| RGB inline (R4, R5, R6) | 1kΩ |
| Audio LR (R7, R8) | 1kΩ |
| Diode (R9) | 1N4148 |
| Blanking Ground Resistor (R10) | open |
| Blanking Resistor (R11) | 2.2kΩ |
Compatible mux boards: RGB MUX BOARD KIT 1.4C, RGB MUX BOARD KIT 1.4B
STEP 4: Attach the female SCART connector to TV
Creating a SCART cutout and mounting it is an art. I have a dedicated section for it.
How to create and mount a SCART female plug?
Remote control and service menu
You need the JVC branded remote to get into the service menu. Pressing both the "Video Status" + "Display" buttons together on the remote brings up the service menu.
You will need to adjust the Horizontal Position slightly with the RGB input.
- JVC RM-C540
- JVC RM-C542
Pictures of the mod
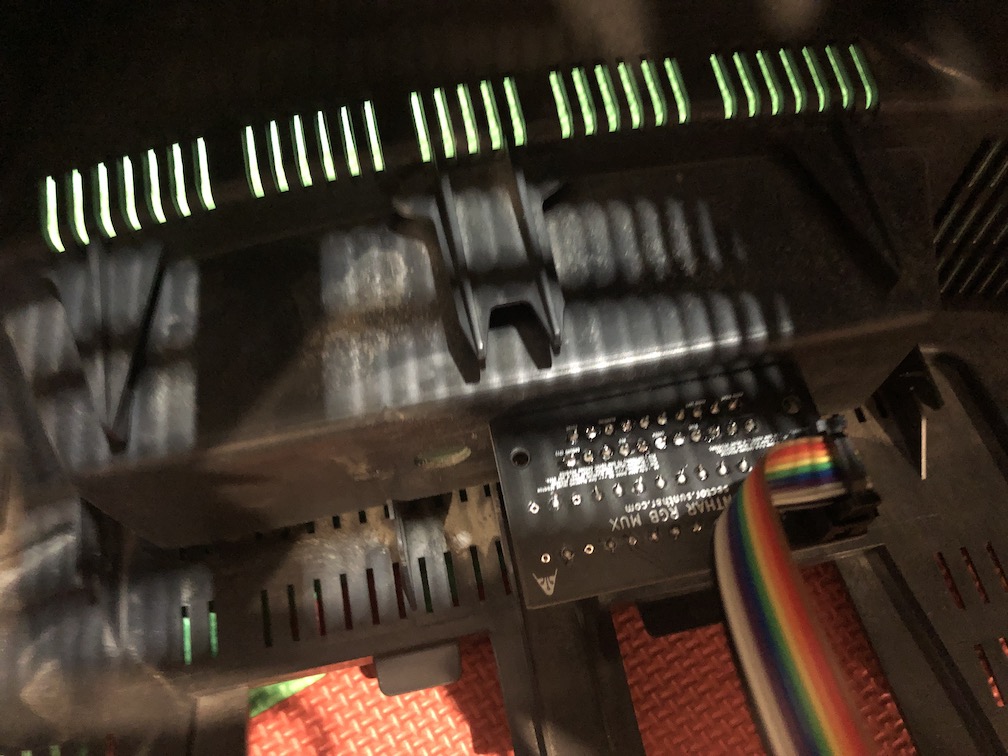
RGB mux board mounted
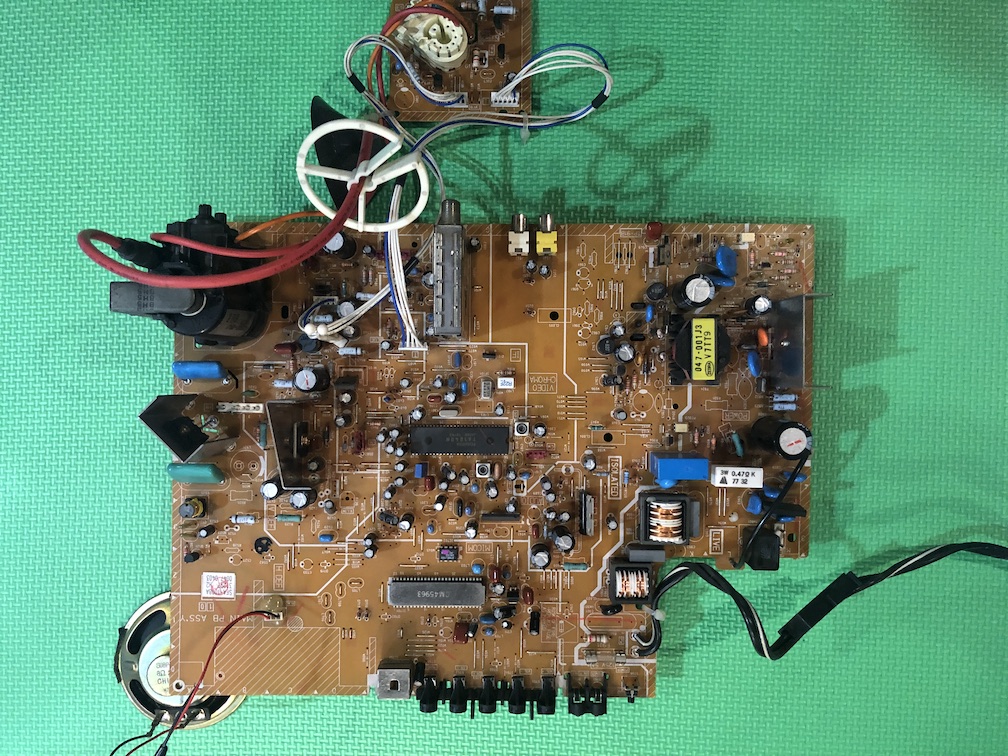
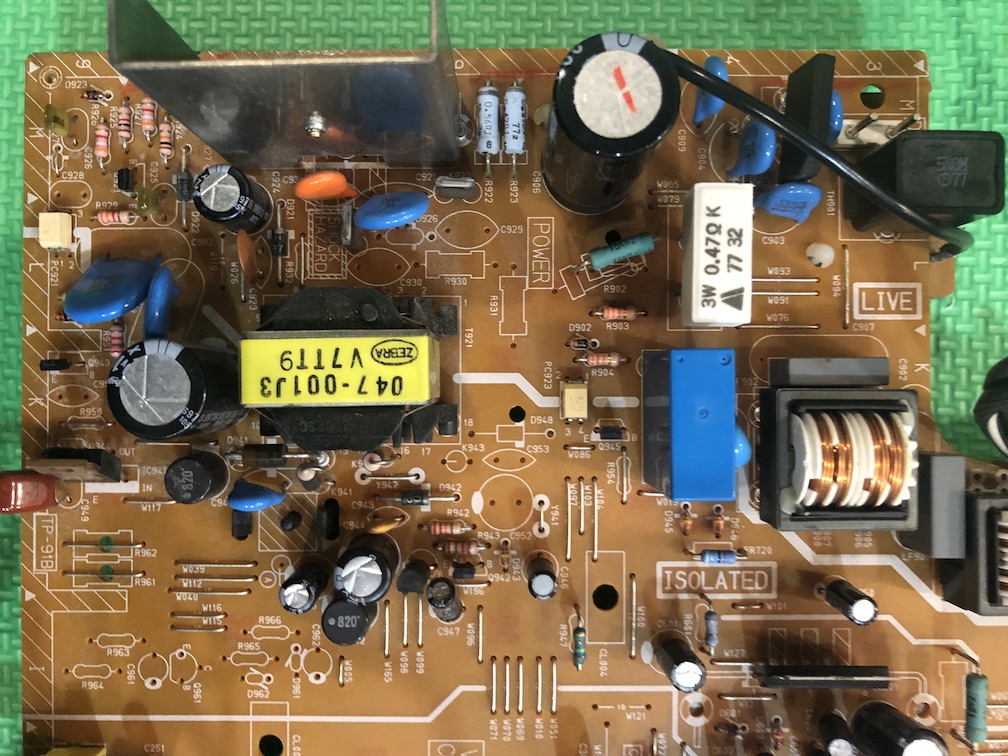
Full board
Chroma chip
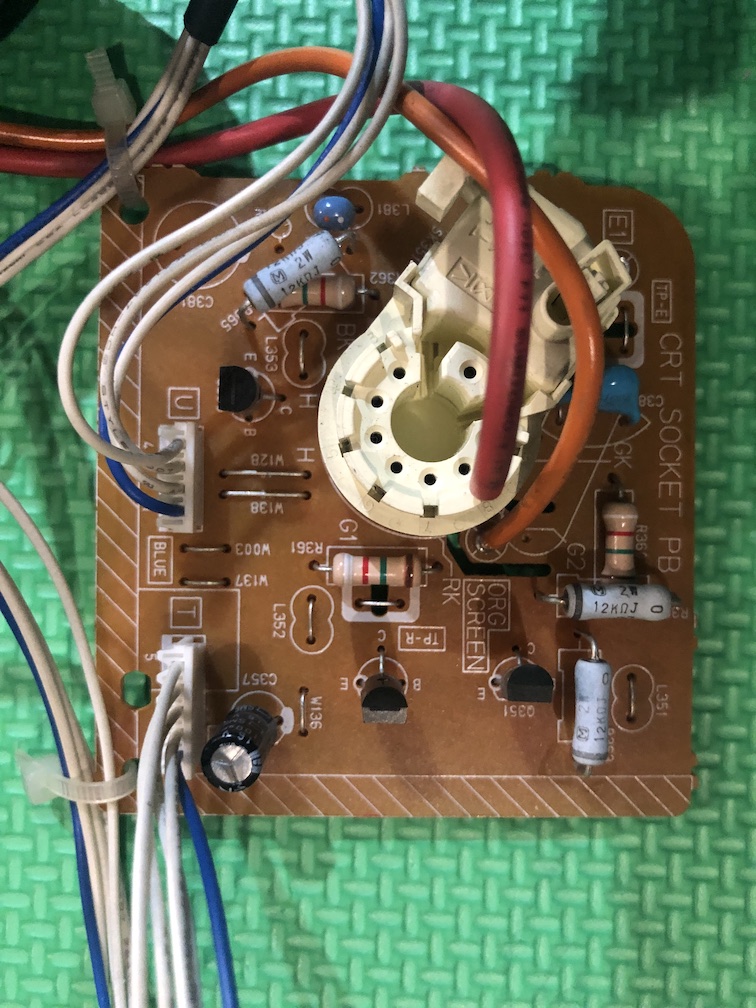
Neck board
Switching isolation power supply
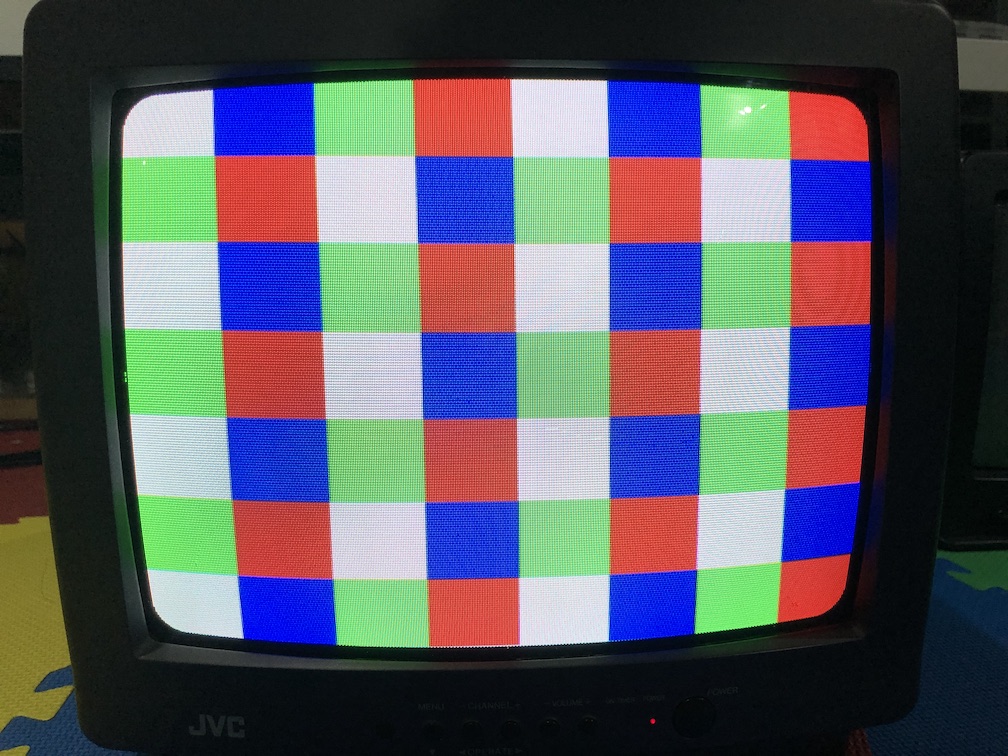
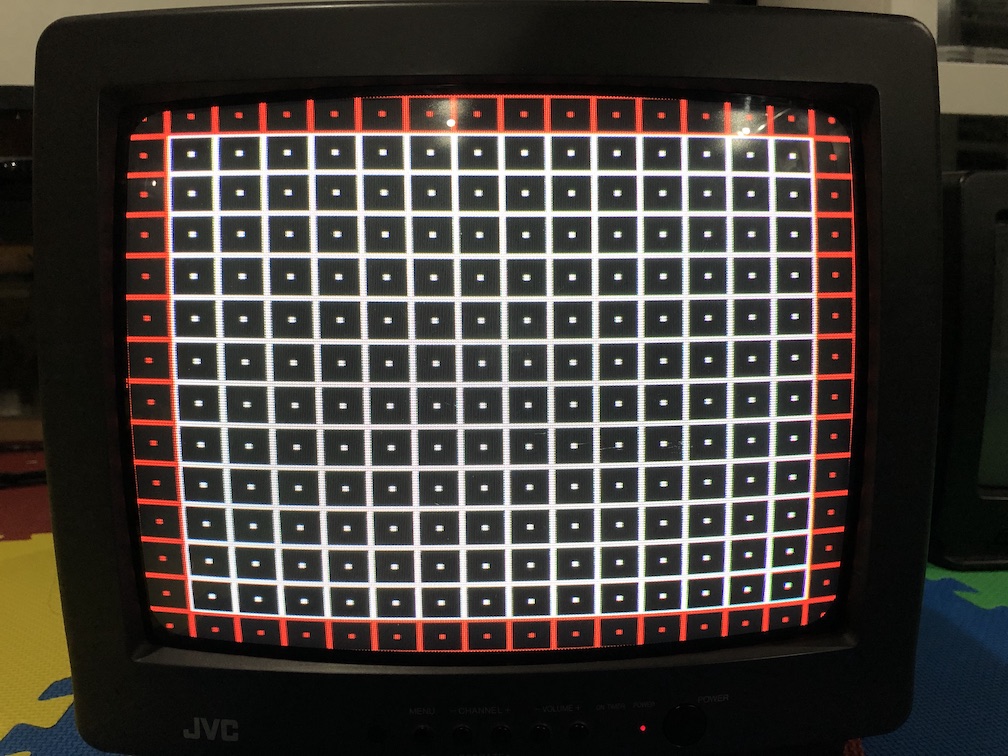
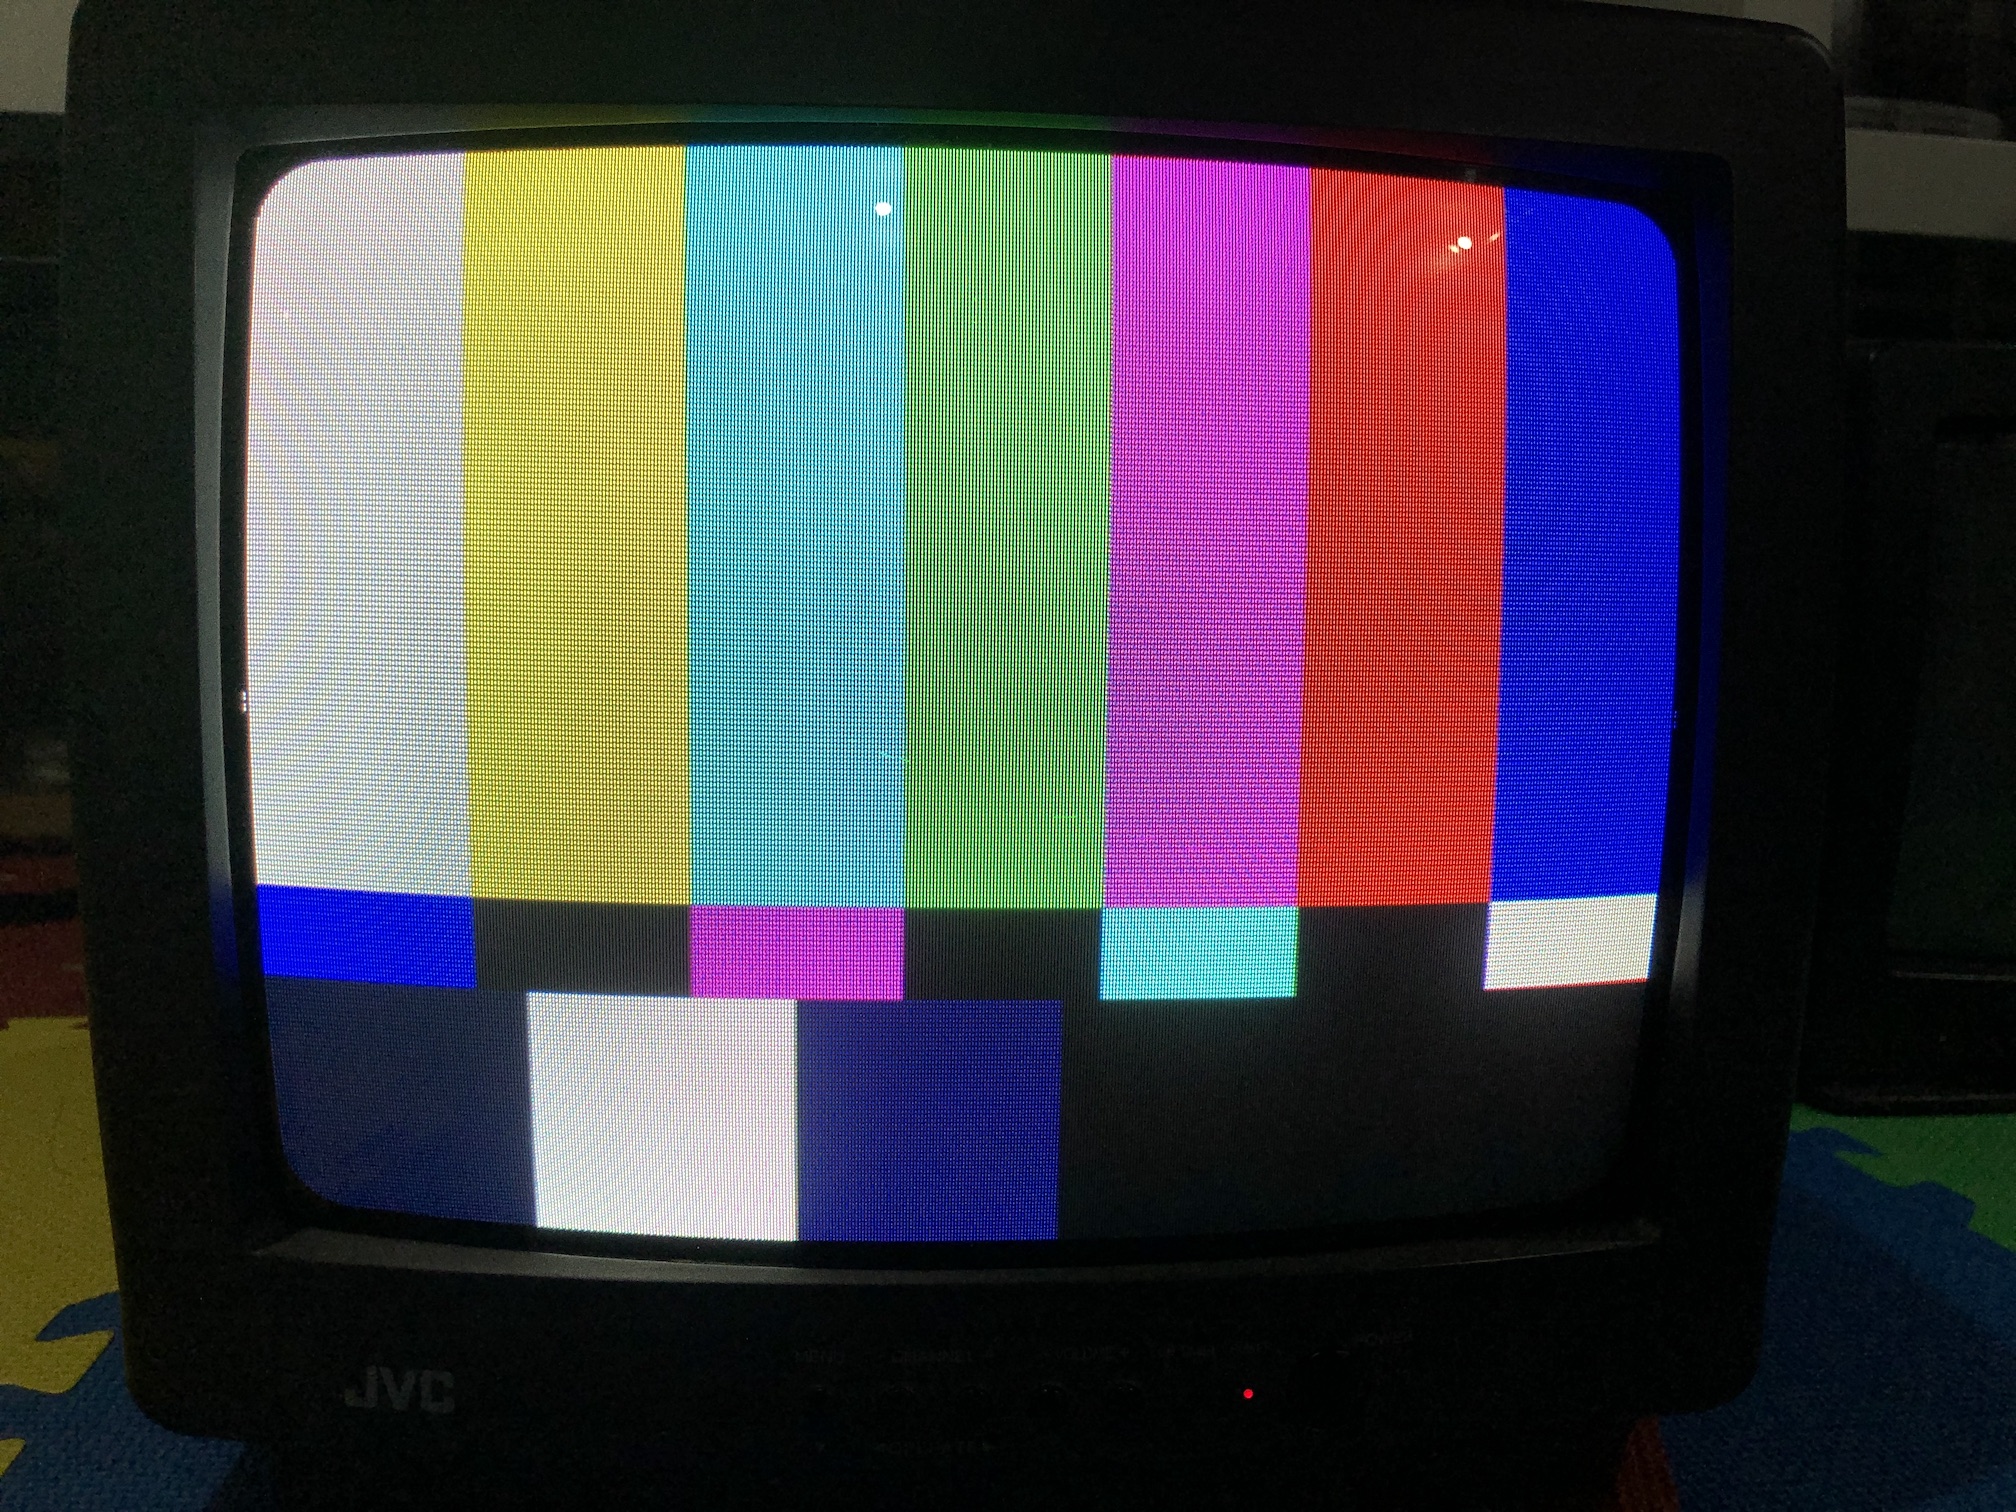
Patterns
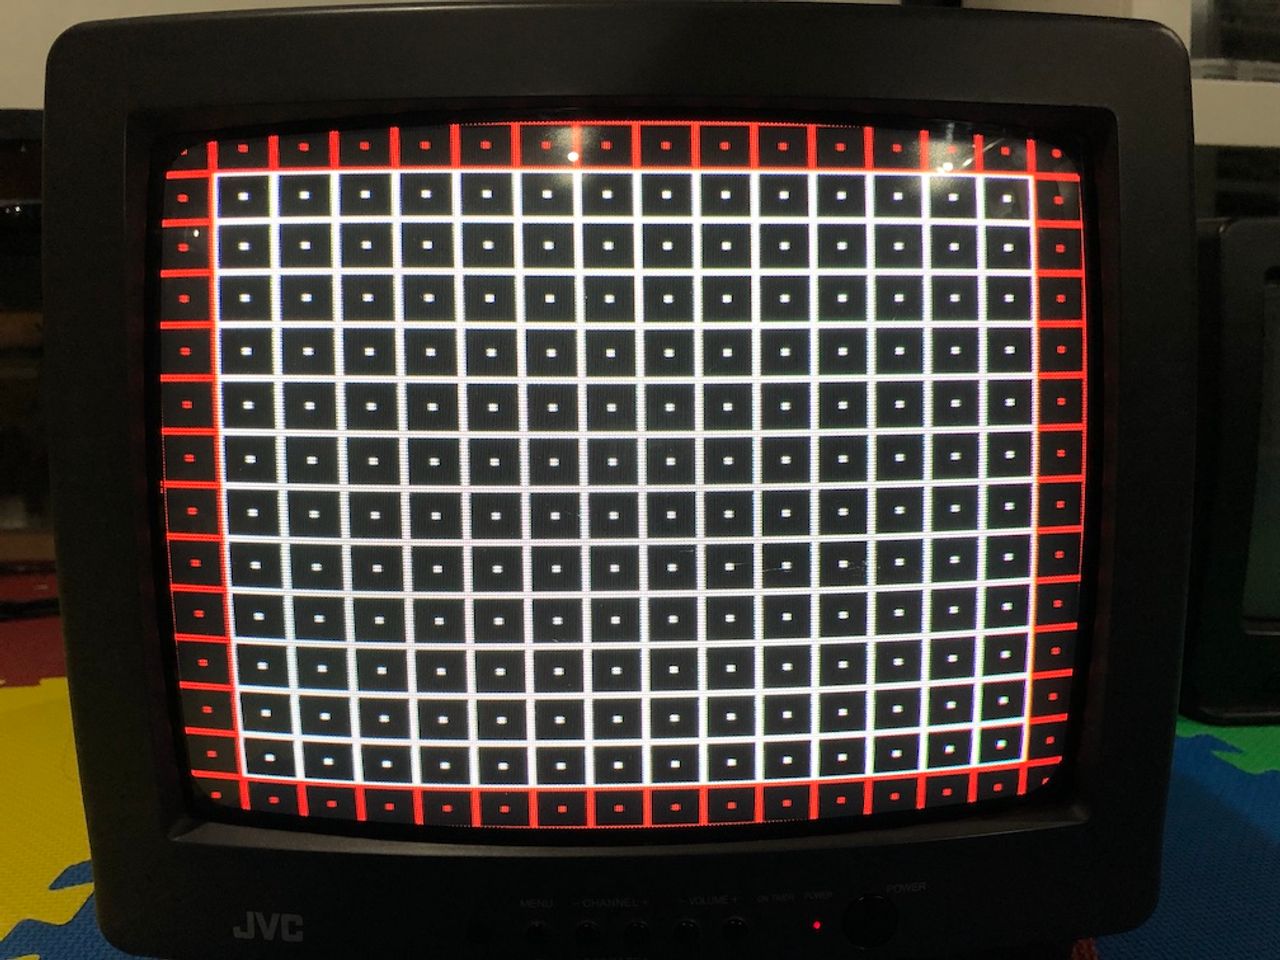
Convergence
Grid
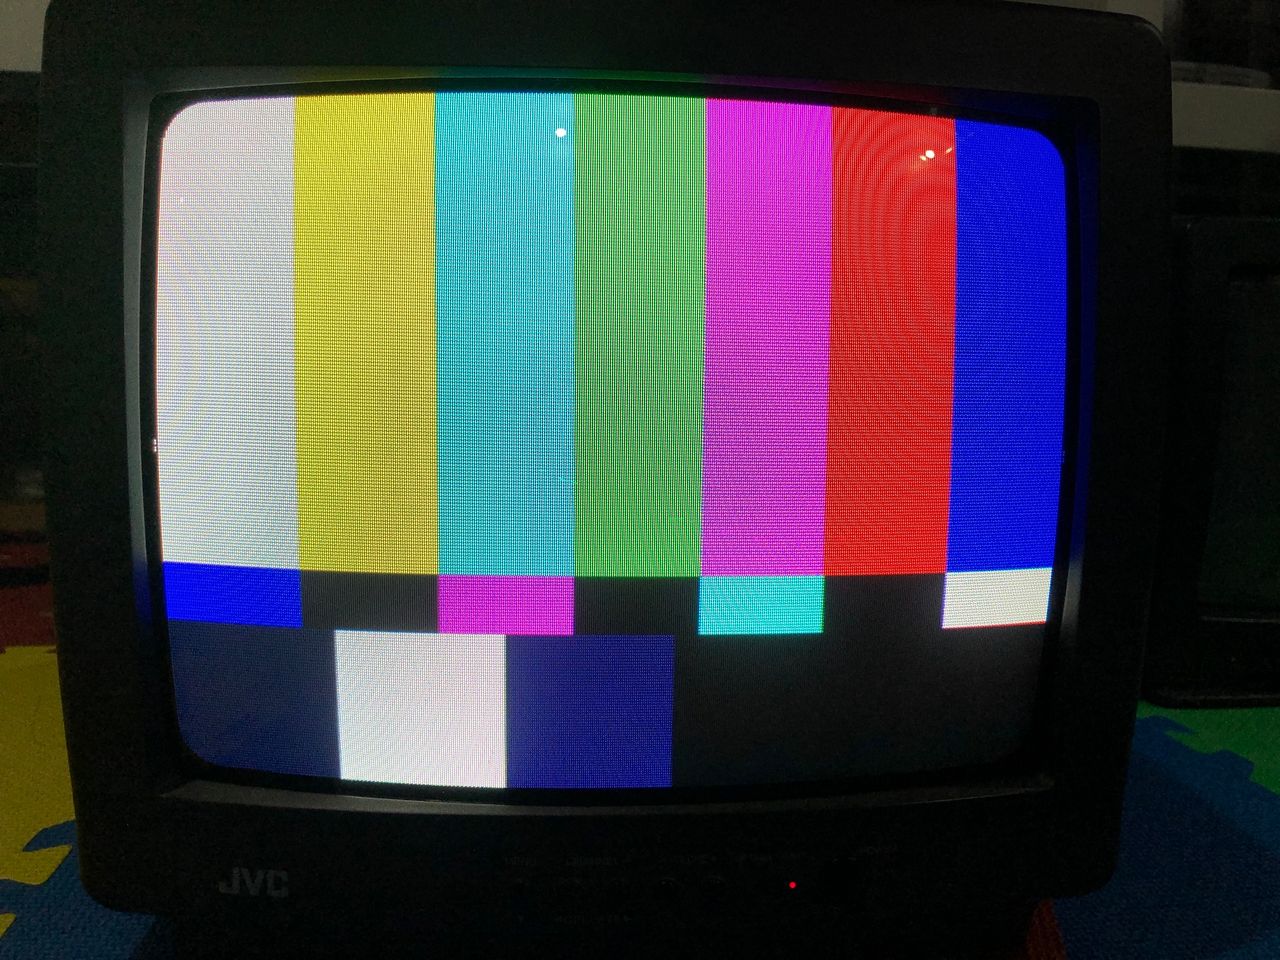
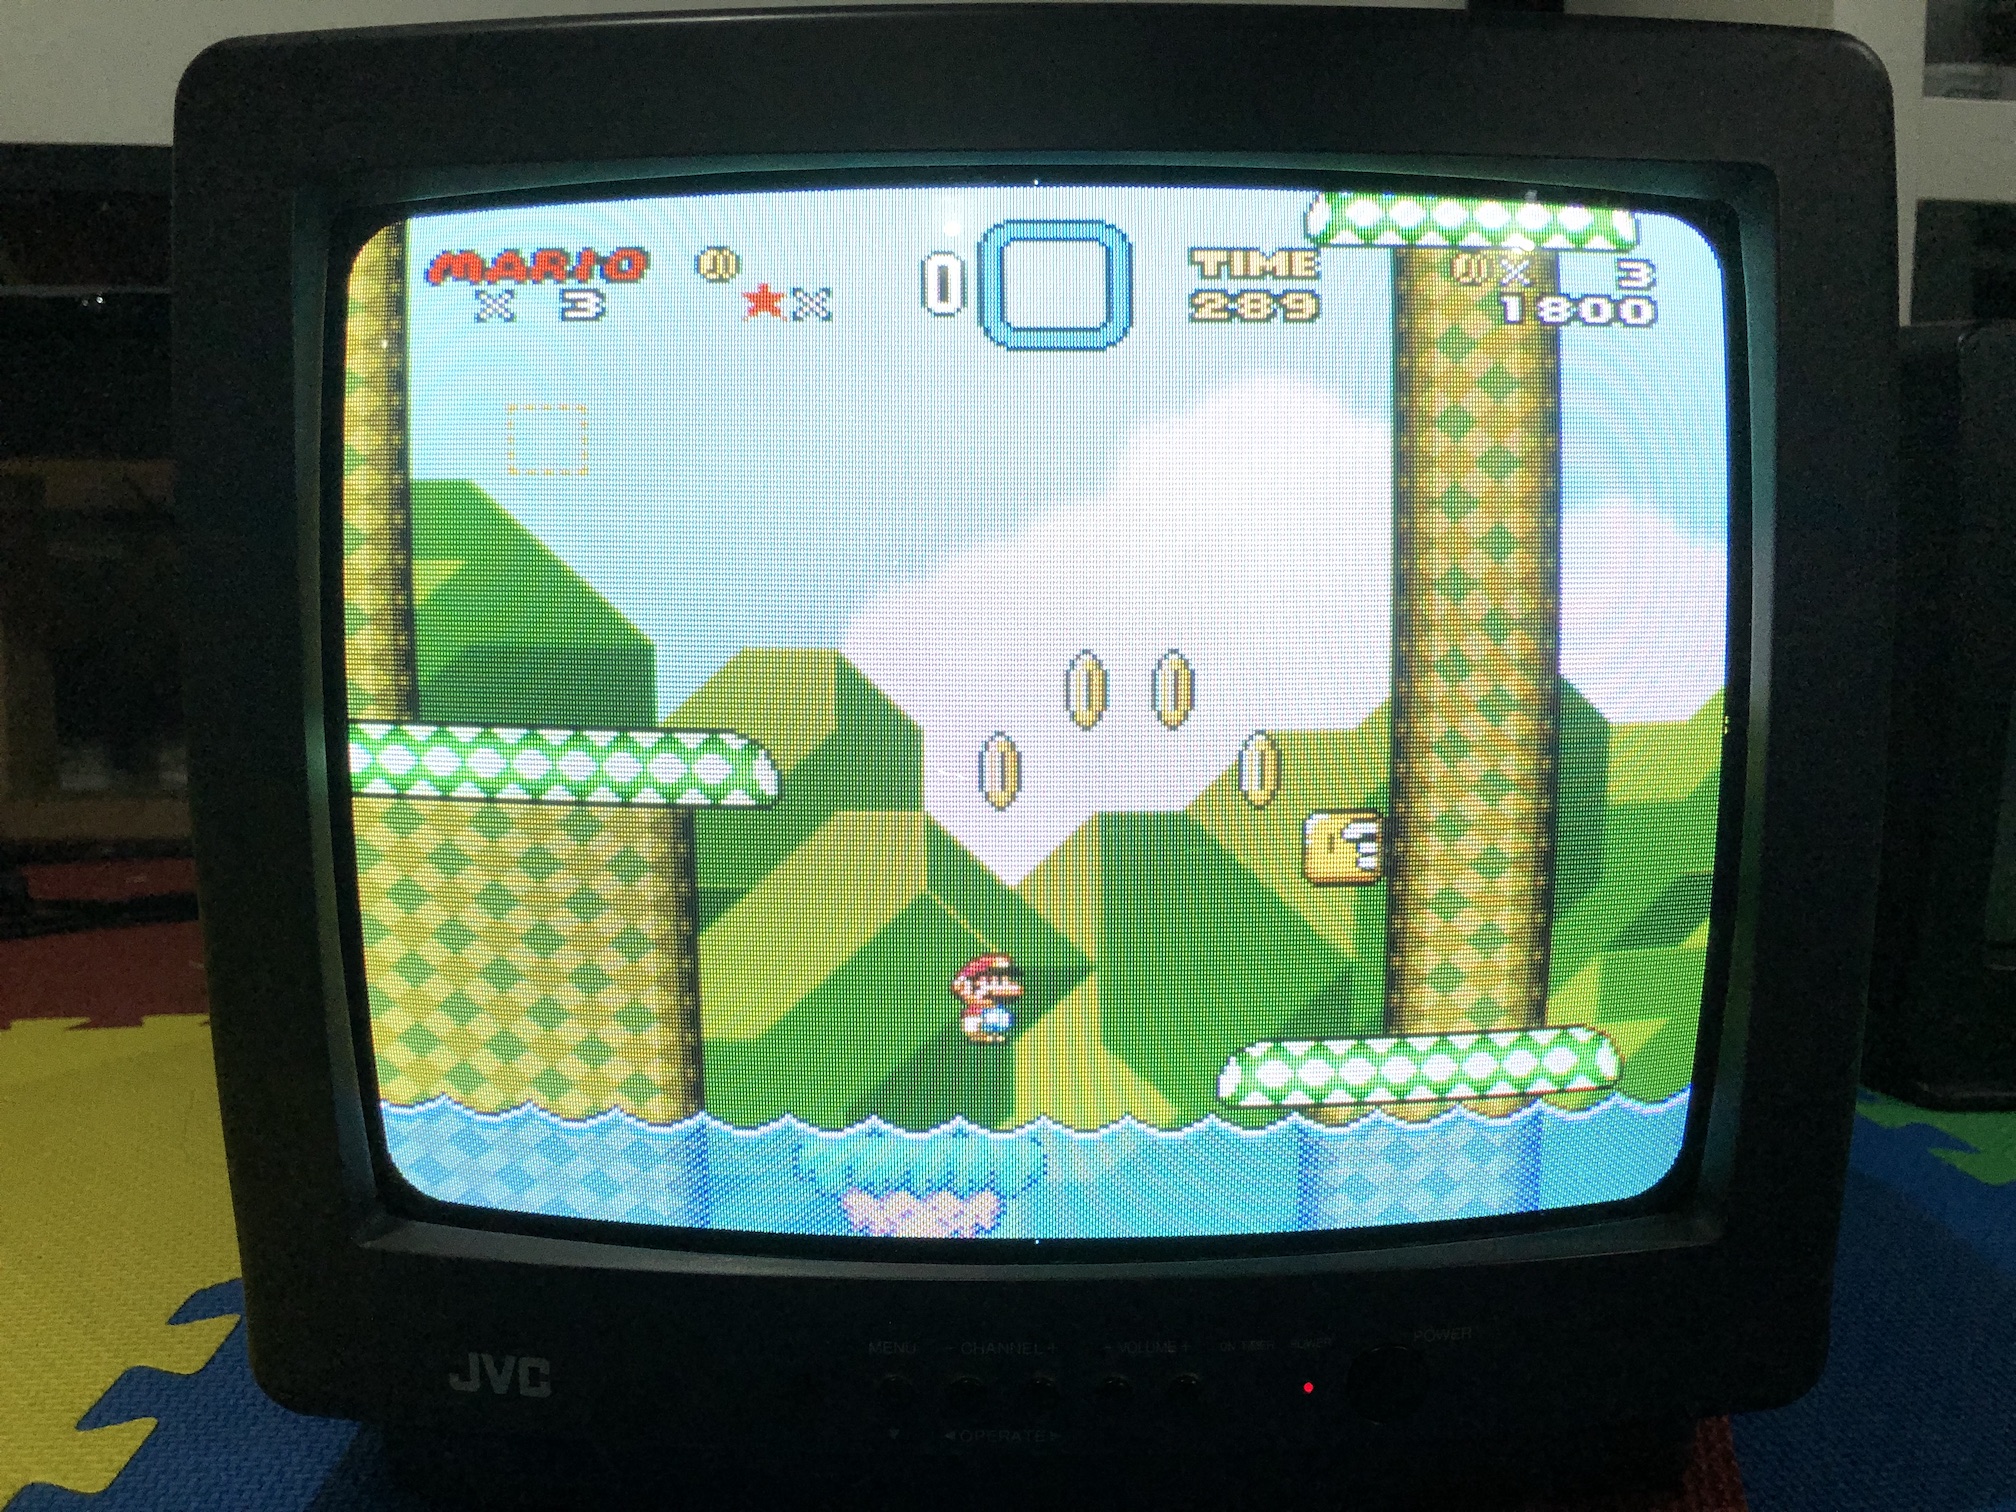
Color Bars
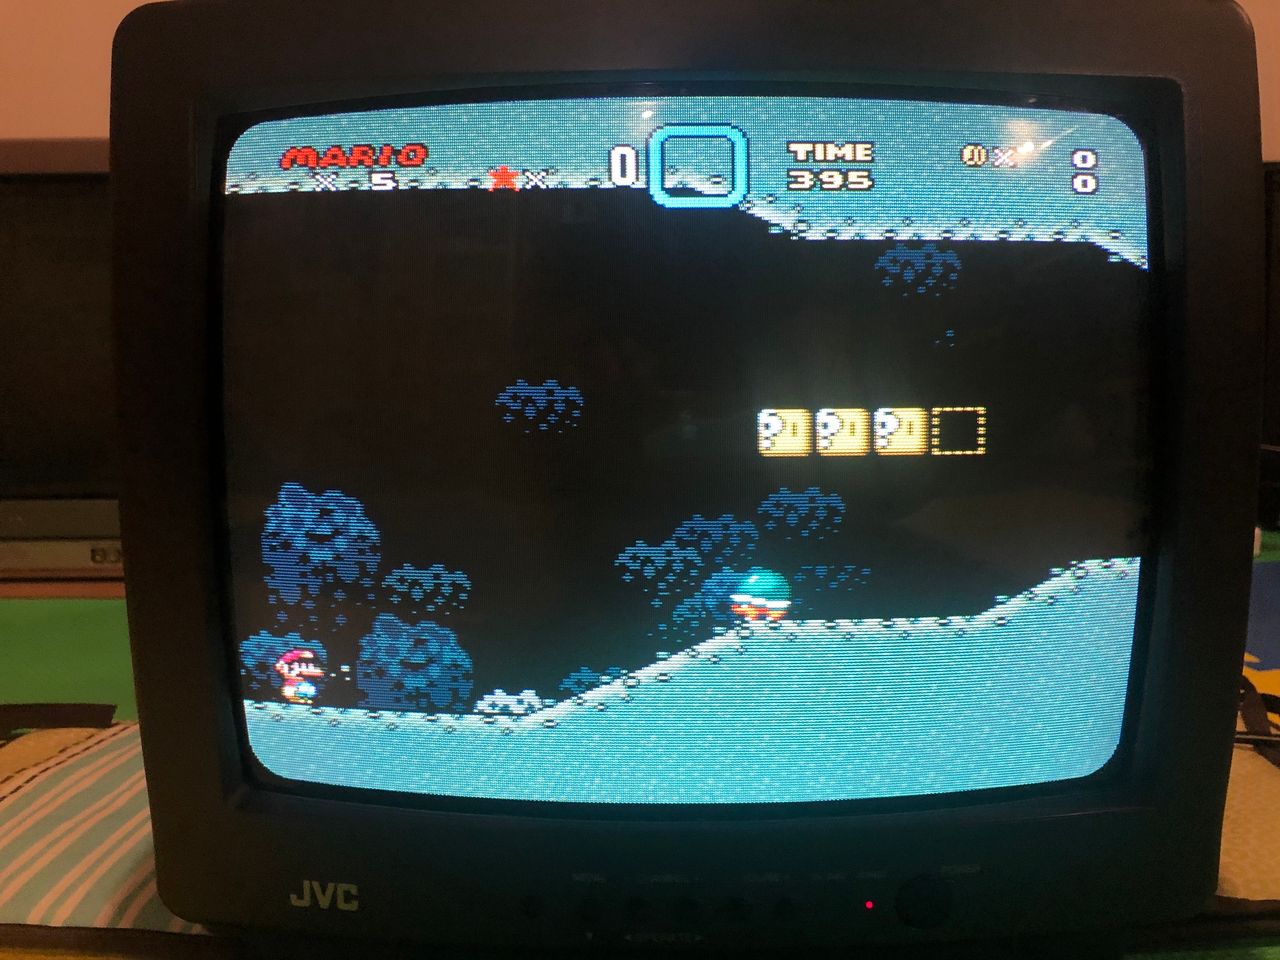
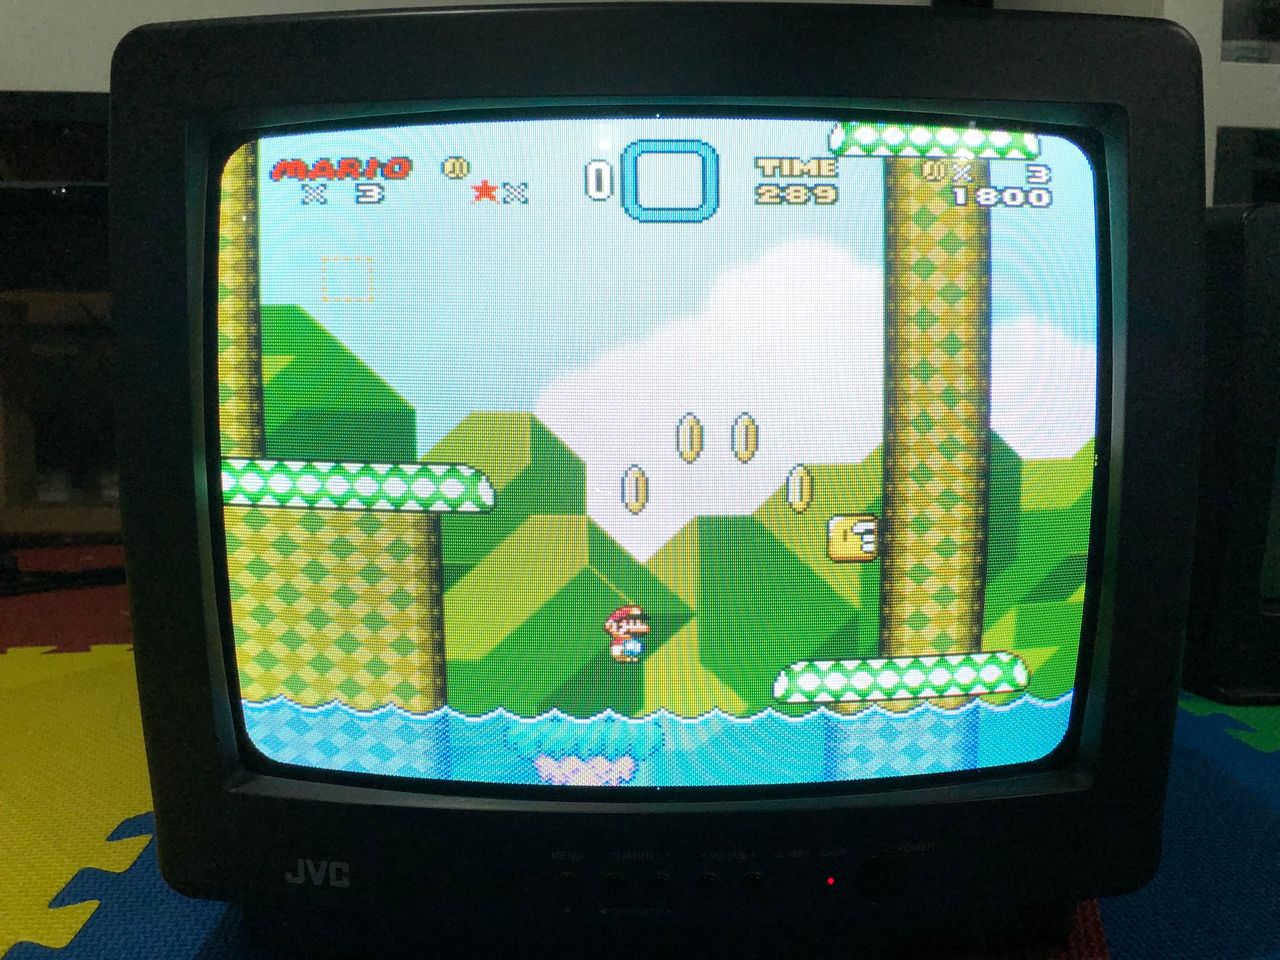
Super Mario
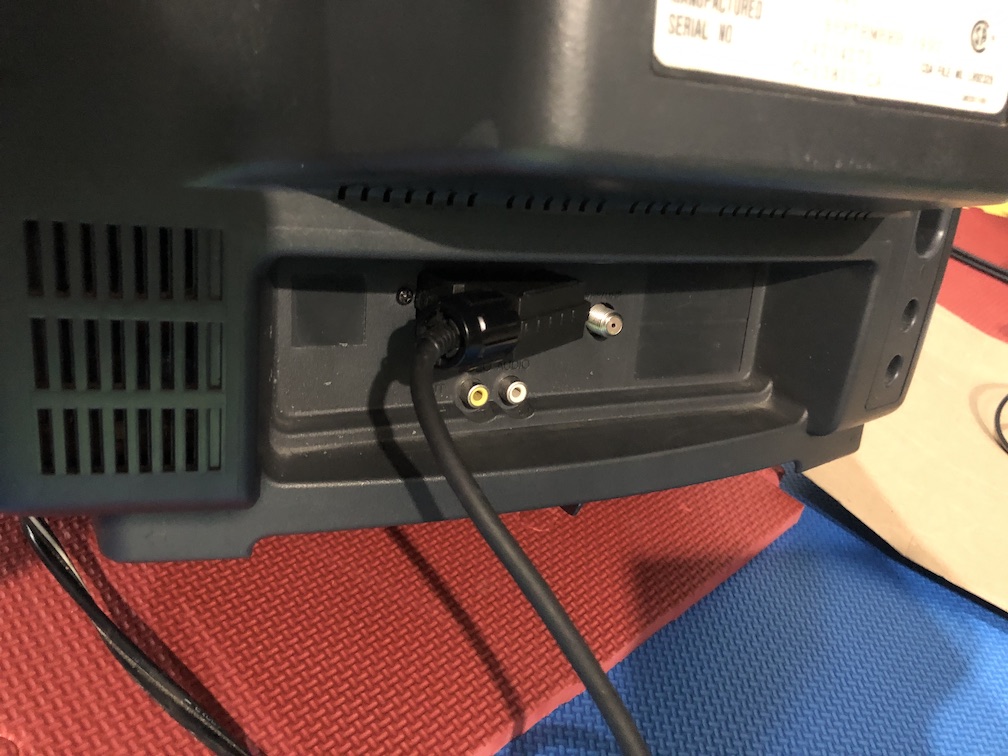
SCART Connector
JVC Back and SCART connector position
SCART connector
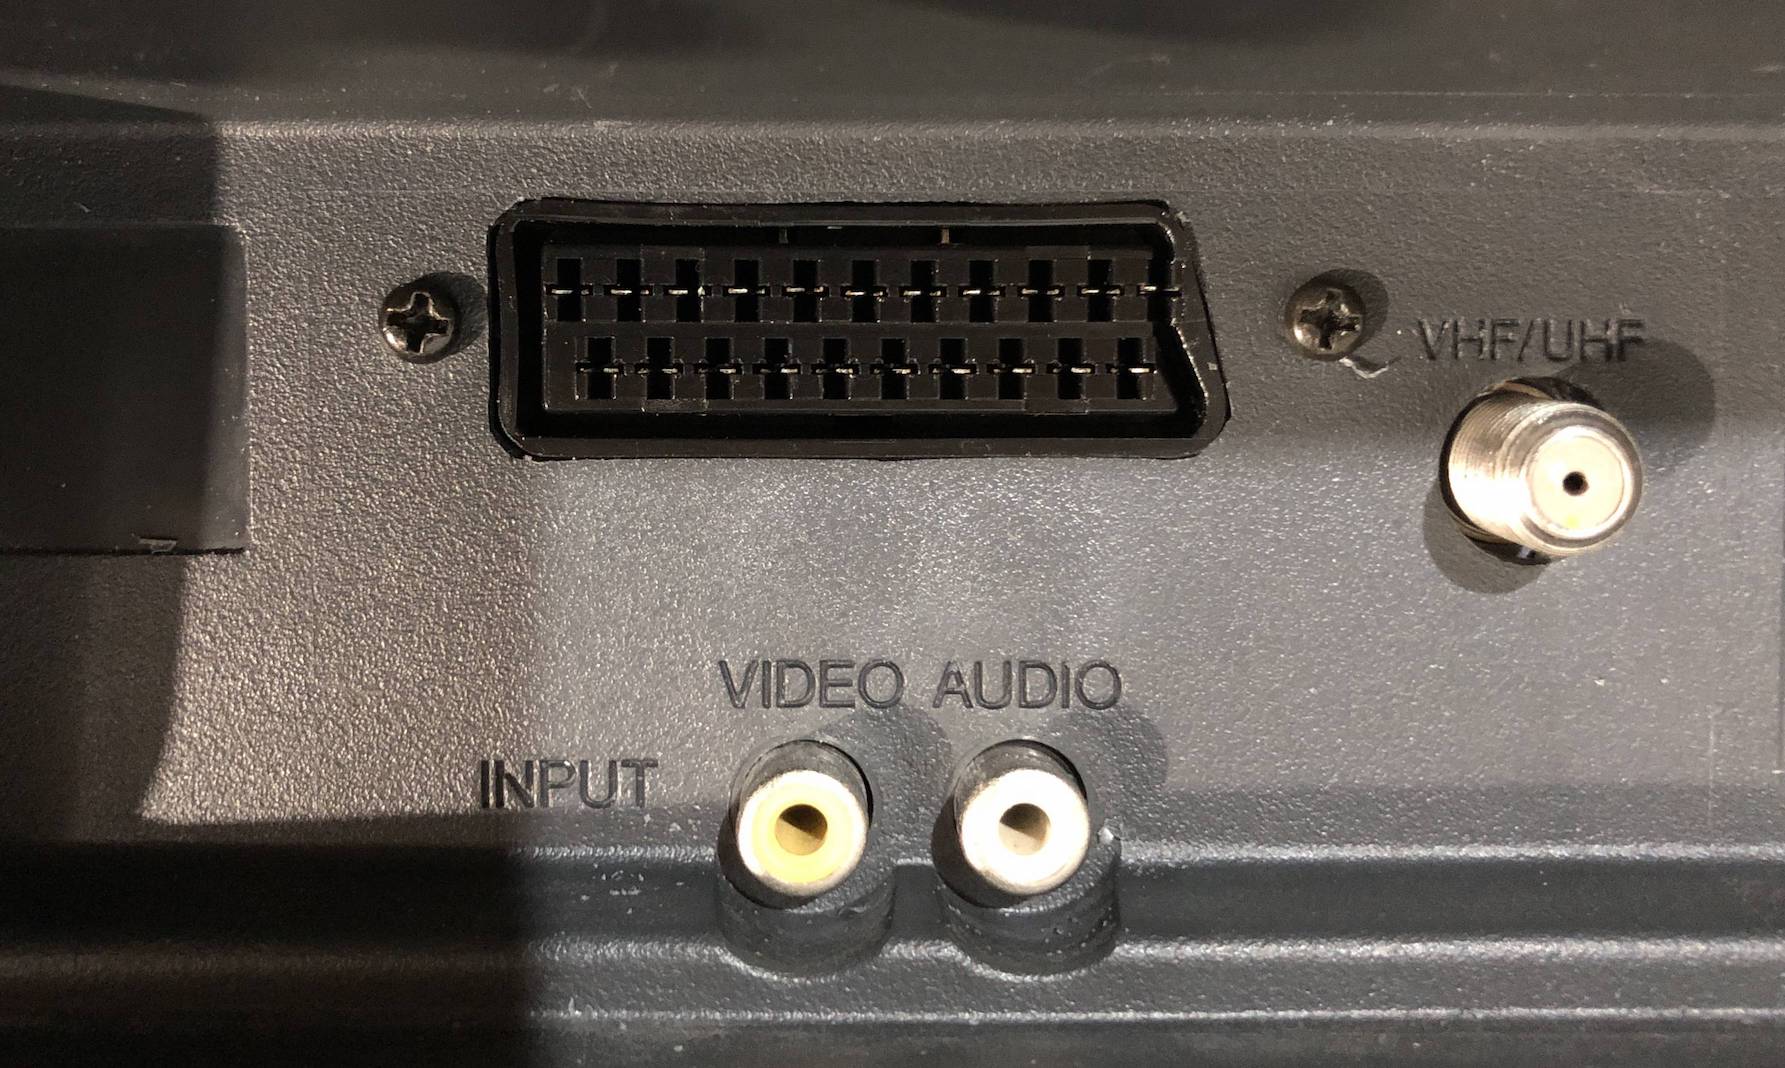
Position of the SCART cable should be taken into consideration
Pictures
Reference Photos