Sony (BA-4D) KV-27S42 YPbPr
Sony KV-27S42 YPbPr Component mod
If you're looking to get the most out of your Sony KV-27S42 Trinitron, you may want to consider modding it for RGB and component output. This guide will show you how to do just that.
There is a separate article on how you can RGB modify your KV-27S42 CRT. Sony KV-27S42 RGB mod guide

CRT safety
Caution
You can die doing this! So read carefully! CRT TV is not a toy. Do not open a CRT TV. If you don't have any prior knowledge about handling high voltage devices, this guide is not for you. CRT TV contains high enough voltage (20,000+ V) and current to be deadly, even when it is turned off.
Plan of attack
Theory
Sometimes it is nice to know the theory behind the mod. I have put this on a separate page. This shows how the various resistor values are calculated.
Service manuals
Specs
Sony KV-27S42
- Manufactured: September 1999, Mexico
- NTSC, 60 Hz - 90W
- Chassis: BA-4D
- Tube: A68LML50X
- Jungle Chip: CXA2133S/CXA2133BS
- OSD Chip: M37273MF-255SP
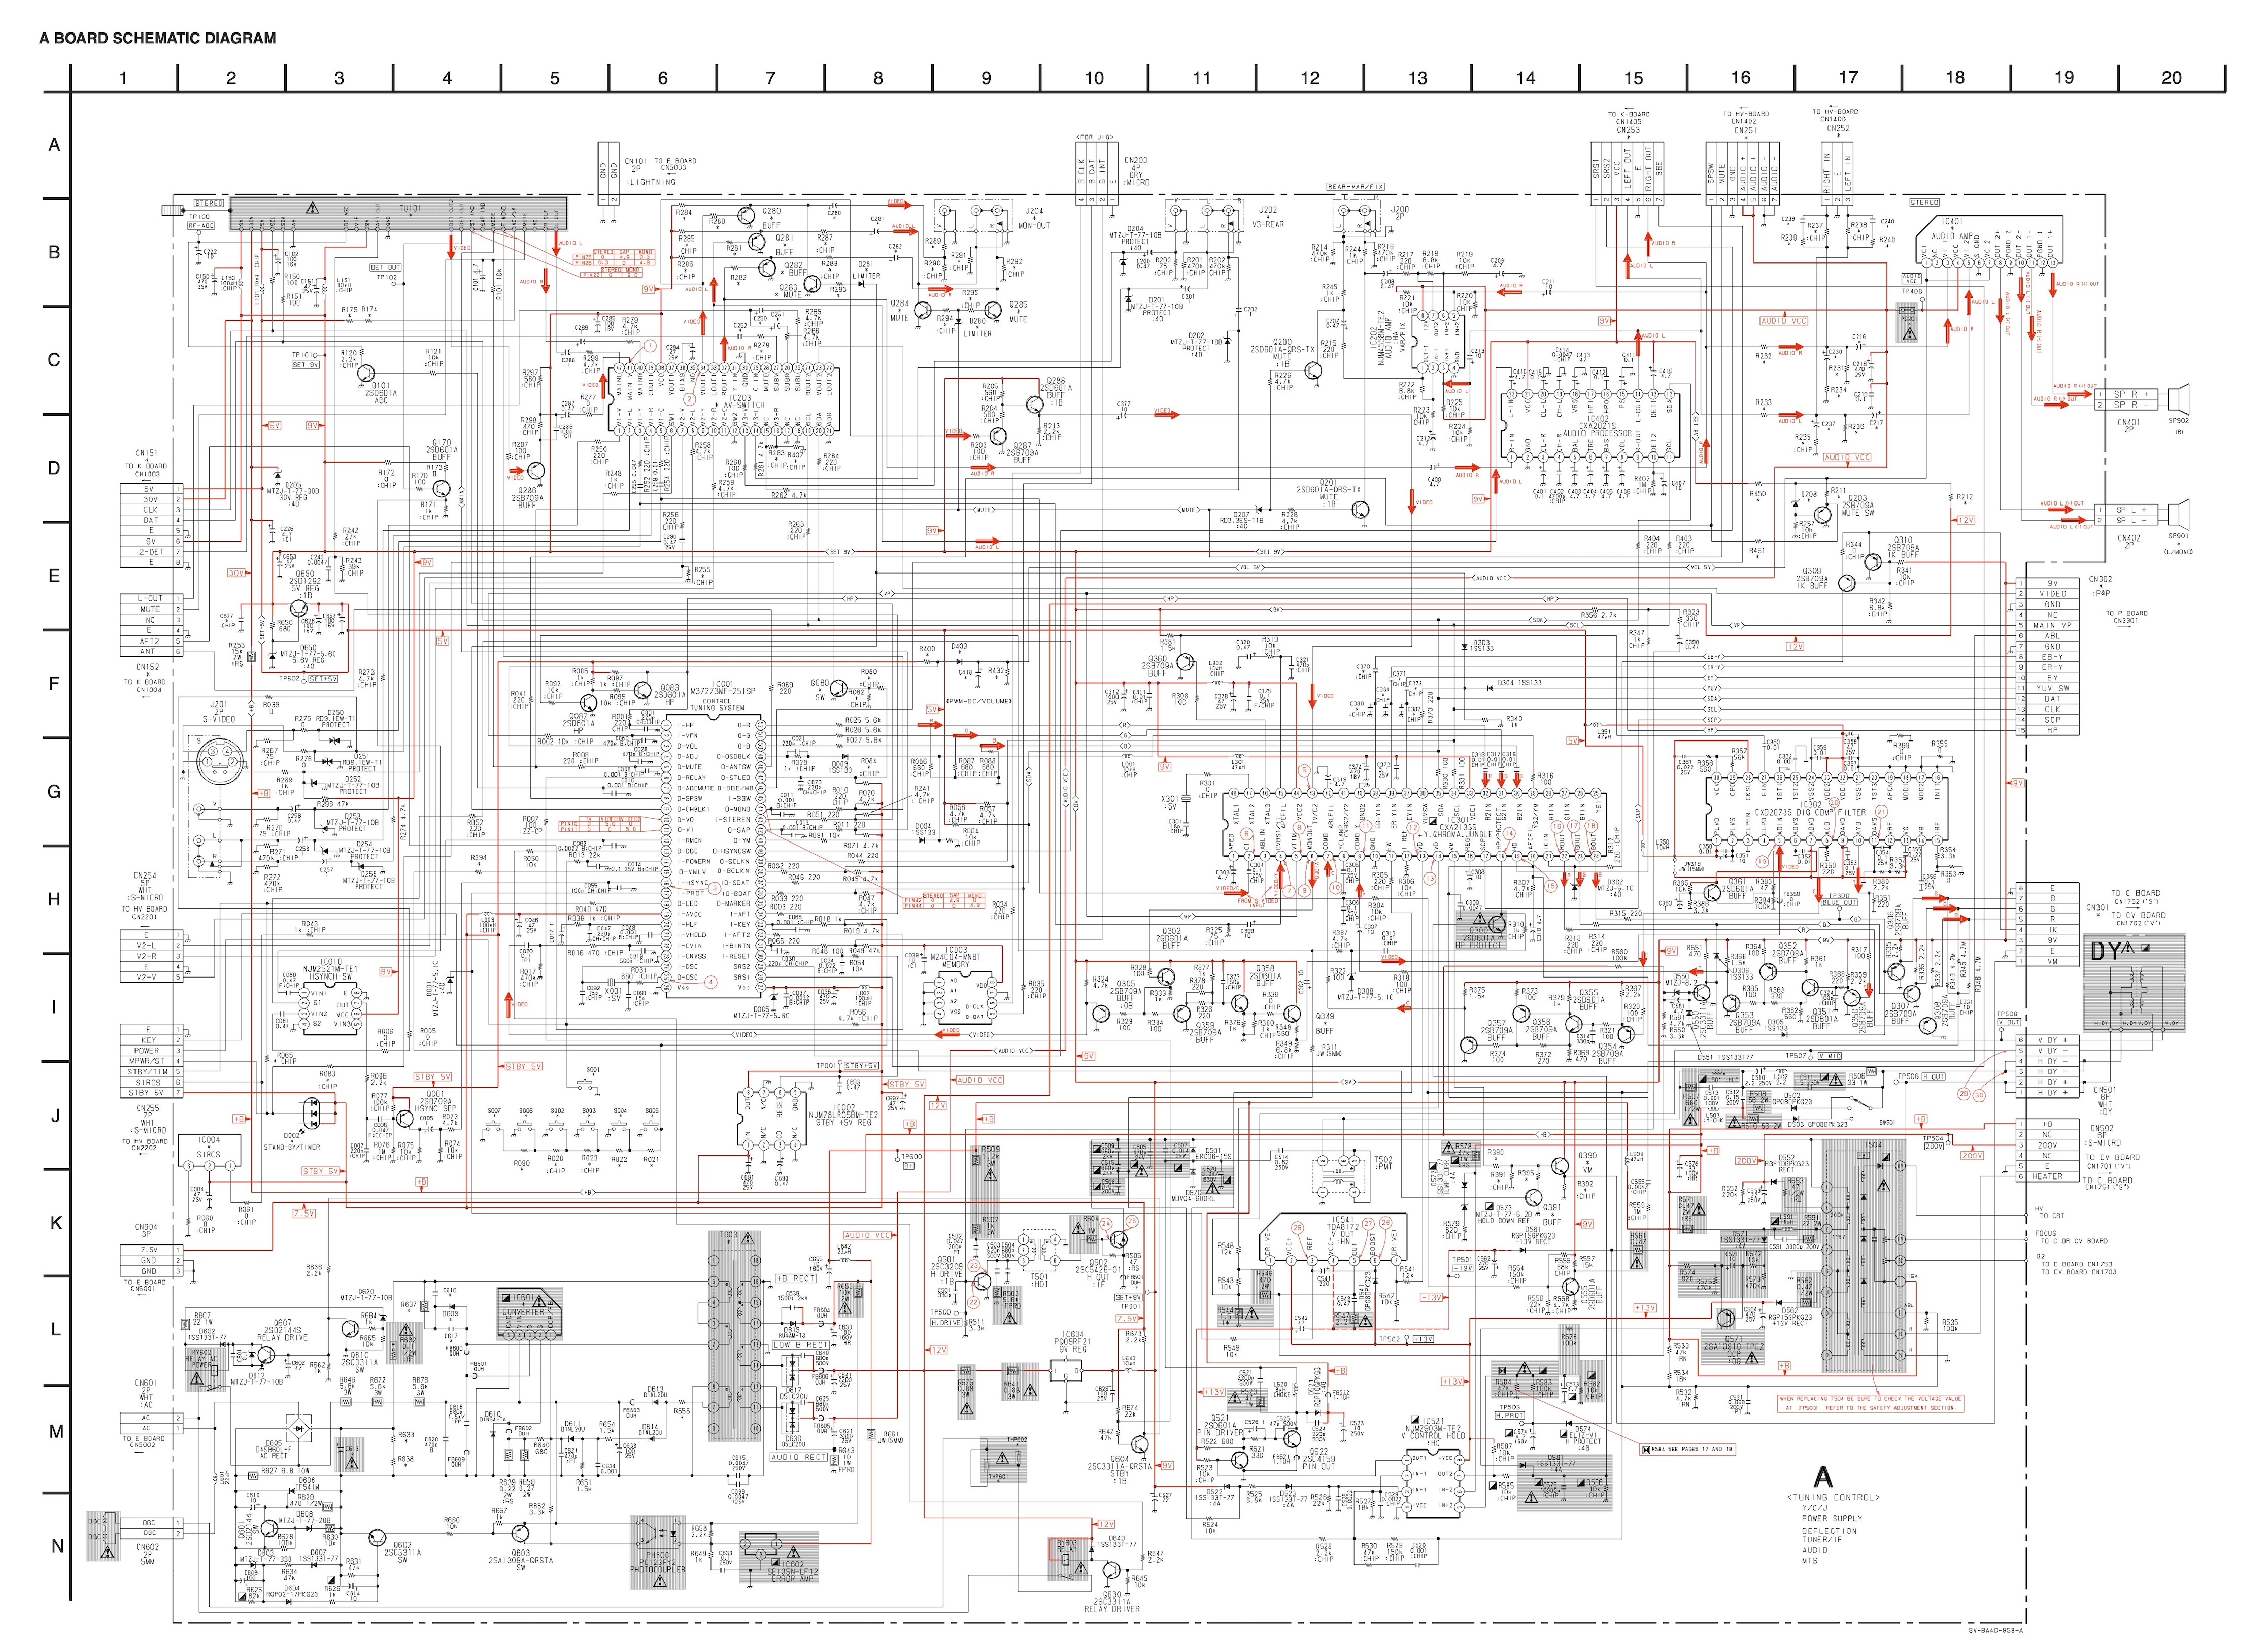
Schematics
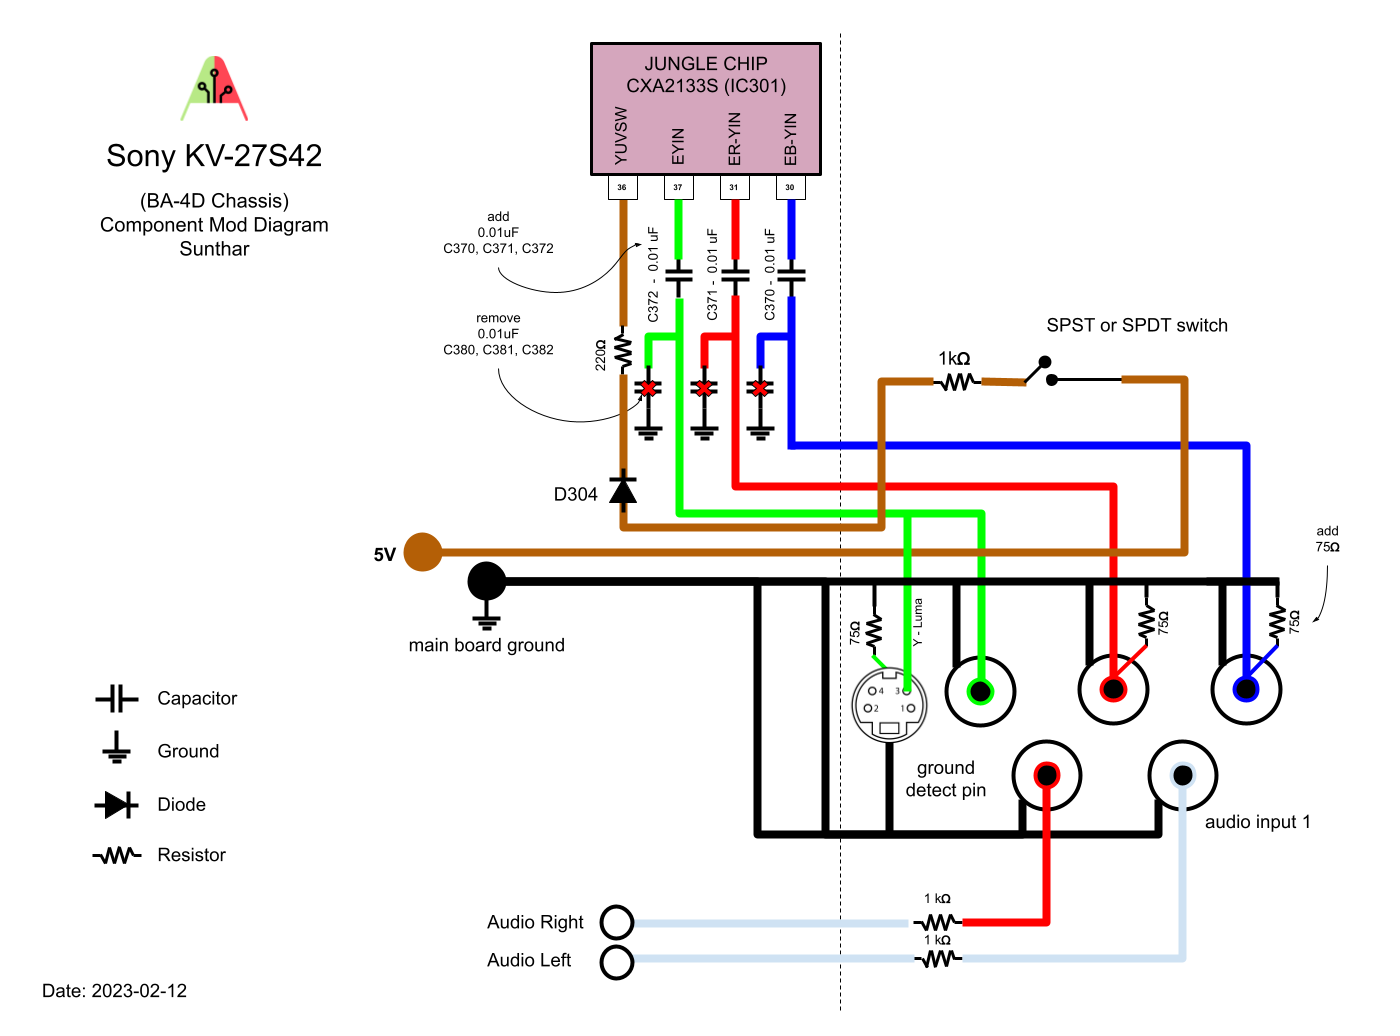
YPbPr component mod diagram
Performing the component mod
This mod is farily straightforward. Except there are few points to keep in mind.
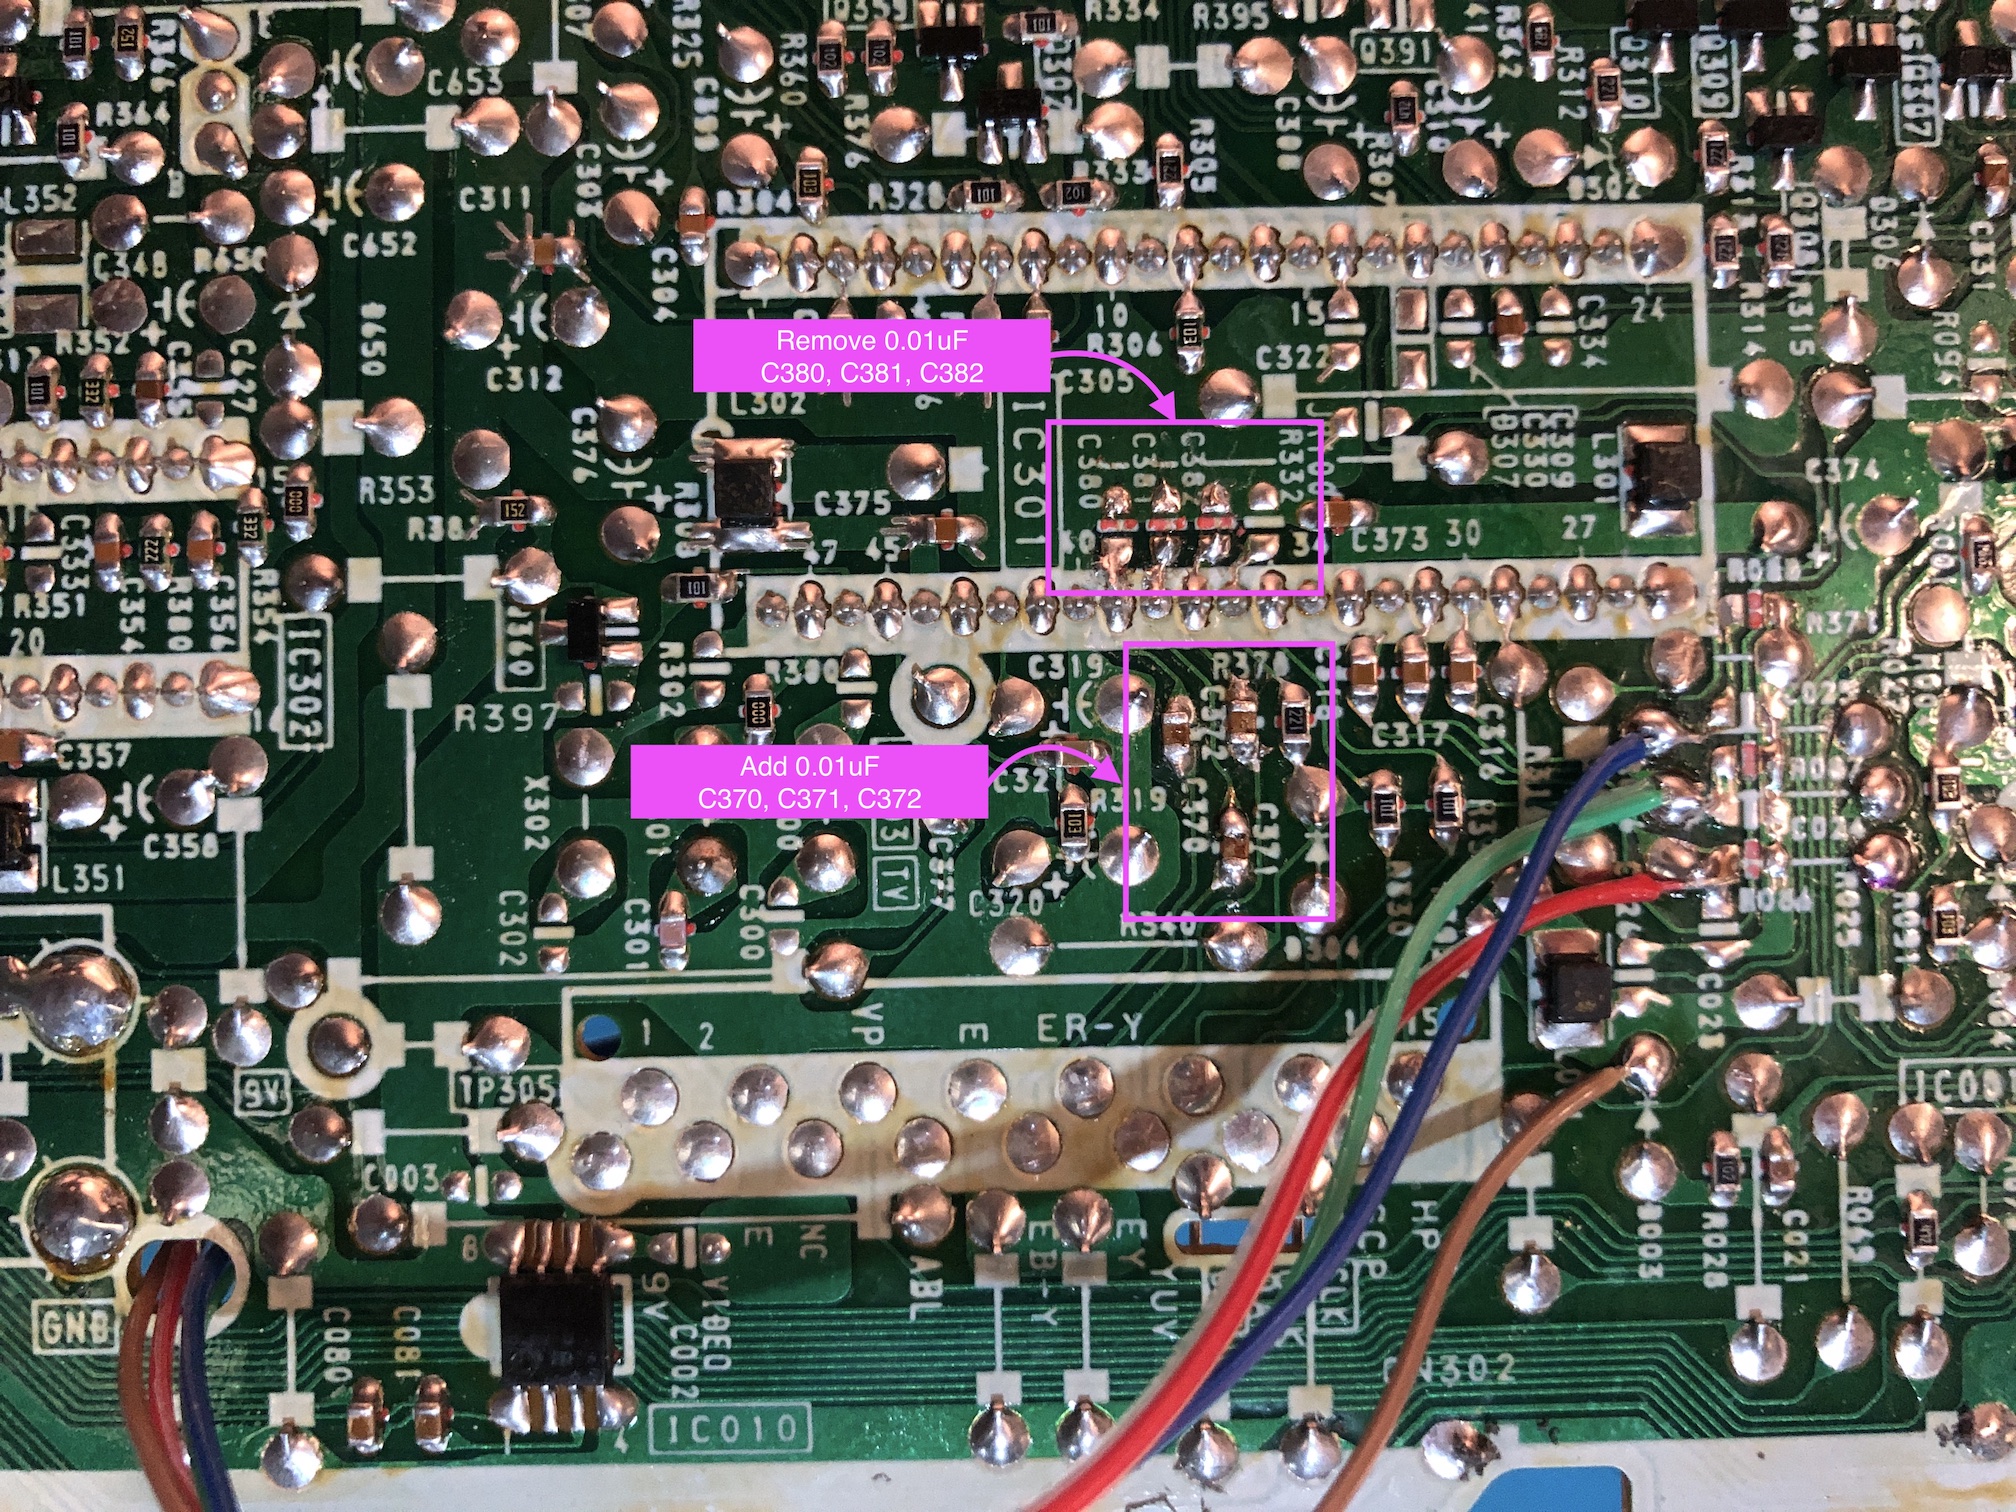
STEP 1: Remove components and add capacitors
Remove 0.01uF caps C380, C381, C382 and populate C371, C372 and C373 with 0.01uF caps. It's convenient to just move these ground capacitors over to the empty spots.
Attach 5V to the No Connect(NC) pad through 1kΩ resistor 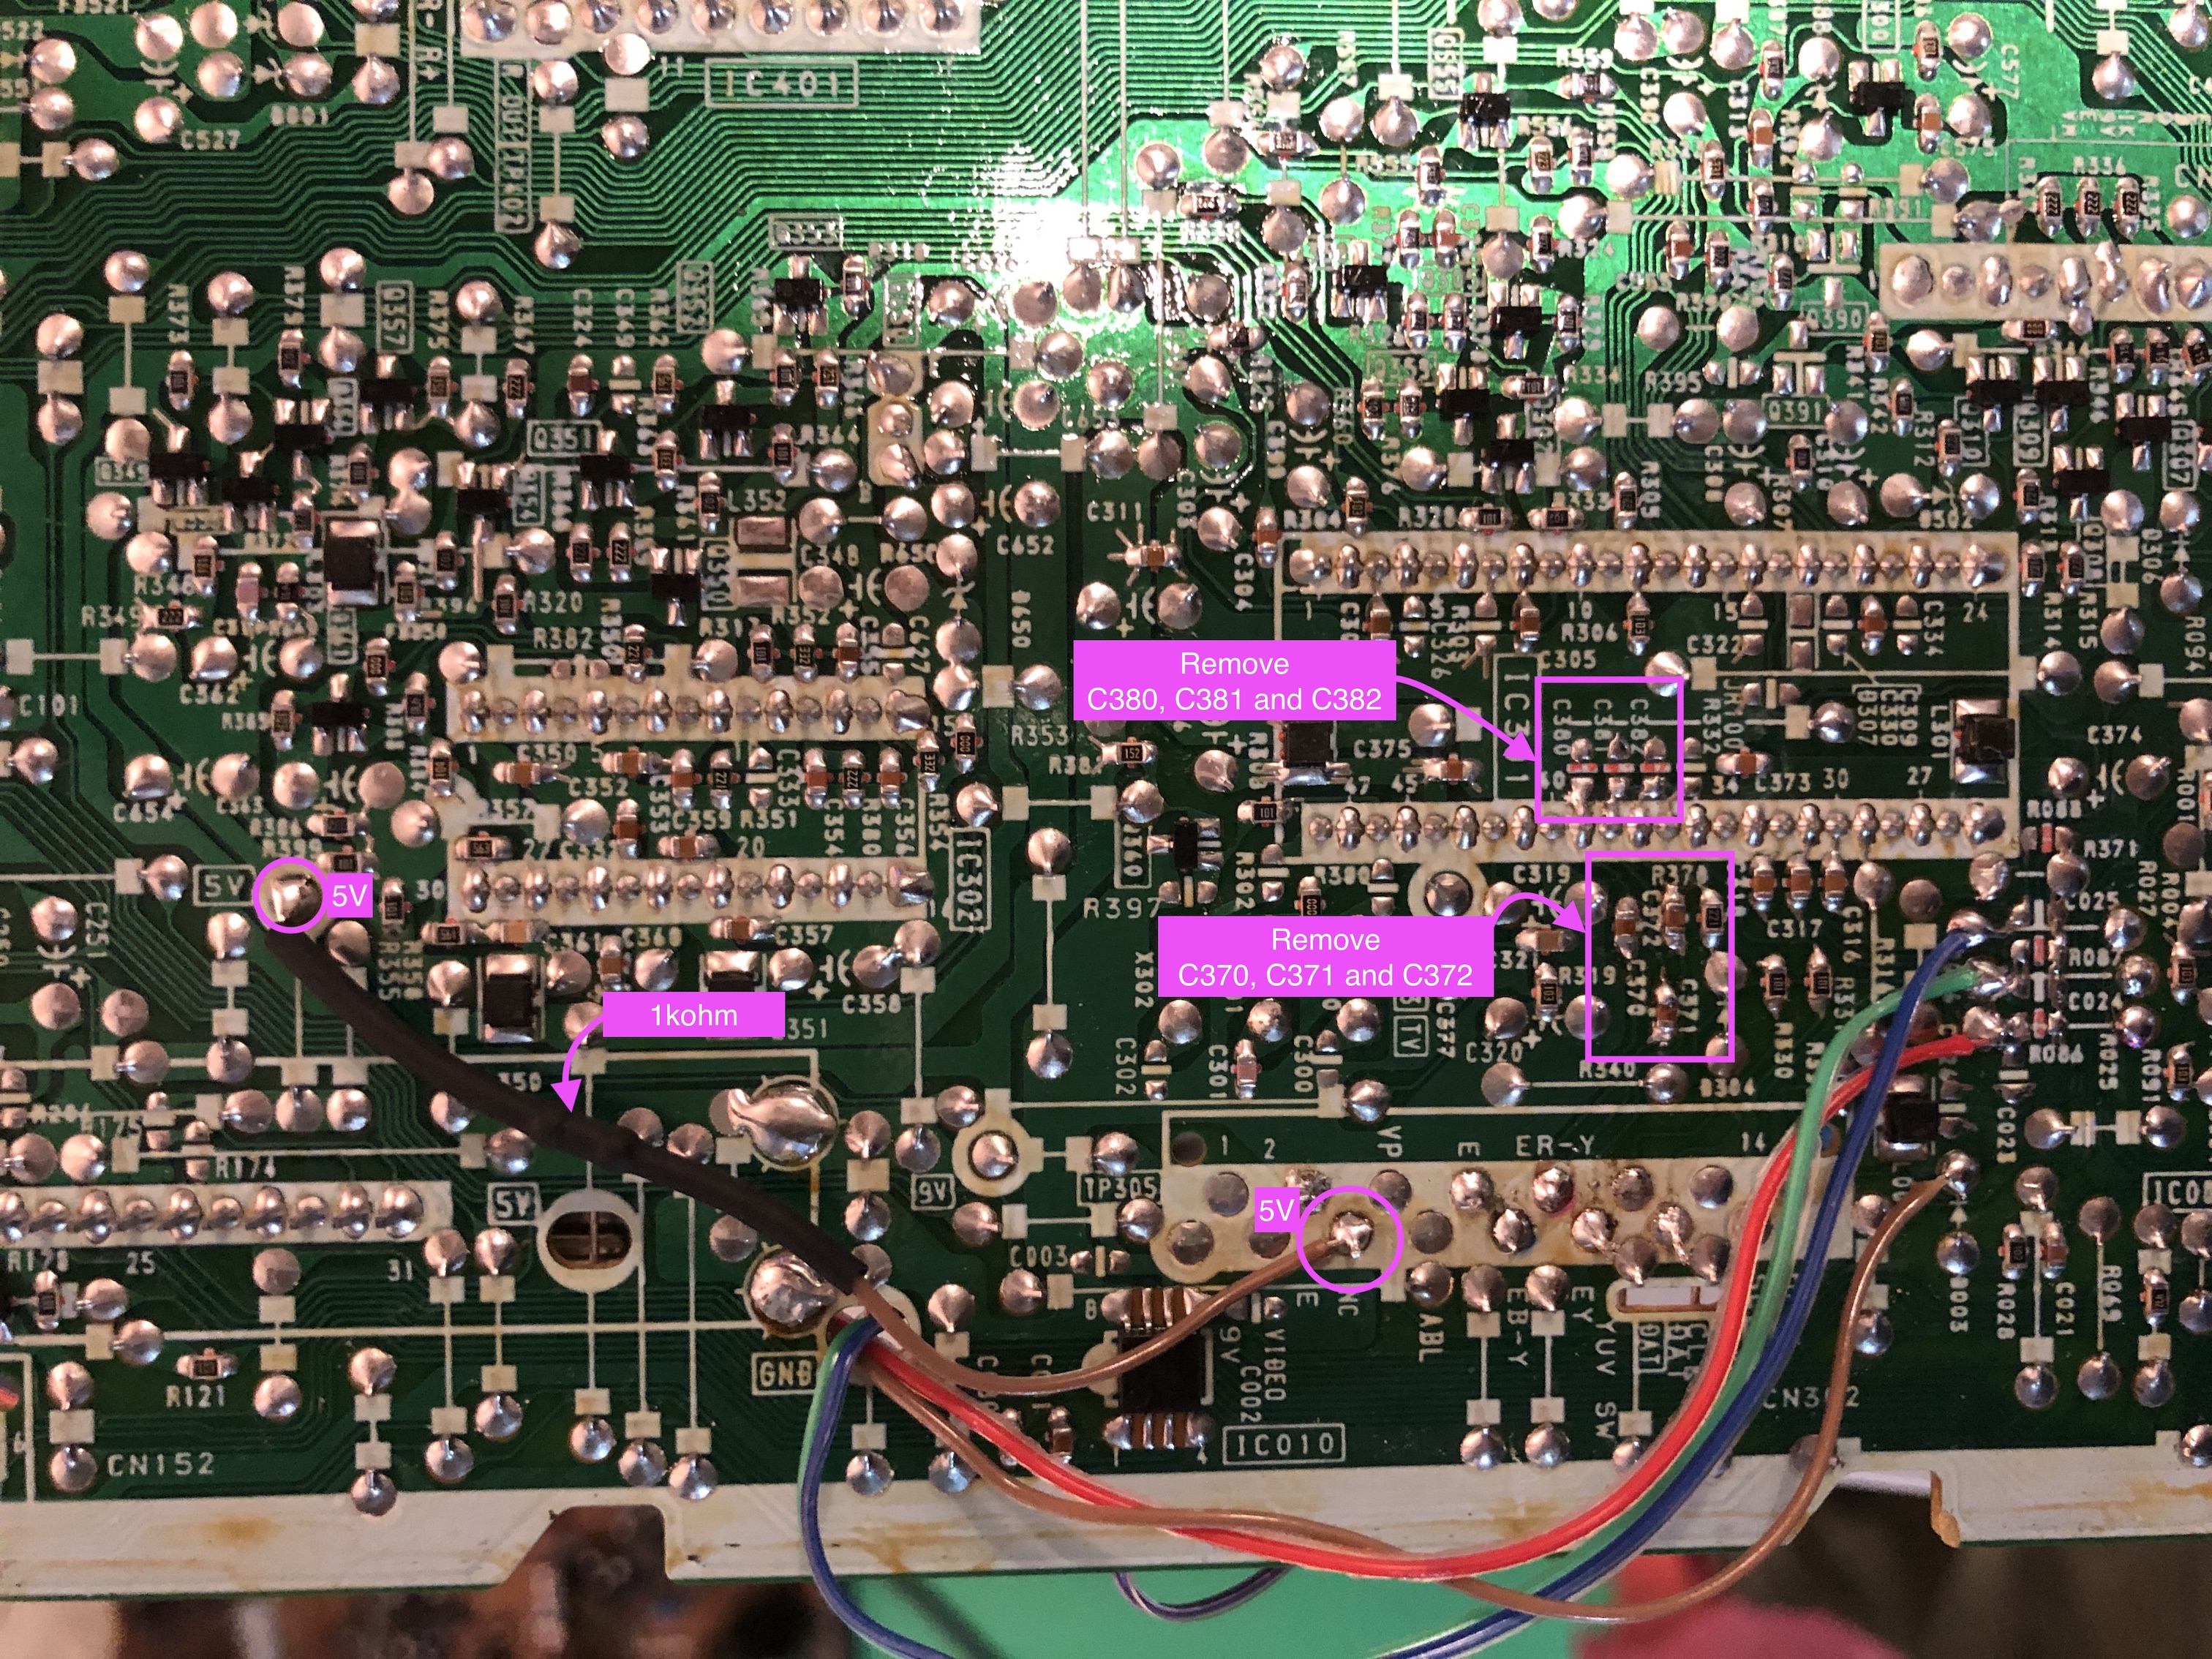
YPbPr, Blanking and Ground connections 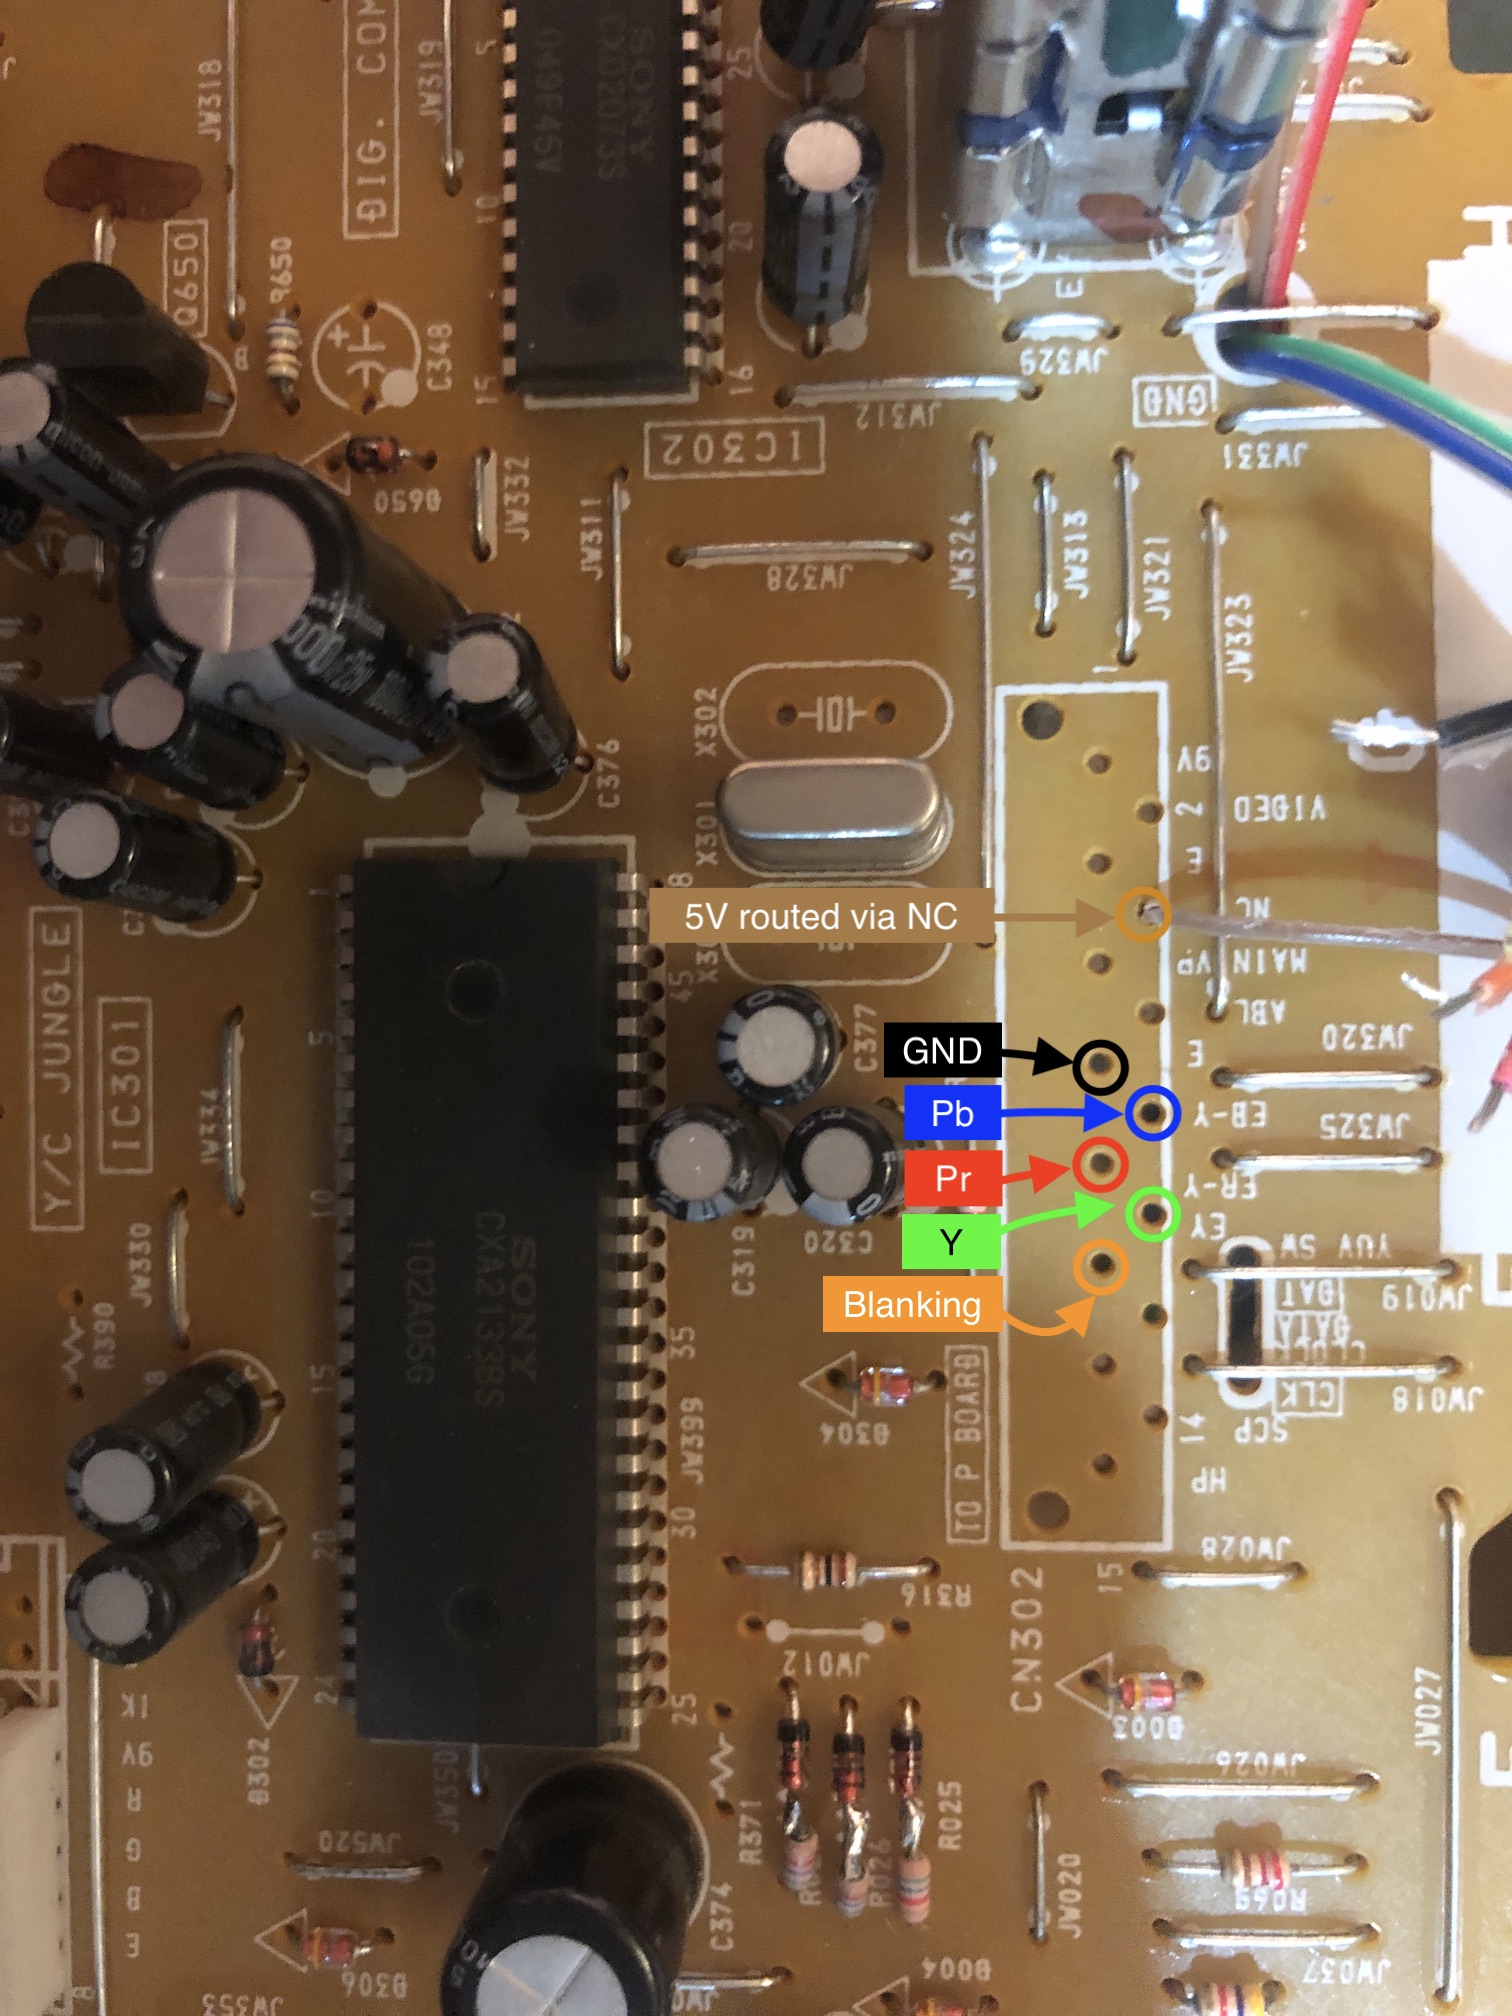
STEP 2: Switch for component blanking
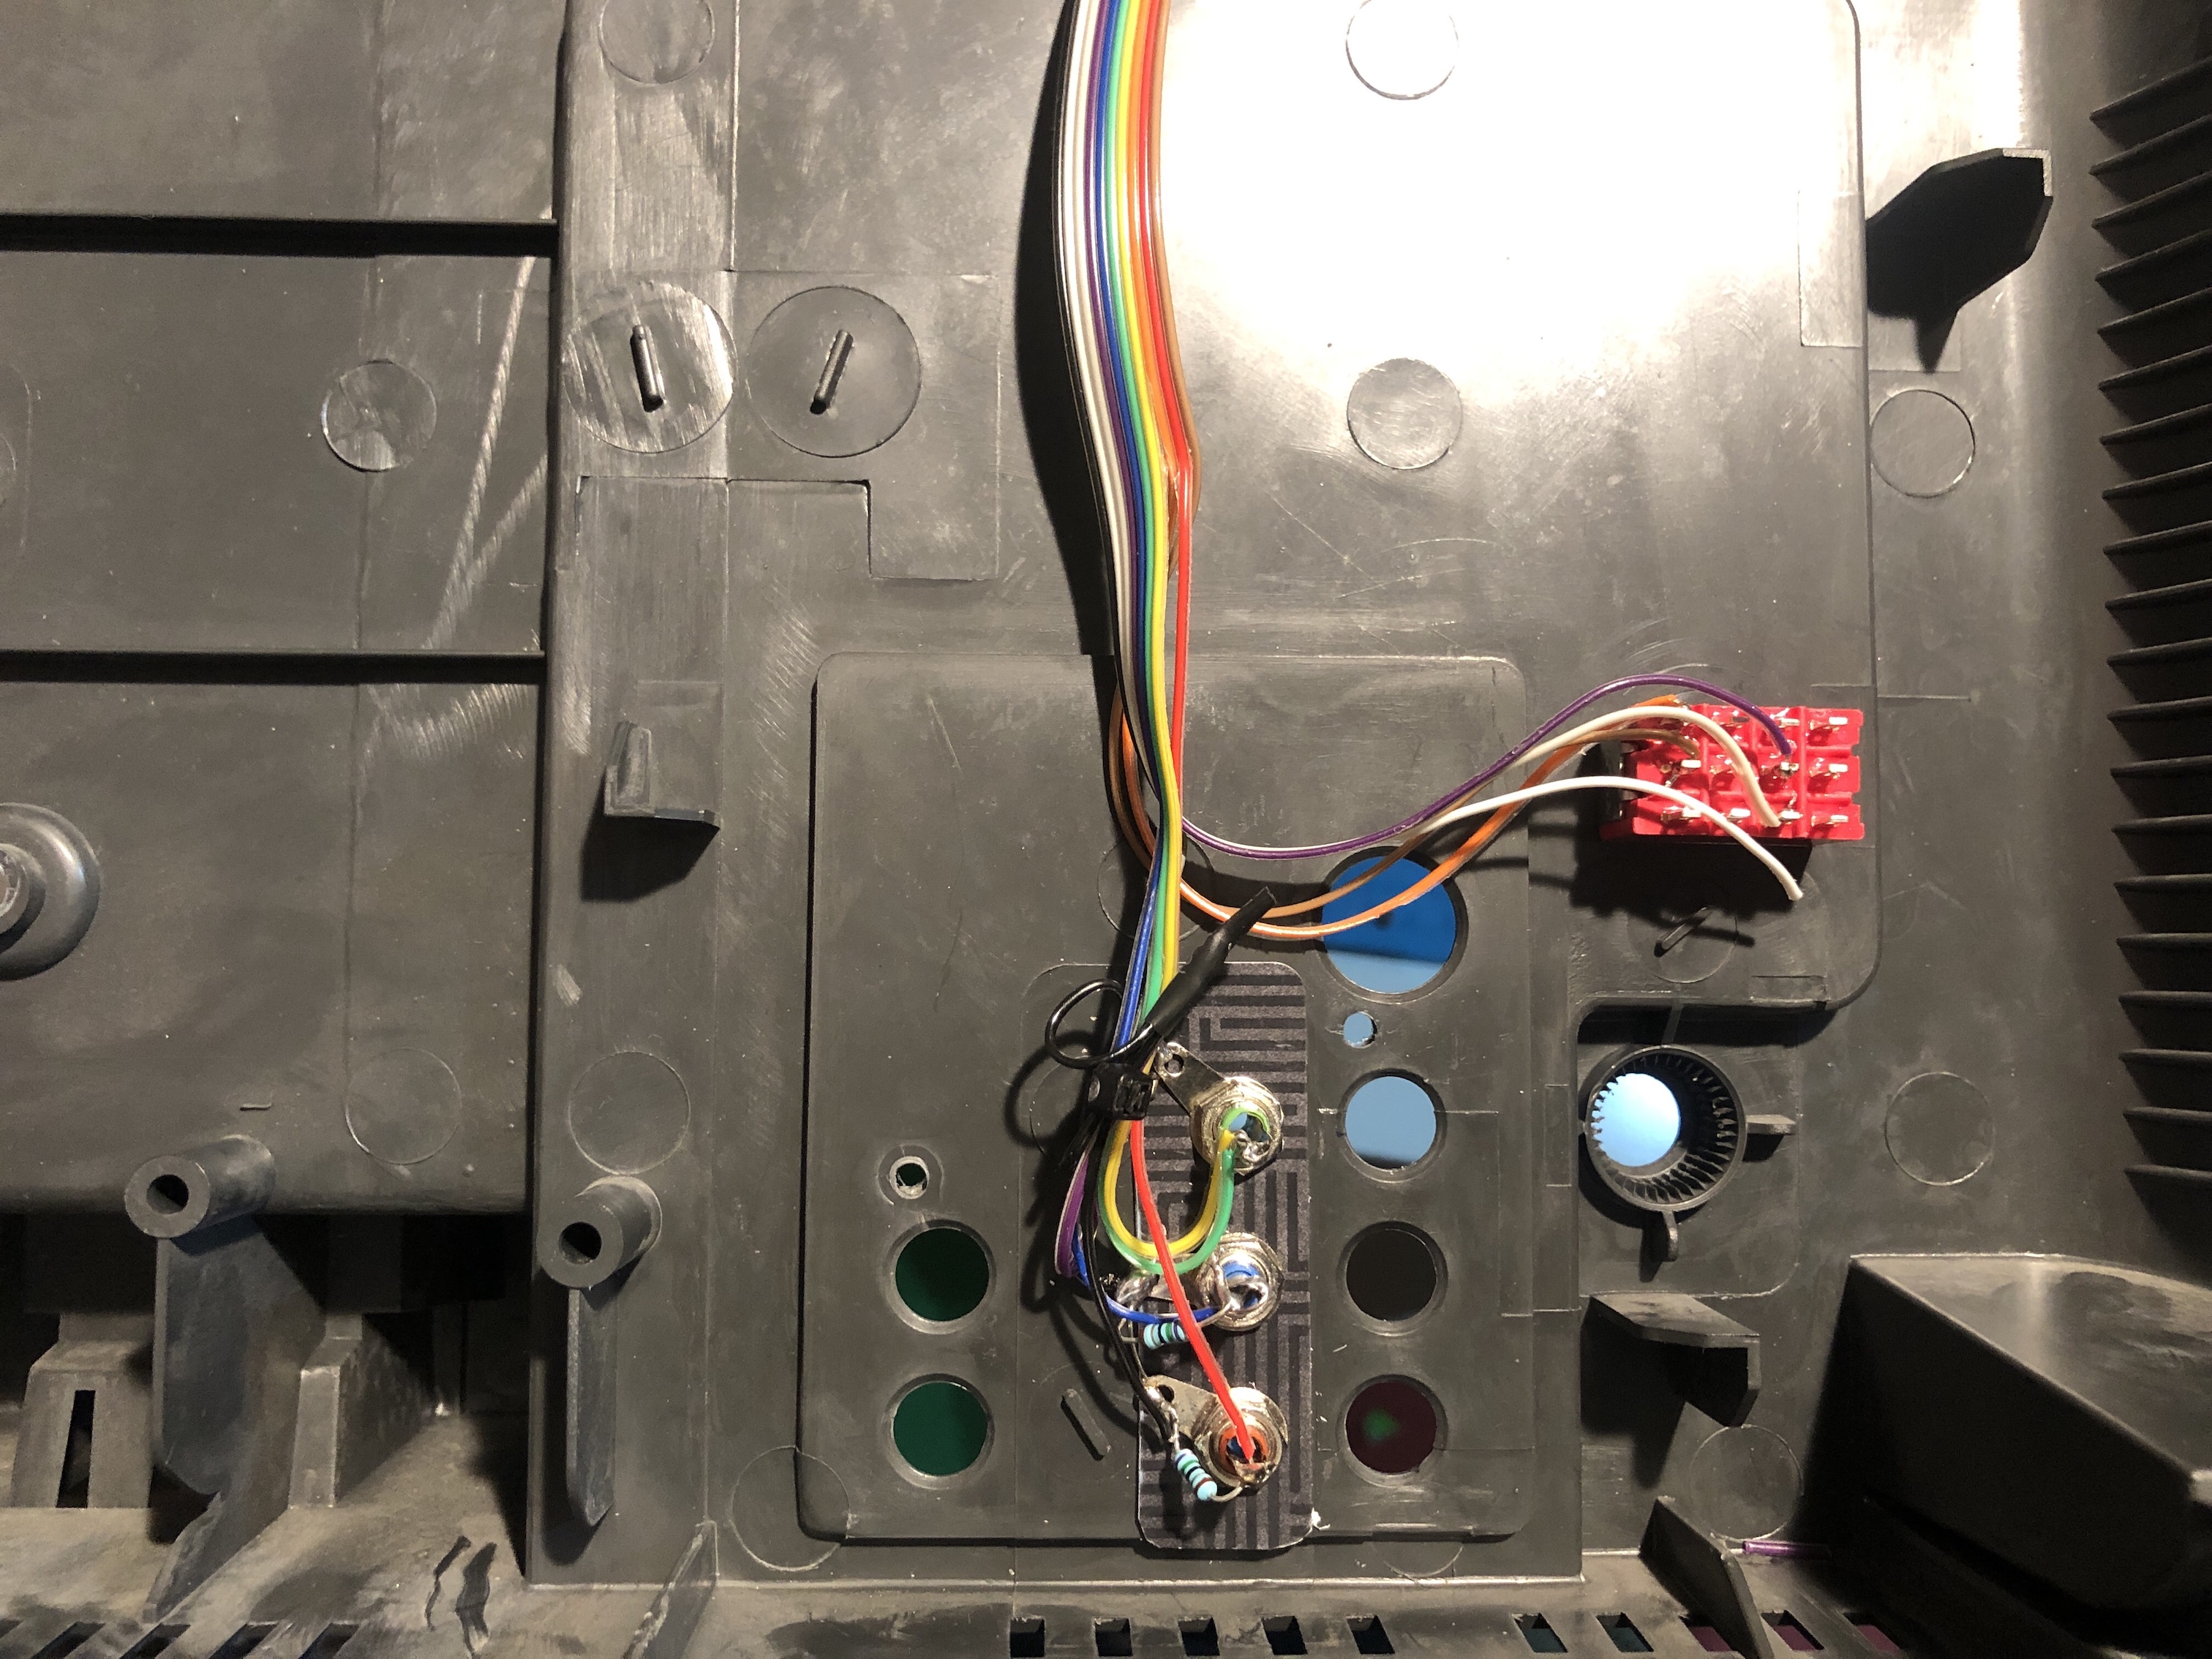
Drill holes and attach the YPbPr connectors and add a switch for blanking. I didn't have a SPST switch, so ended up using something fancy.
SCART and YPbPr Component can easily co-exist on this CRT 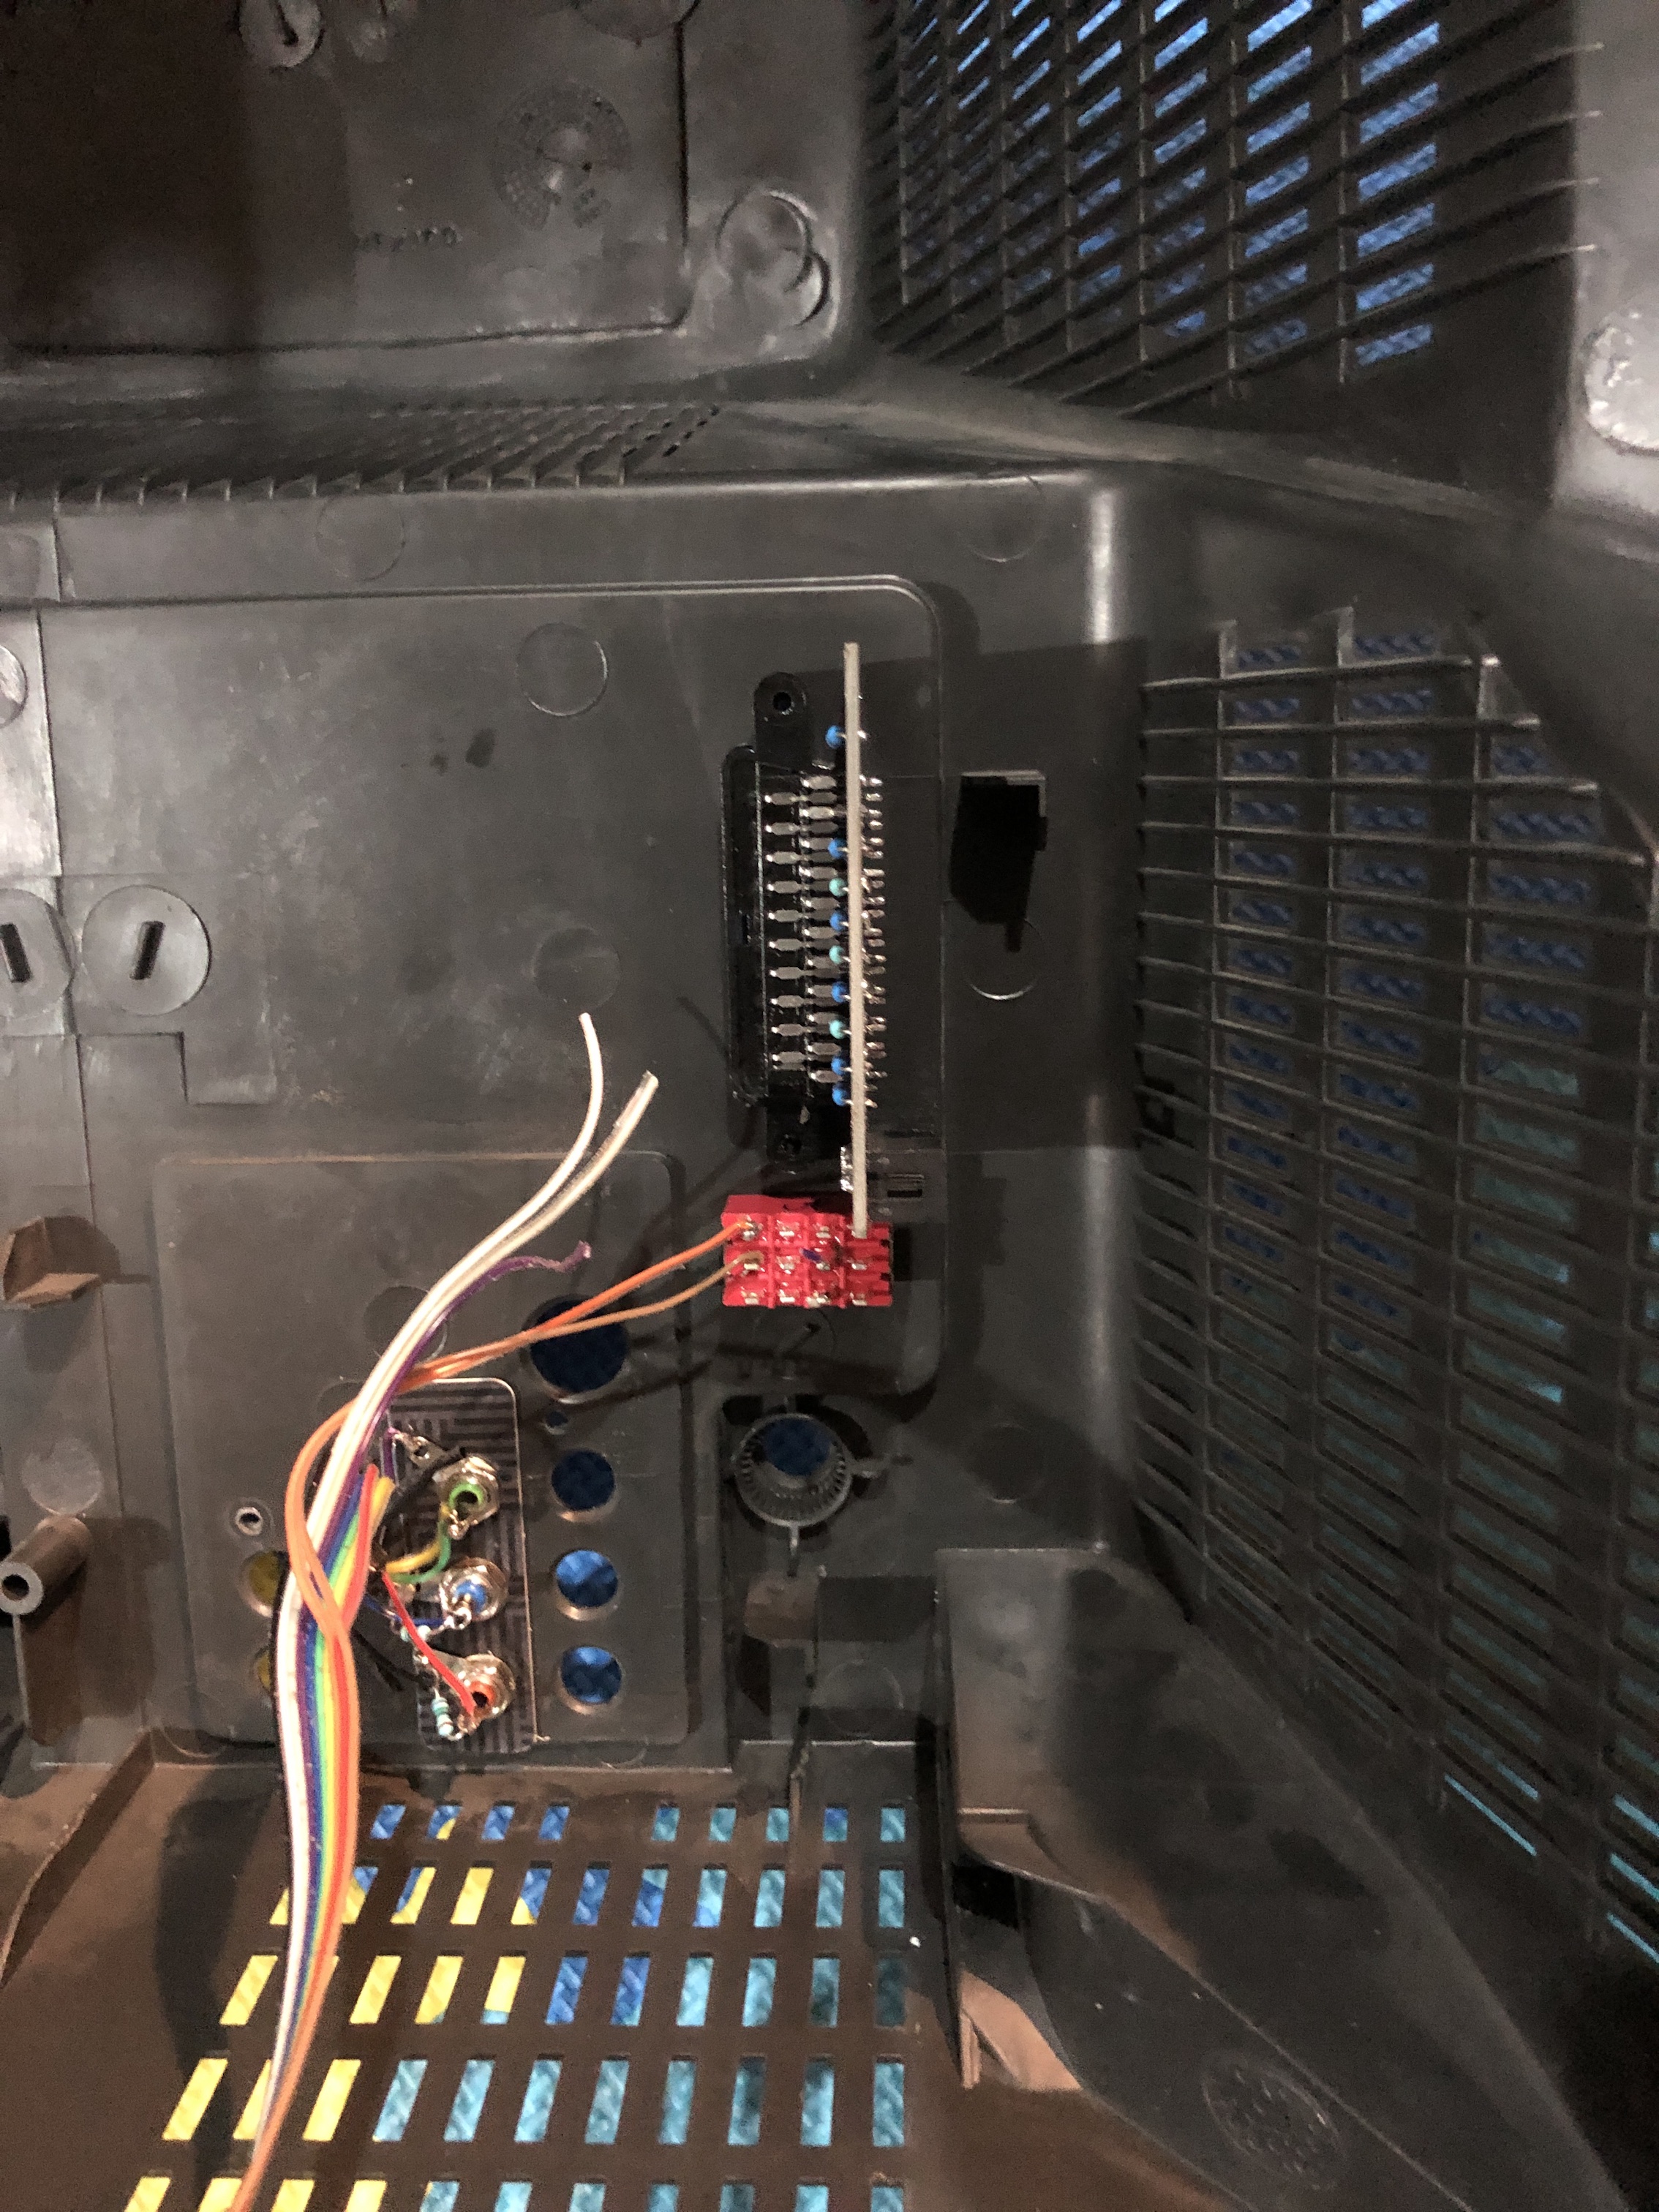
STEP 3: Adding 75 ohm termination
Add 75Ω termination resistors to Blue and Red connectors.
Connect Green with S-Video's Luma pin. Make sure grounding wires are all connected properly
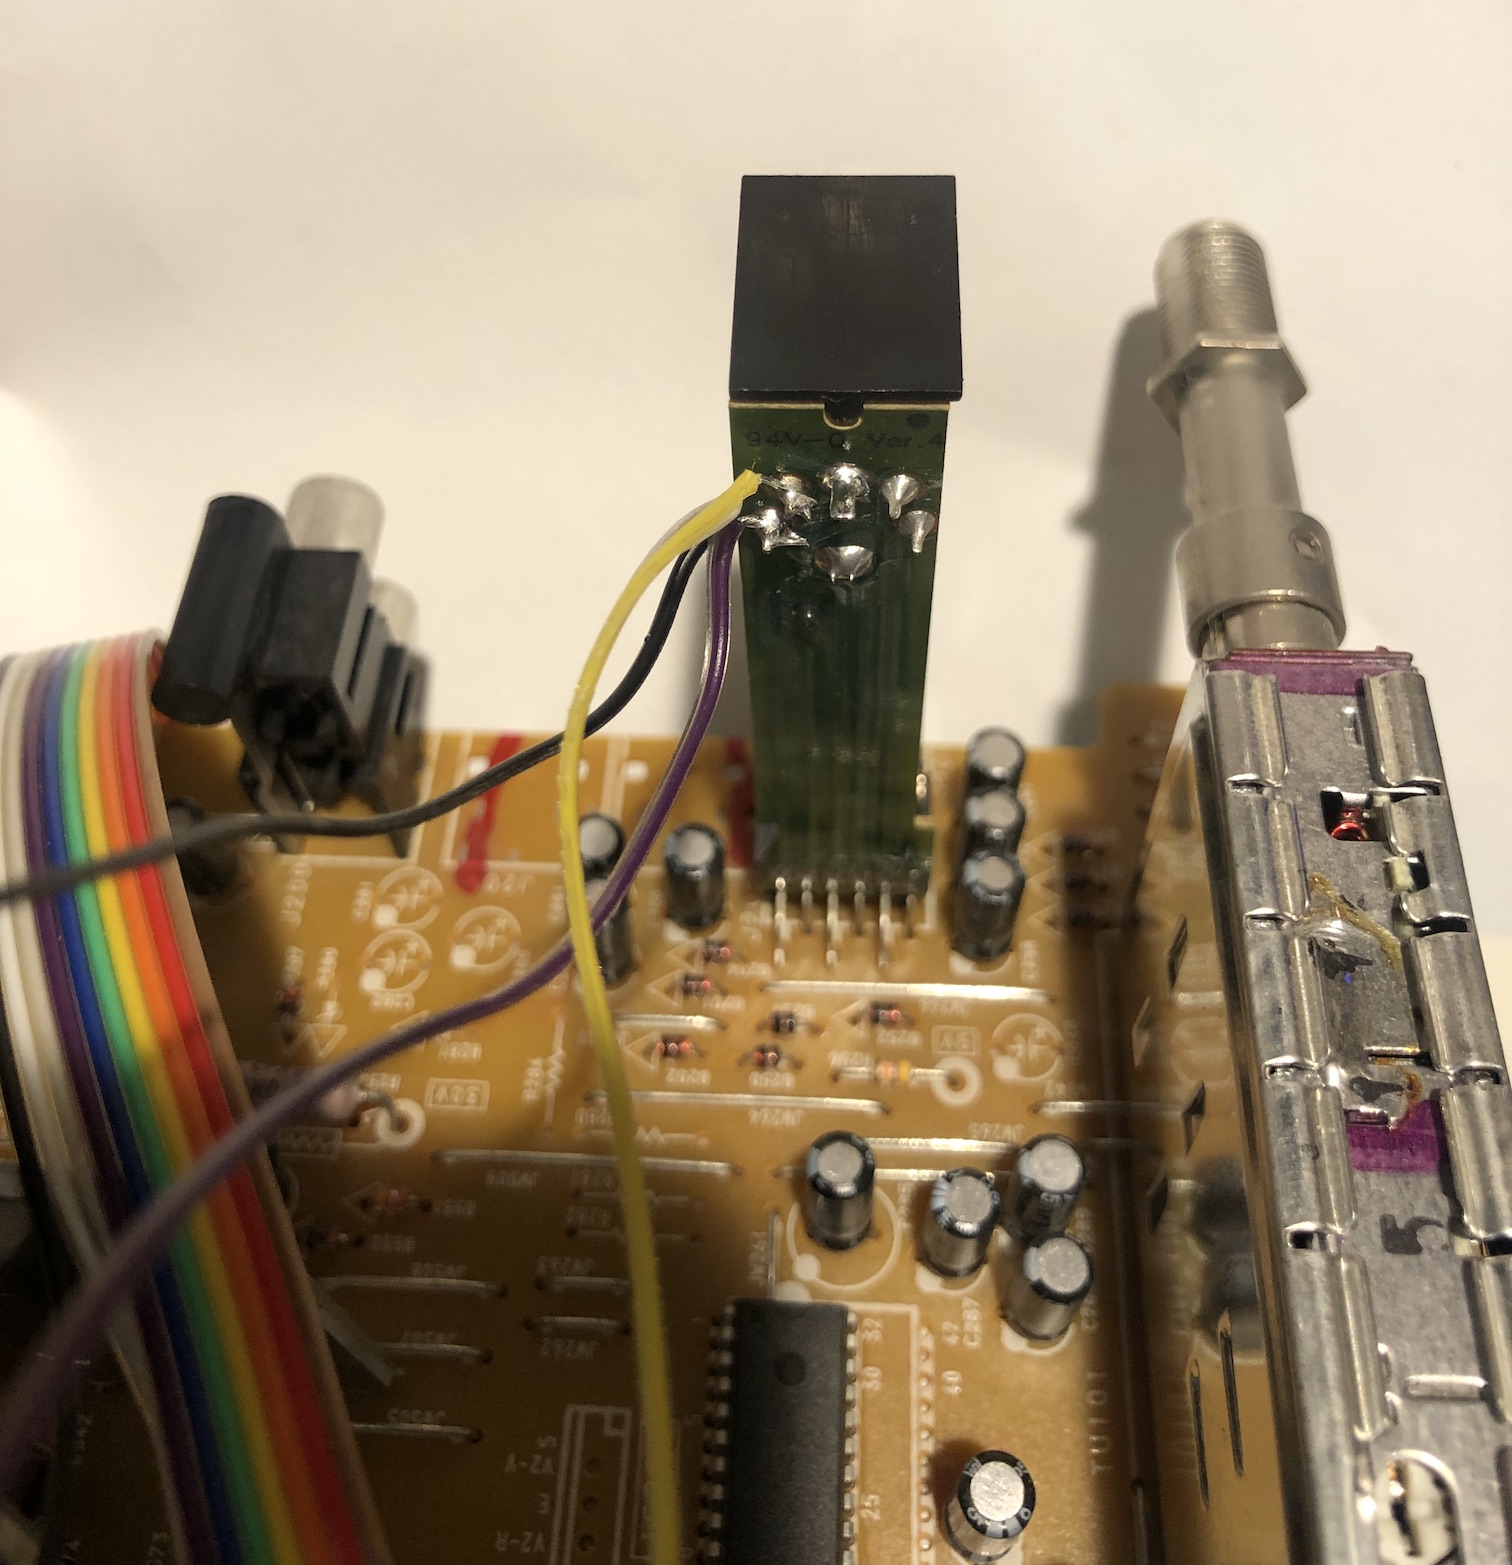
Finished mod
Audio for YPbPr component goes through the standard Left and Right Audio along with Video 1 input. 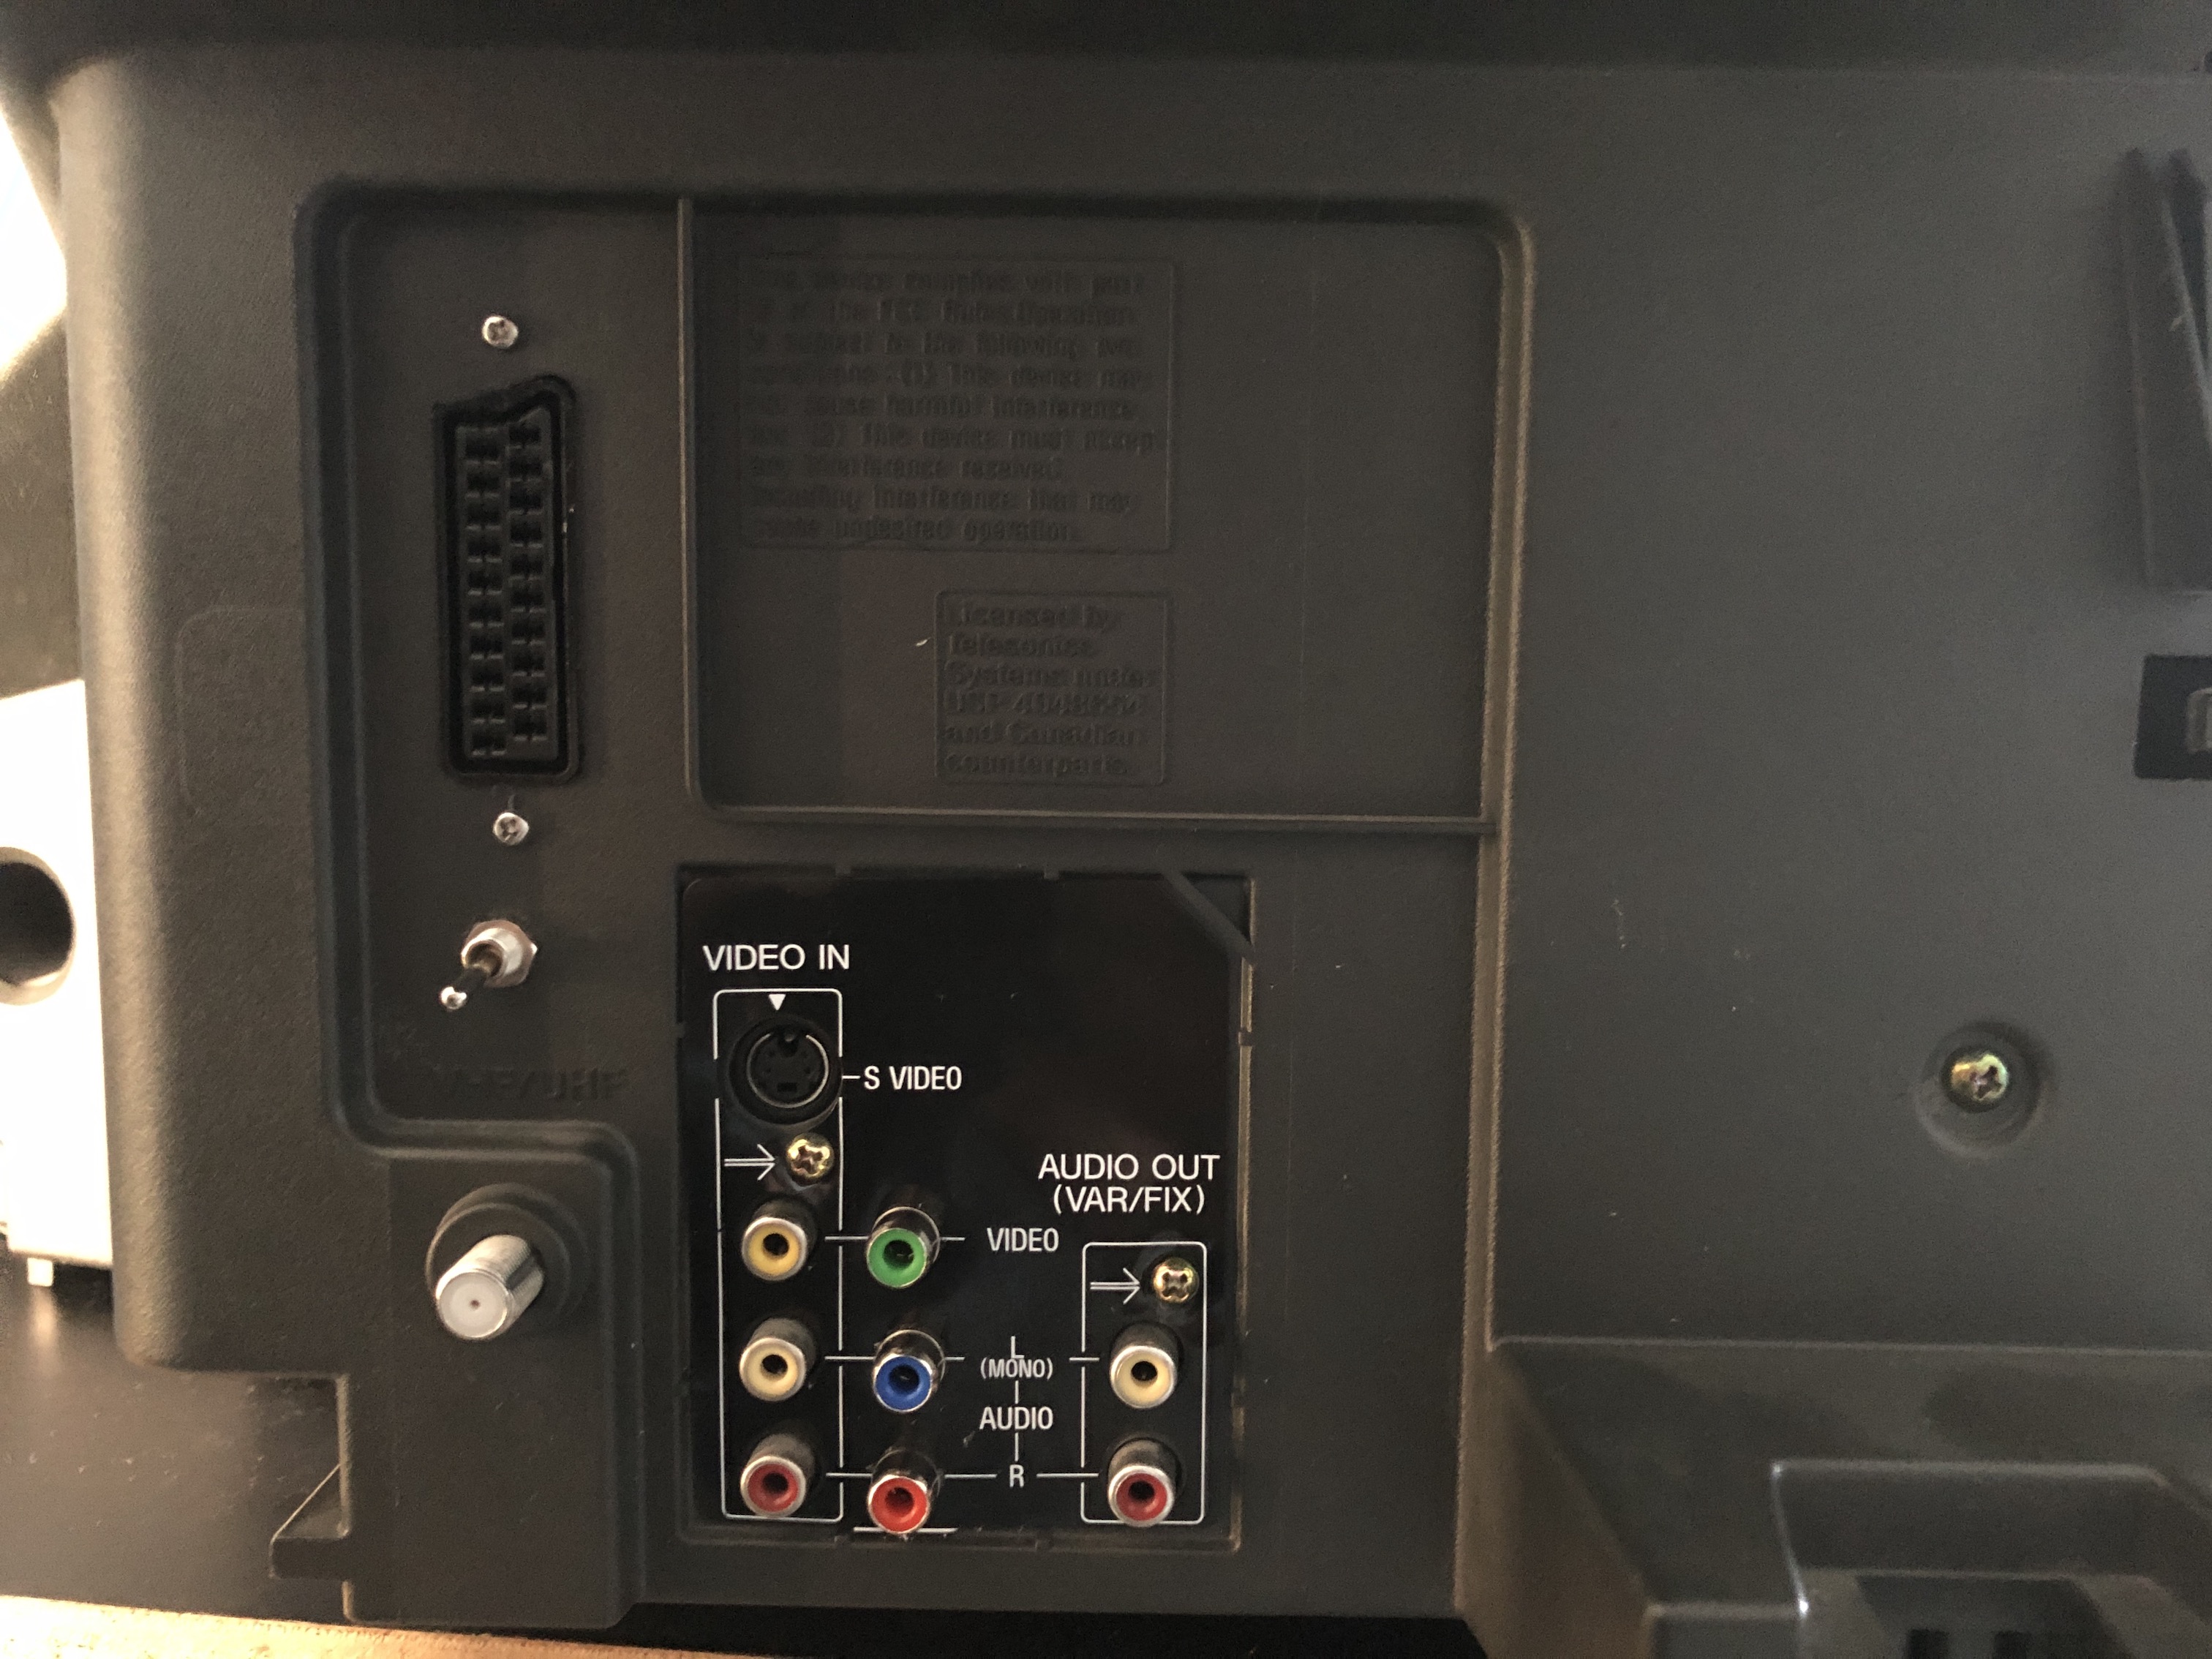
Below picture is a bit blurry, but you get the idea 
Reducing interference
Sometimes you might notice micro interference in the video signals. This is expected. To reduce it, try the following.
- Use diodes in-line for RGB signal
- Make sure your blanking wire is connected after the diode that feeds into the chroma chip (see diagram)
- Try routing most of the cabling below the PCB
- Keep the ribbon cable short
- I really didn't find any difference in interference in using shielded vs non-shileded cables. Therefore, this is optional.
Getting into the service menu
- Turn the set on and then put into standby
- Press the
Display,5,VOL +buttons in sequence - Turn on the CRT and you should be in service mode
- Use buttons "1" and "4" on the remote control to navigate the service menu
- Use buttons "3" and "6" to adjust the selected data
Pictures of the mod
Games (KV-27S42) - Component
Wii - Just Dance 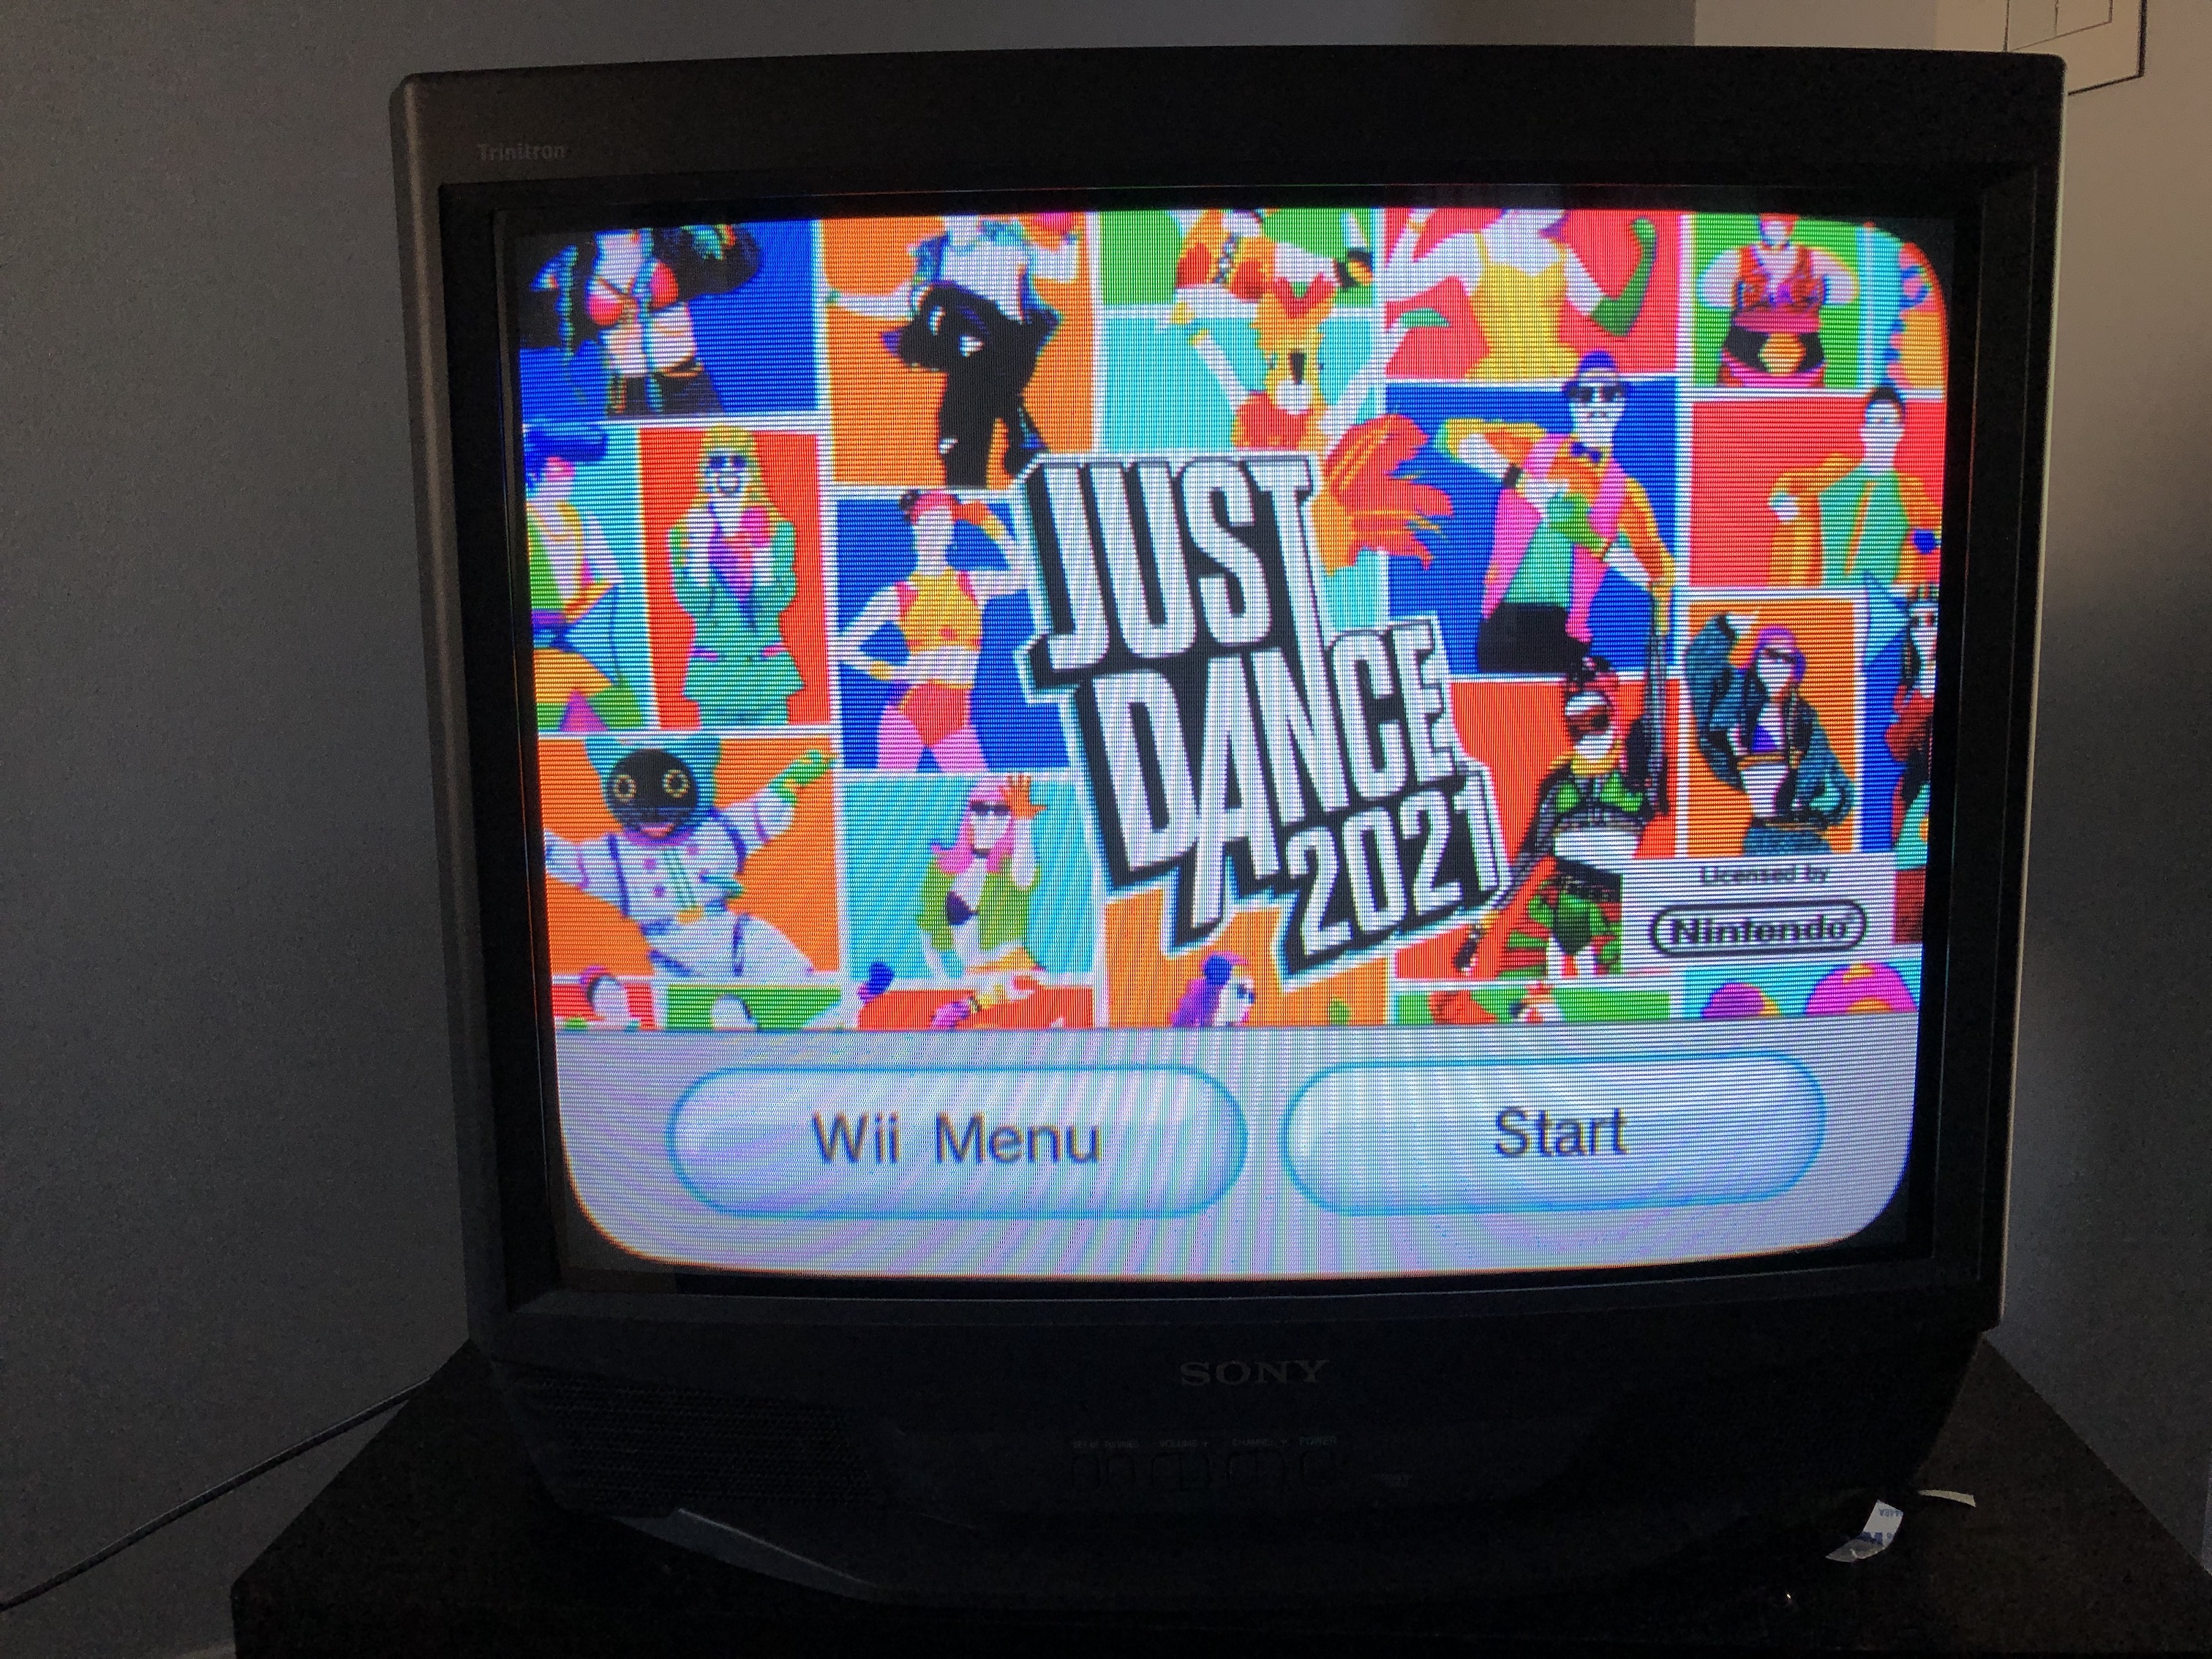
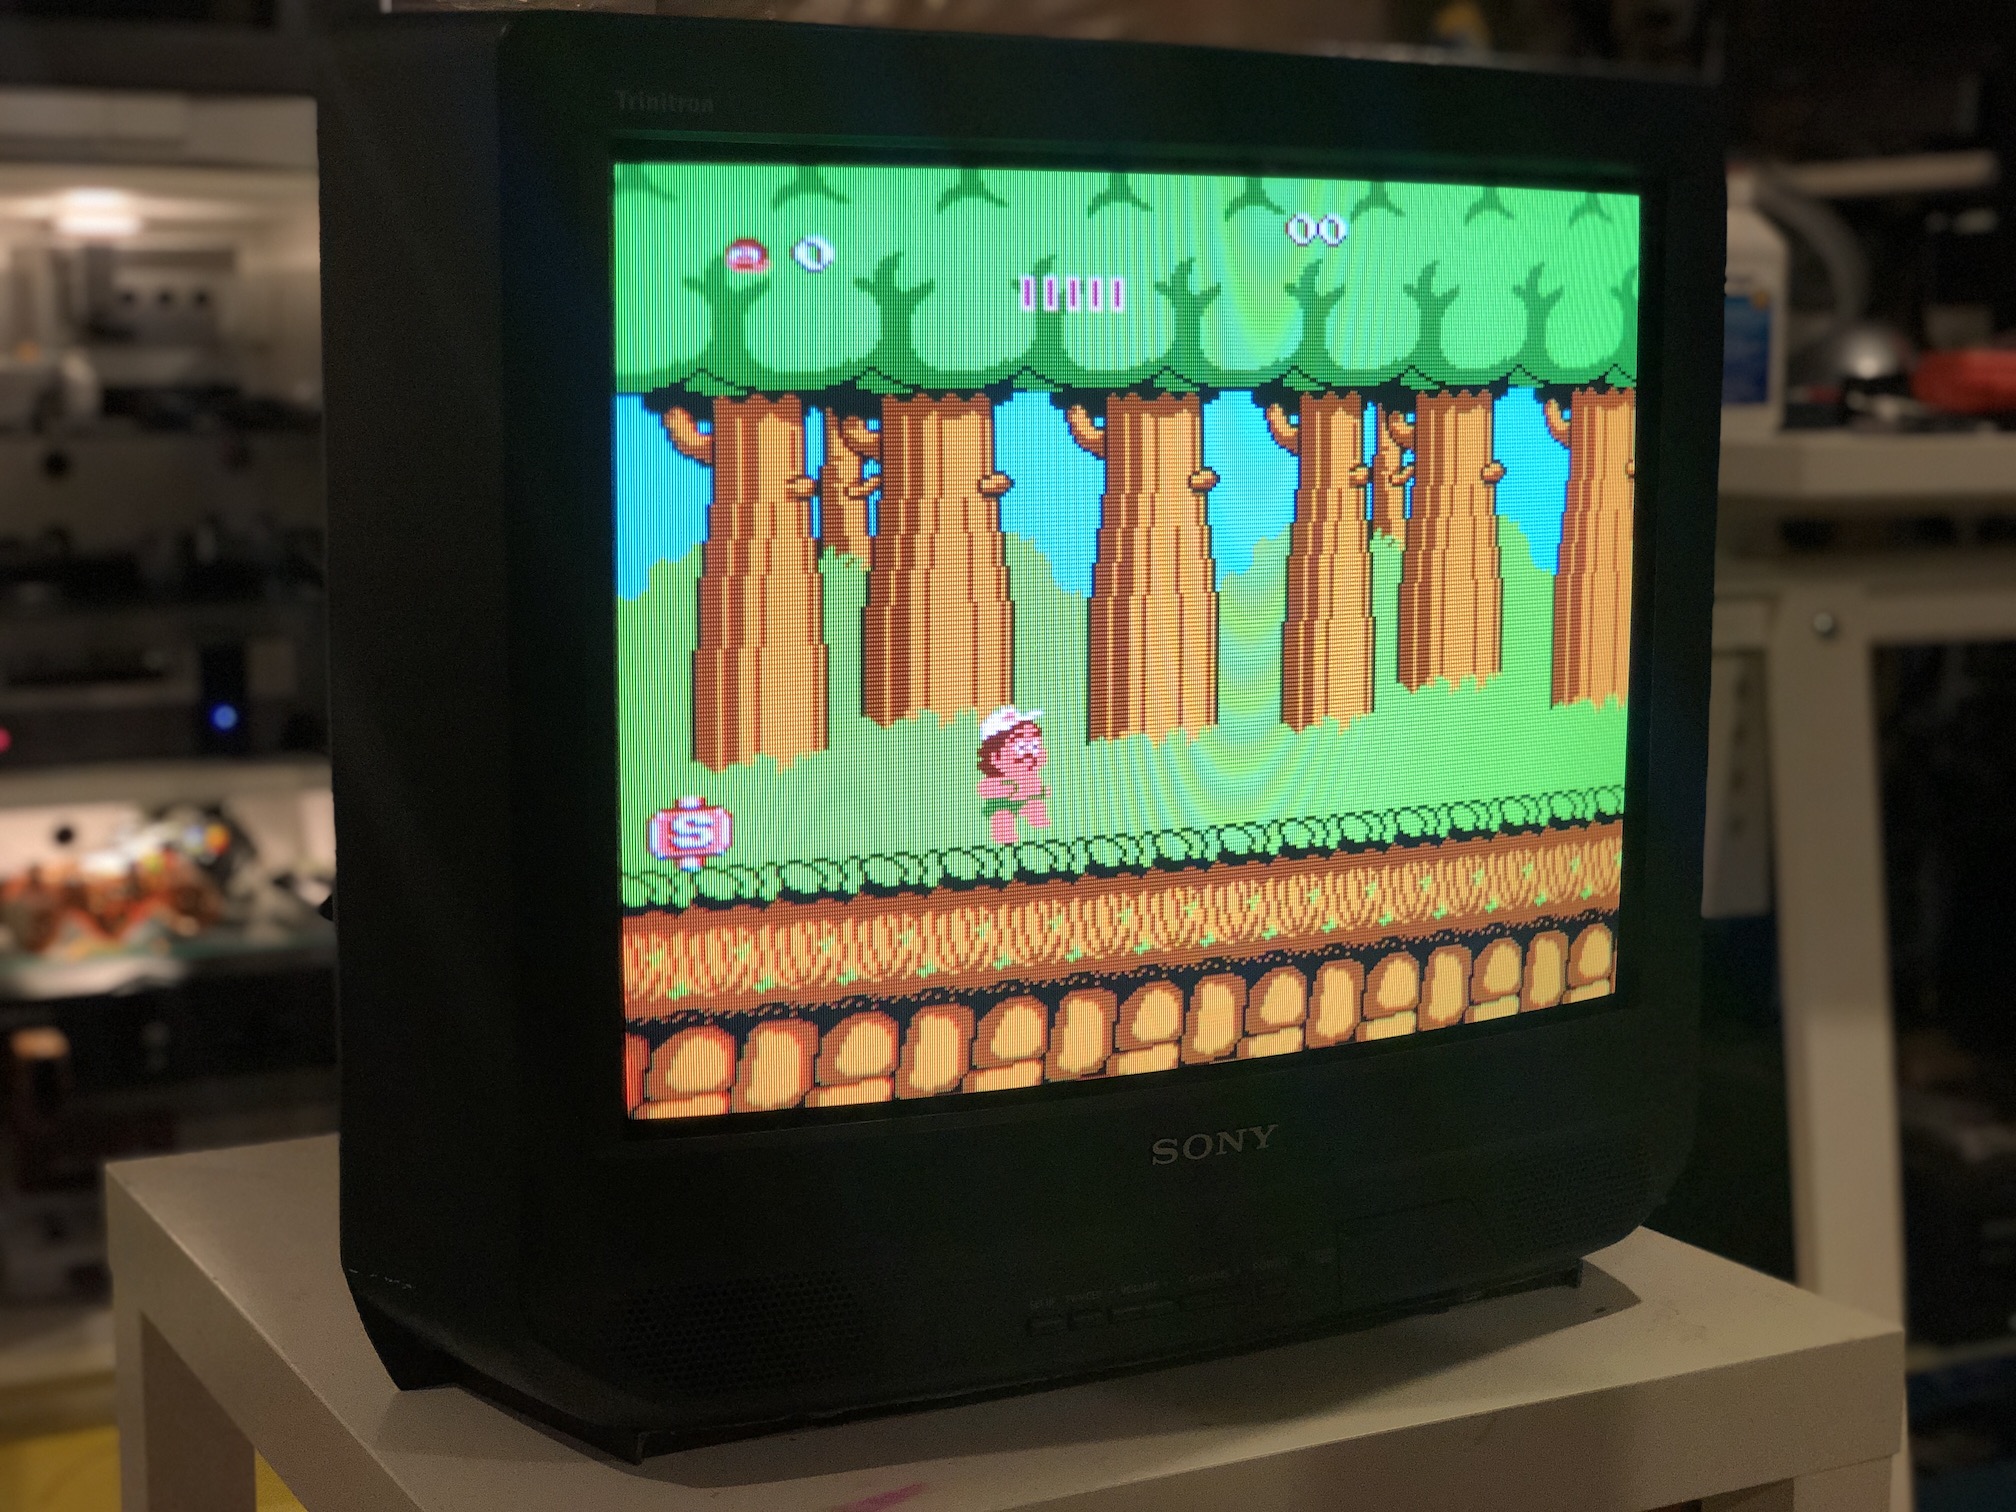
Wii - Rayman Origins 
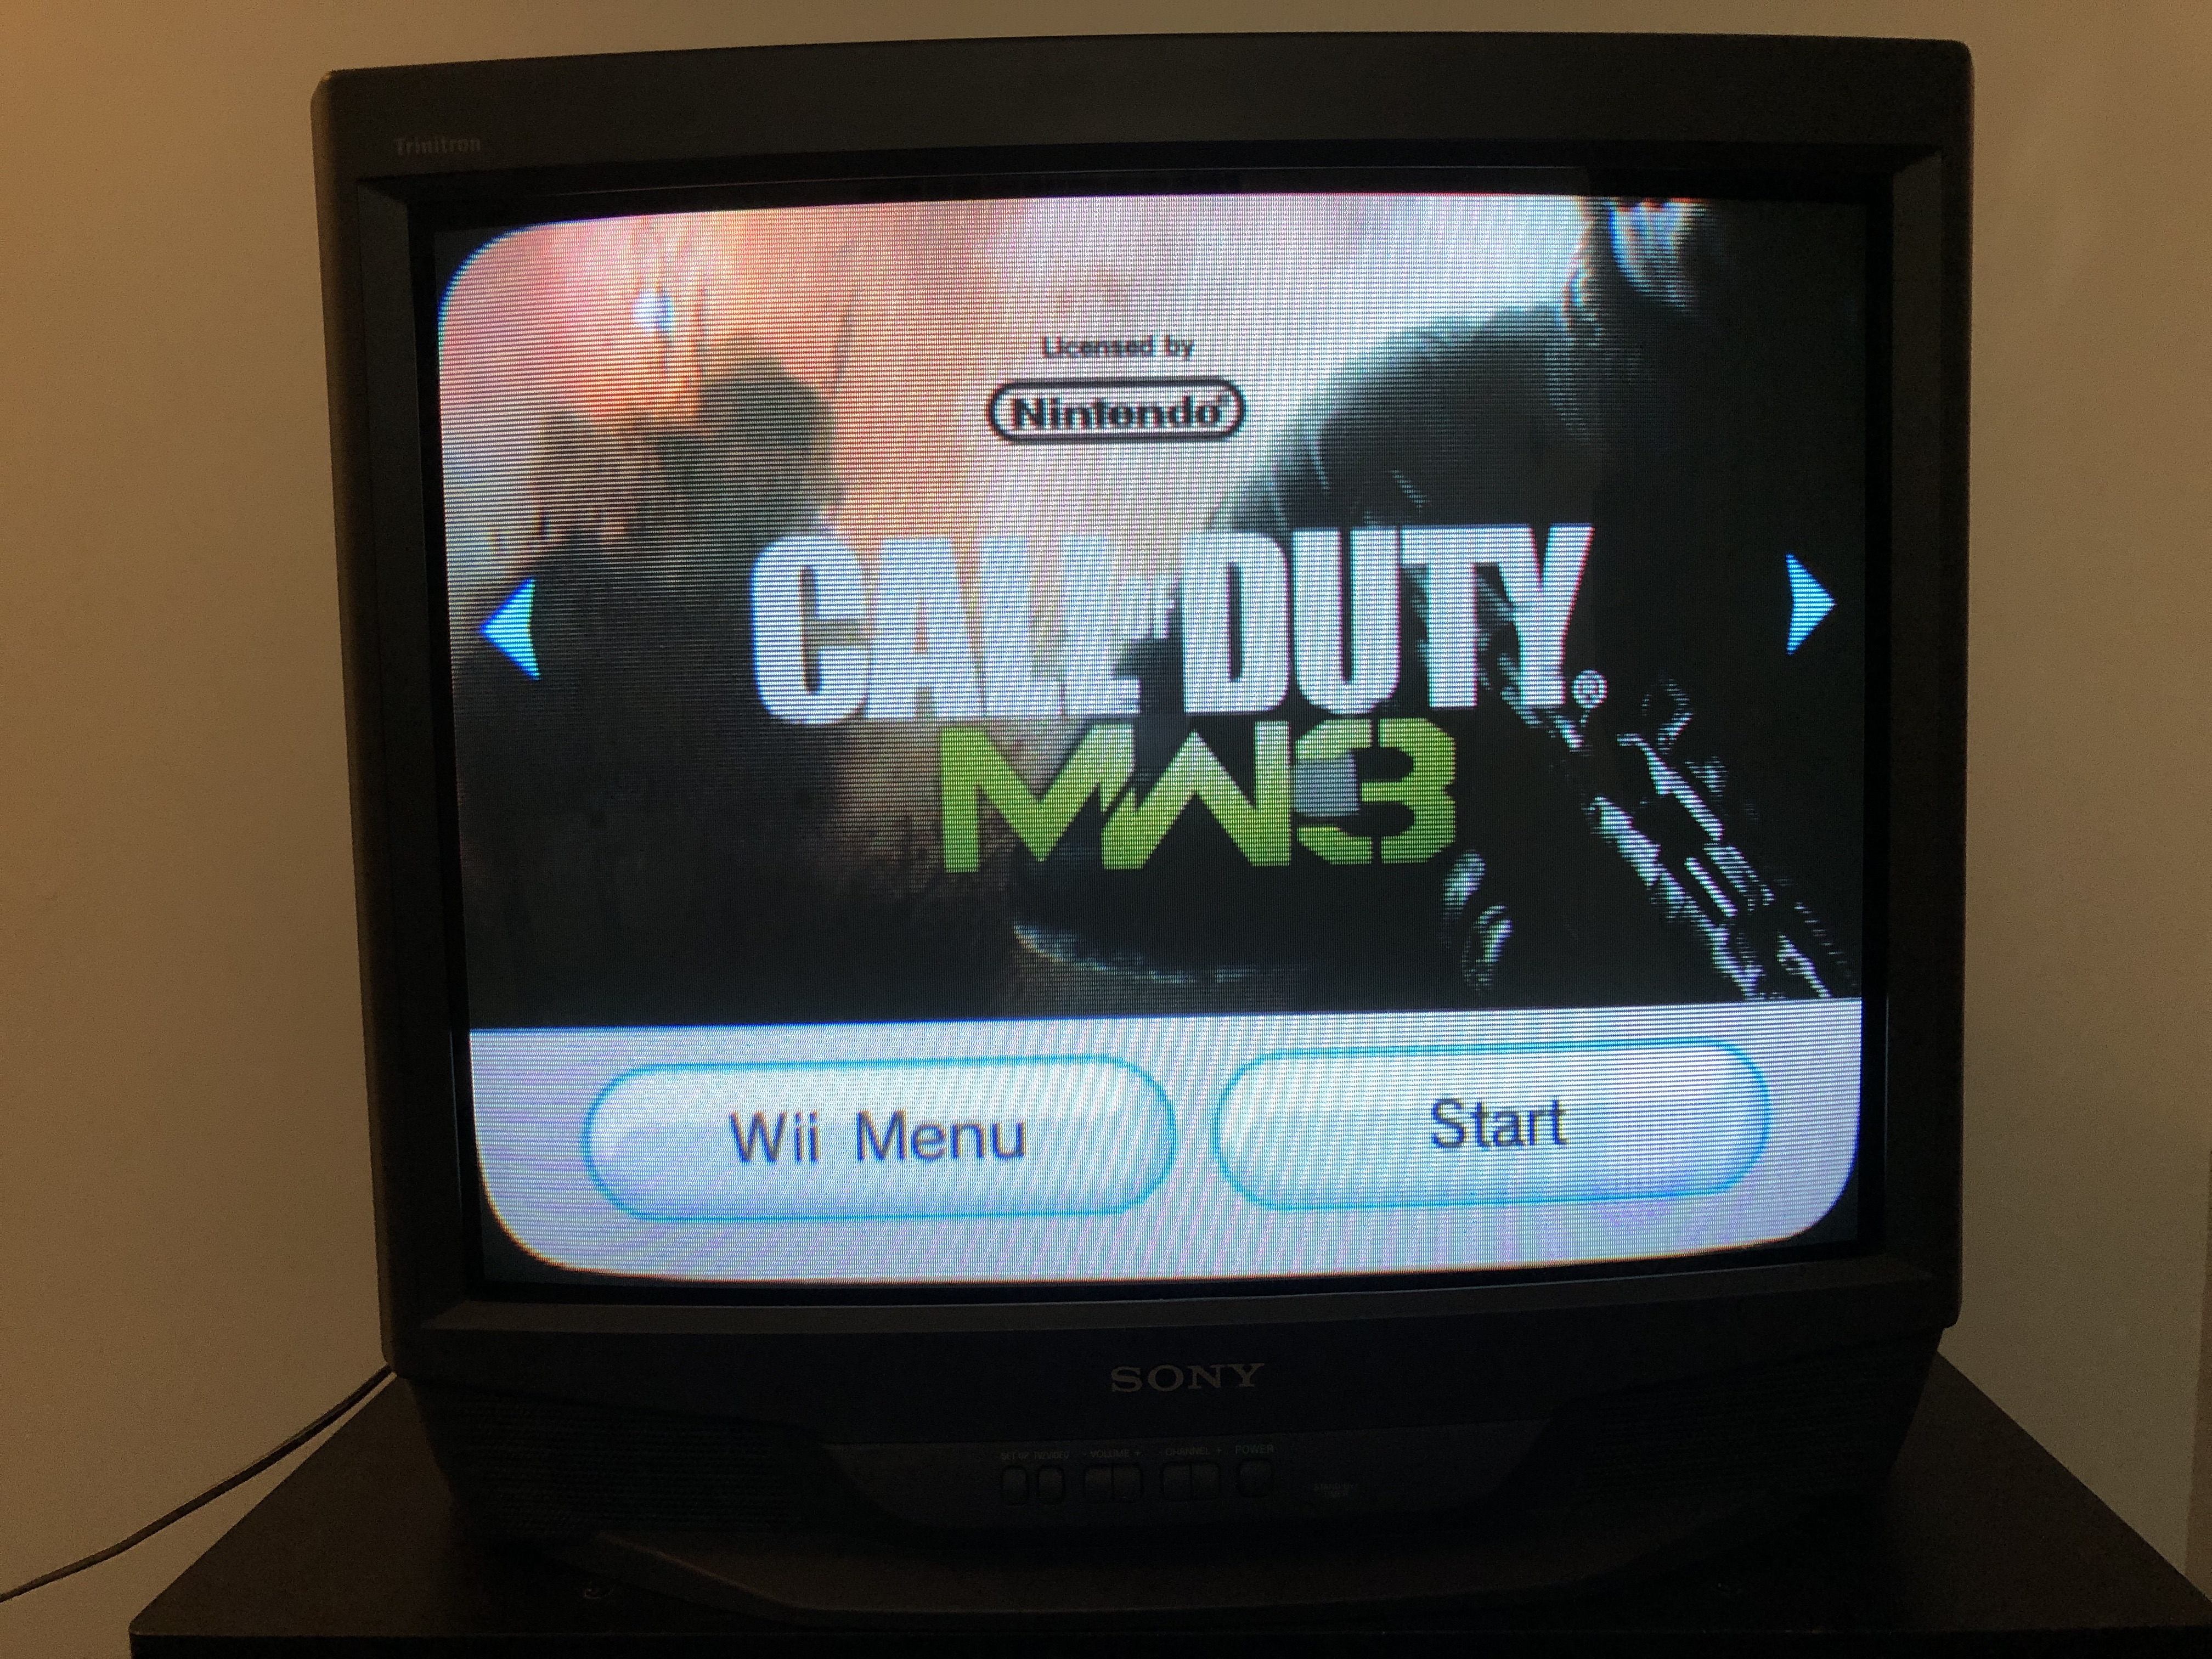
Wii - Call of Duty