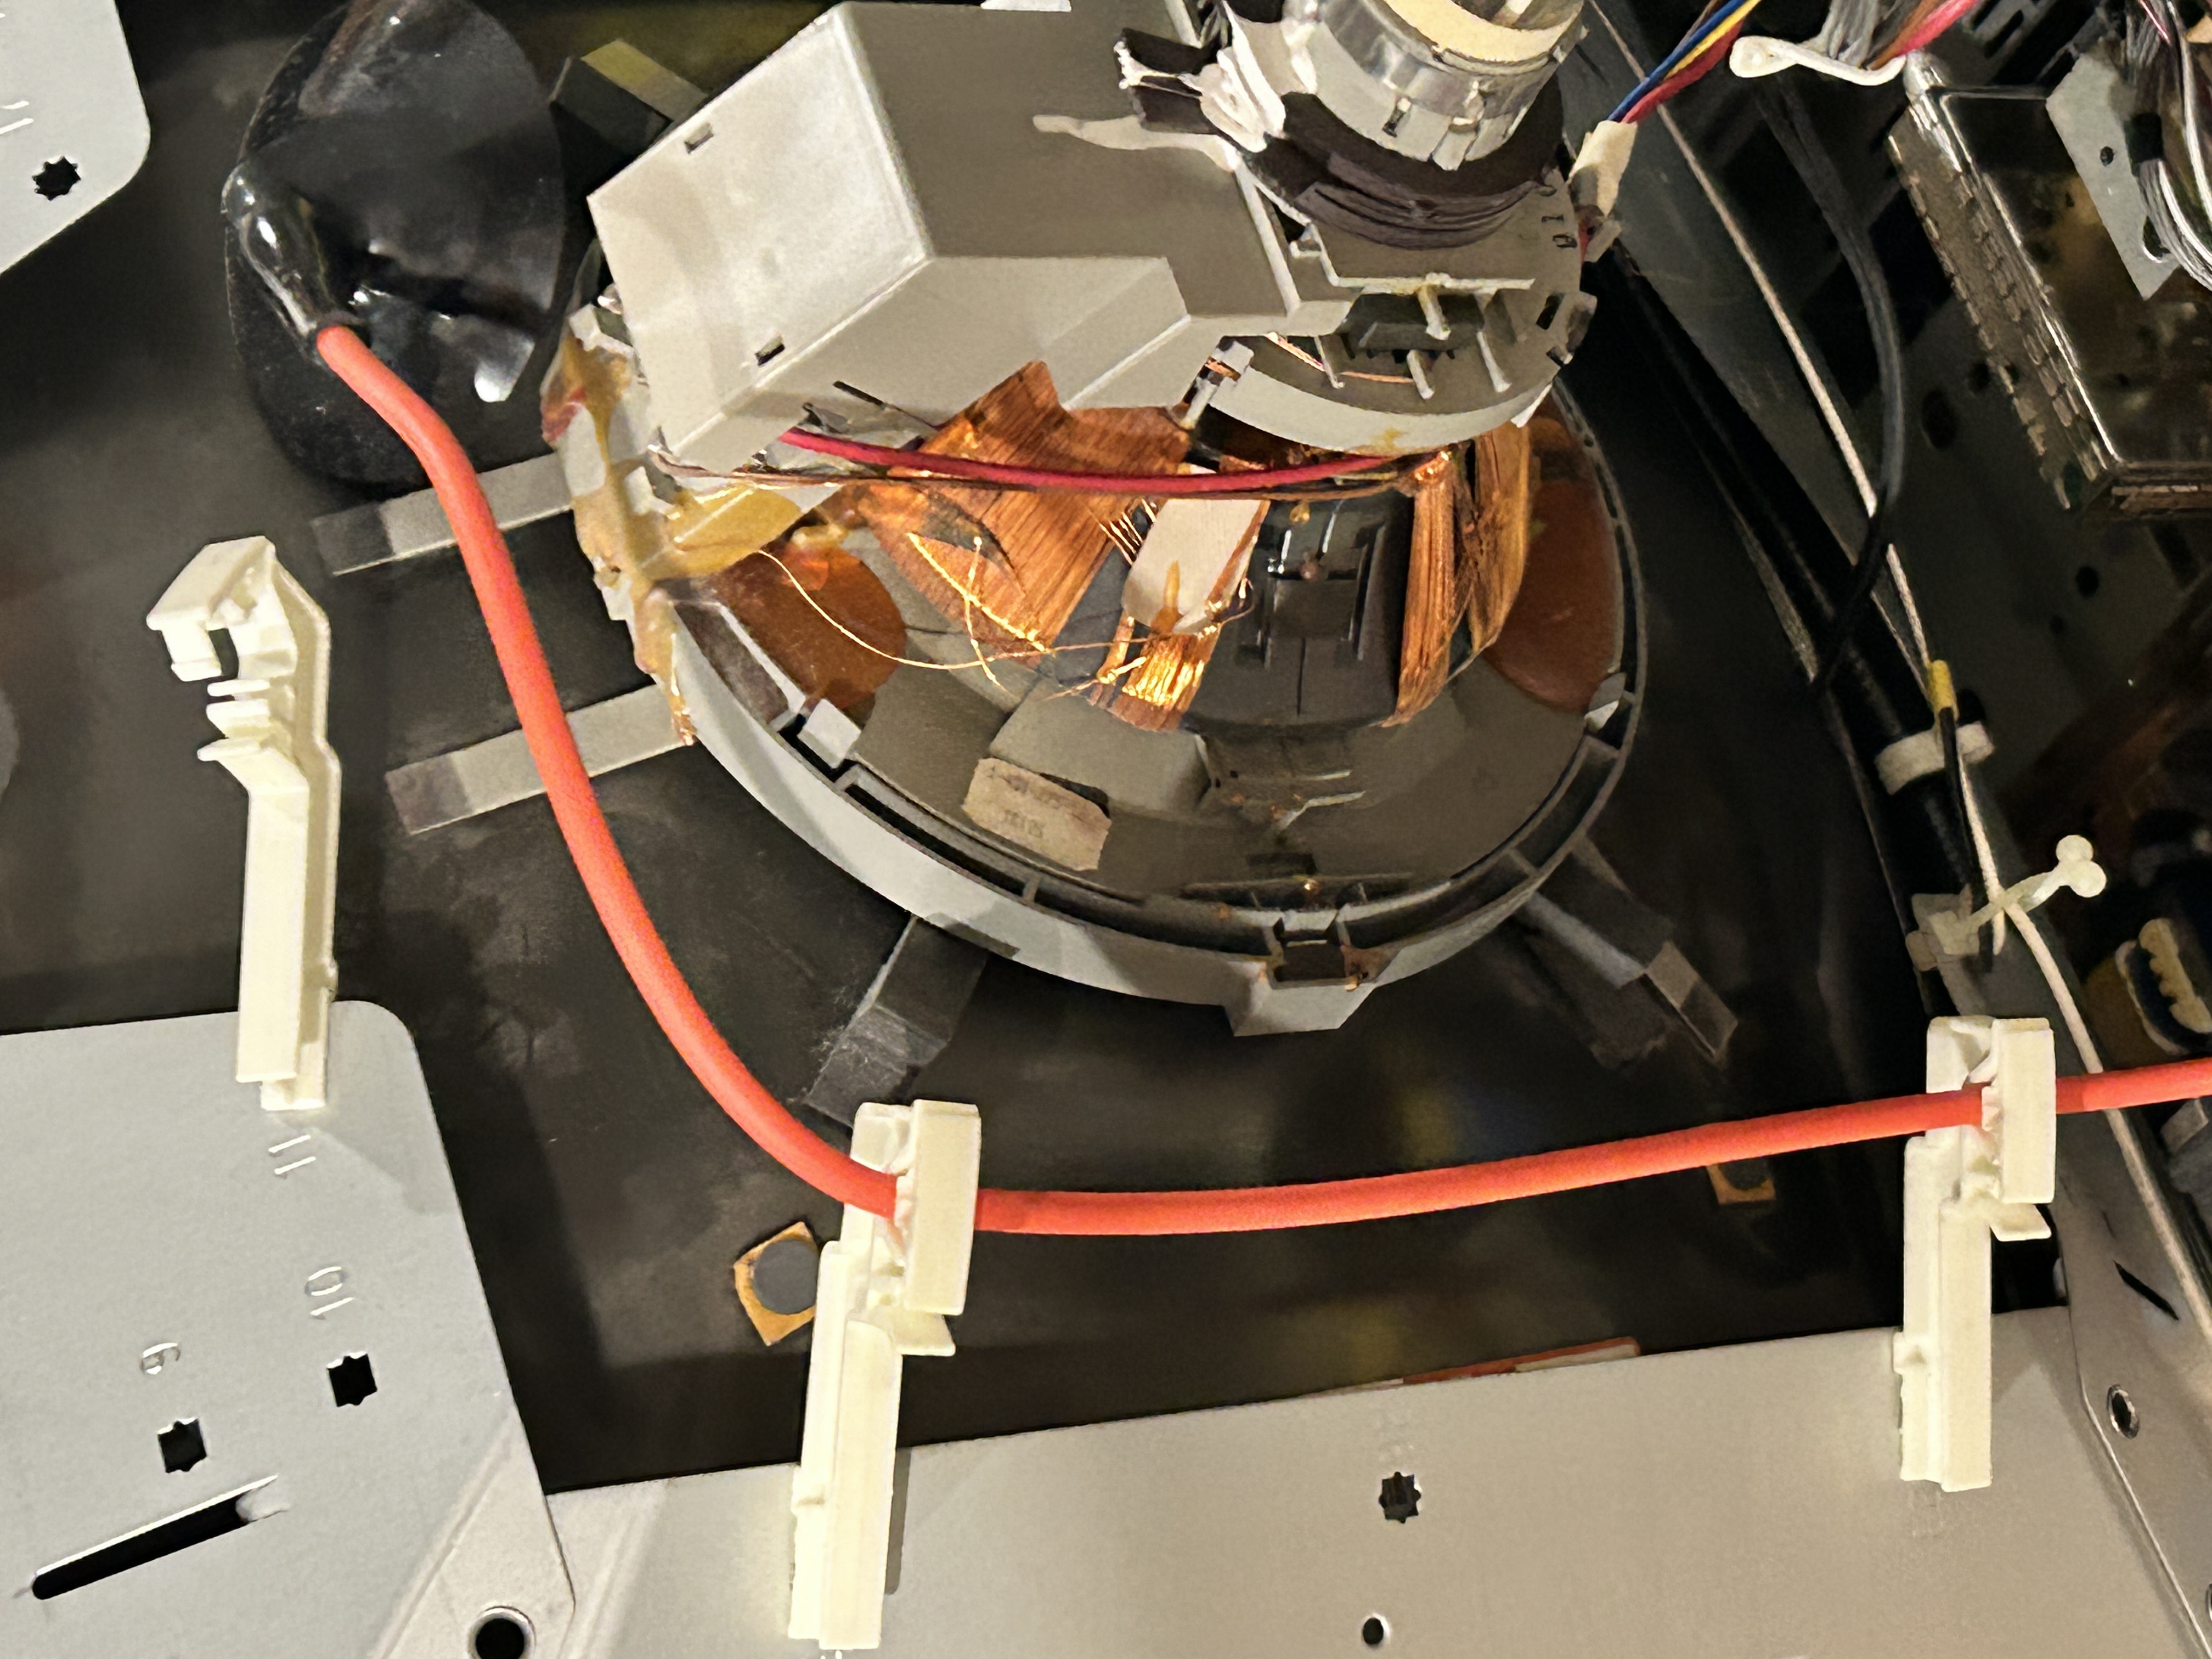
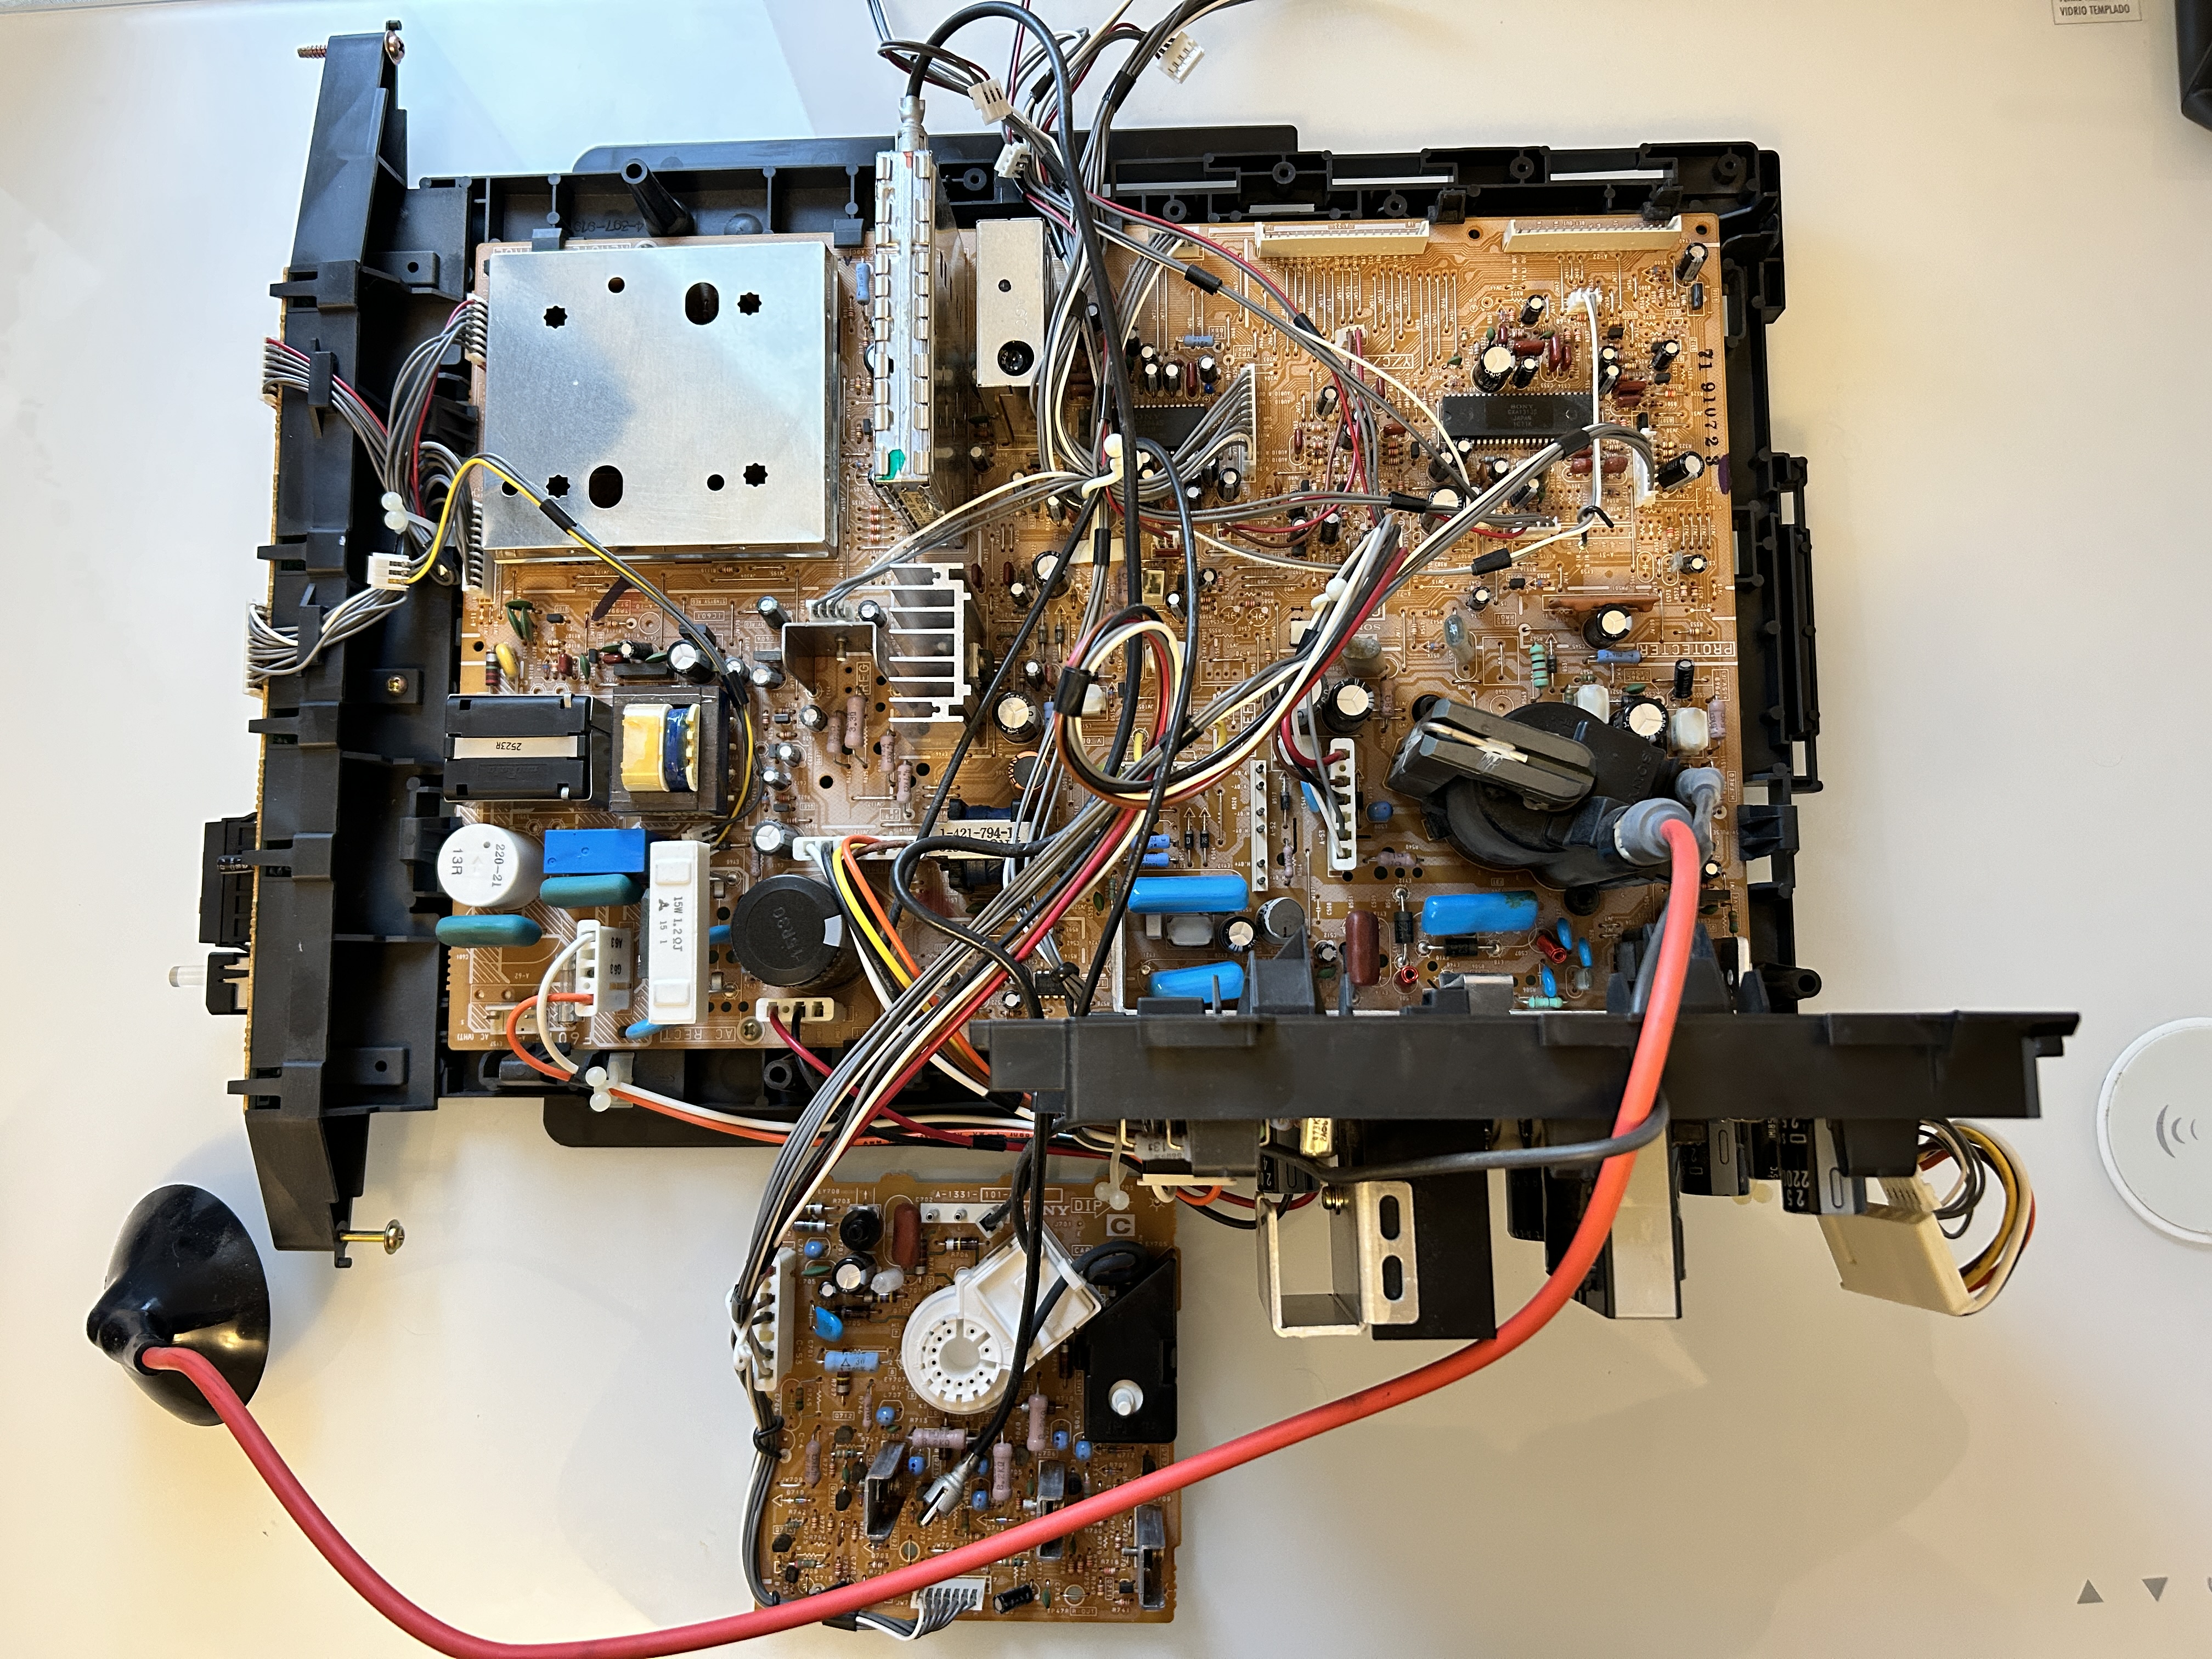
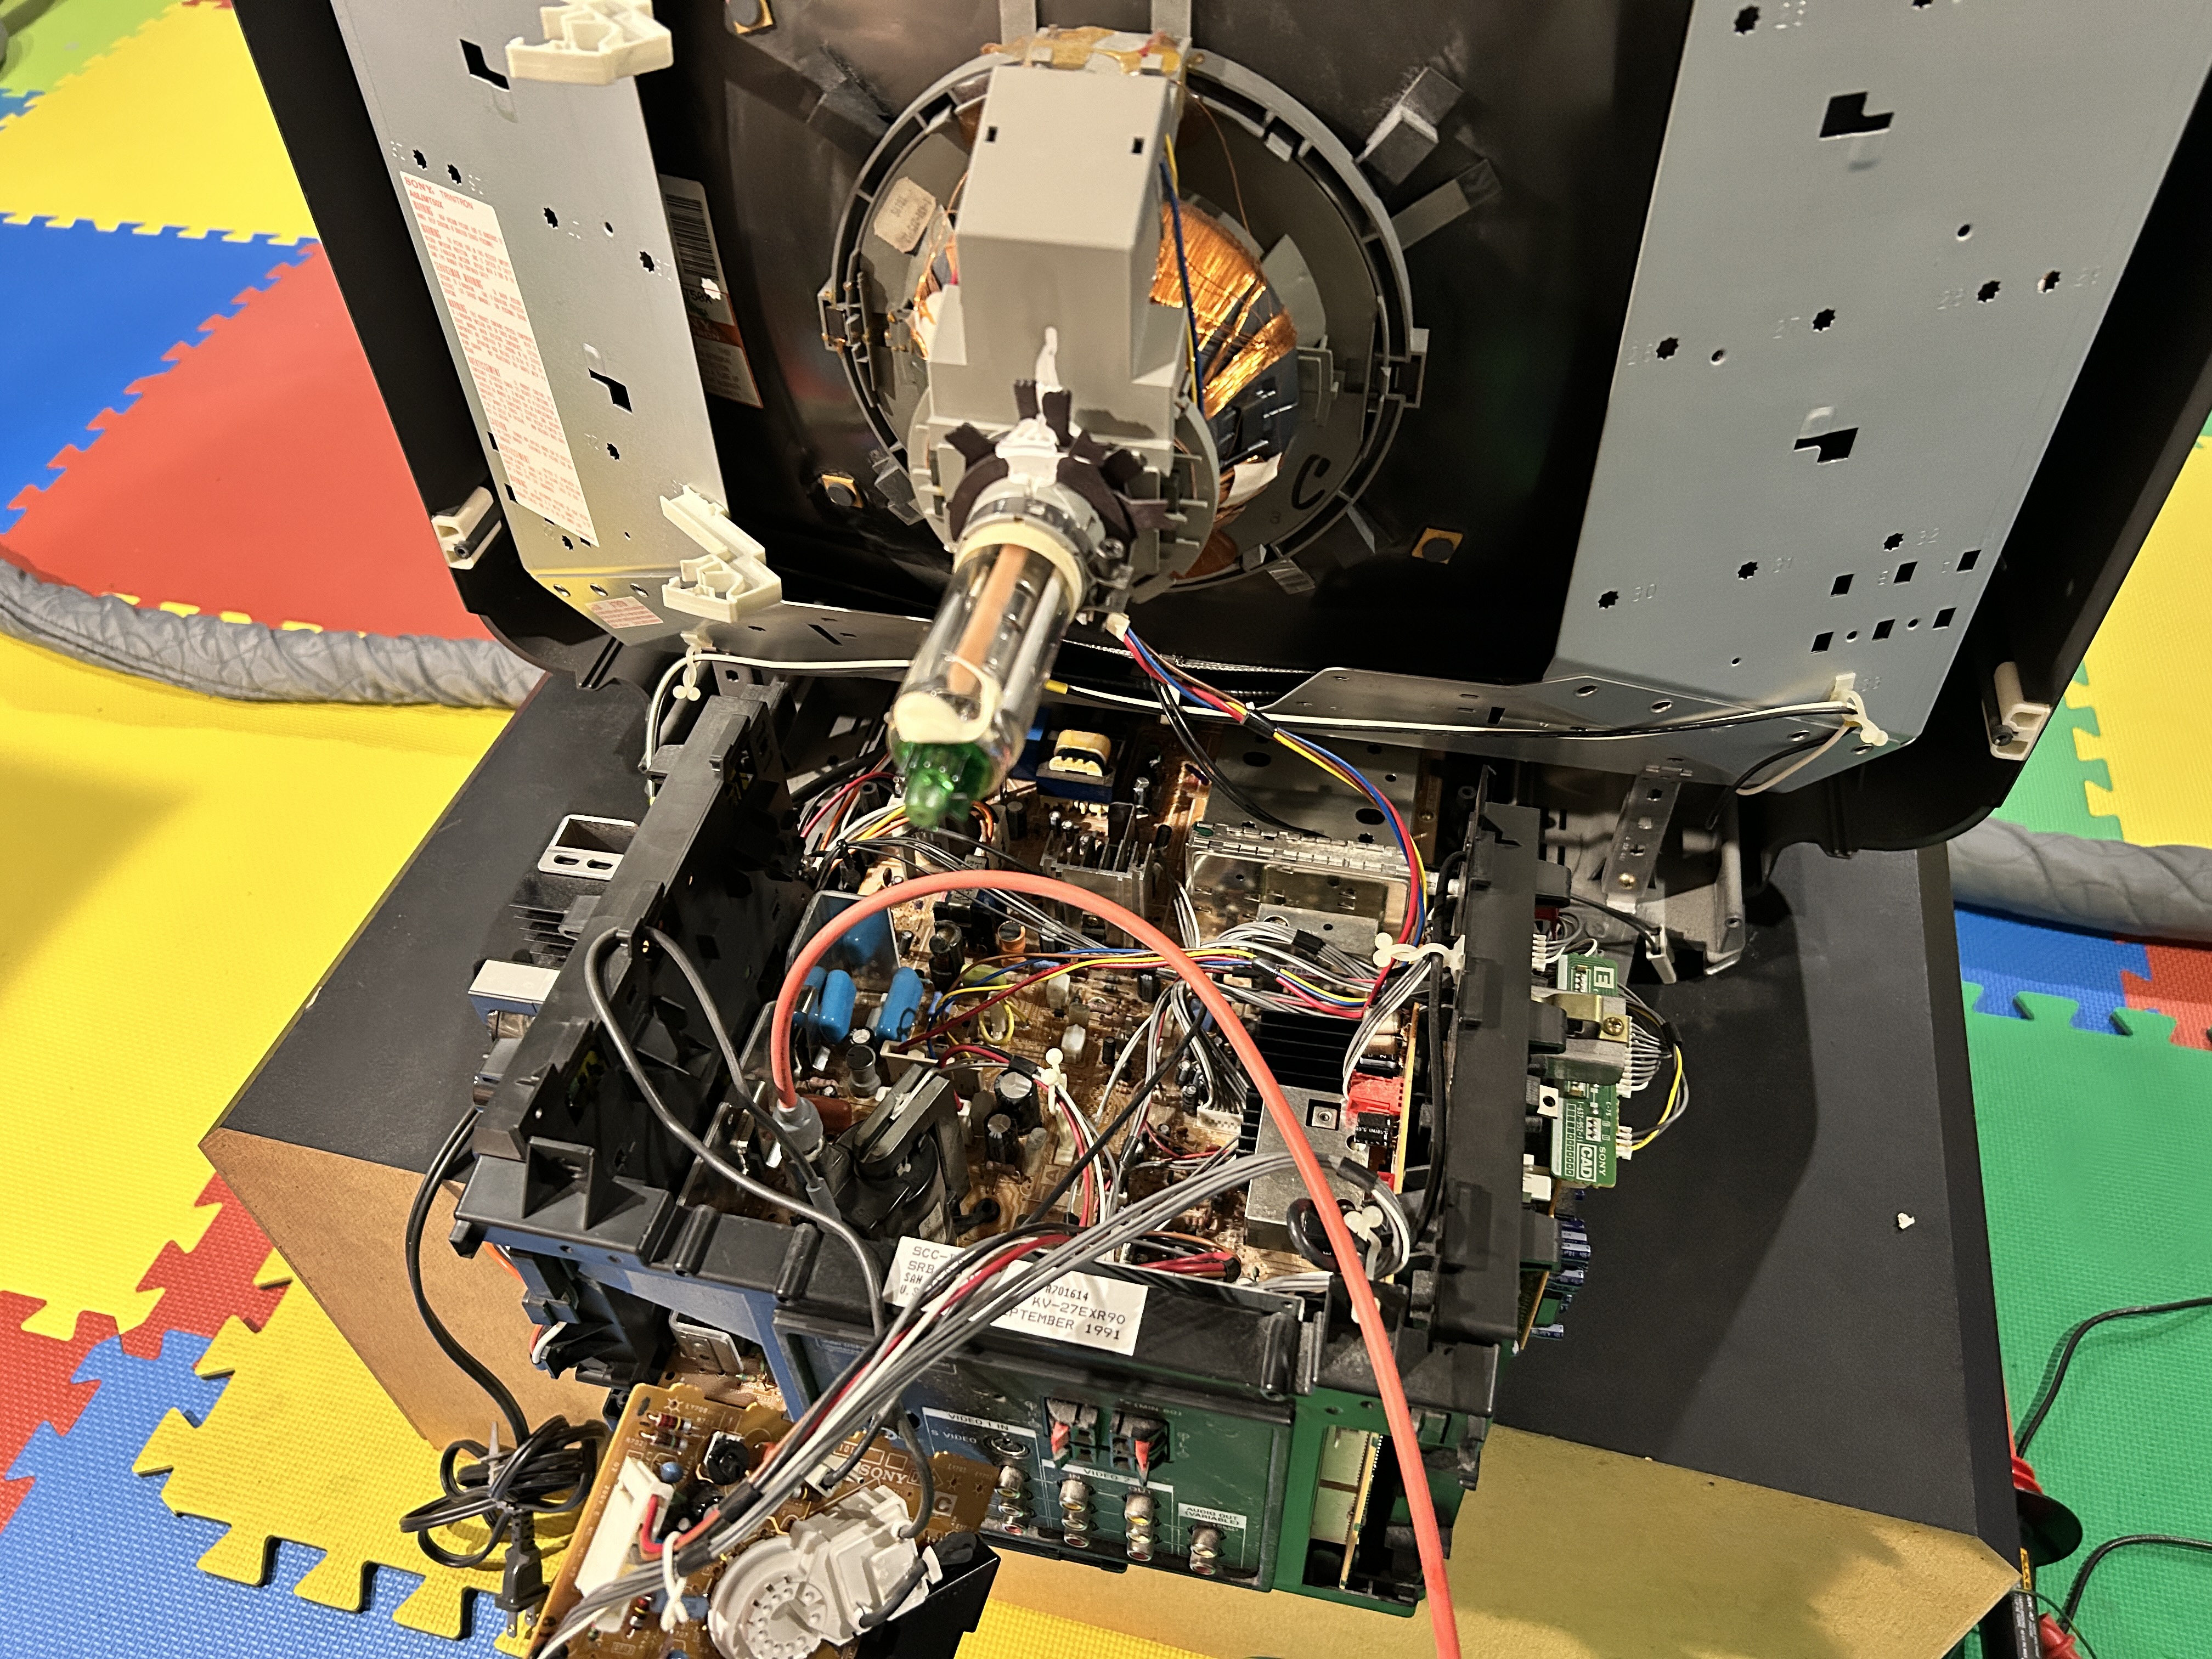
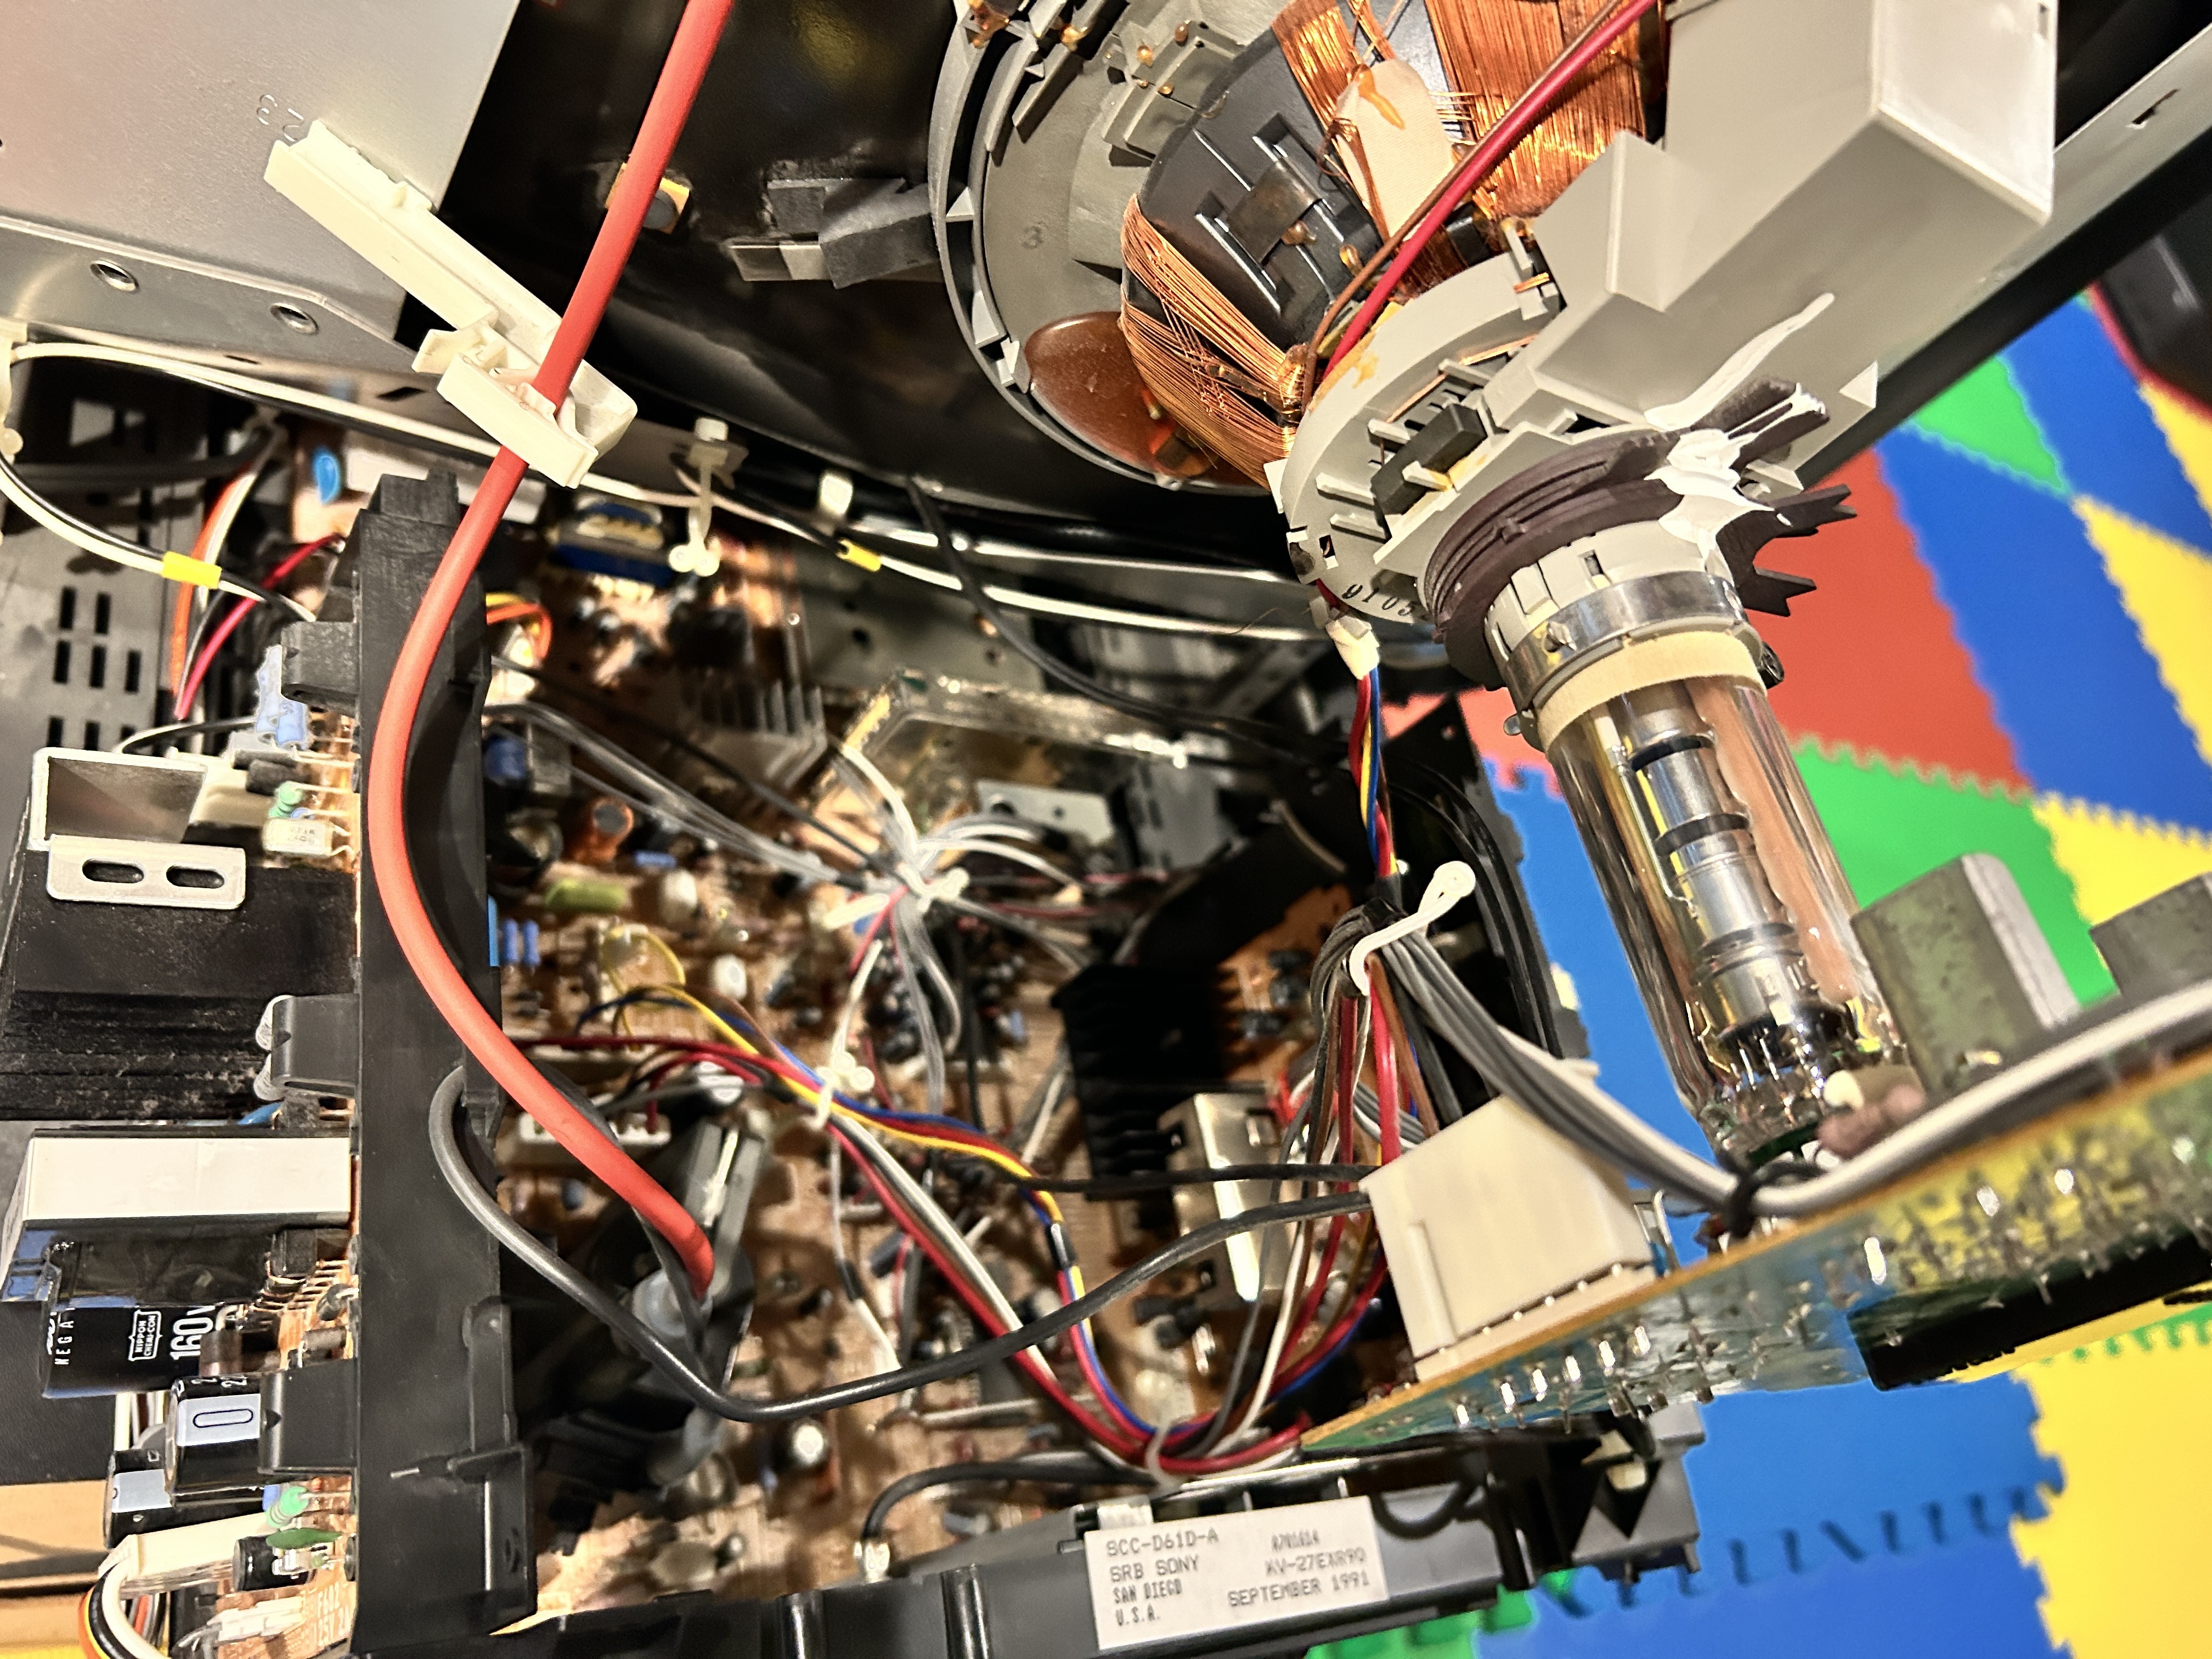
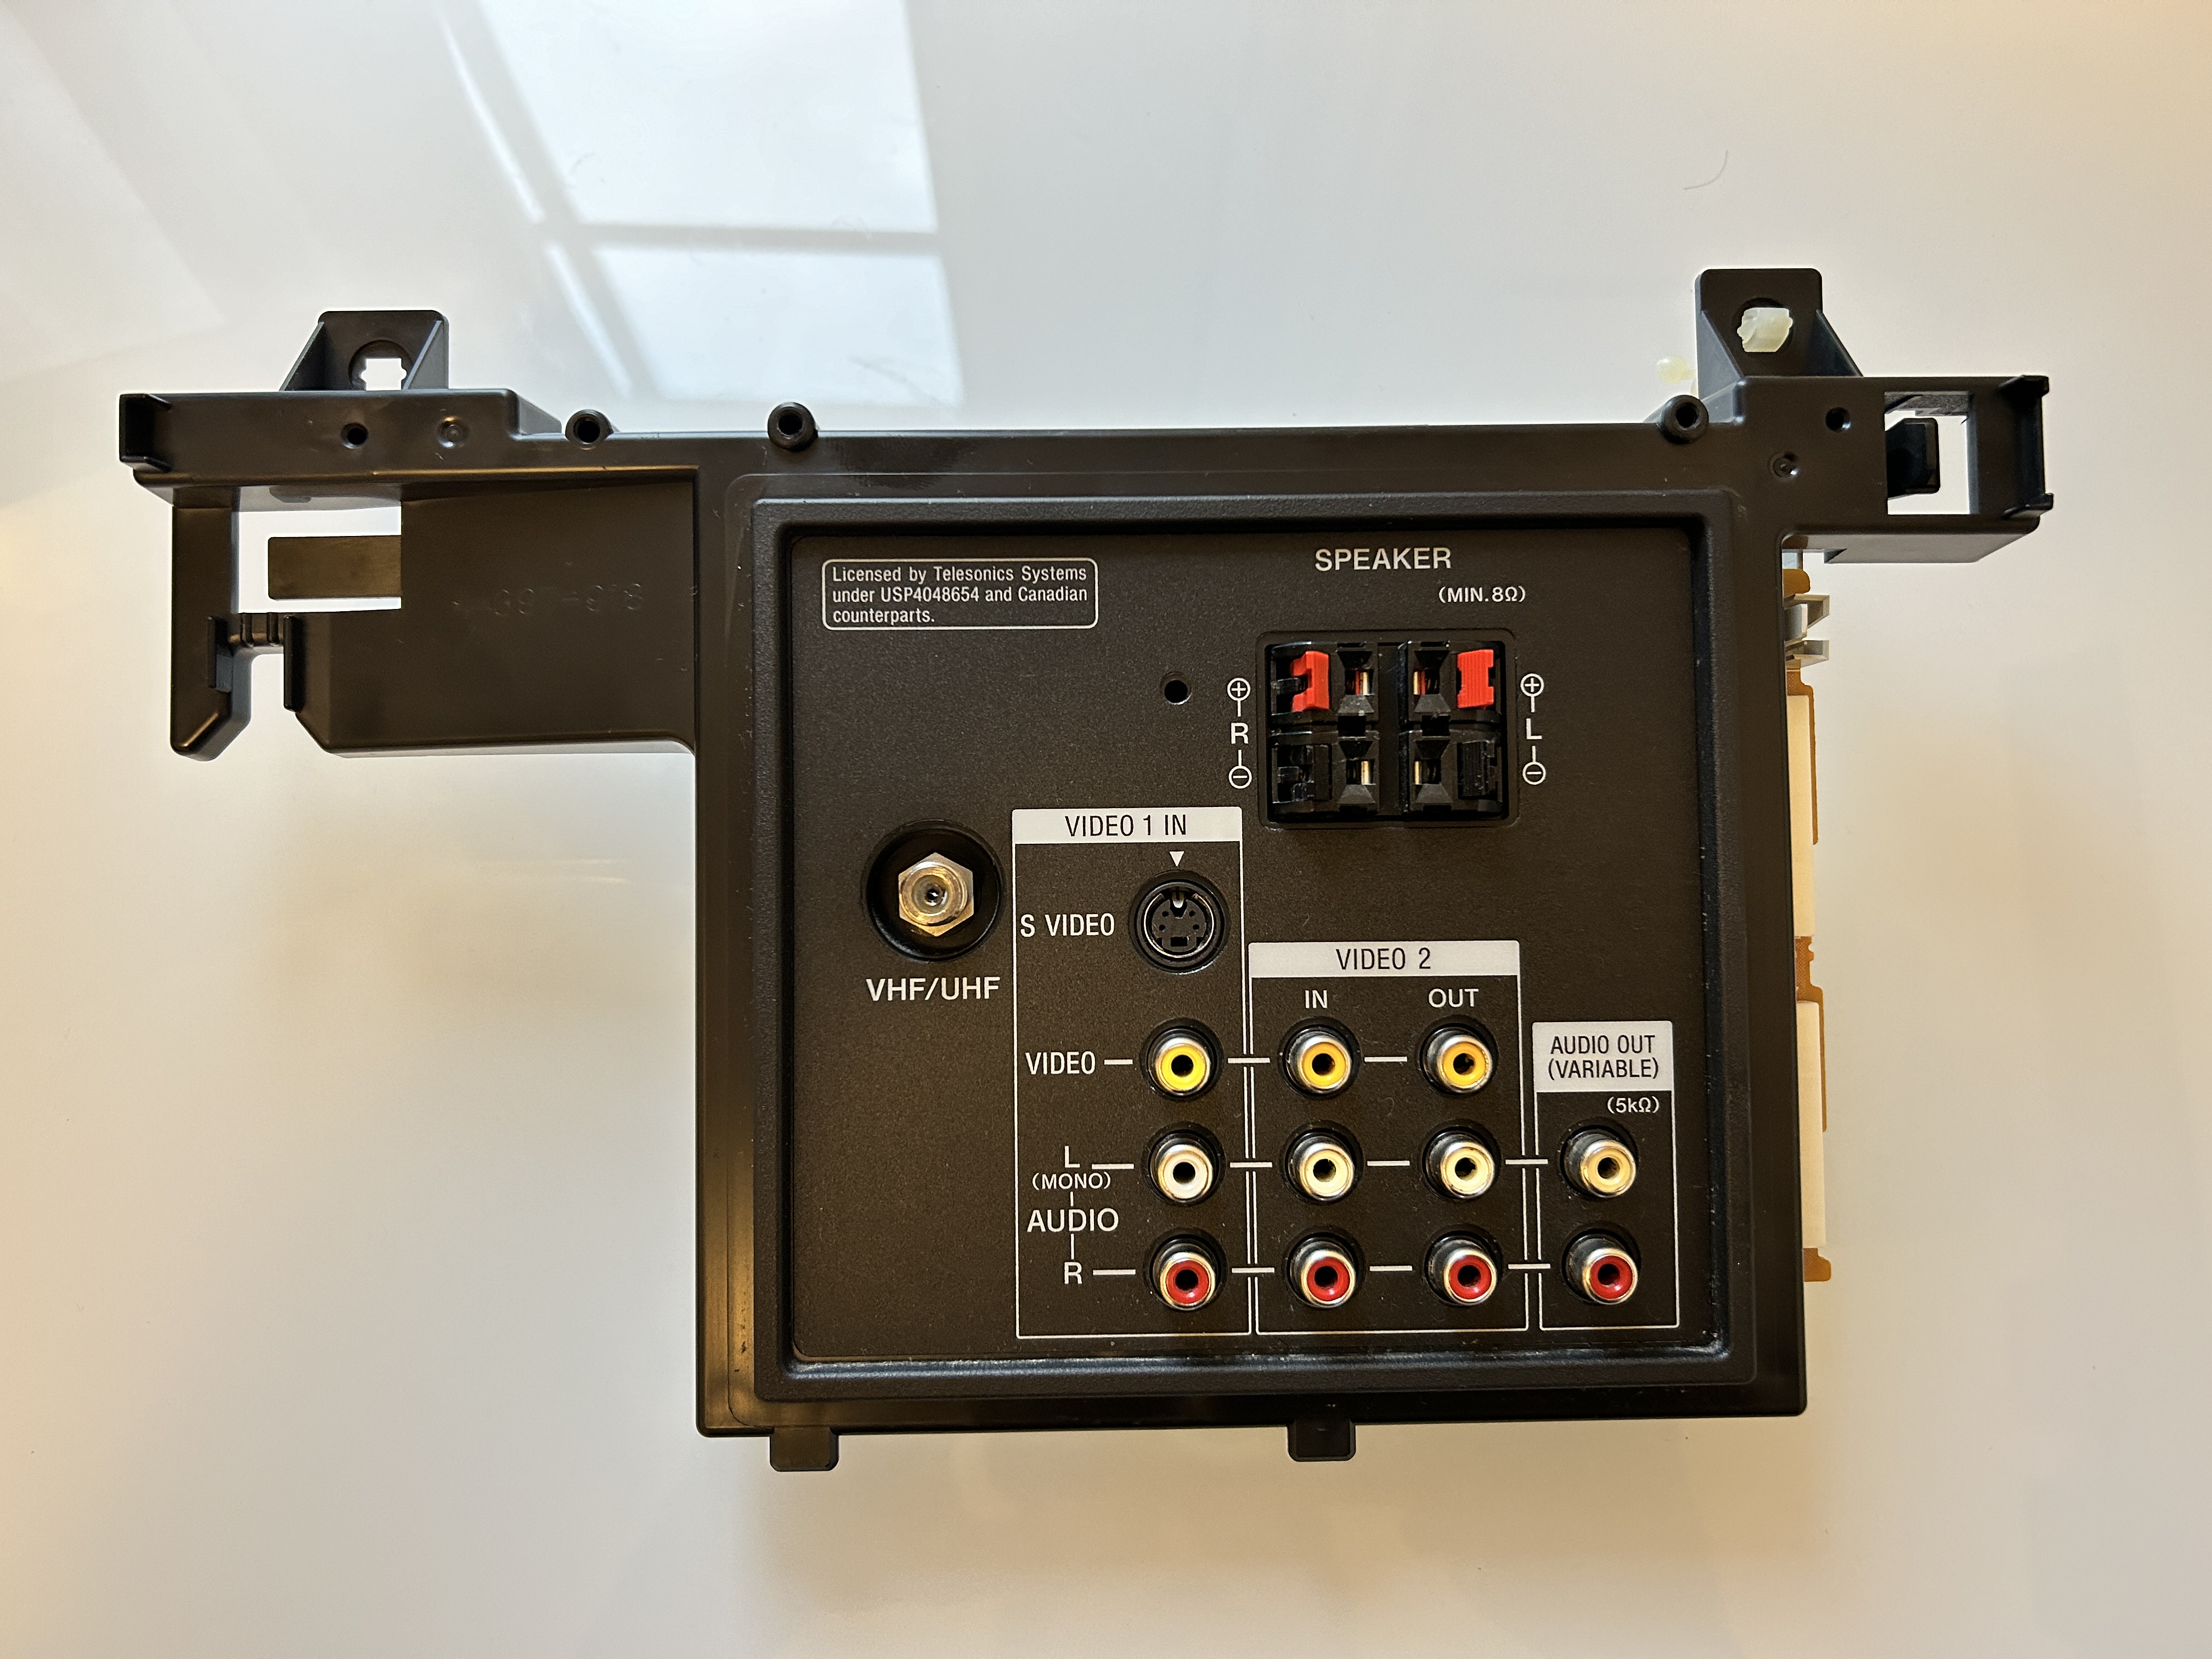
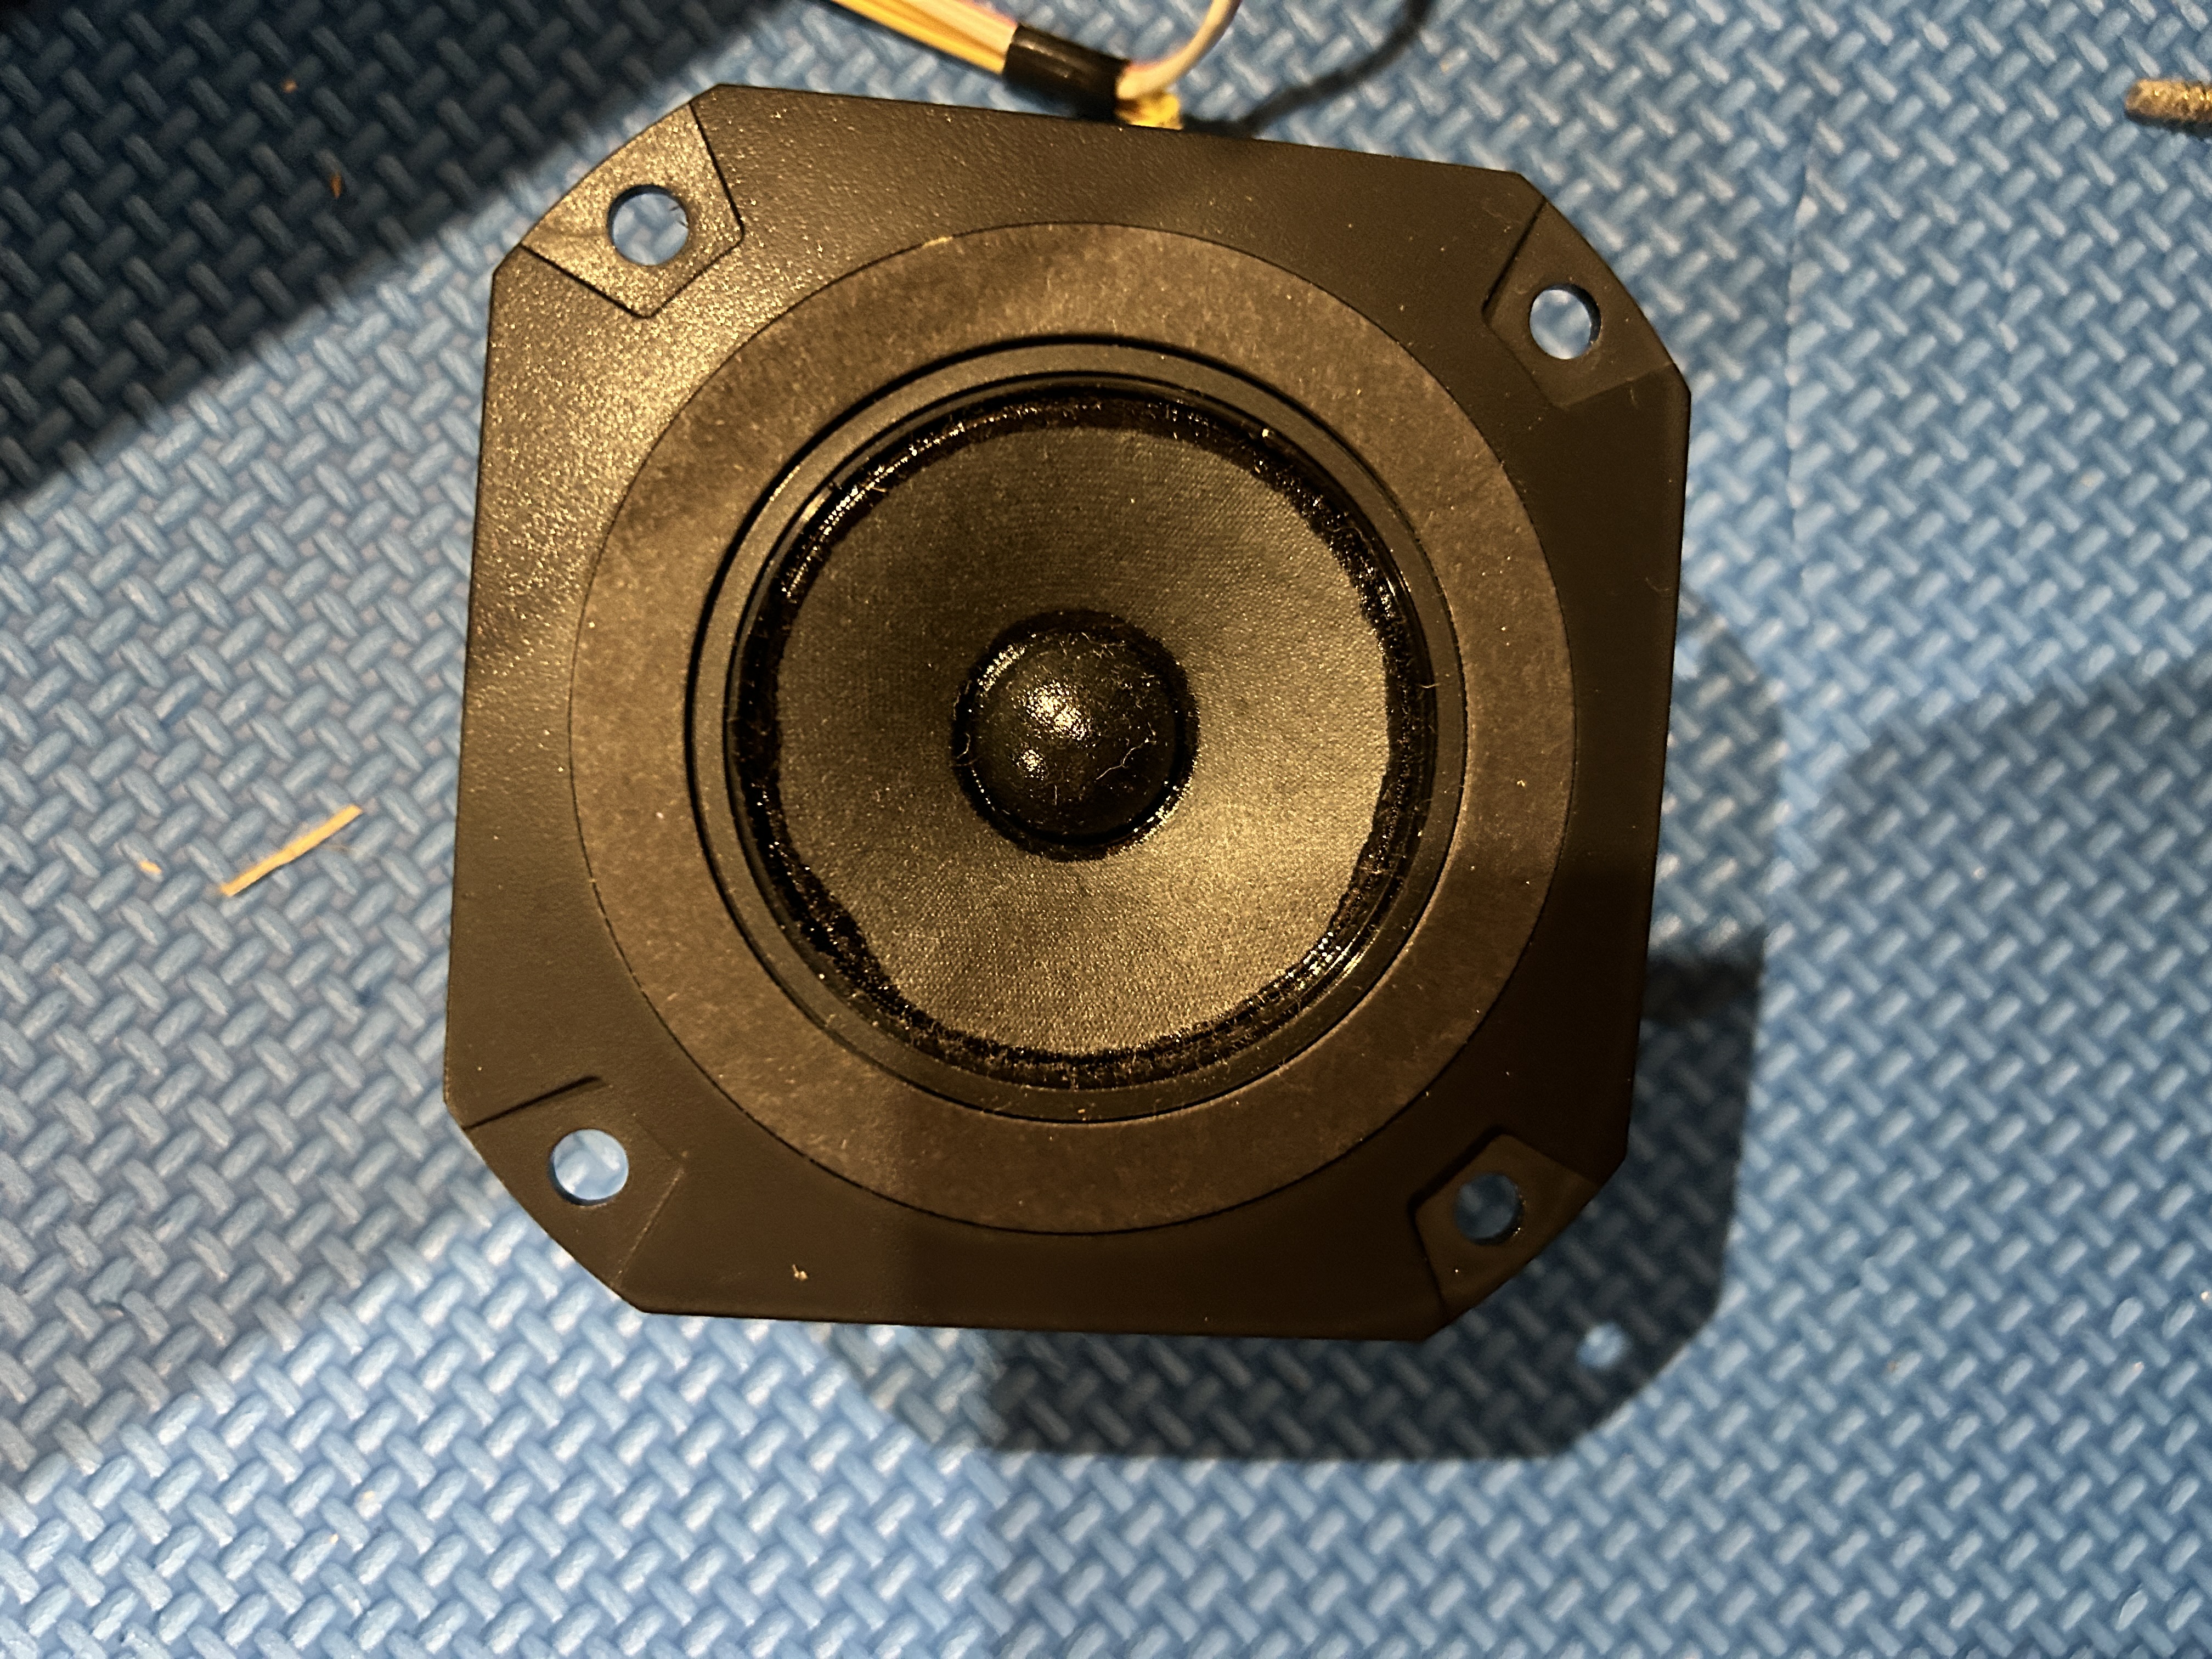
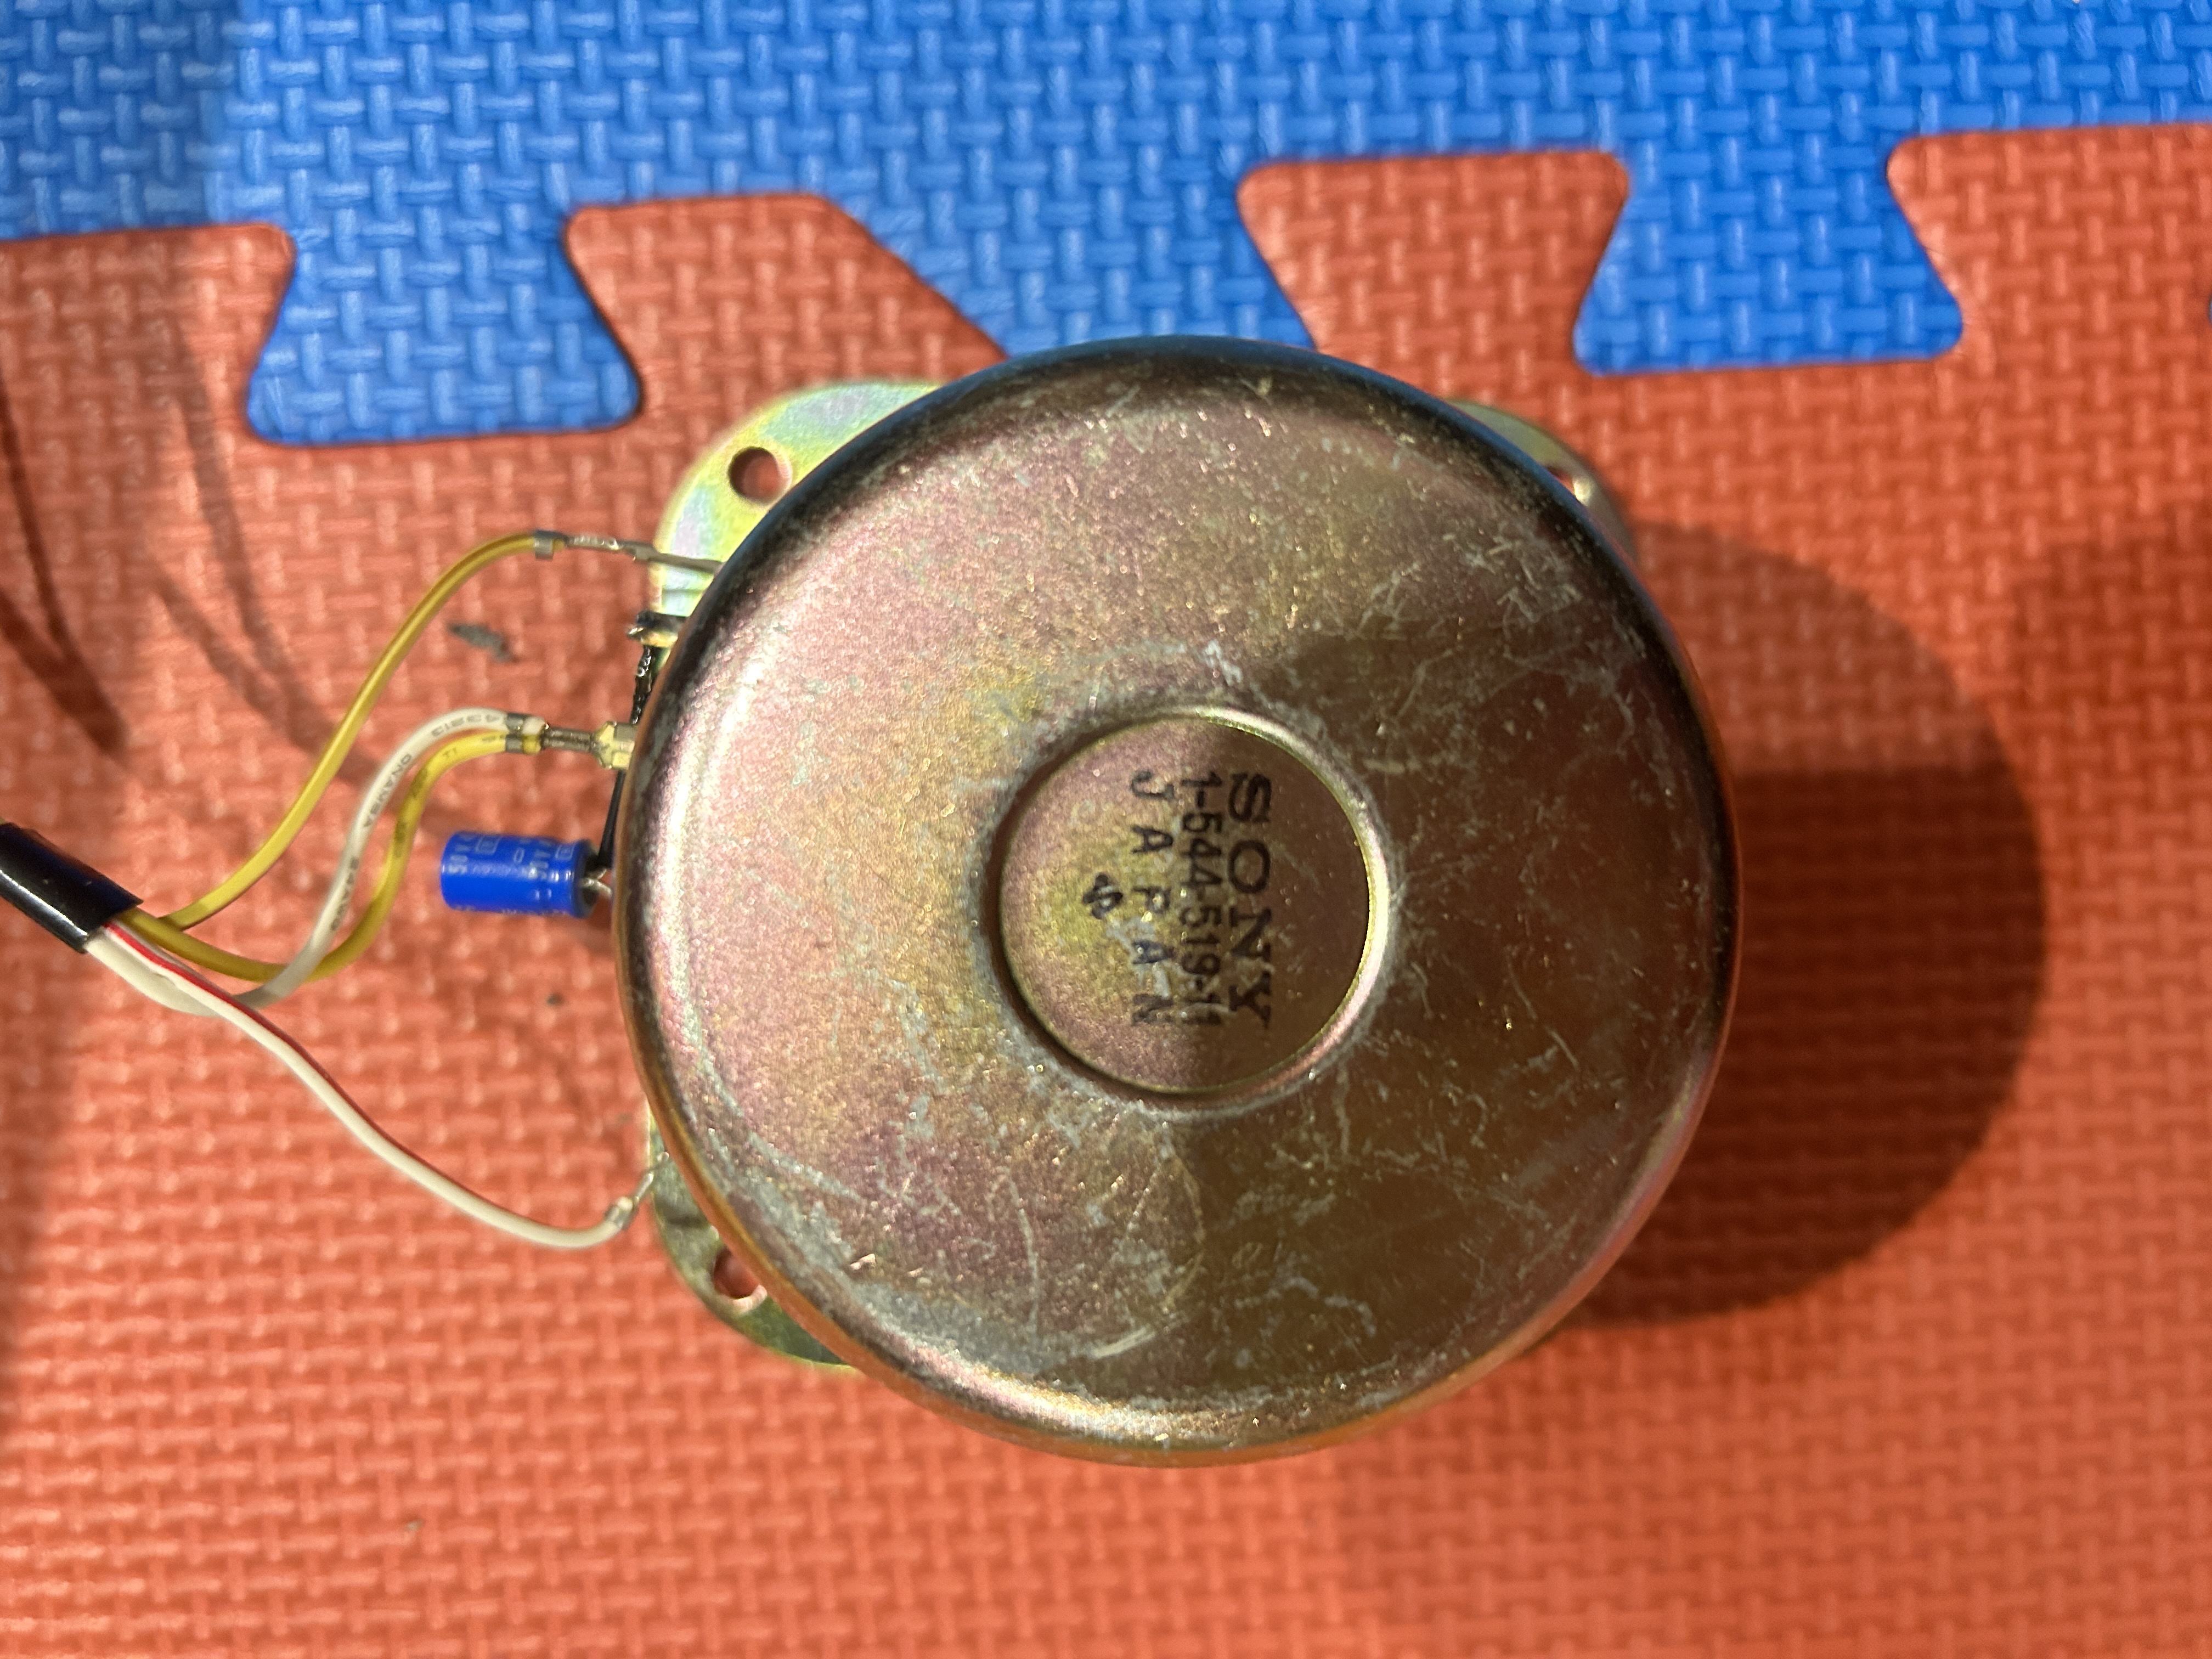
Sony KV (ANU-2) 27EXR90
Sony KV-27EXR90 RGB mod (work in progress)
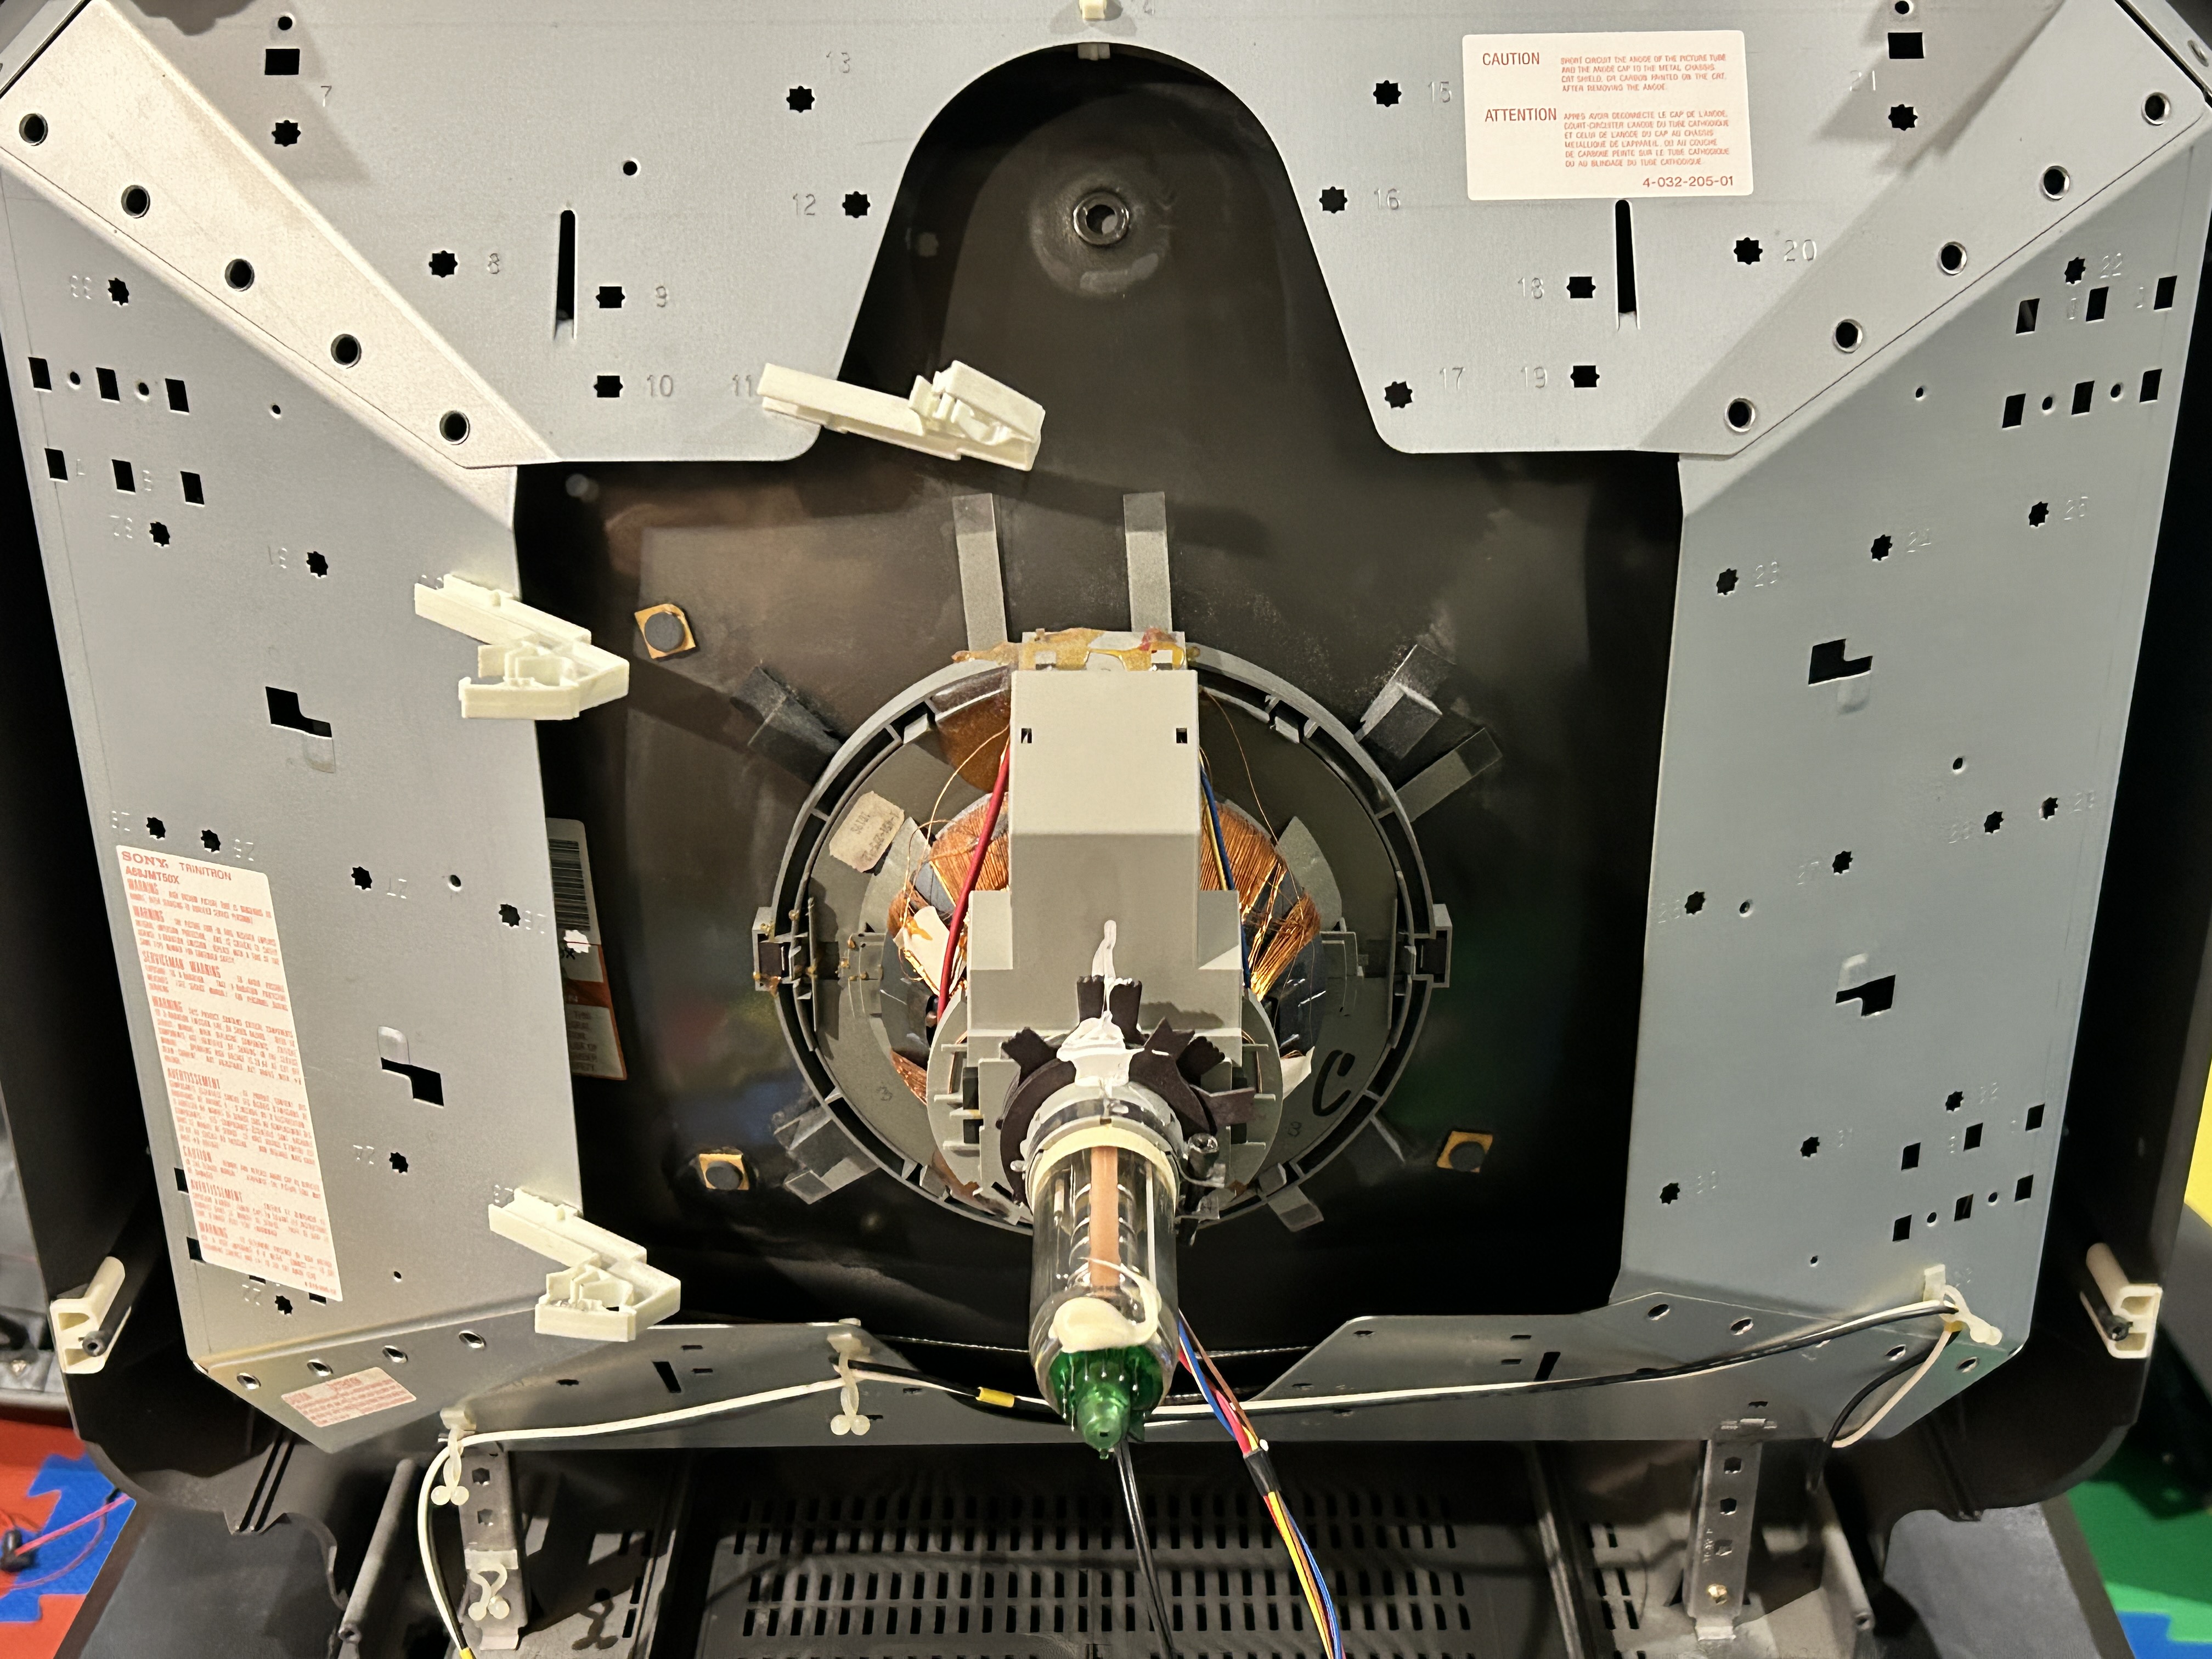
RGB modding on this set has proven challenging, so this post is shared for informational purposes only, documenting the attempts made so far. It's still a work in progress, and based on current testing, the Sony-27EXR90 doesn’t appear to be easily moddable for RGB input as it seems to be disabled in software. Sony KV-27EXR95 on the other hand should be modifiable. Nevertheless, here are some photos of the set and the steps taken.
Picture with composite input. 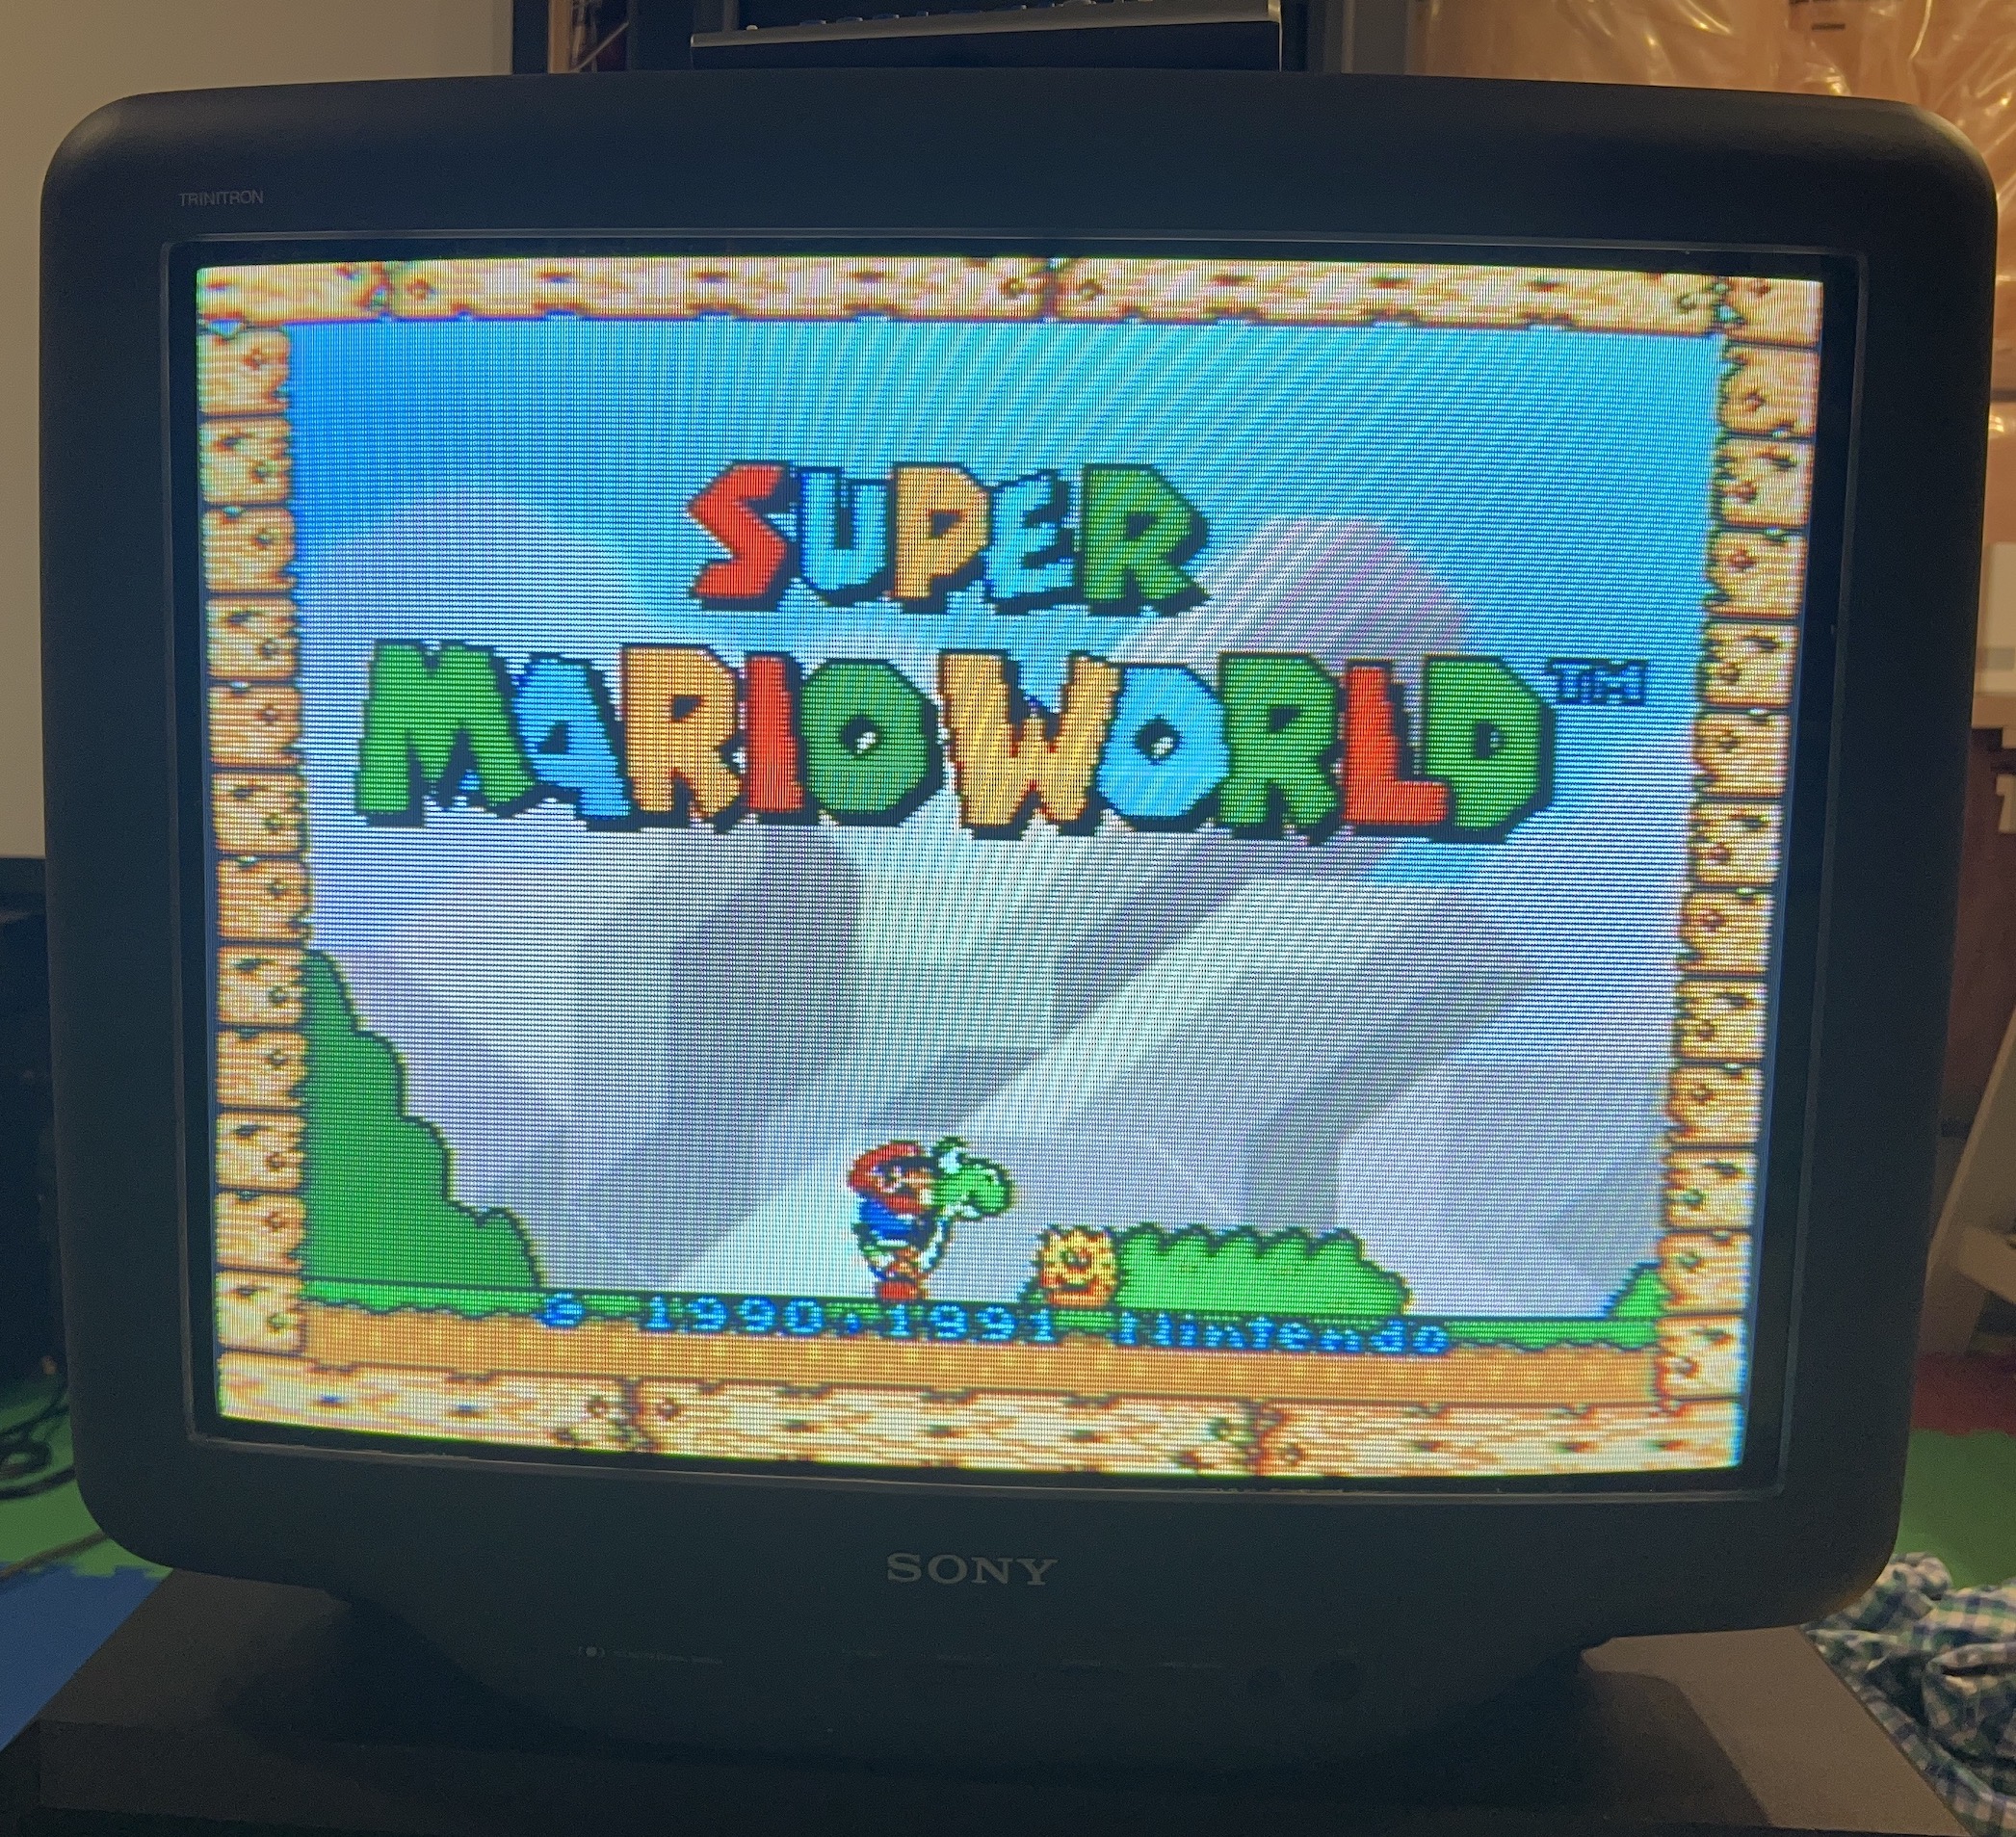
CRT safety
Caution
You can die doing this! So read carefully! CRT TV is not a toy. Do not open a CRT TV. If you don't have any prior knowledge about handling high voltage devices, this guide is not for you. CRT TV contains high enough voltage (20,000+ V) and current to be deadly, even when it is turned off.
Plan of attack
Theory
Sometimes it is nice to know the theory behind the mod. I have put this on a separate page. This shows how the various resistor values are calculated.
Service manuals
Specs
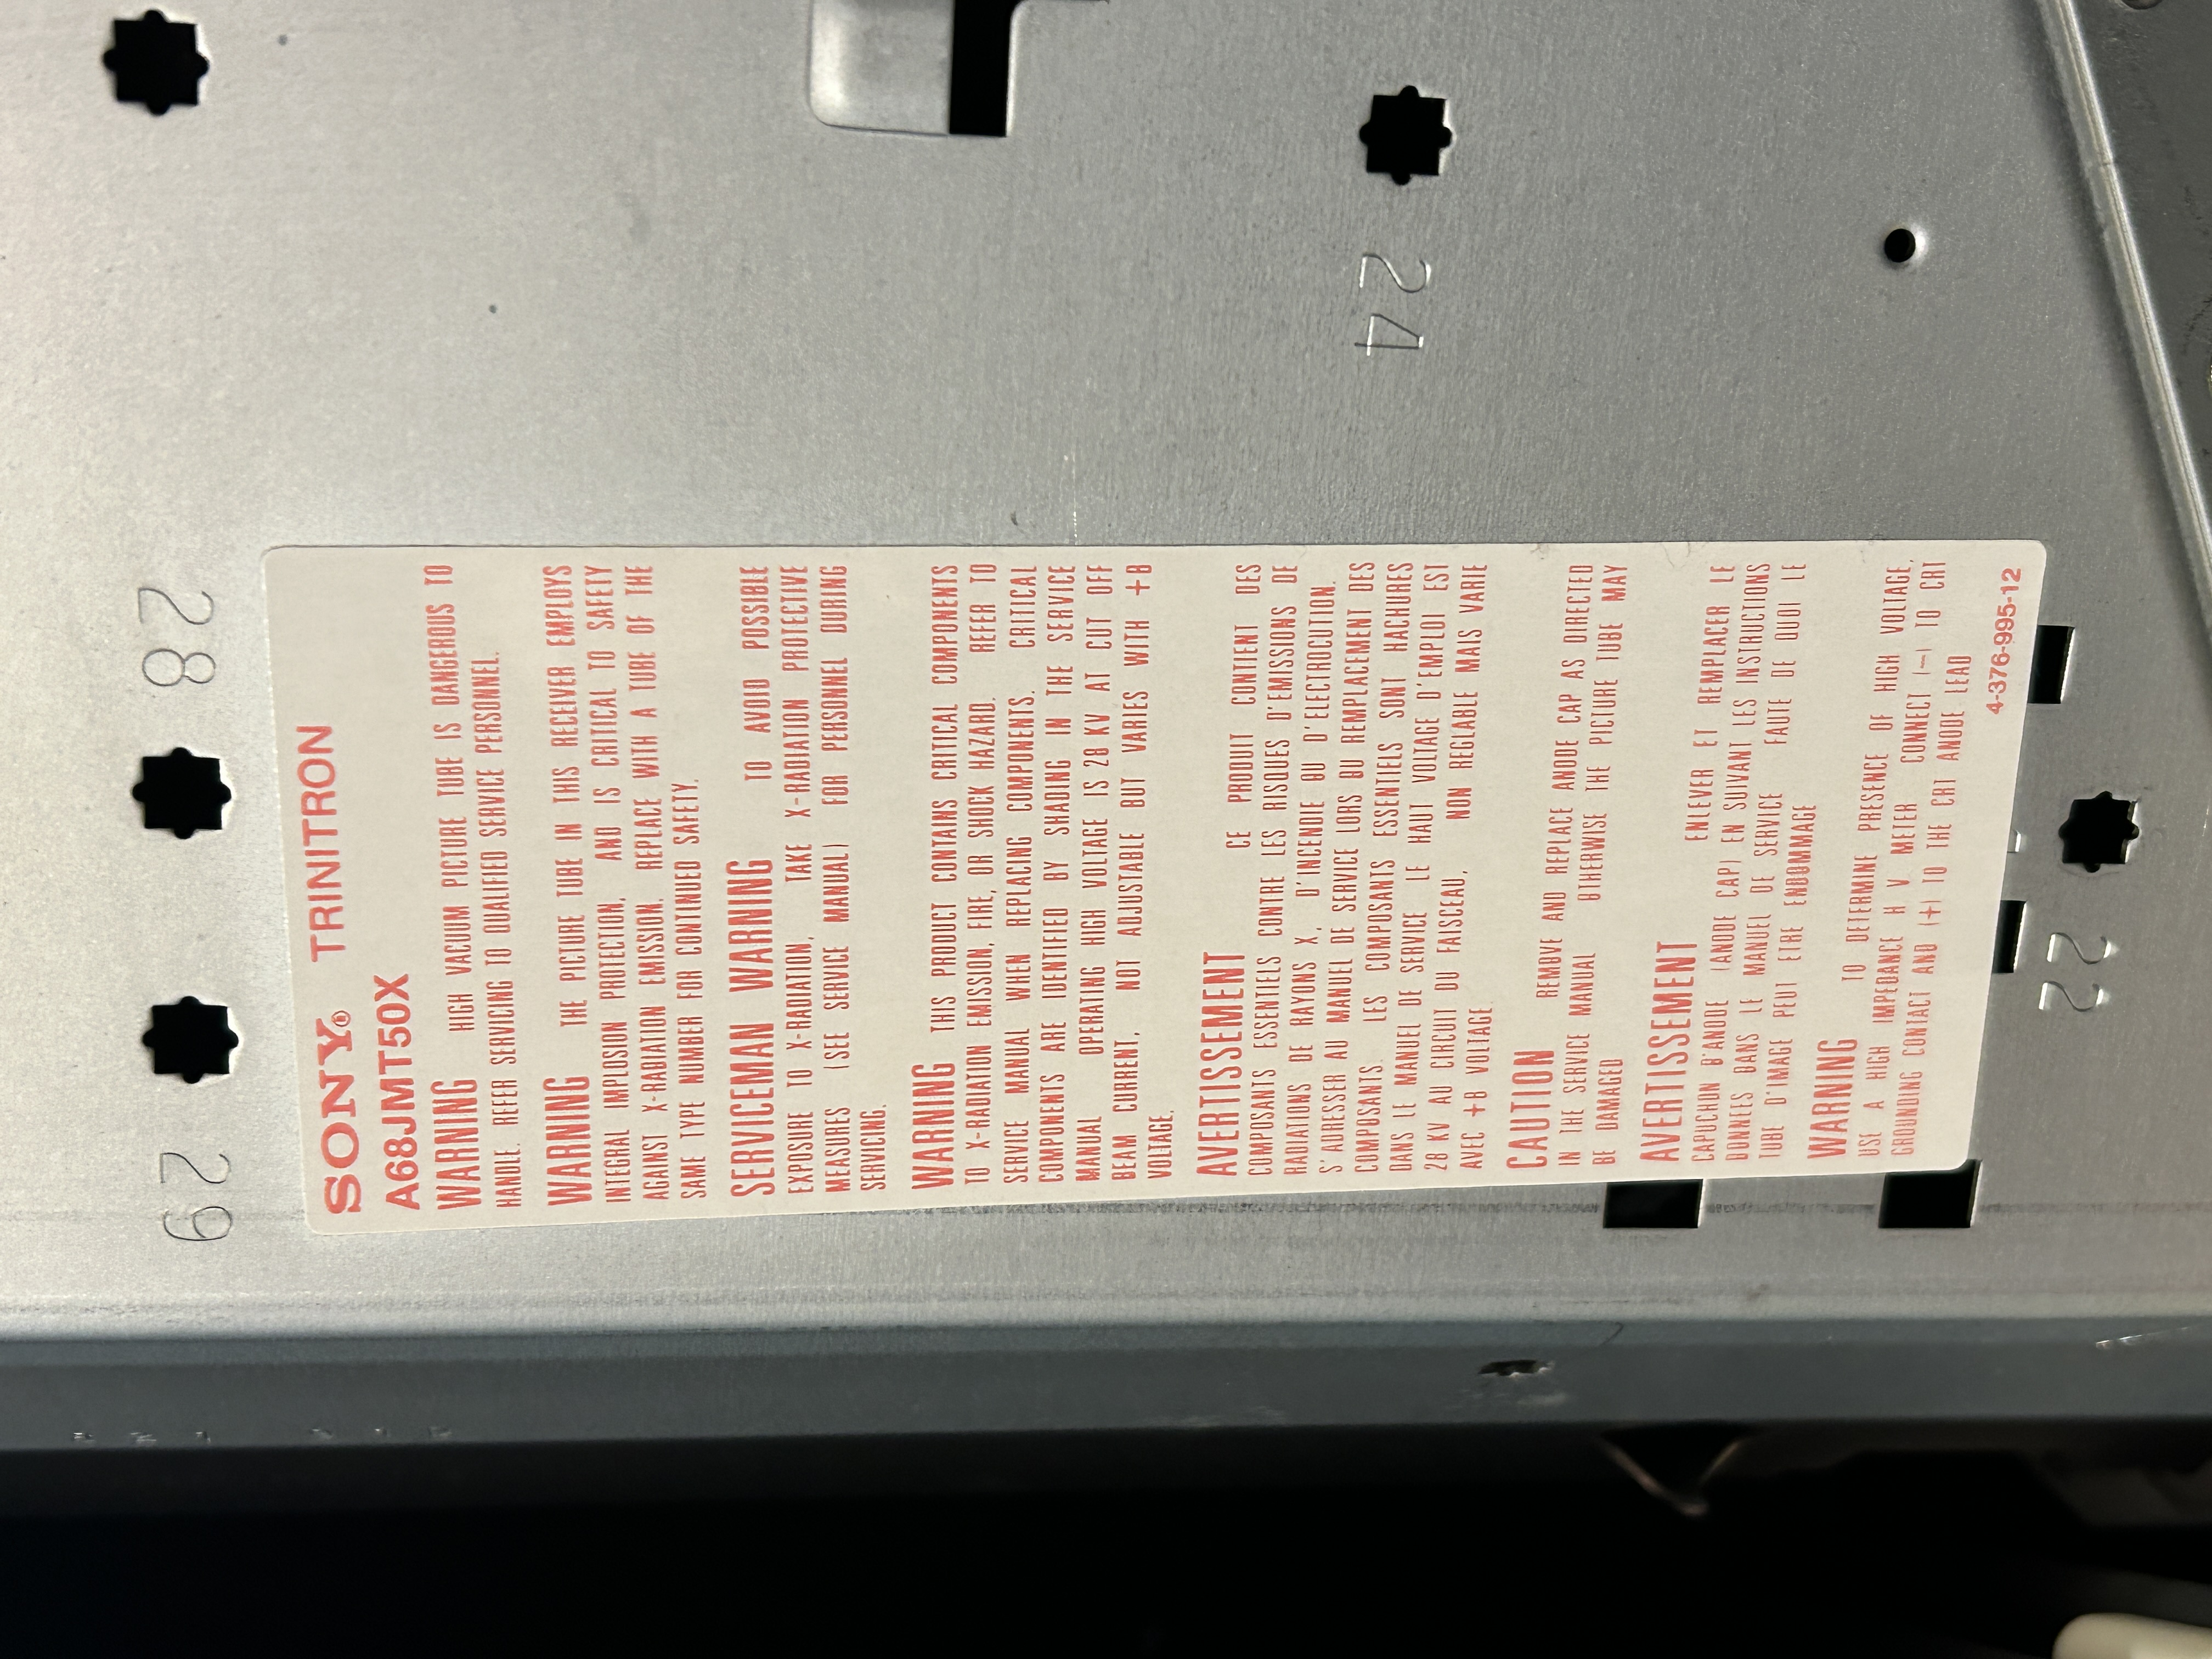
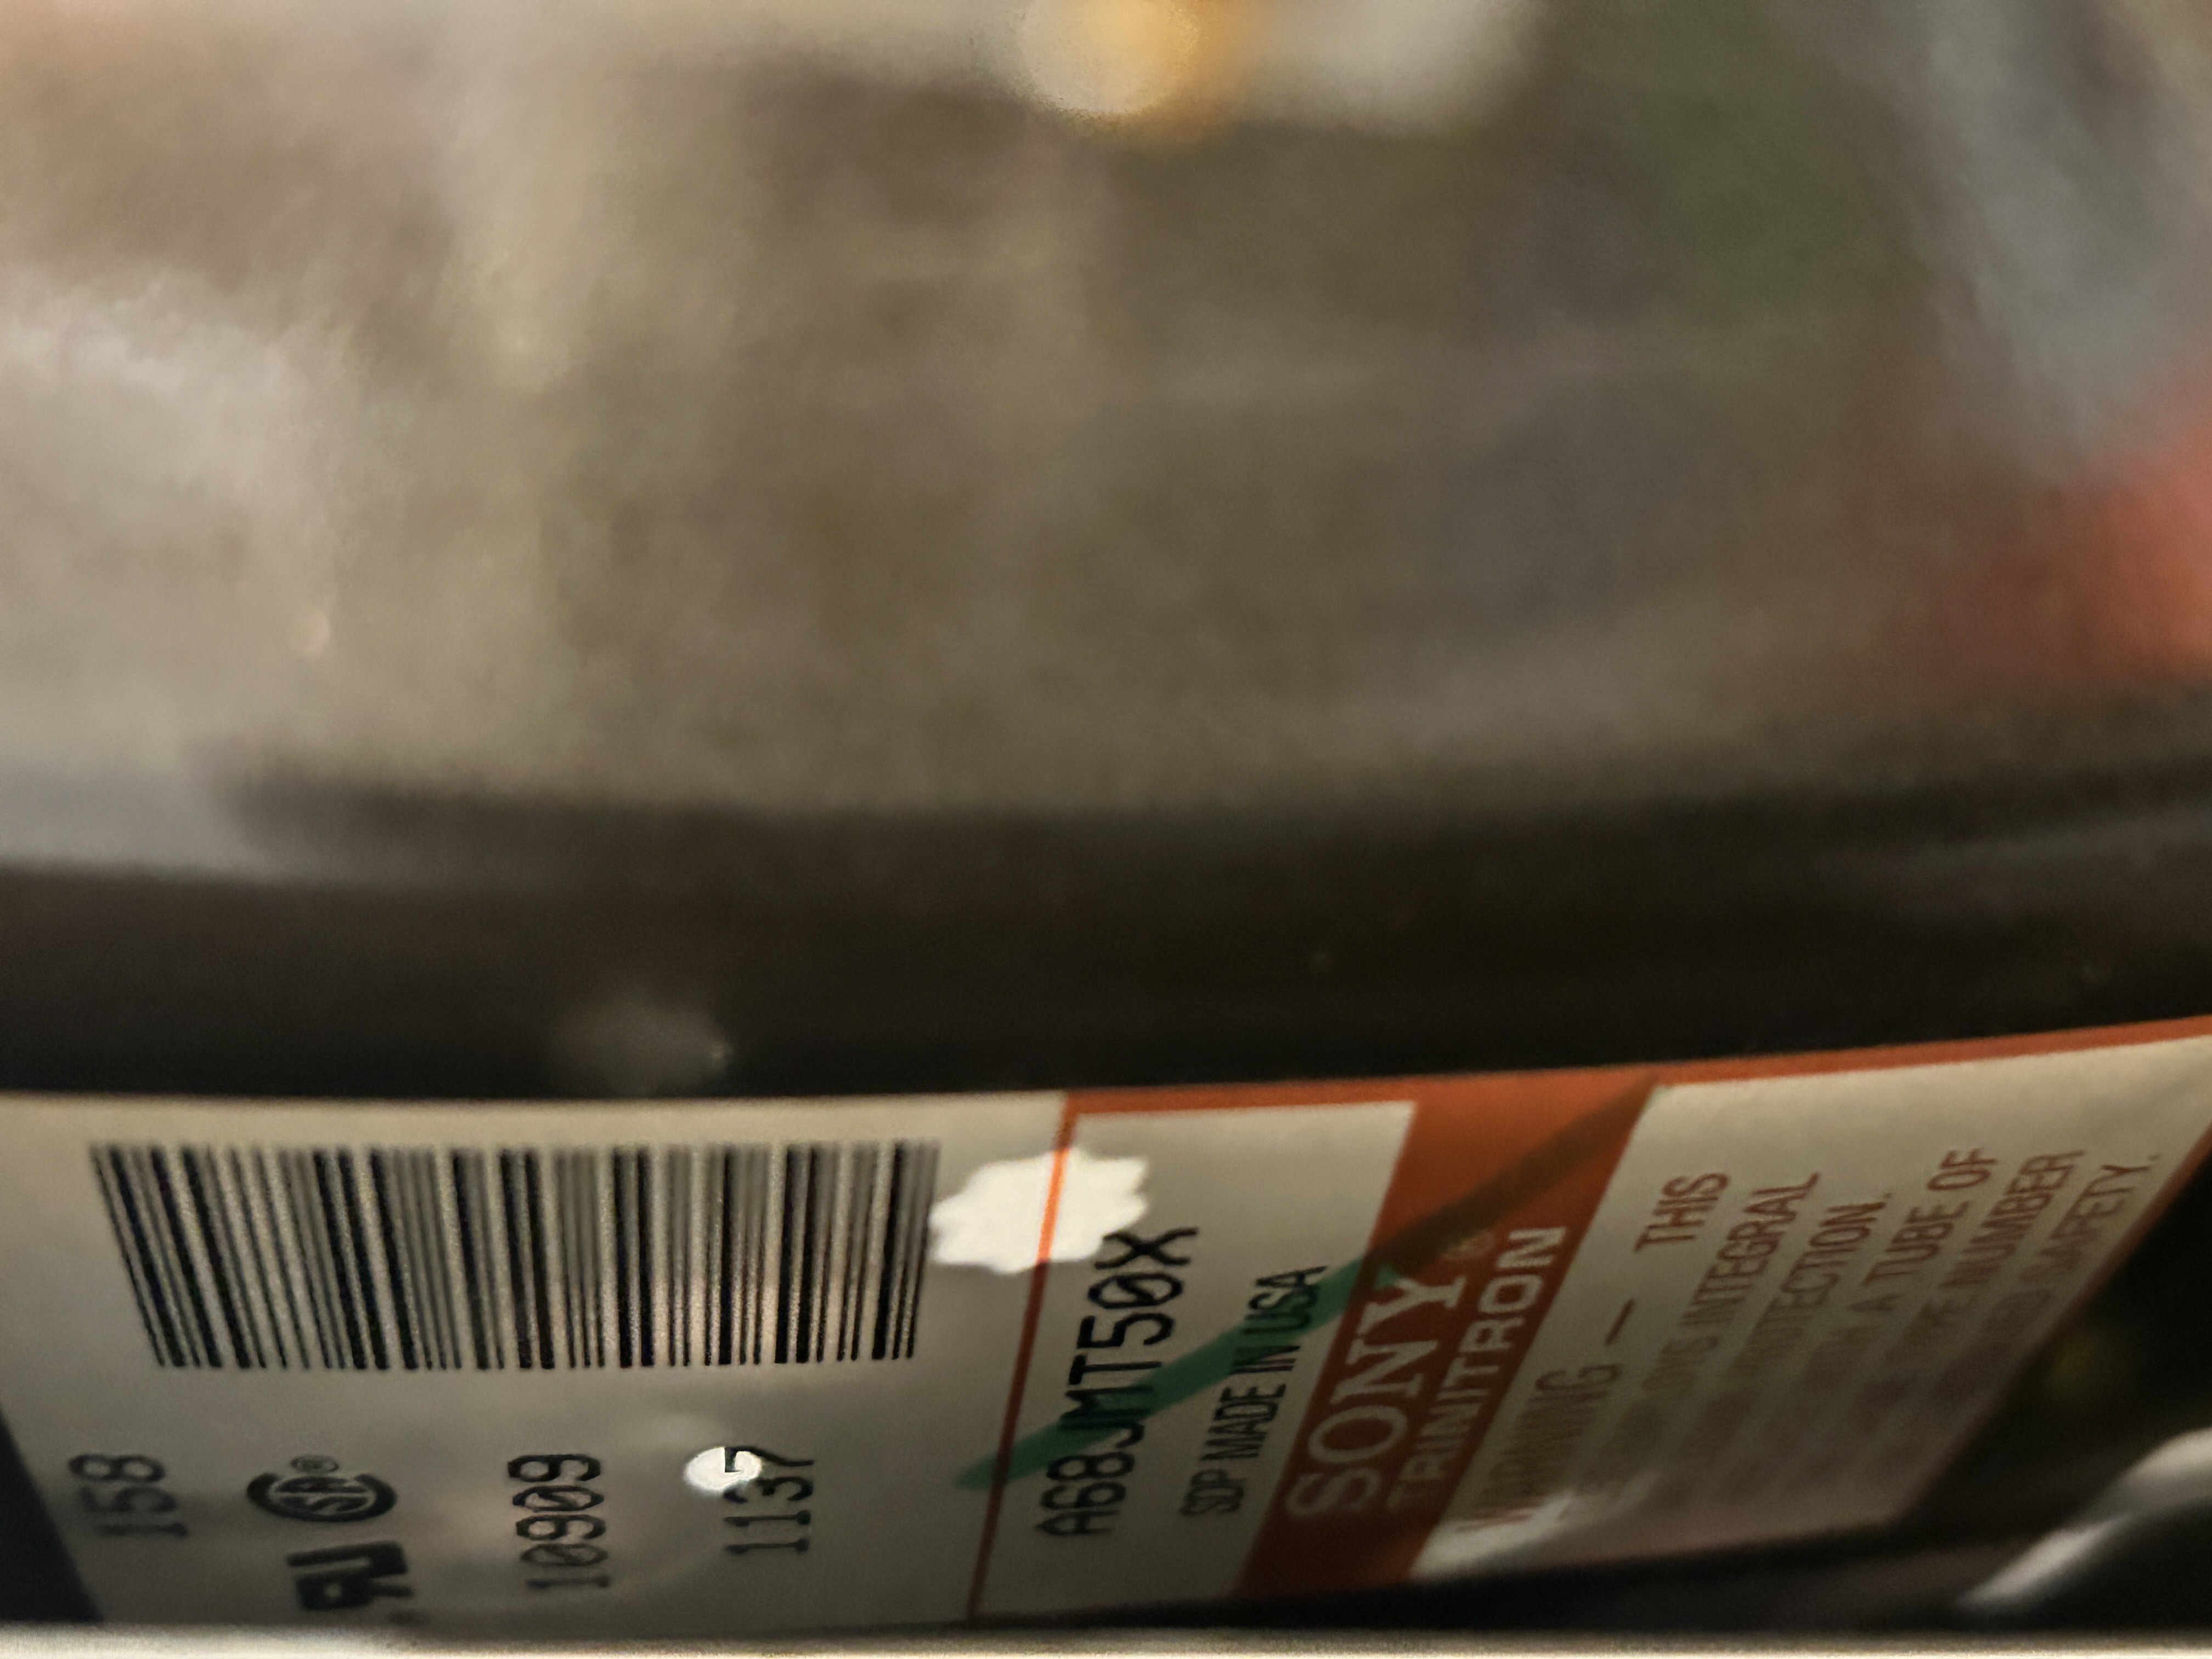
Tube: Sony A68JMT50X Chroma IC: CXA1313S
Sony KV-27EXR90
Performing the mod
Now that you roughly know what needs to be done, prepare for the mod. Place the board on a comfortable place. Make sure you are not putting pressure on the flyback or other components. Taking out the chassis is fairly straight forward on this CRT.
There are few wires that needs to be disconnected.
- Degauss wire
- Power wire
- Ground wire attached to the neck board
- Yoke deflection coil wire
- Anode wire (this is the one with the rubber cap)
- Left and right audio wires
Please remember that wires 1-5 are critical for the CRT to function and should not be omitted. Having any of these wires disconnected while powering up can damage the board and can have adverse effects.
STEP 1: Identify RGB, Blanking and add resistors
There are no resistors to remove. Just have to populate the missing components.
Below picture was taken before any modifications 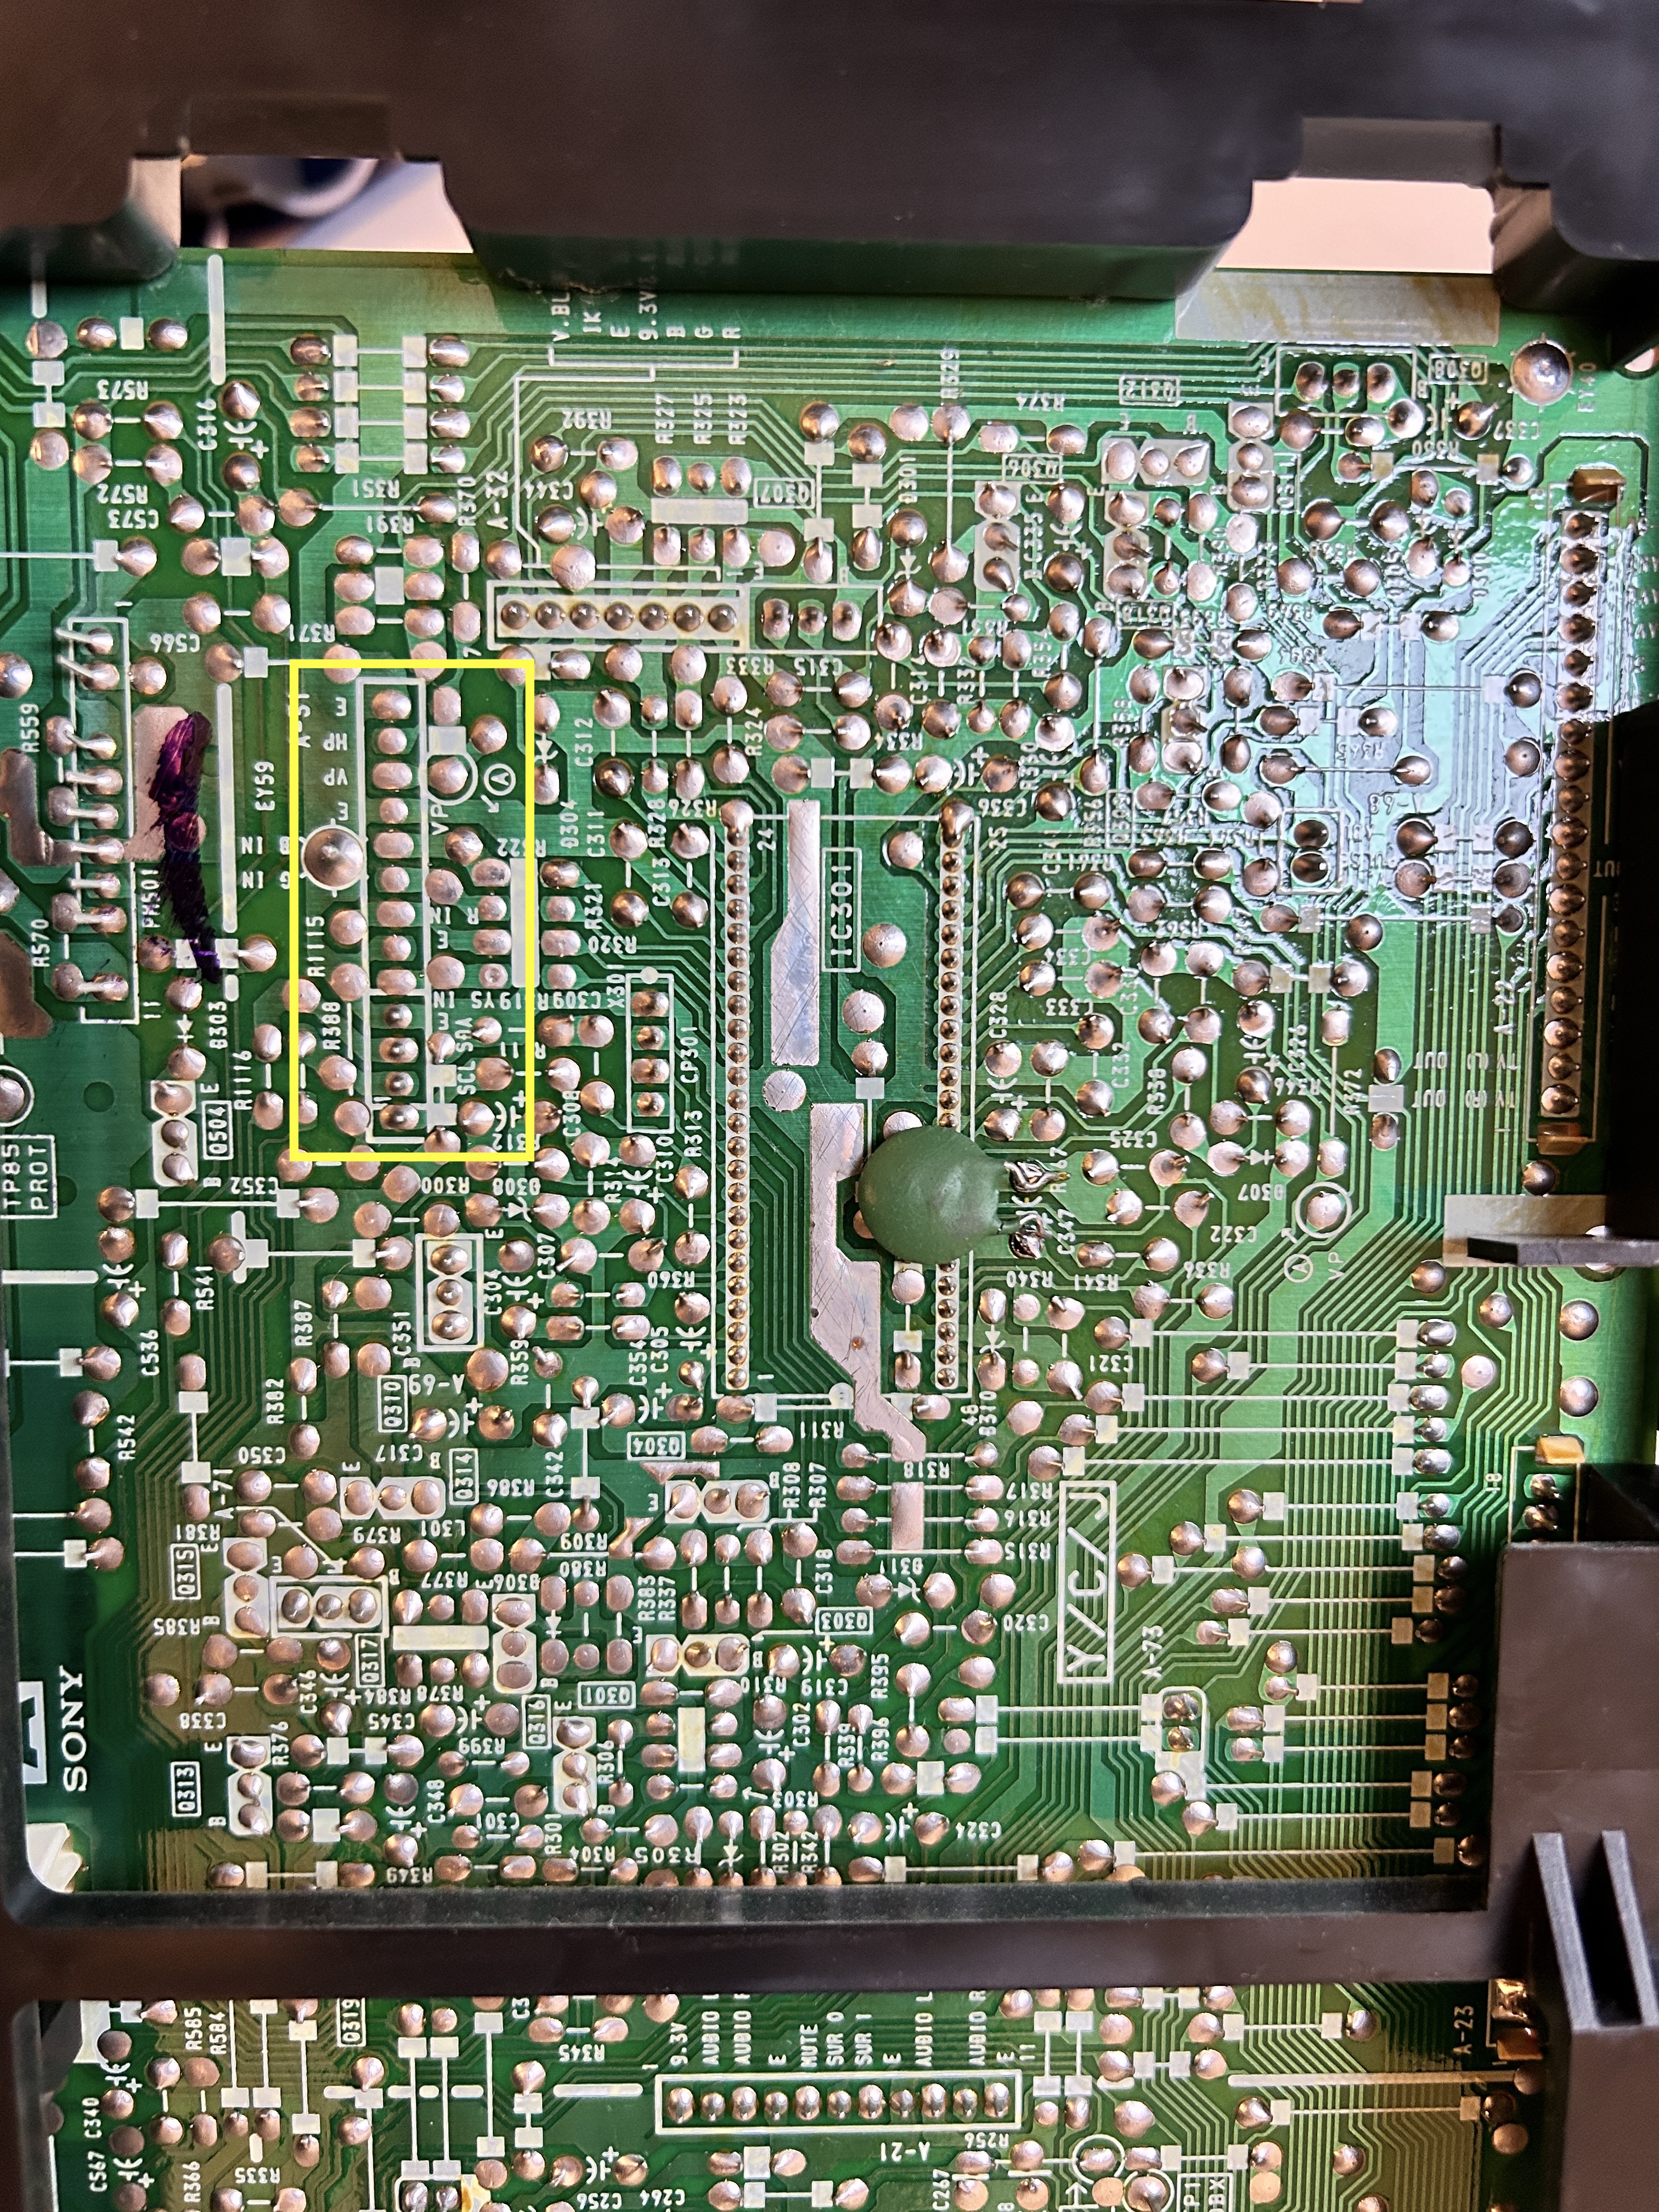
Where RGB wires and blanking is expected to go 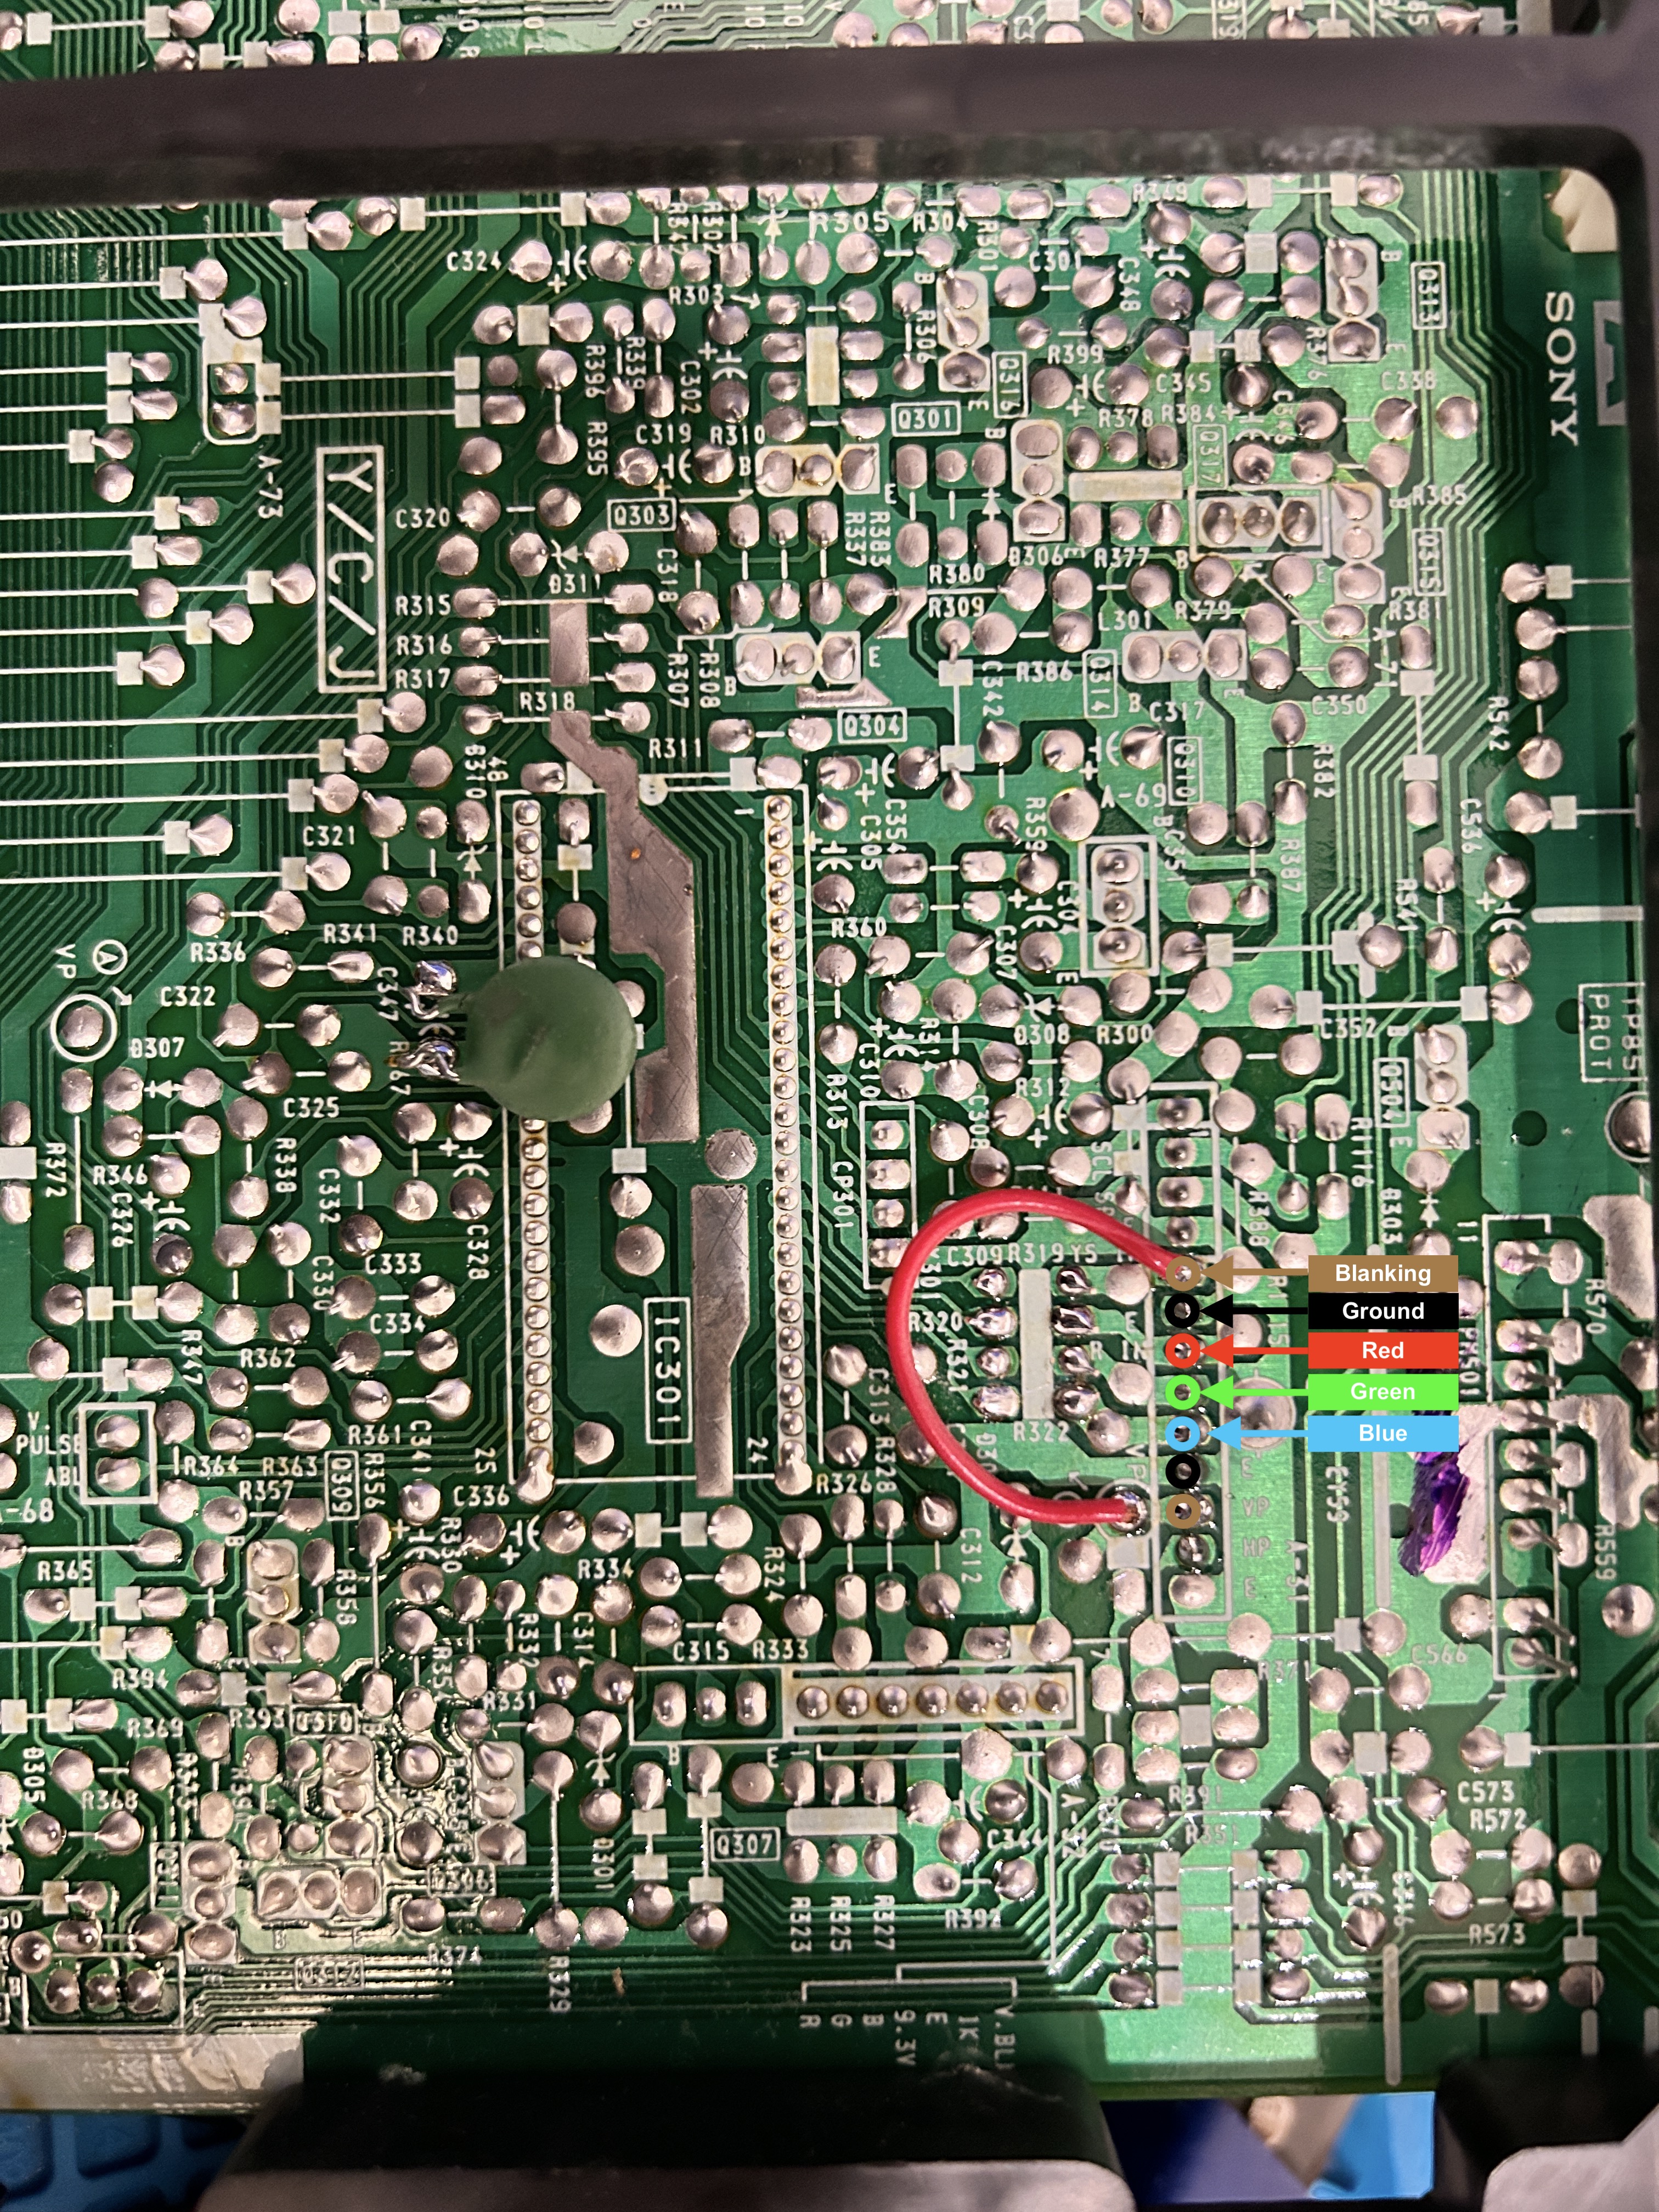
Added 100ohm inline resistors for blanking and RGB inputs 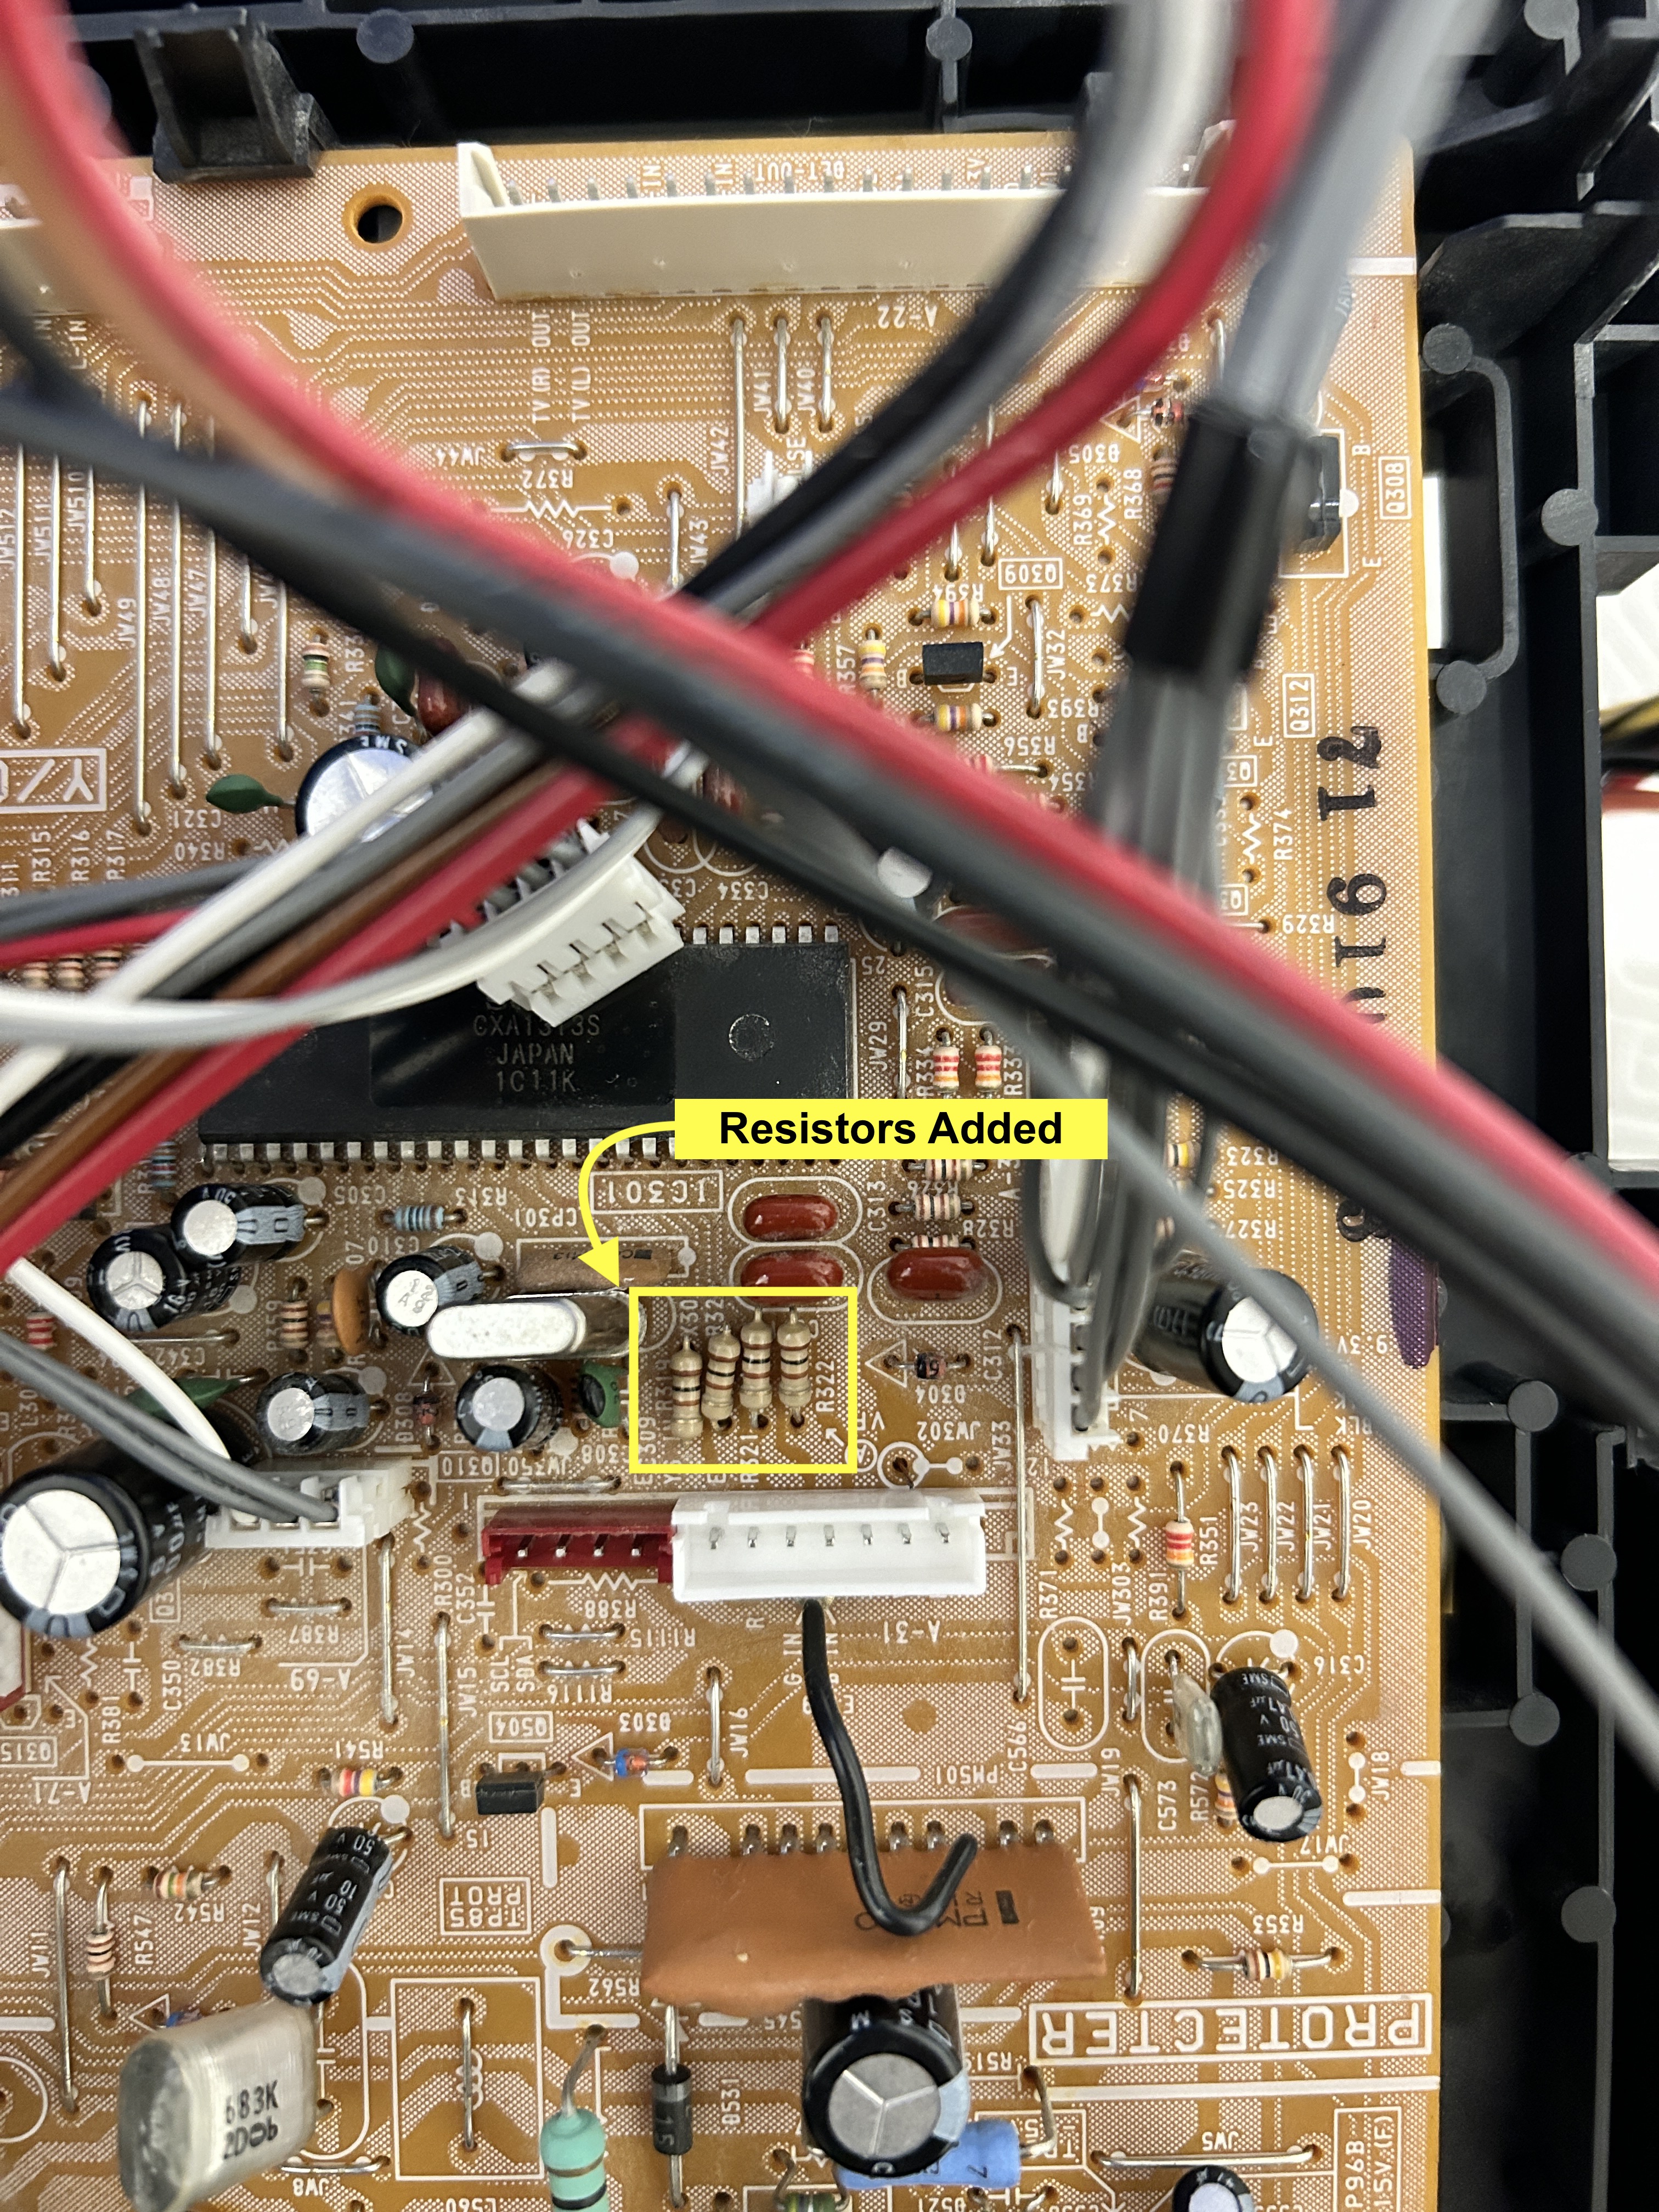
STEP 2: Install JST connector
I decided to use a JST connector for easier disassembly in the future.
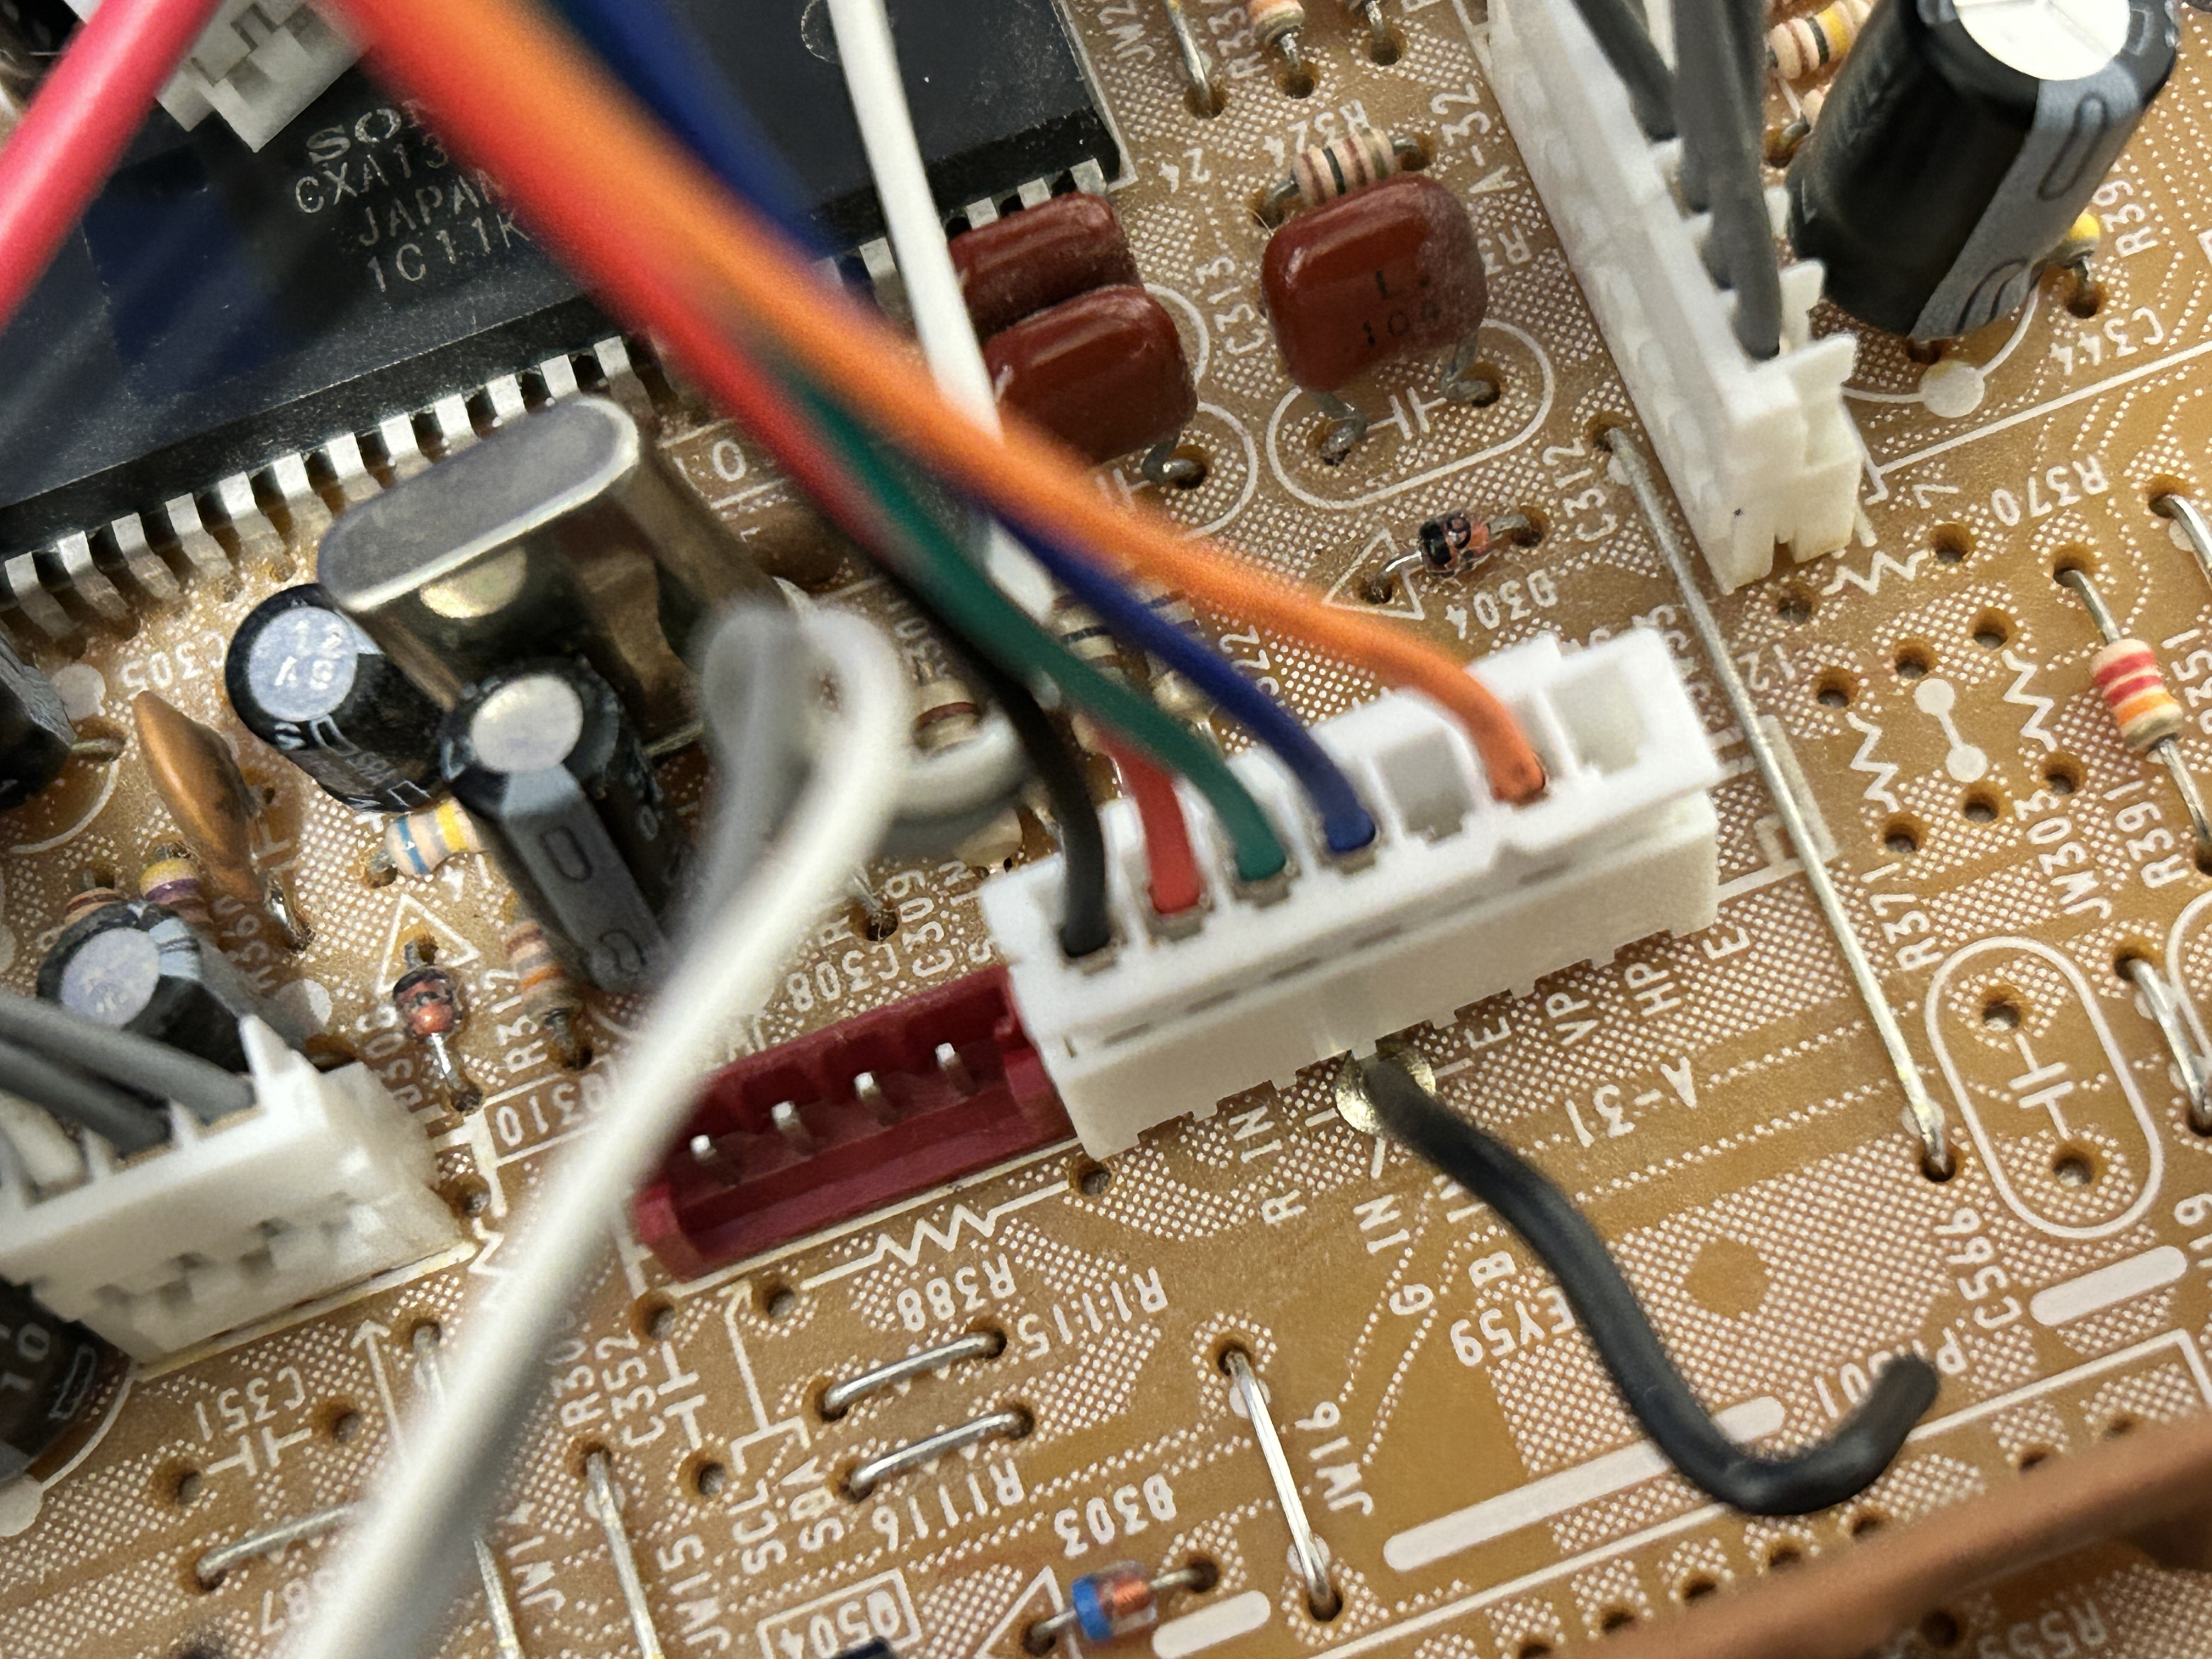
STEP 3: Audio, Sync wiring
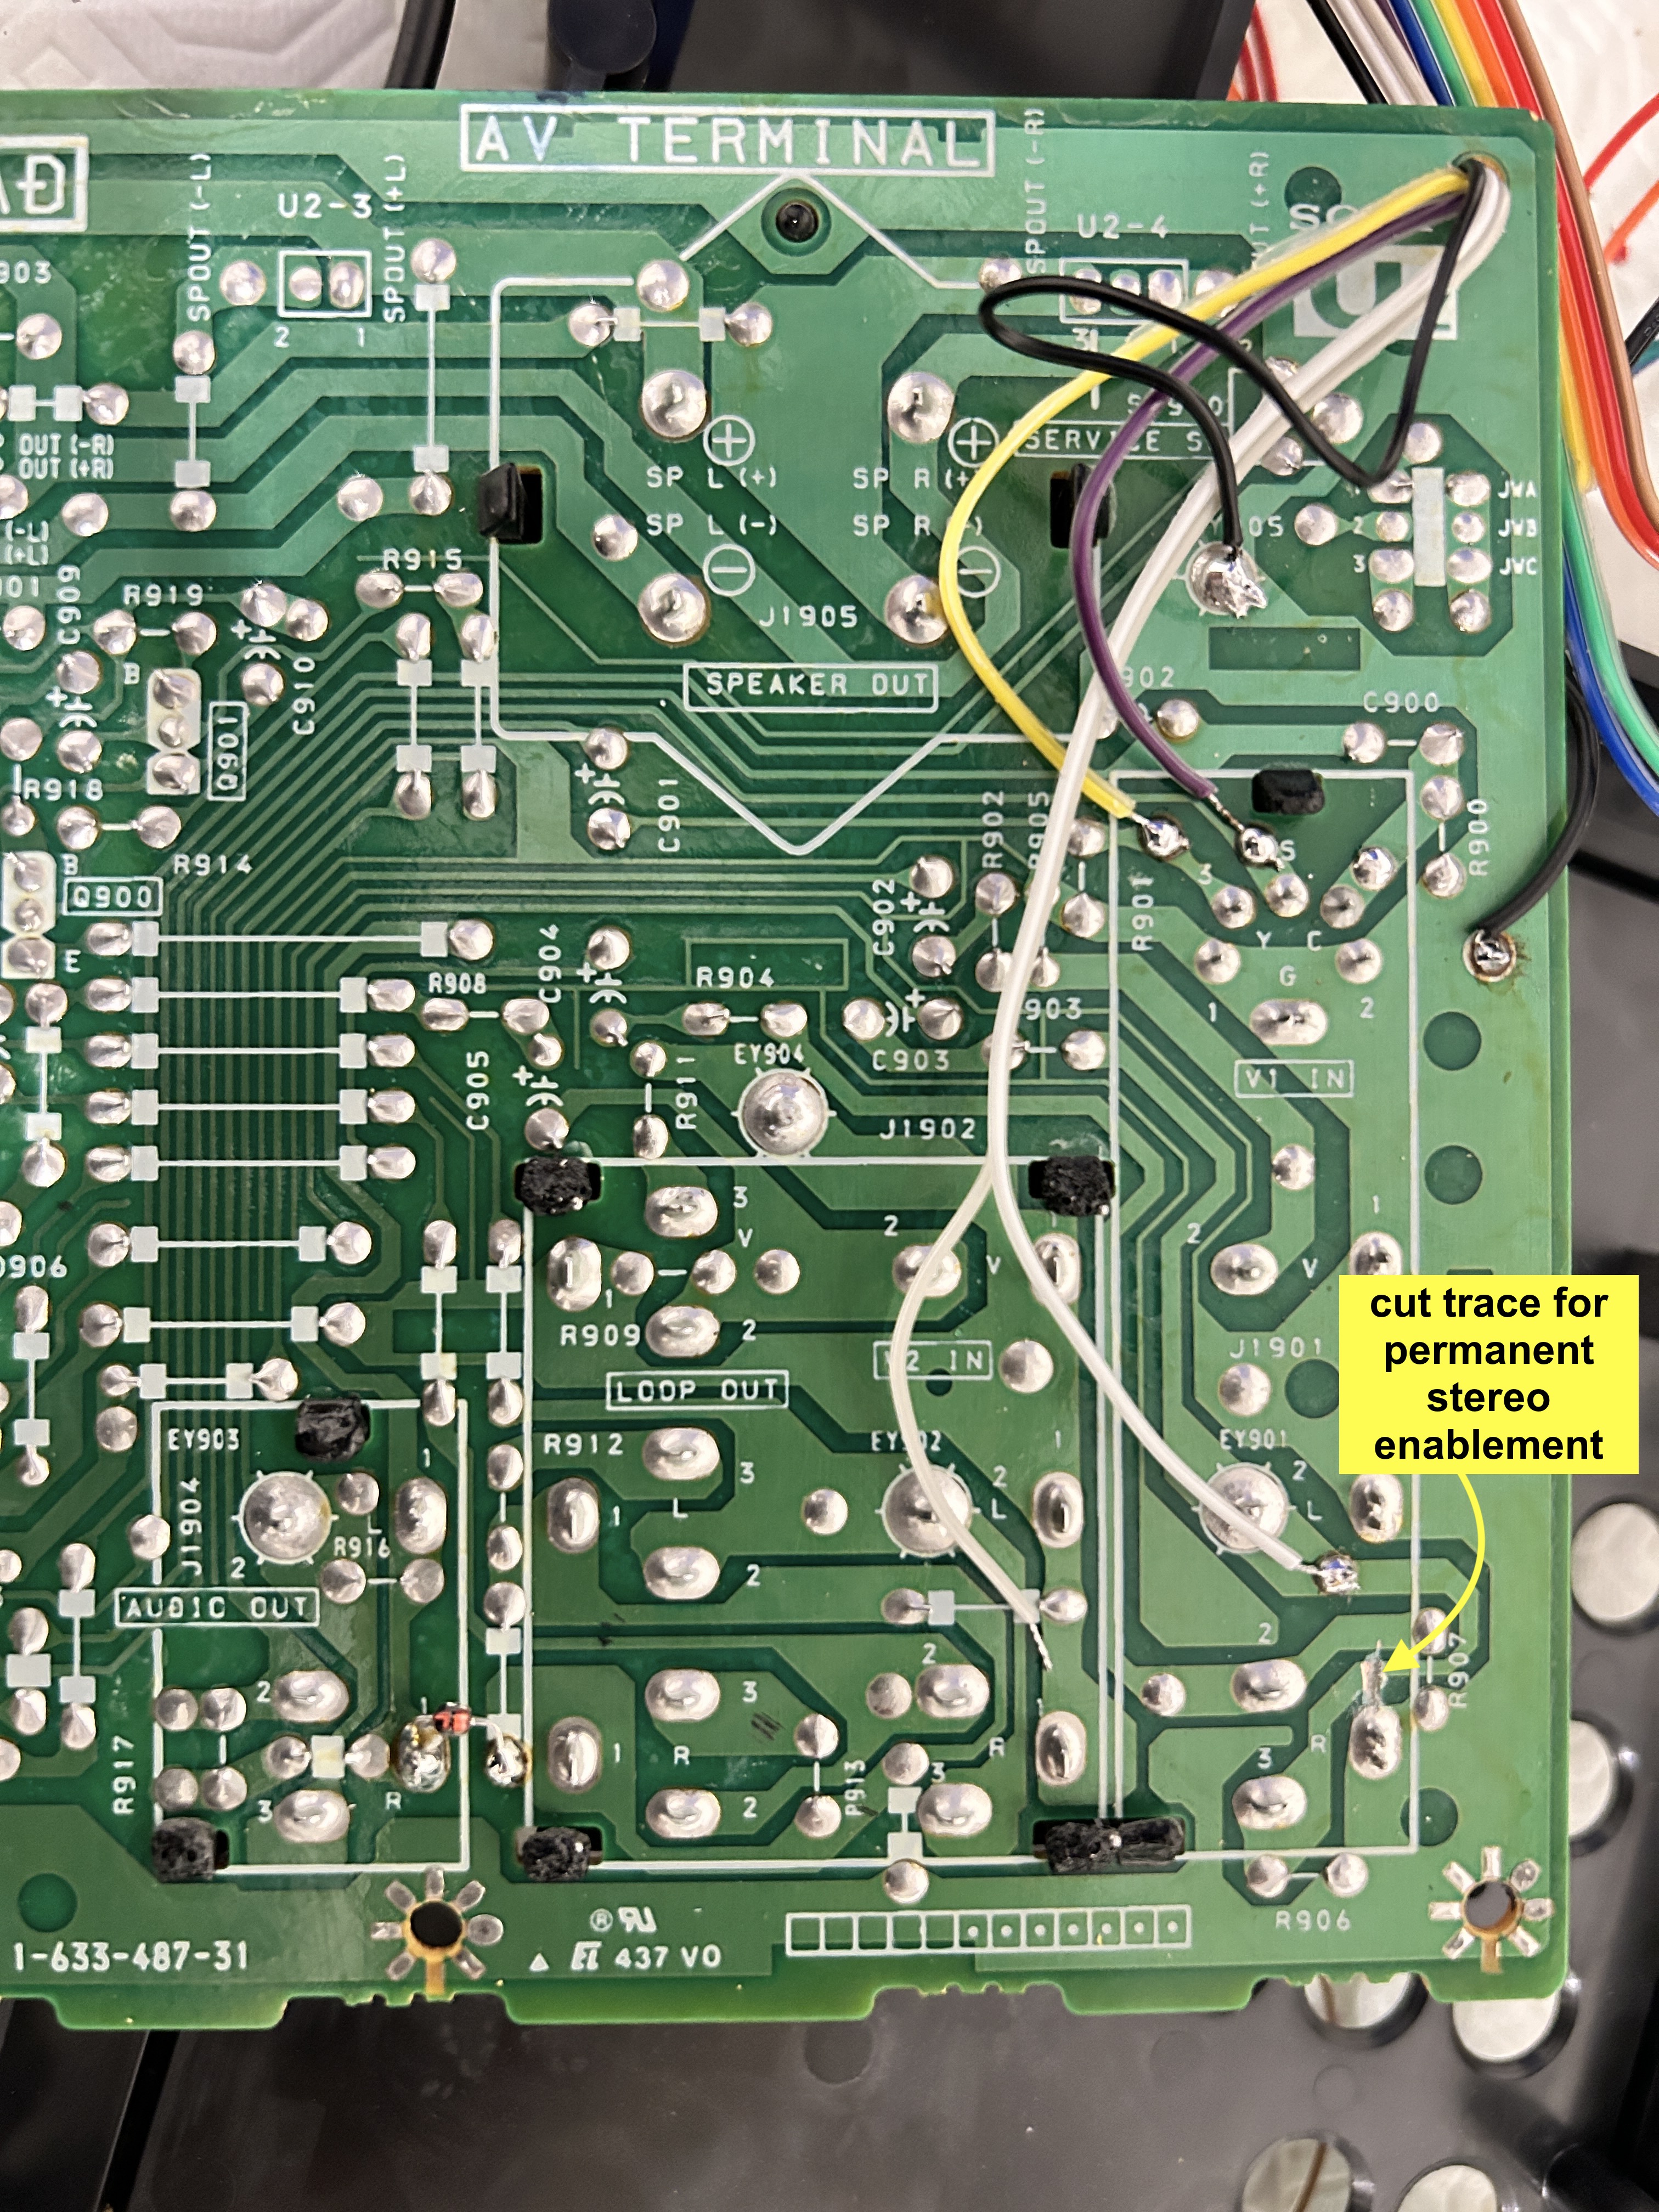
STEP 4: Wire routing
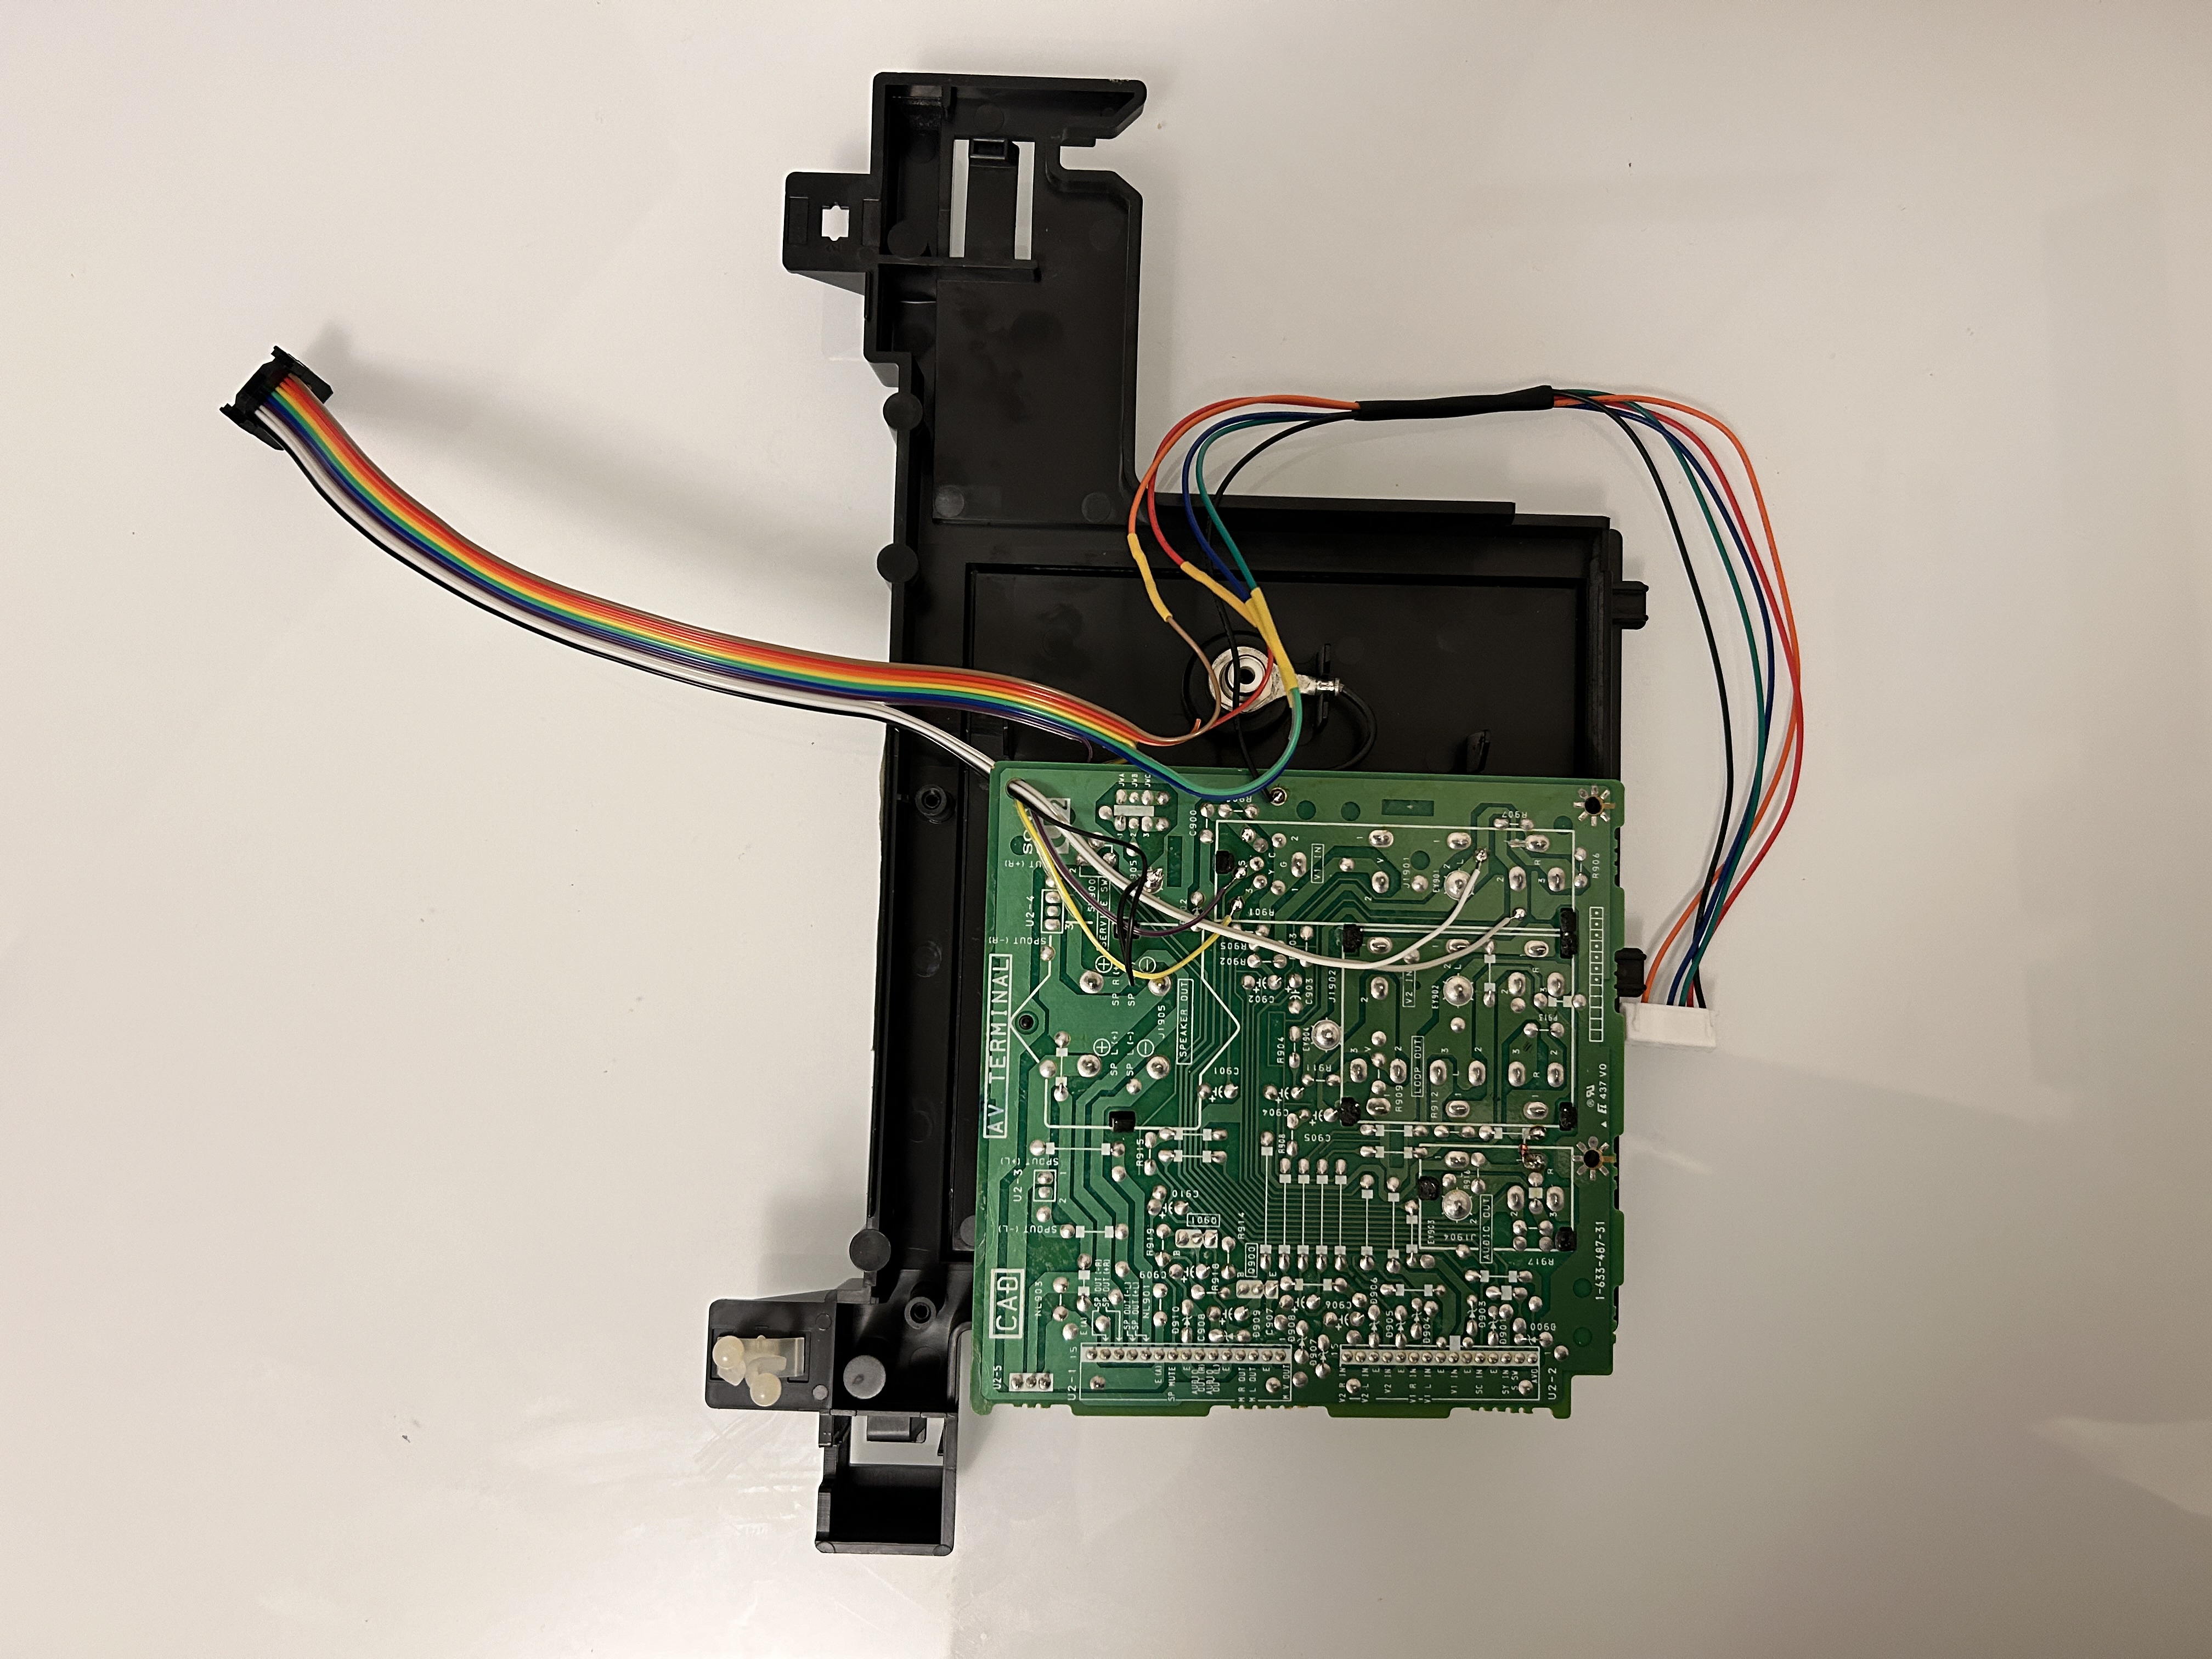
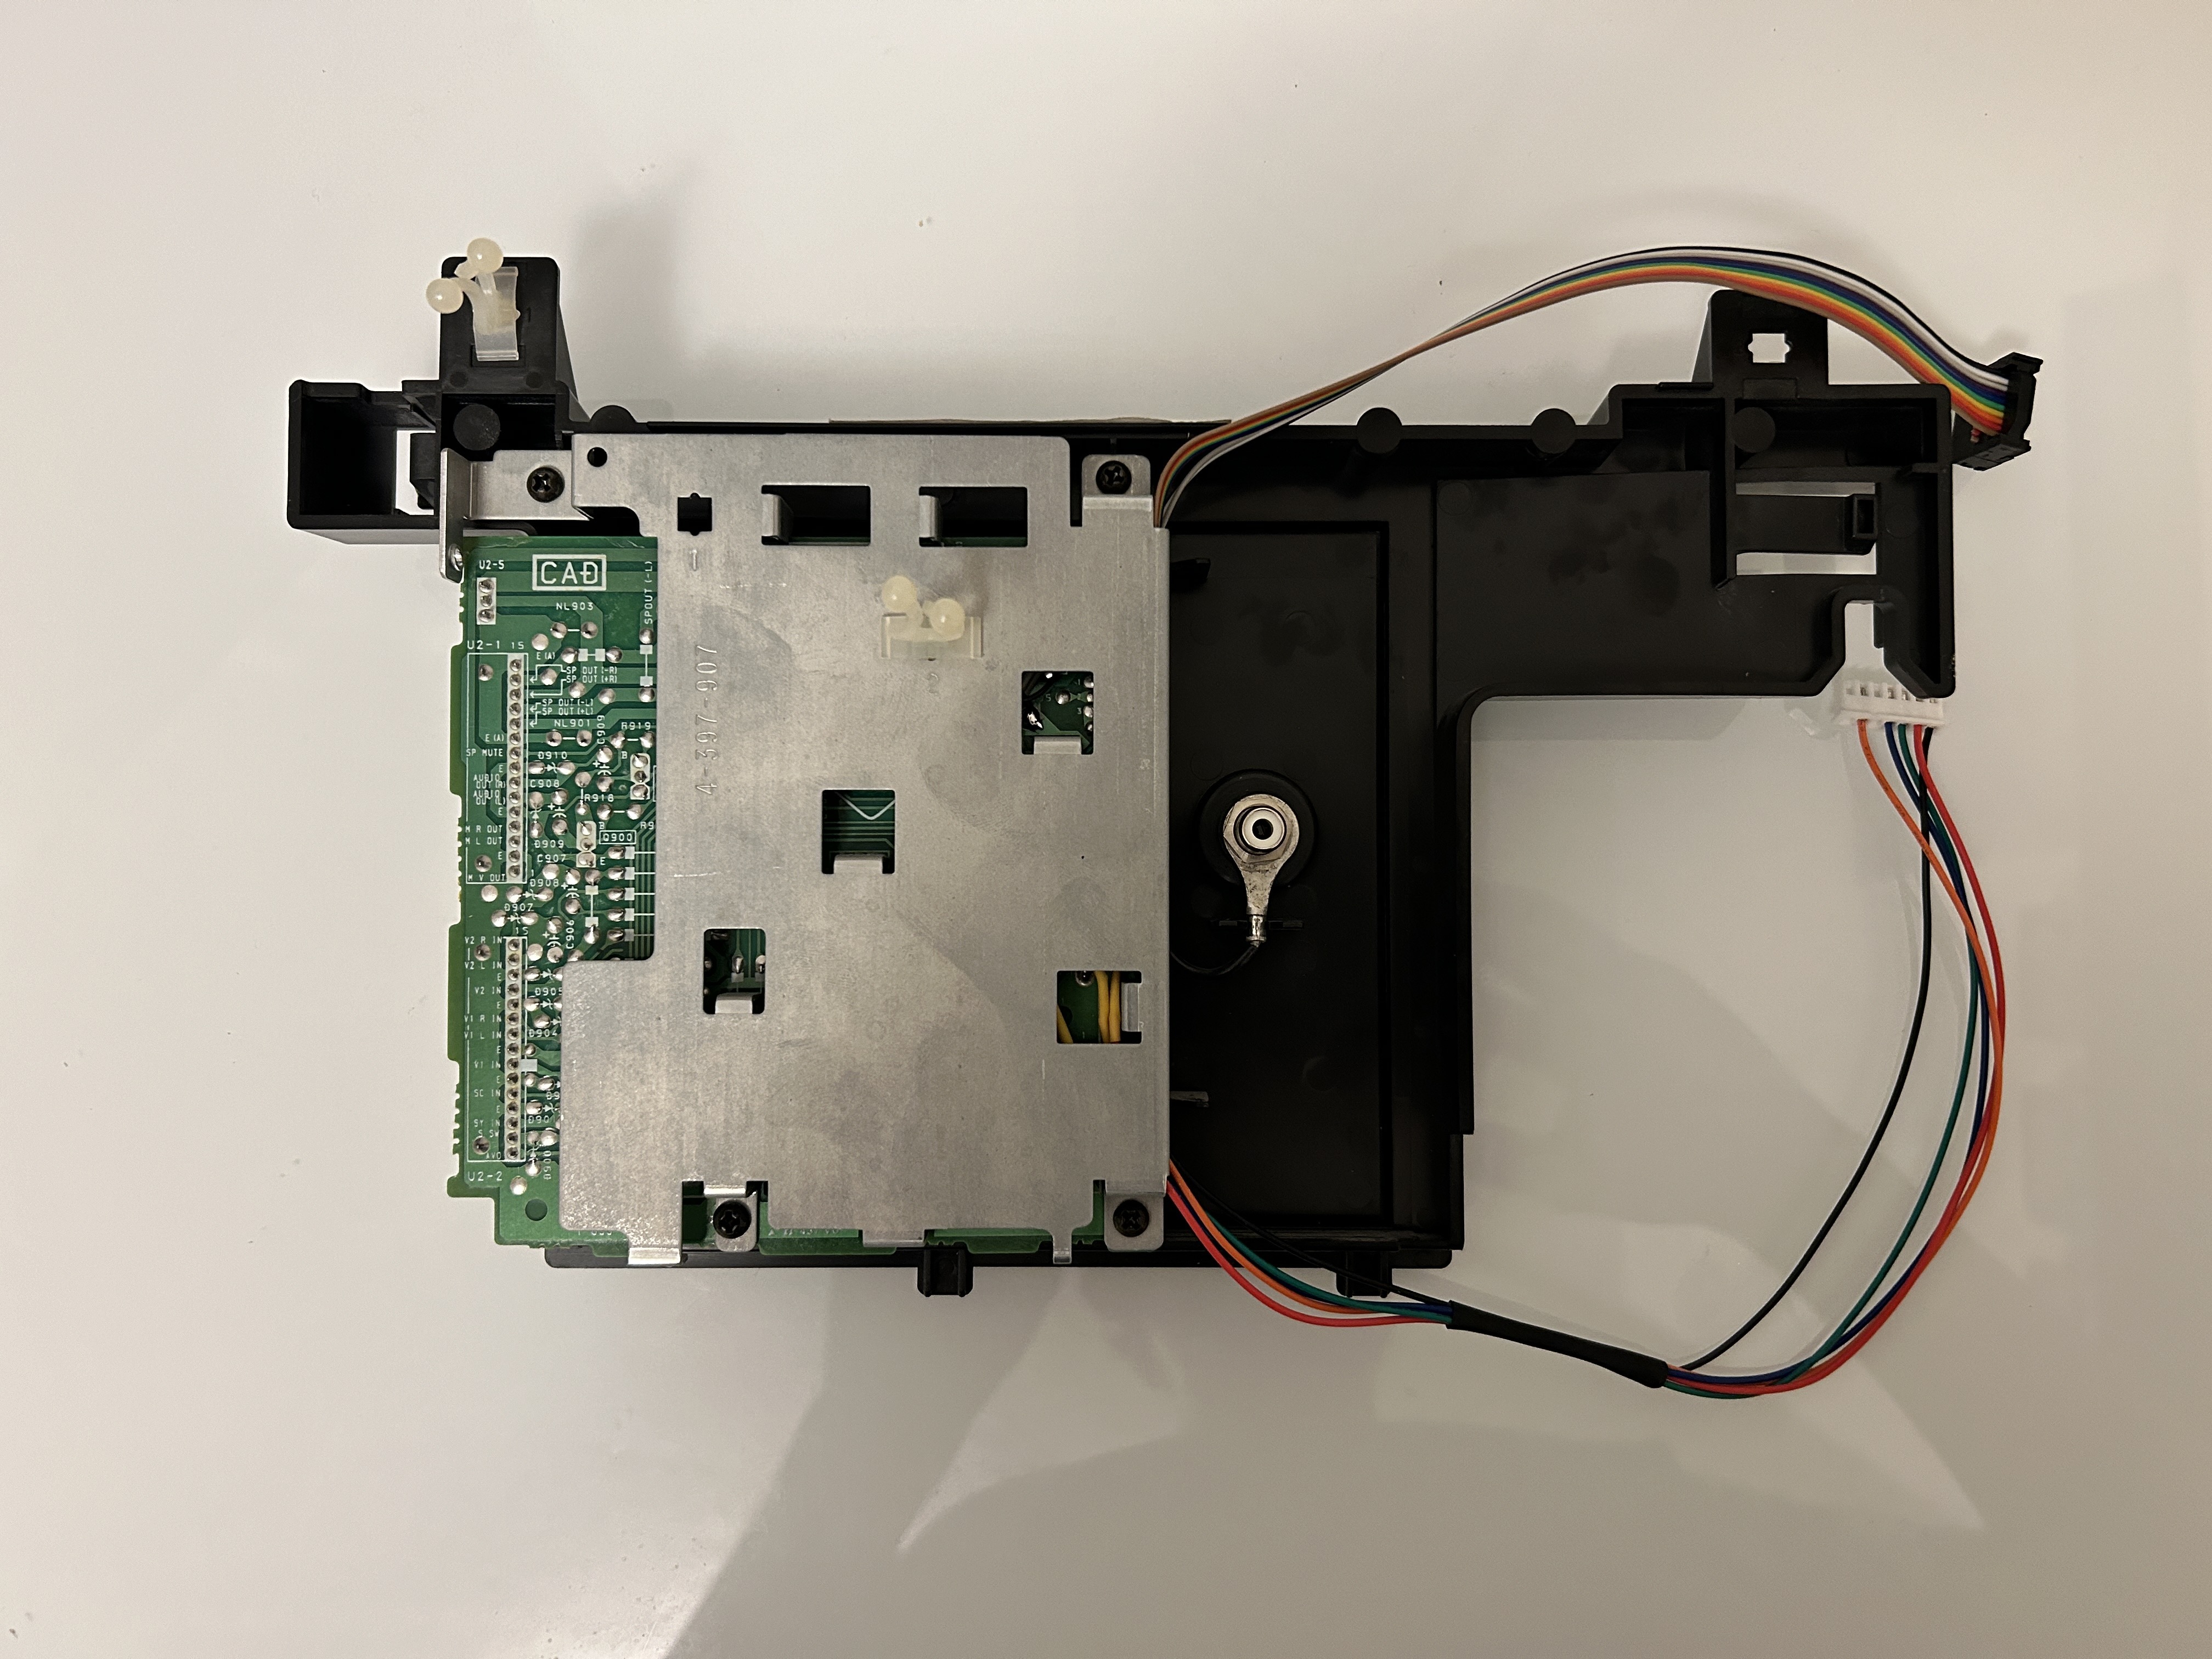
STEP 5: Build your mux board
Below mod uses the RGB mux board. This is optional, but will make your mod easier and stable. You can also create the circuit presented in the schematics above without the board. Please also checkout the precalculated resistor values.
| TV Model | KV-27EXR90 | KV-27EXR20 |
|---|---|---|
| RGB termination (R1, R2, R3) | 75Ω | 75Ω |
| Audio LR (R7, R8) | 1kΩ | 1kΩ |
| RGB inline caps (R4, R5, R6) | 0.1uF | 0.1uF |
| Diode (R9) | Shorted | Shorted |
| Blanking Resistor (R11) | 1kΩ | 4.7kΩ |
| Add diodes to RGB or blanking lines | No | No |
- R7 and R8 doesn't need 1K resistors if the trace is cut to permanently enable stereo. Why is this important? If the trace is not cut, the source audio will be shorted without the 1K resistors. If the source/console doesn't have the appropriate protection, it may damage the audio amp on the console.
STEP 6: Attach the female SCART connector to TV
Creating a SCART cutout and mounting it is an art. I have a dedicated section for it. How to create and mount a SCART female plug?
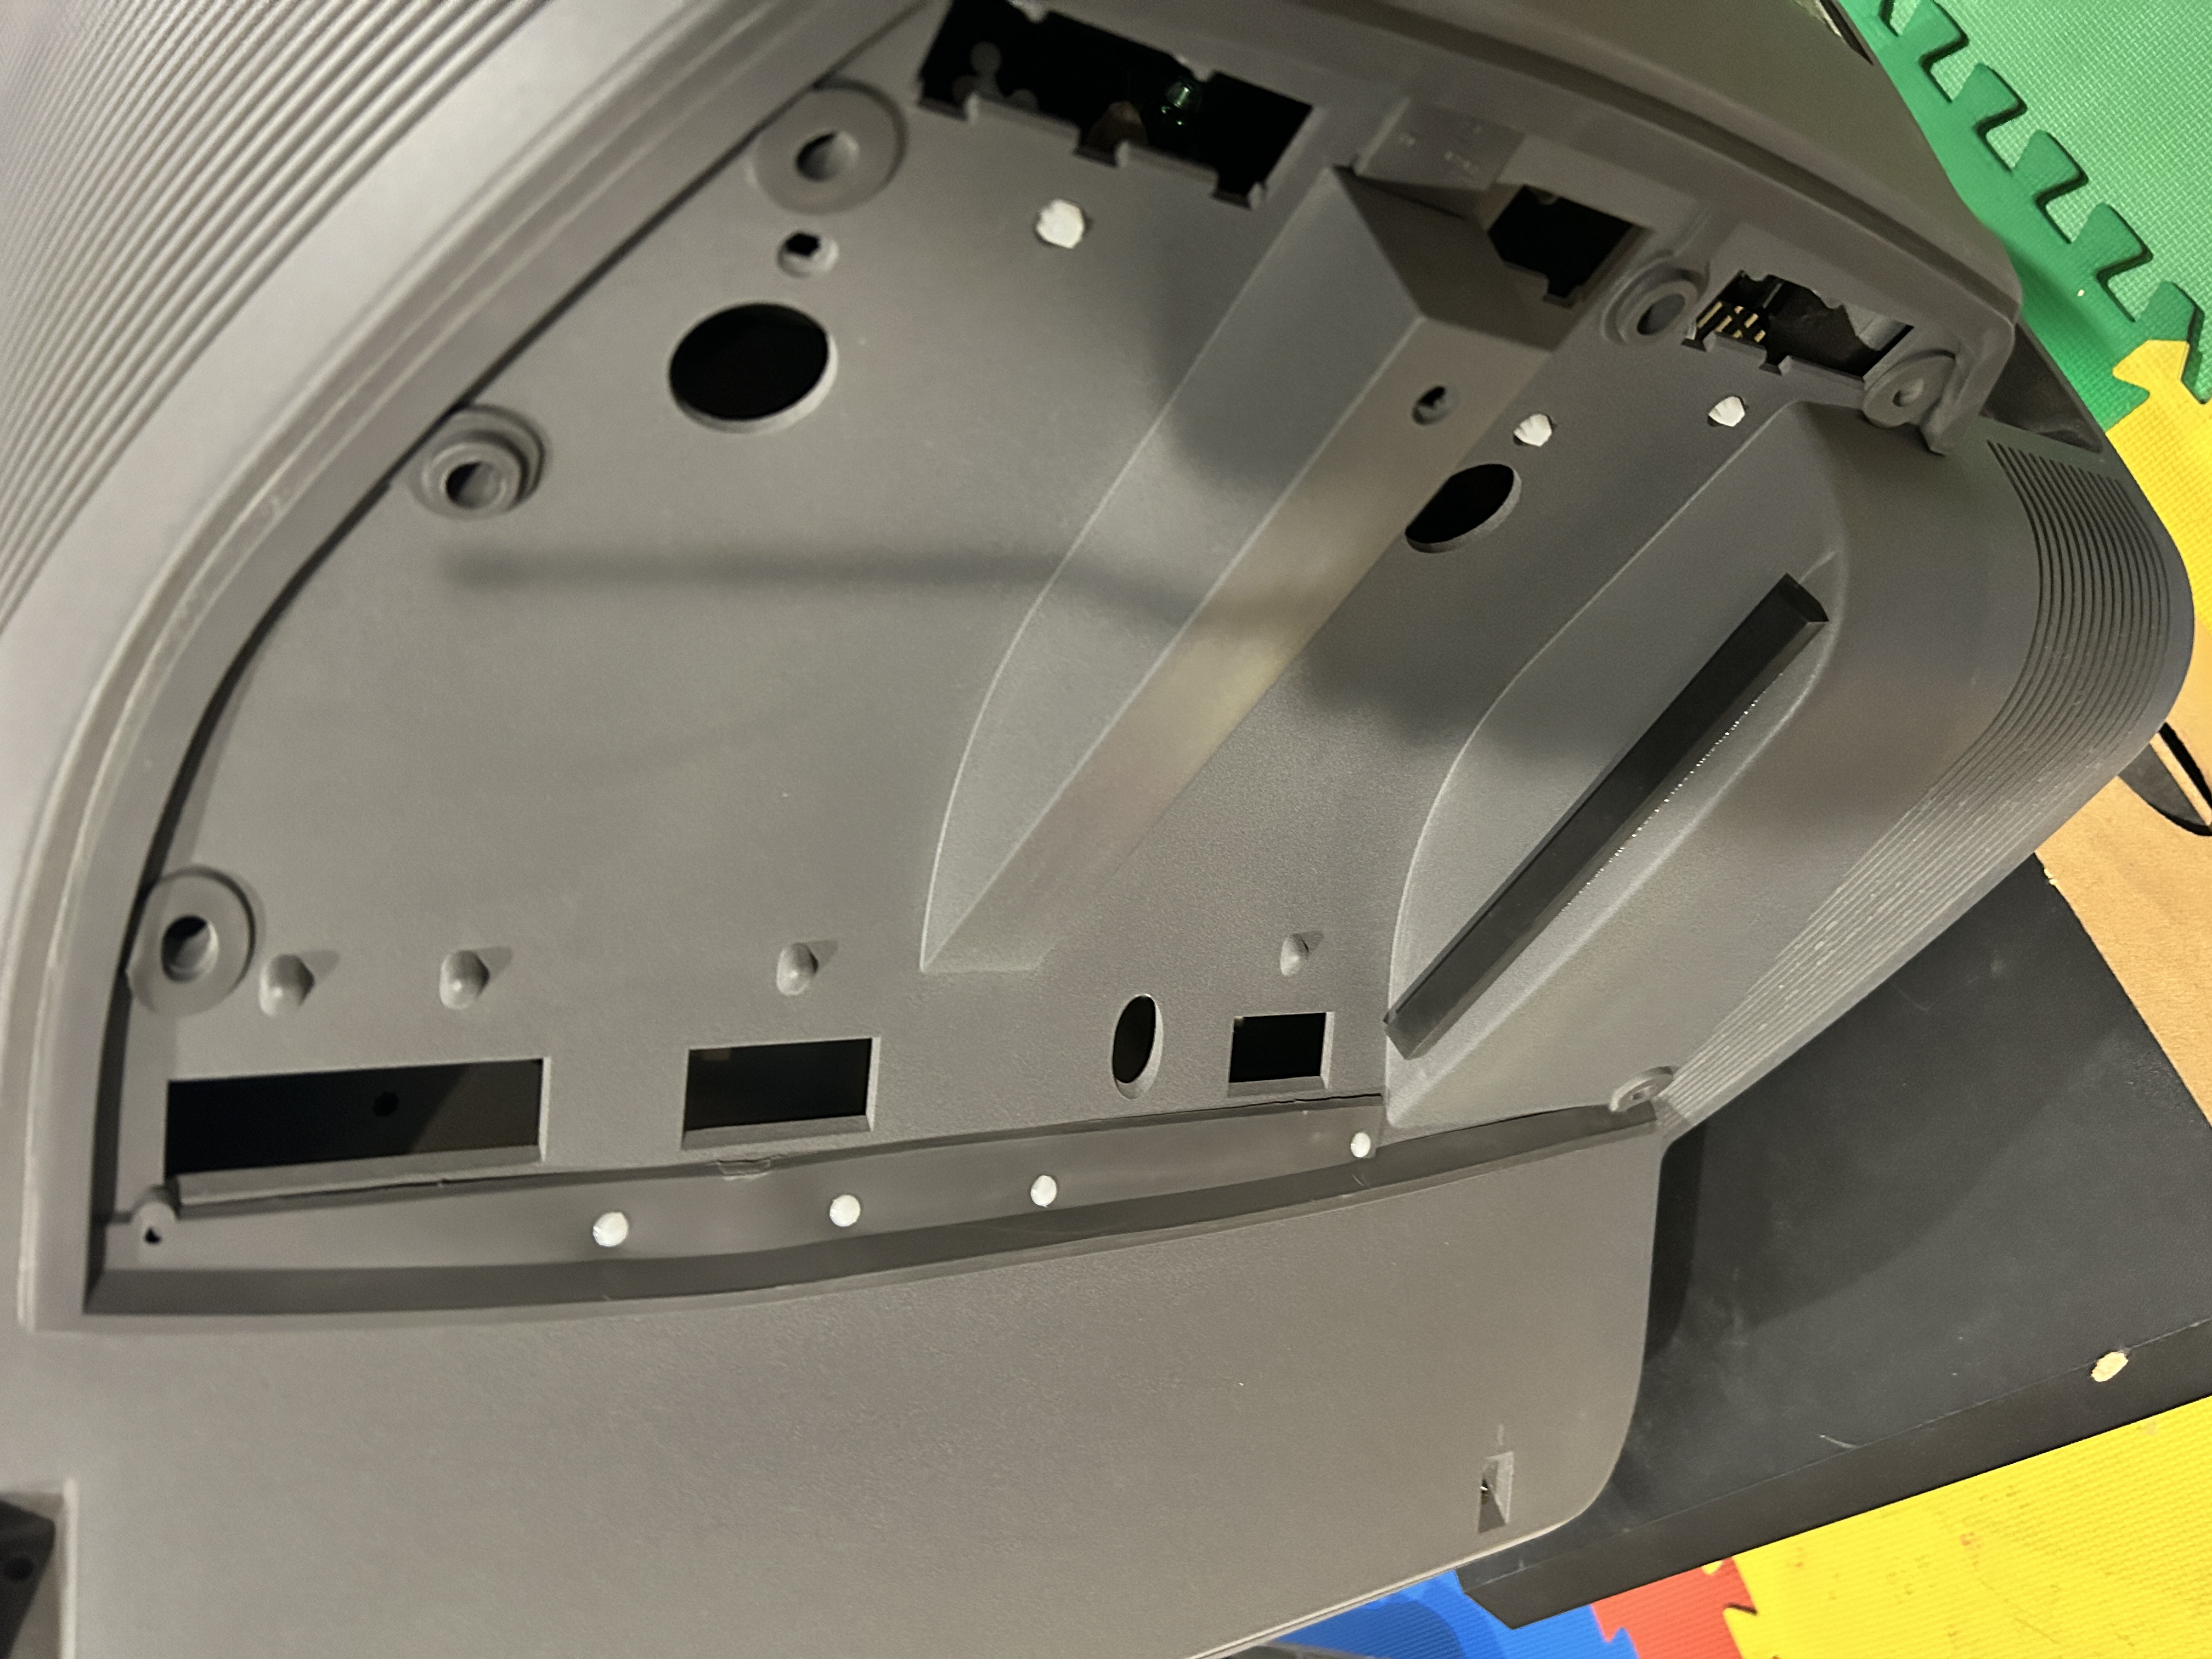
Depending on your CRT, you might need to find a good place to mount the SCART port.
Pictures of the mod
Set Pictures
