Sony (AA-2D) KV-32S66
Sony (AA-2D) KV-32S66 CRT RGB mod
The Sony KV-32S66 is a 32" curved CRT television originally released in the late 1990s to early 2000s. Built on Sony’s legendary Trinitron technology and the AA-2D chassis, it is highly prized for its vibrant colors, sharp scanlines, and deep black levels.
View full CRT details and more mod examples →
This tutorial is also applicable for the below models:
- Sony KV-32S42
- Sony KV-32S66
- Sony KV-32V42
- Sony KV-35S42
- Sony KV-35S66
- Sony KV-35V42
Table of Contents
Contributors
Thank you to everyone who contributed to this guide:
- CyTsune — contributor, RGB mod and pictures
CRT safety
Caution
You can die doing this! So read carefully! CRT TV is not a toy. Do not open a CRT TV. If you don't have any prior knowledge about handling high voltage devices, this guide is not for you. CRT TV contains high enough voltage (20,000+ V) and current to be deadly, even when it is turned off.
Plan of attack
Manuals and Datasheets
Specs
- Format: NTSC
- Chassis: AA-2D
- Tube: Sony Trinitron Sony Trinitron
- Jungle Chip: Sony CXA2025AS
- OSD Chip: CXP858-002S
- Screen Size: 35"
RGB mux diagram
Prepare the mux diagram. If you are building your own circuit, this diagram should help.
Performing the mod
STEP 1: Remove the following components
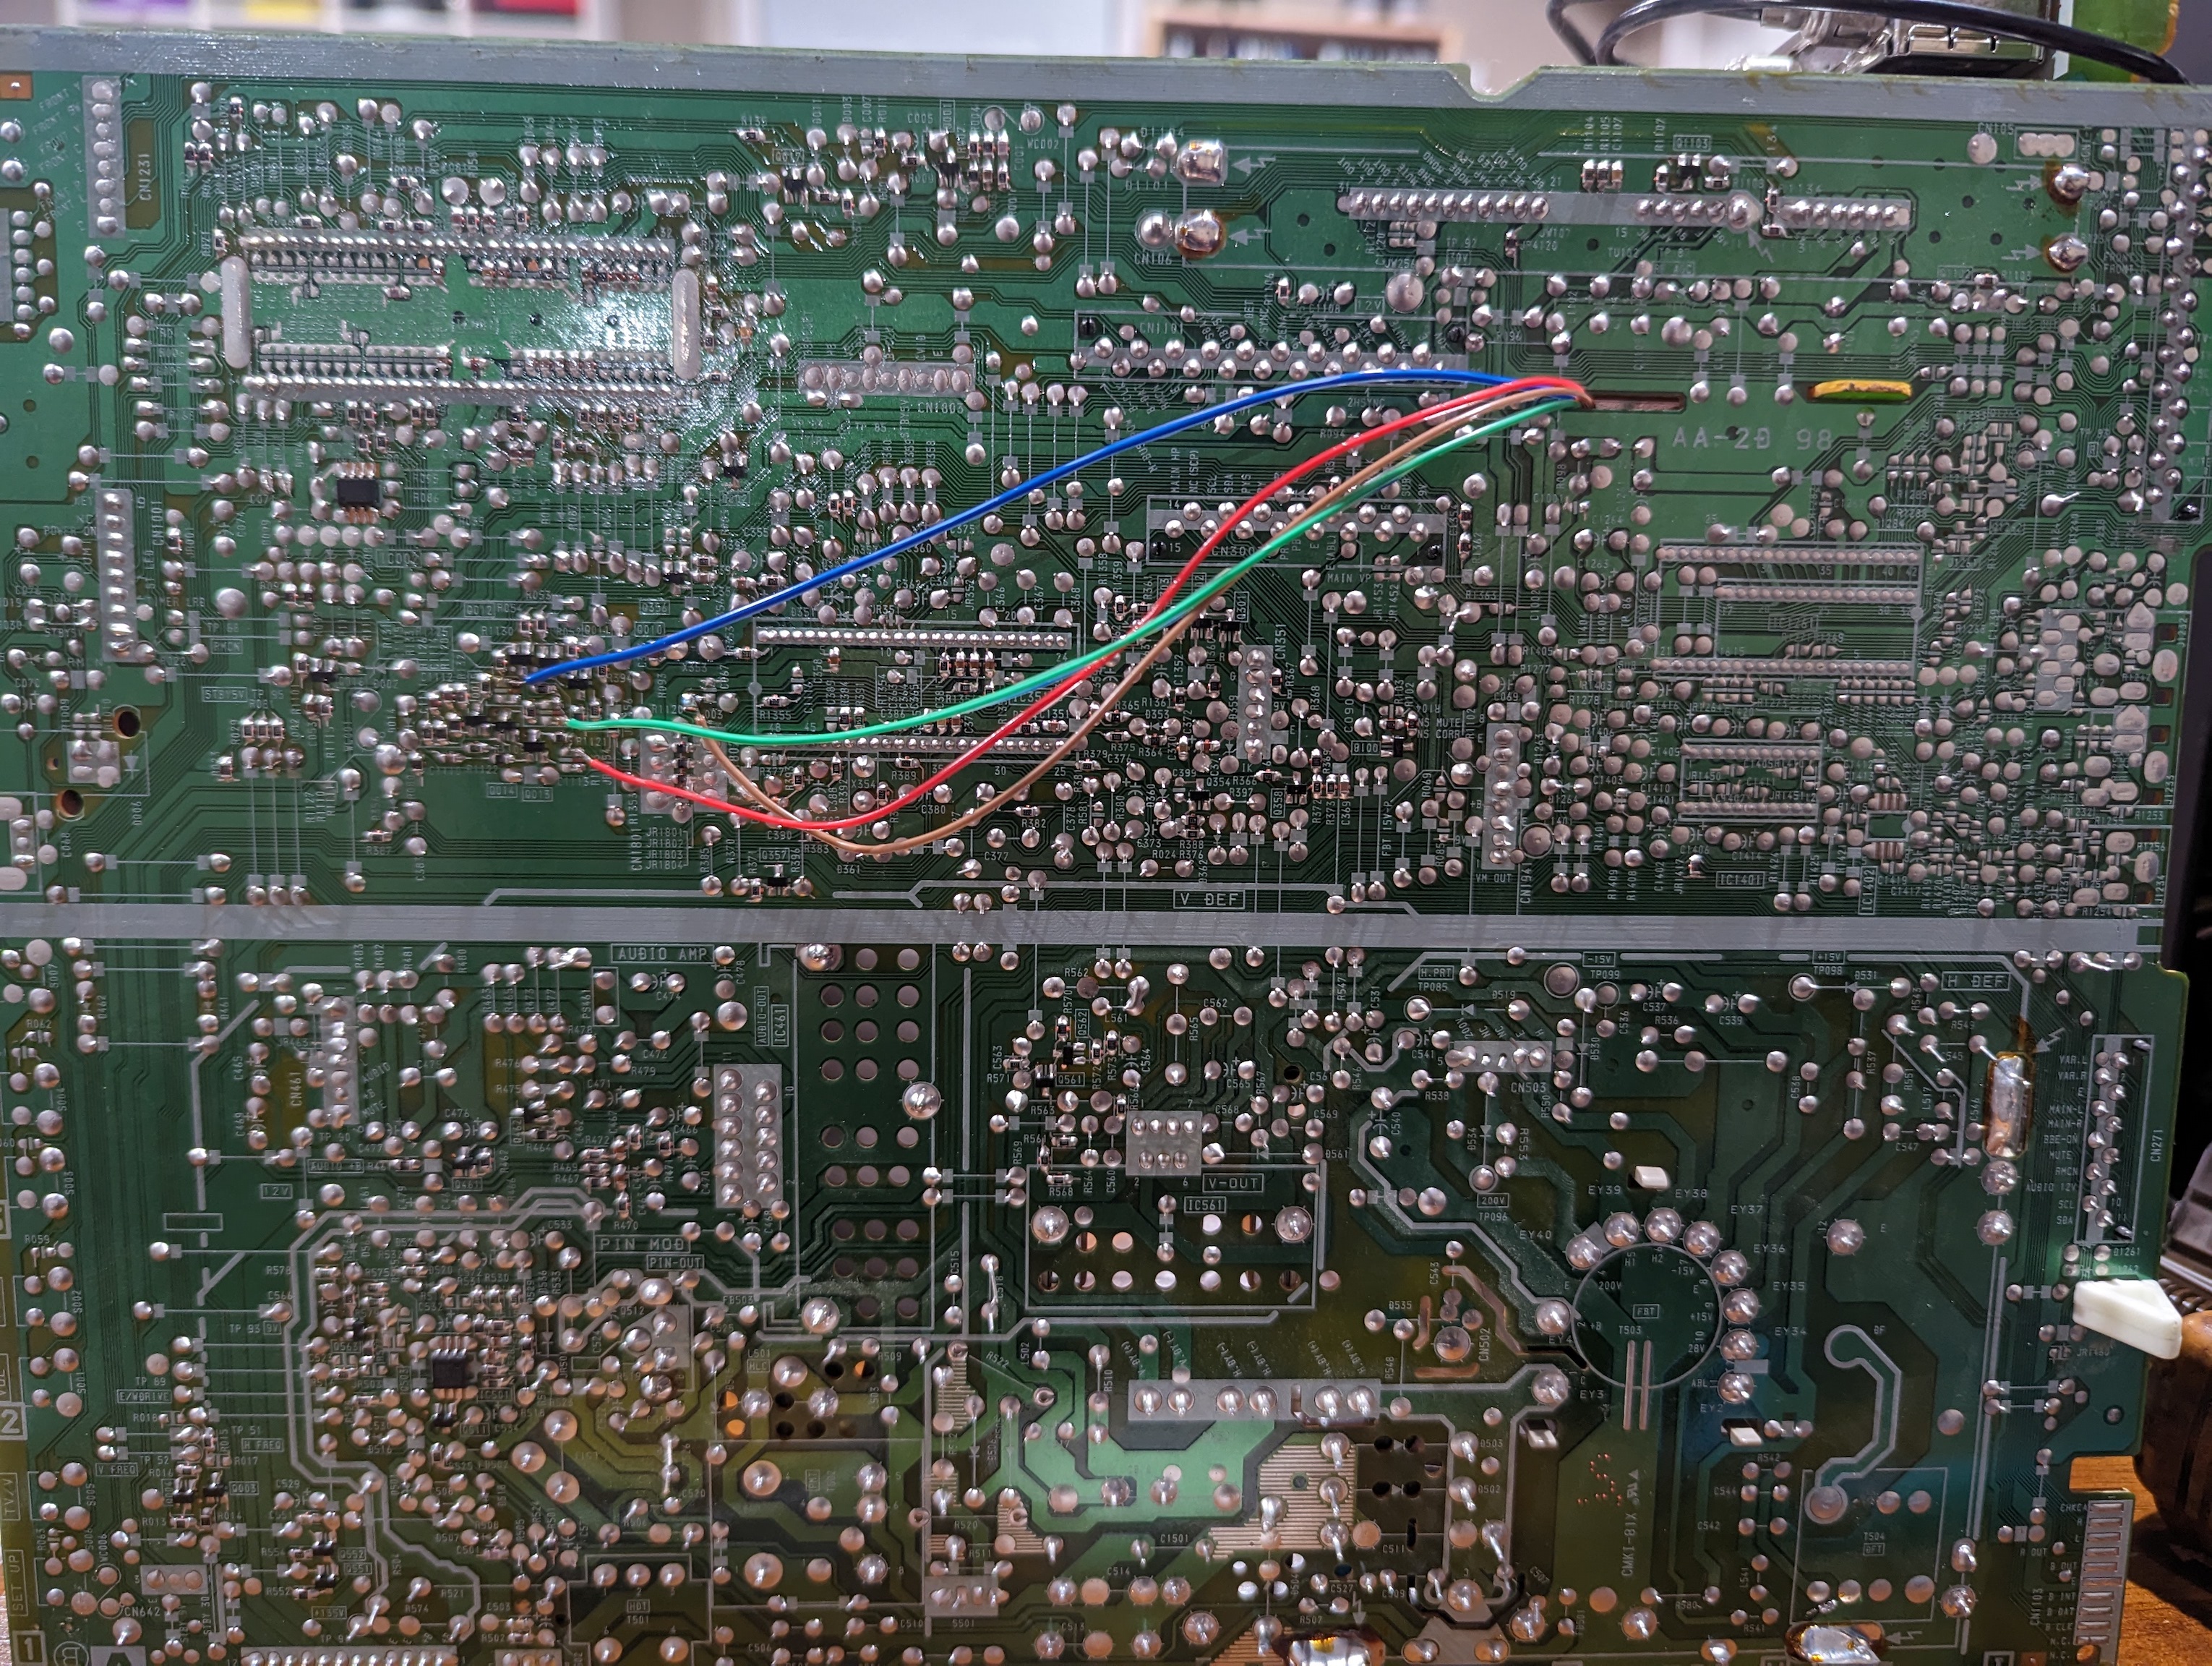
Remove R1123, R1128 and R133 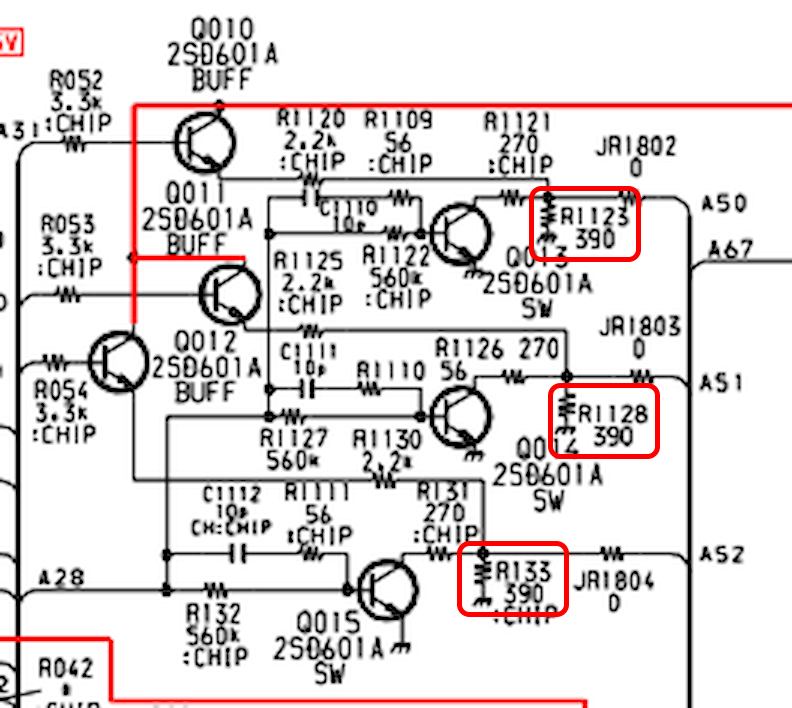
Inject R, G, B at the below locations R1123 (Red) R1128 (Green) R133 (Blue)
![]()
Disconnect VM wires to reduce artificial sharpening.
STEP 2: Add a diode to blanking
Blanking diode was not added in this mod. But, it can be added by replacing JW801. This is known to help reduce interference. However, first try the mod without this diode.
![]()
With diodes, direction matters. Please make sure to install it such that the stripe is pointing towards the chroma/jungle chip. The idea here is to make sure external blanking current doesn't reach the OSD chip.
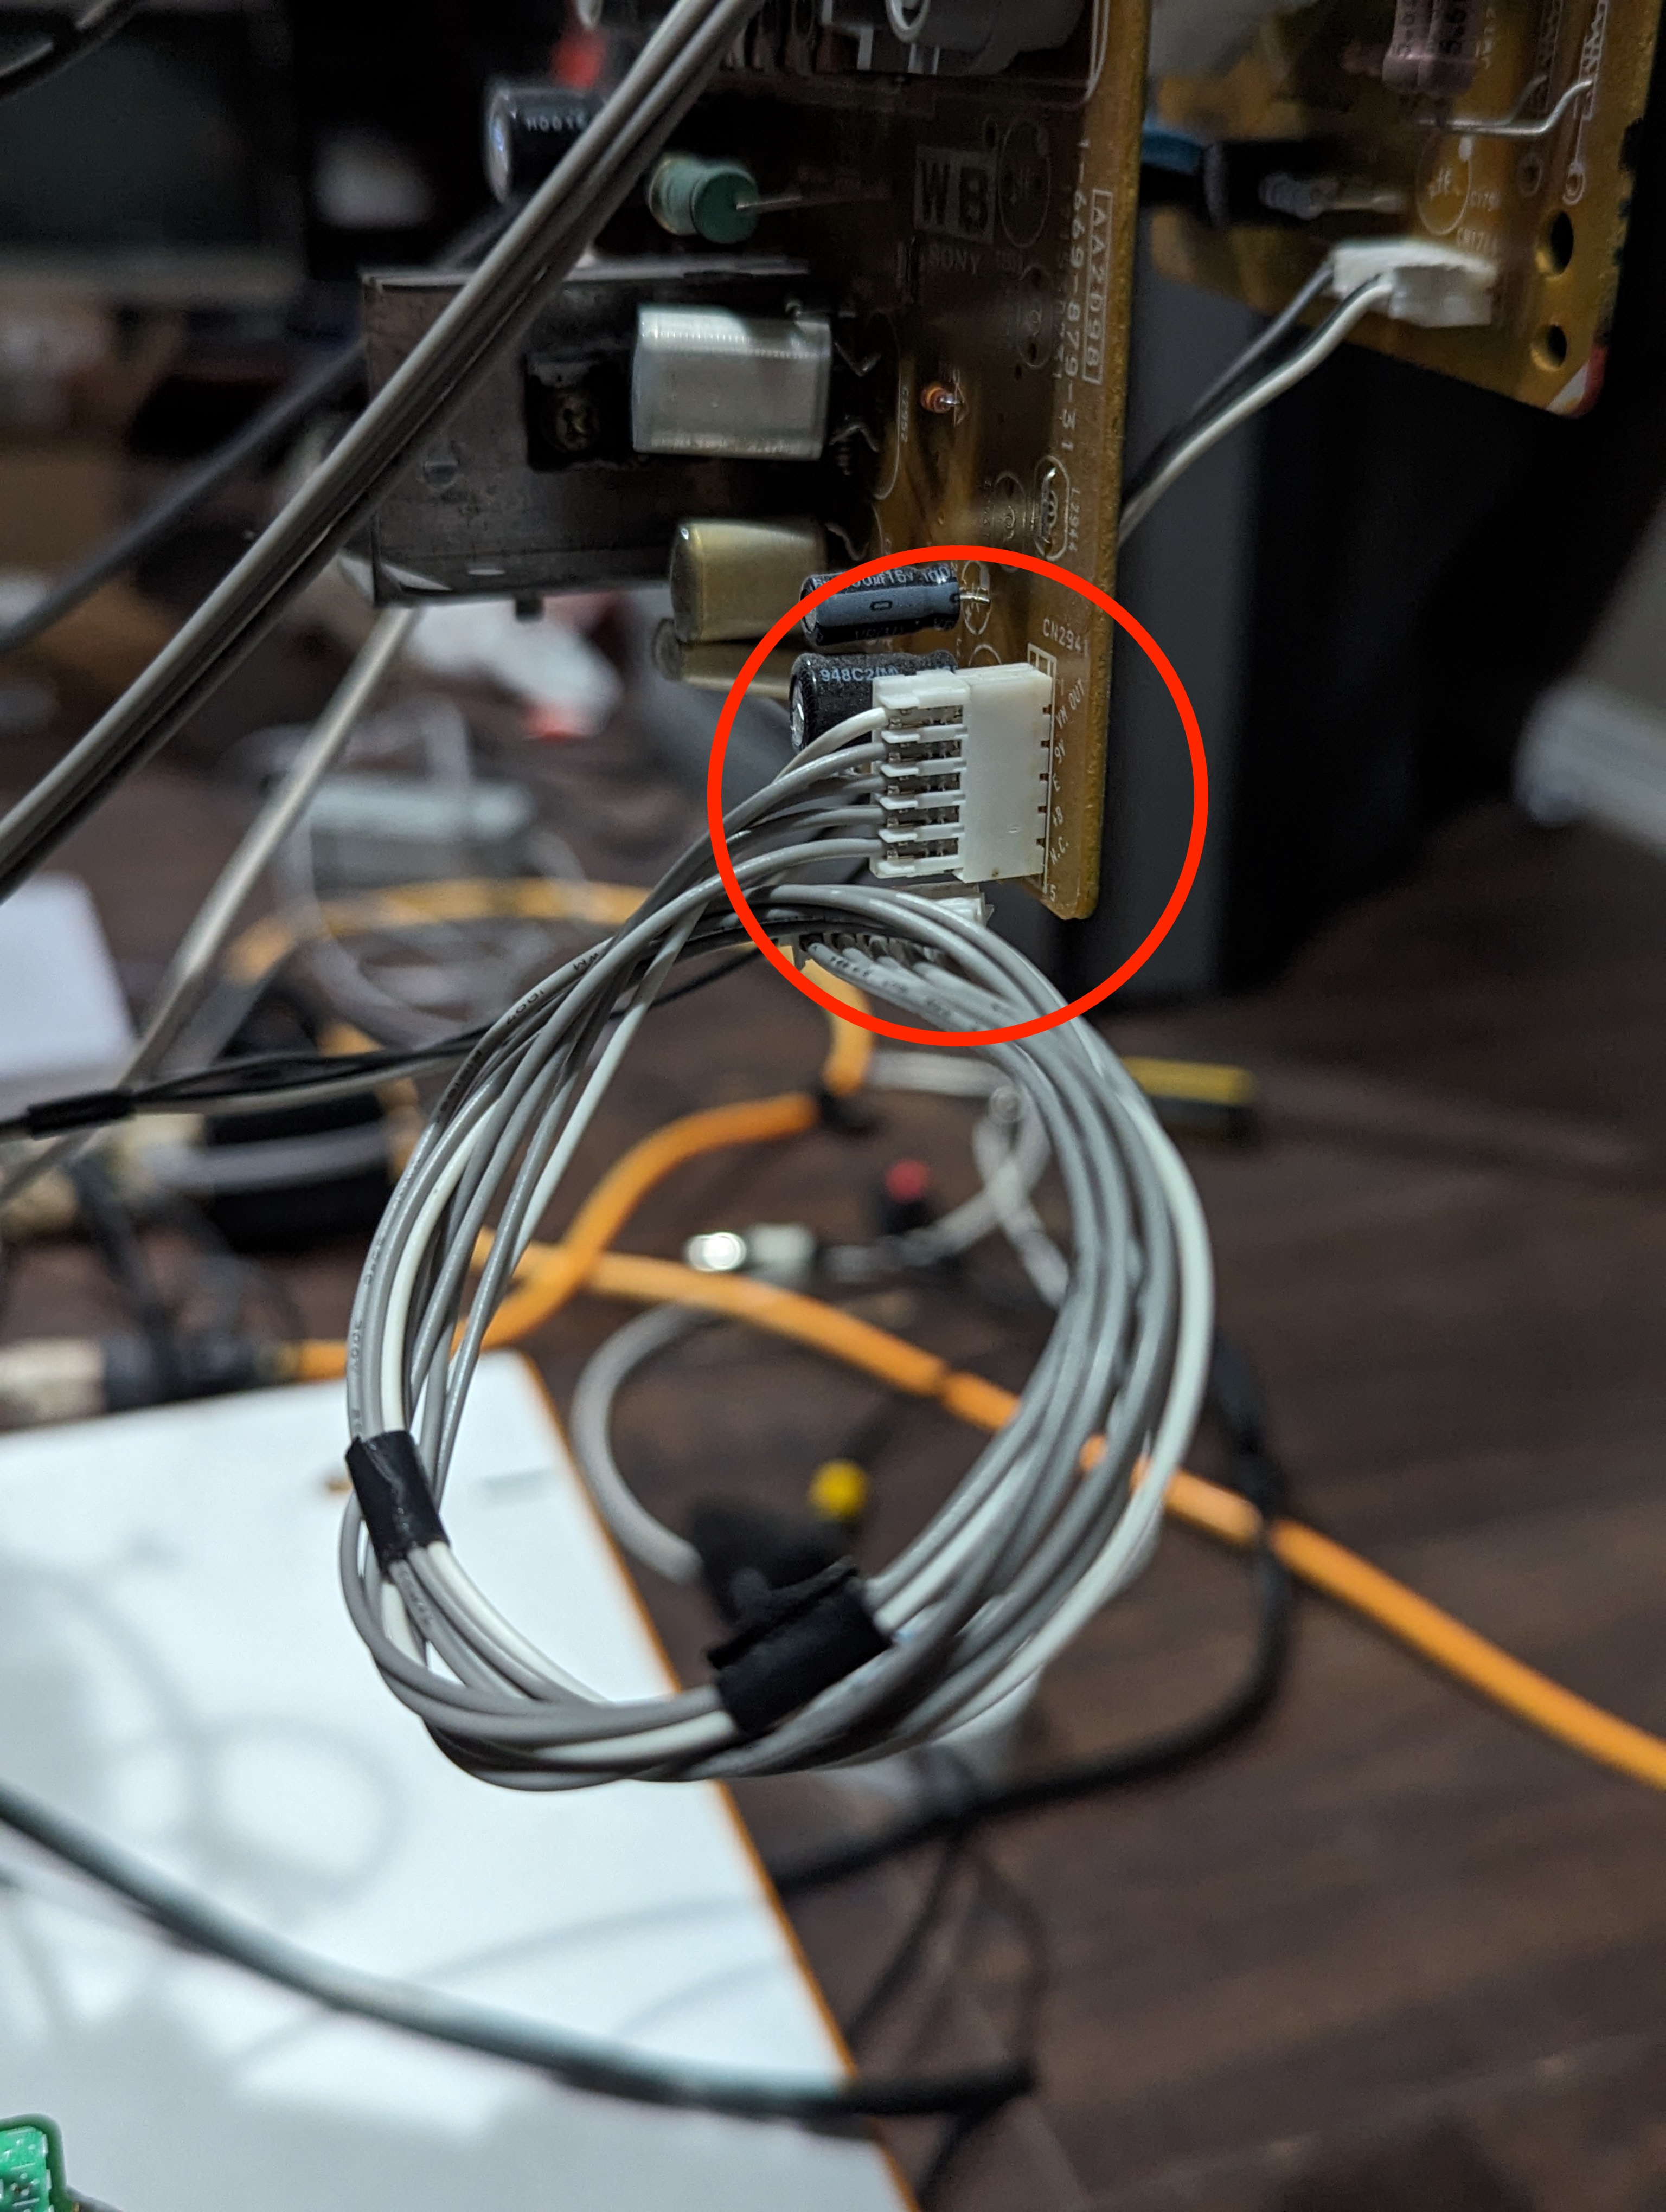
STEP 3: Connect RGB and blanking wires

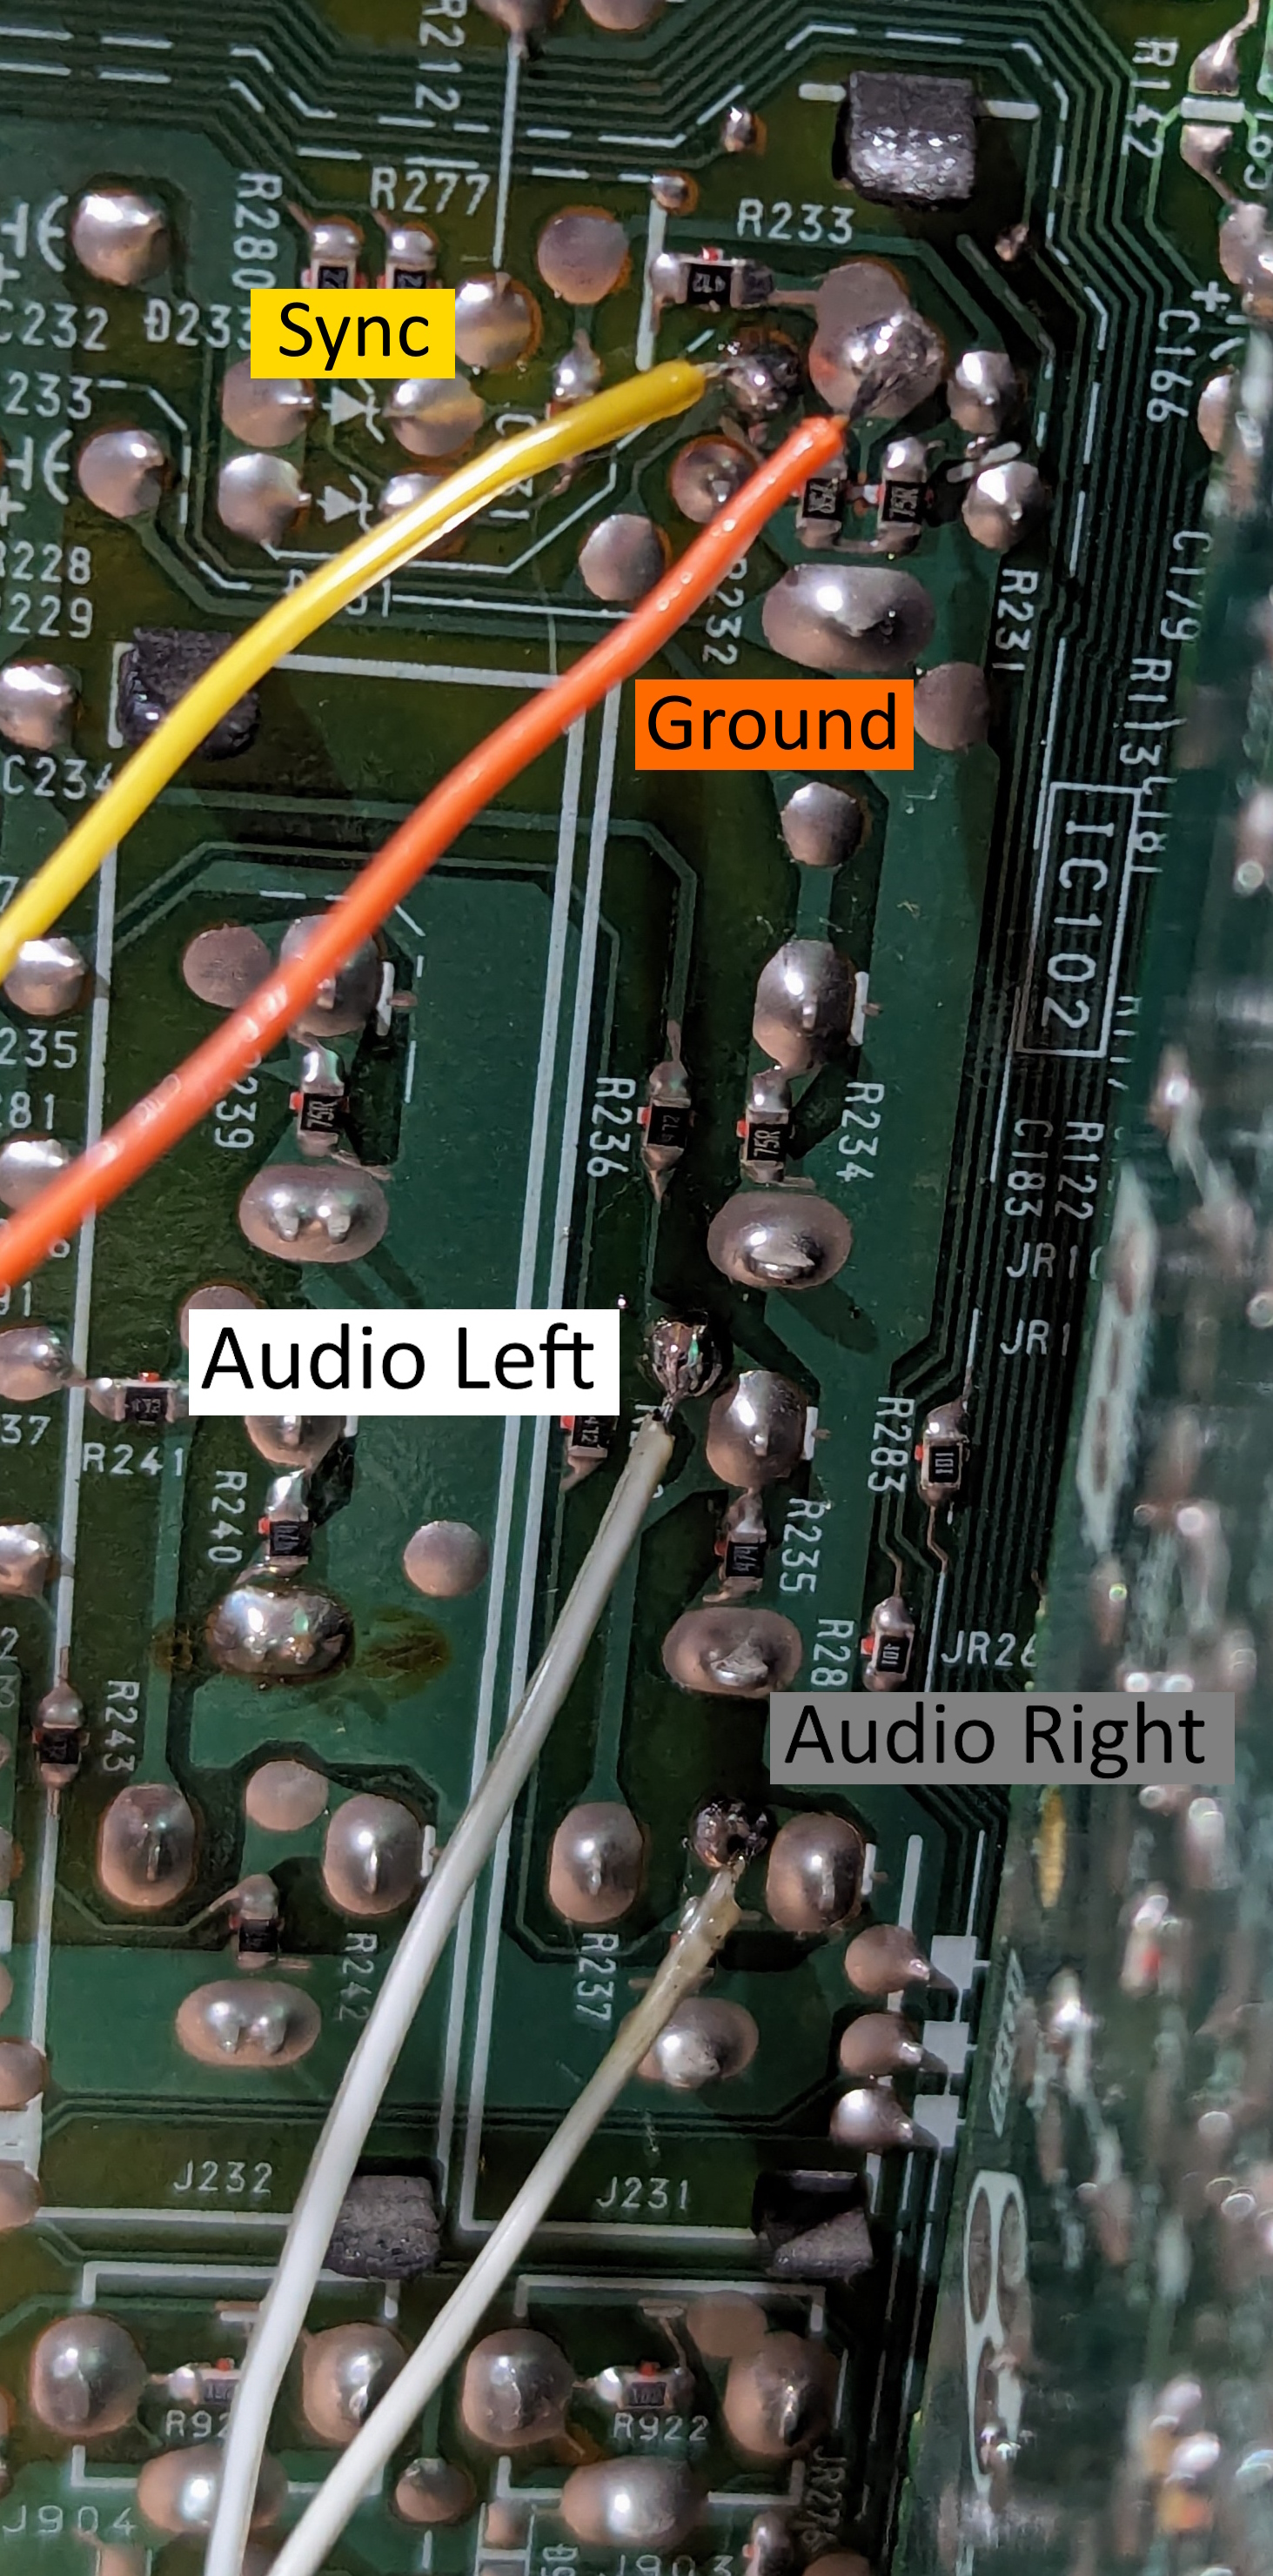
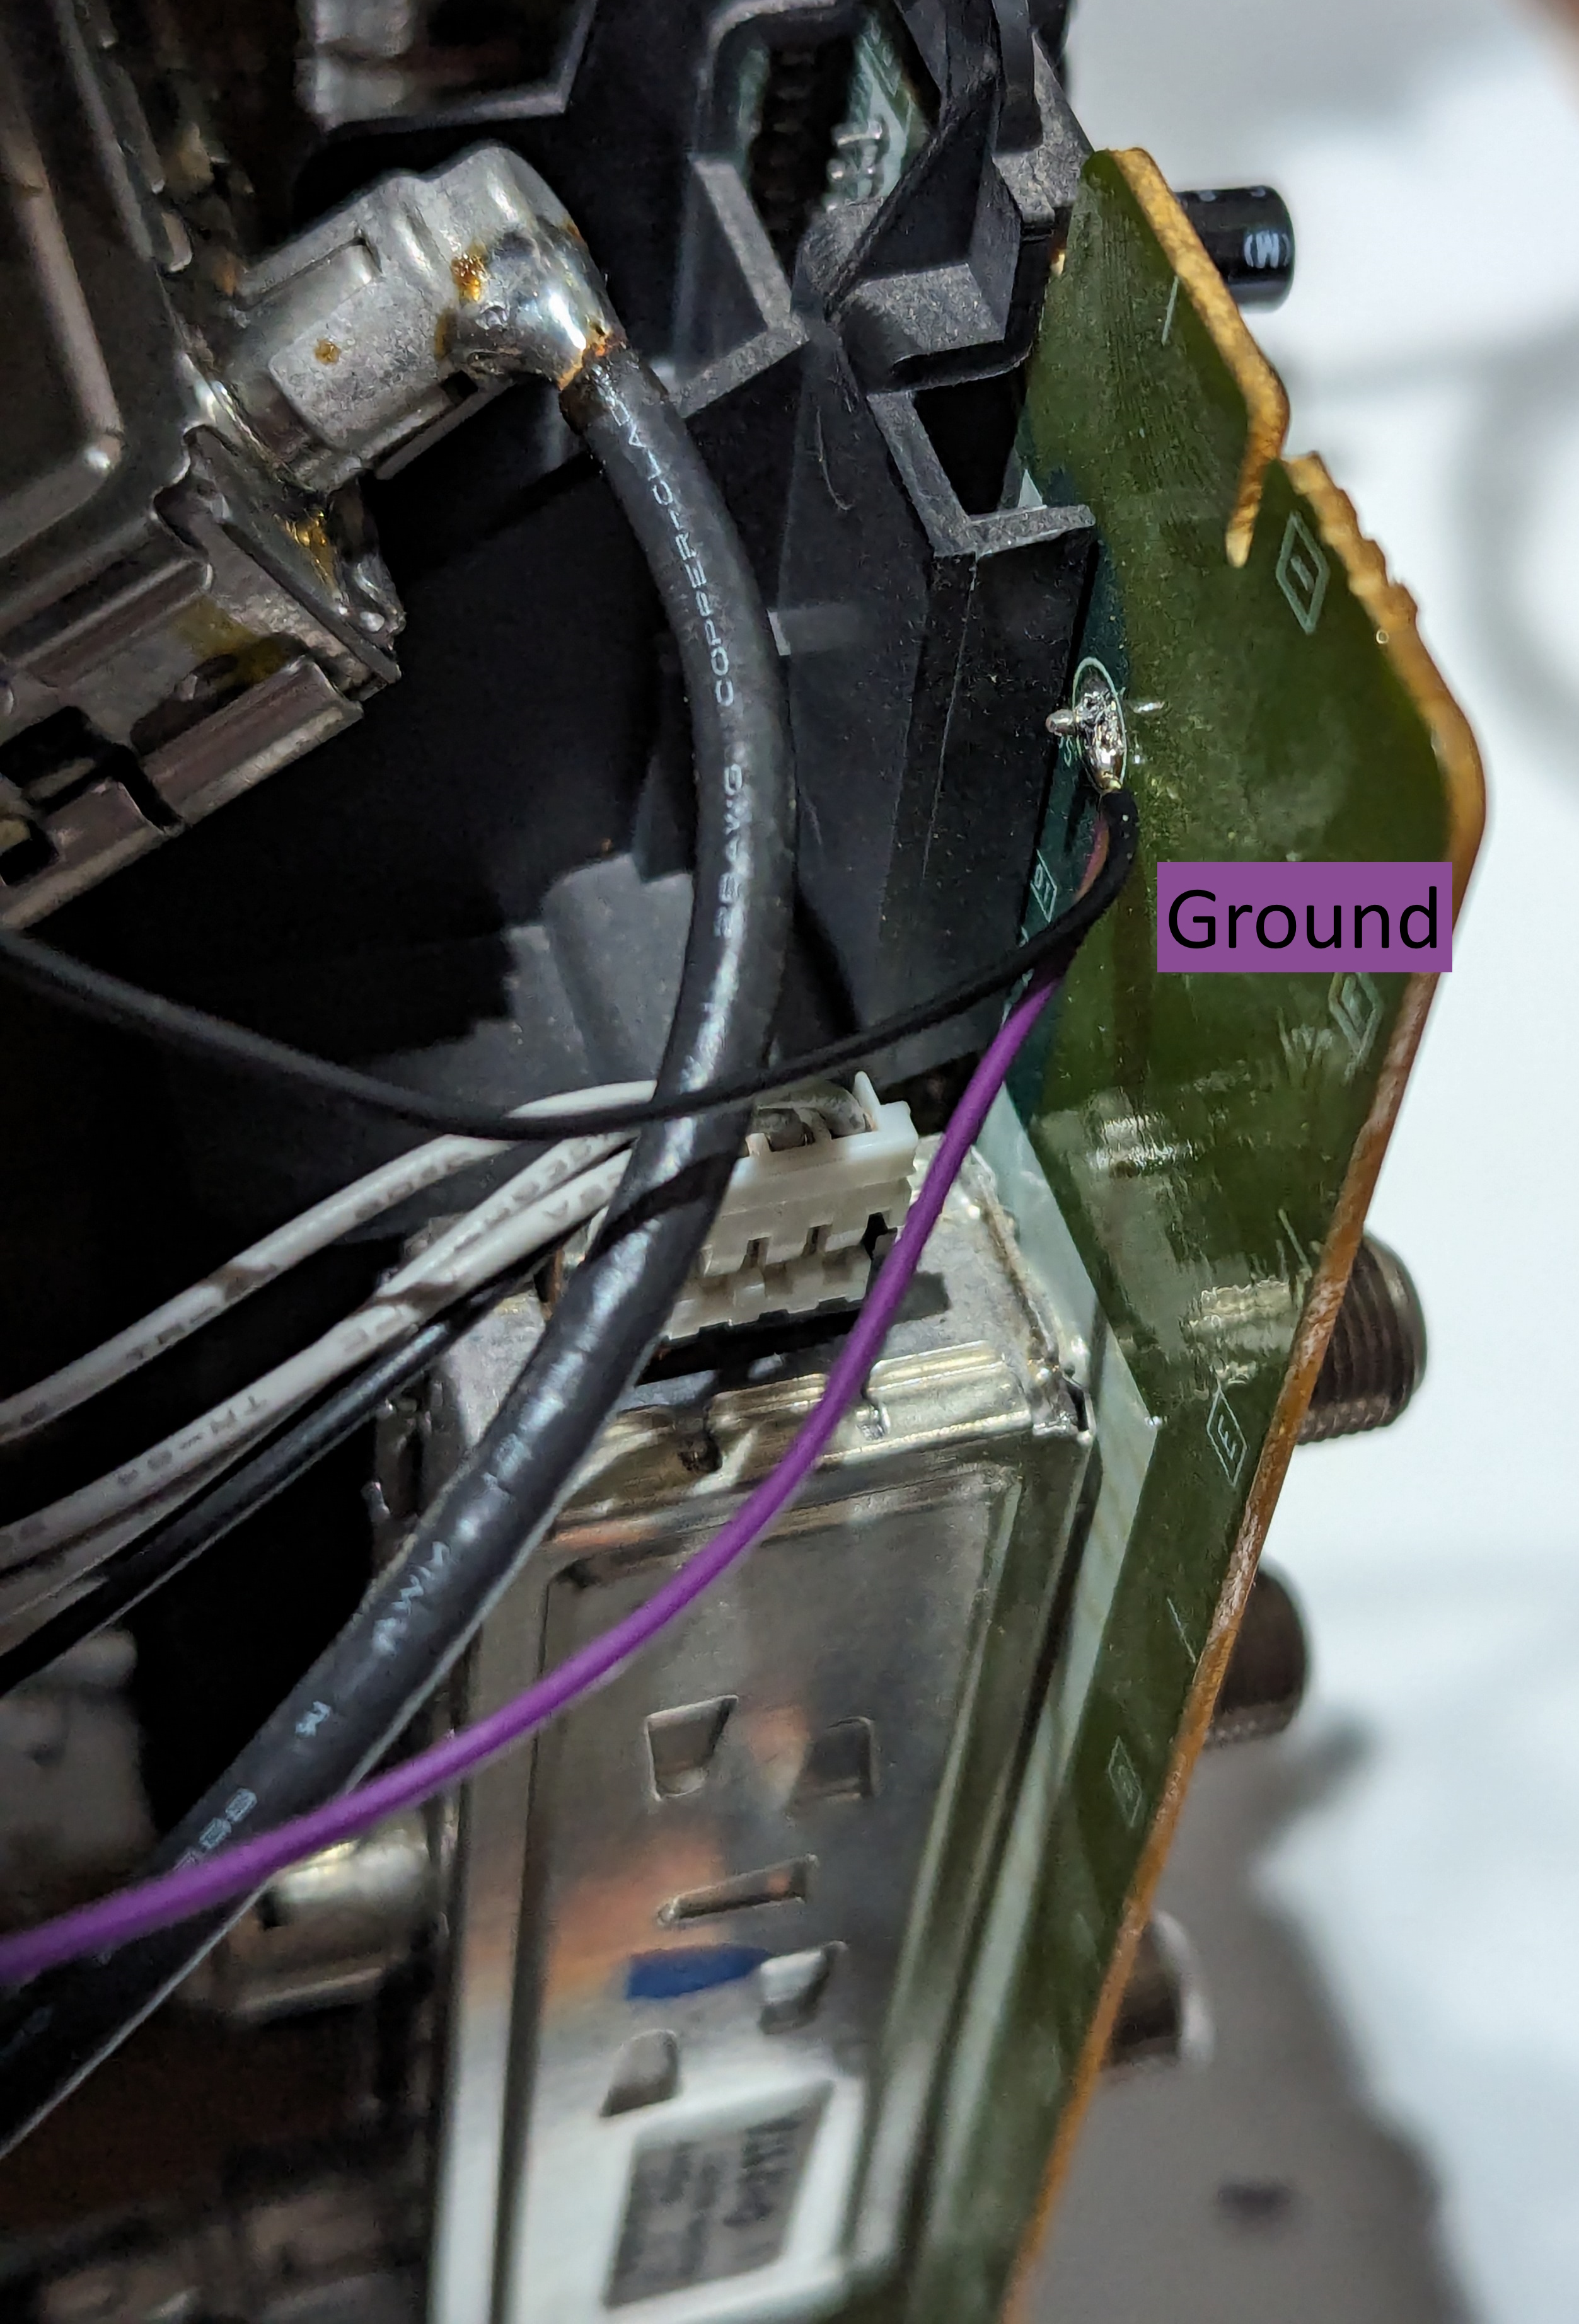
STEP 4: Connect audio and sync wires
STEP 5: Build your mux circuit
This mod uses the RGB mux board. This is optional, but will make your mod easier and stable. You can also create the circuit presented in the schematics above without the board. Please also checkout the mux calculator to play with your own values.
| On Sony CRT Chassis | KV-32S66 |
|---|---|
| CRT RGB inline resistor | 2.2kΩ |
| CRT RGB ground resistors removed | 390Ω |
| 0.1μF caps replaced | No |
| Add diodes on chassis RGB lines? | No |
| Add blanking diode on chassis | Yes |
| RGB mux board | KV-32S66 |
|---|---|
| Mux board RGB termination (R1, R2, R3) | 75Ω |
| Mux board RGB inline resistors (R4, R5, R6) | 330Ω |
| Mux board Audio LR (R7, R8) | 1kΩ |
| Mux board blanking diode (R9) | 1N4148 |
| Mux board blanking ground resistor (R10) | 330Ω |
| Mux board blanking resistor (R11) | 470Ω |
| Mux board transistor base resistor (R12) | 1kΩ |
| Mux board transistor (Q1) | PN2222A |
Compatible mux boards:
It is important to note that the blanking ground resistor (R10) is necessary to prevent strange black backgrounds from appearing on the KV-27S22 OSD text.
Picture of RGB mux rev B board 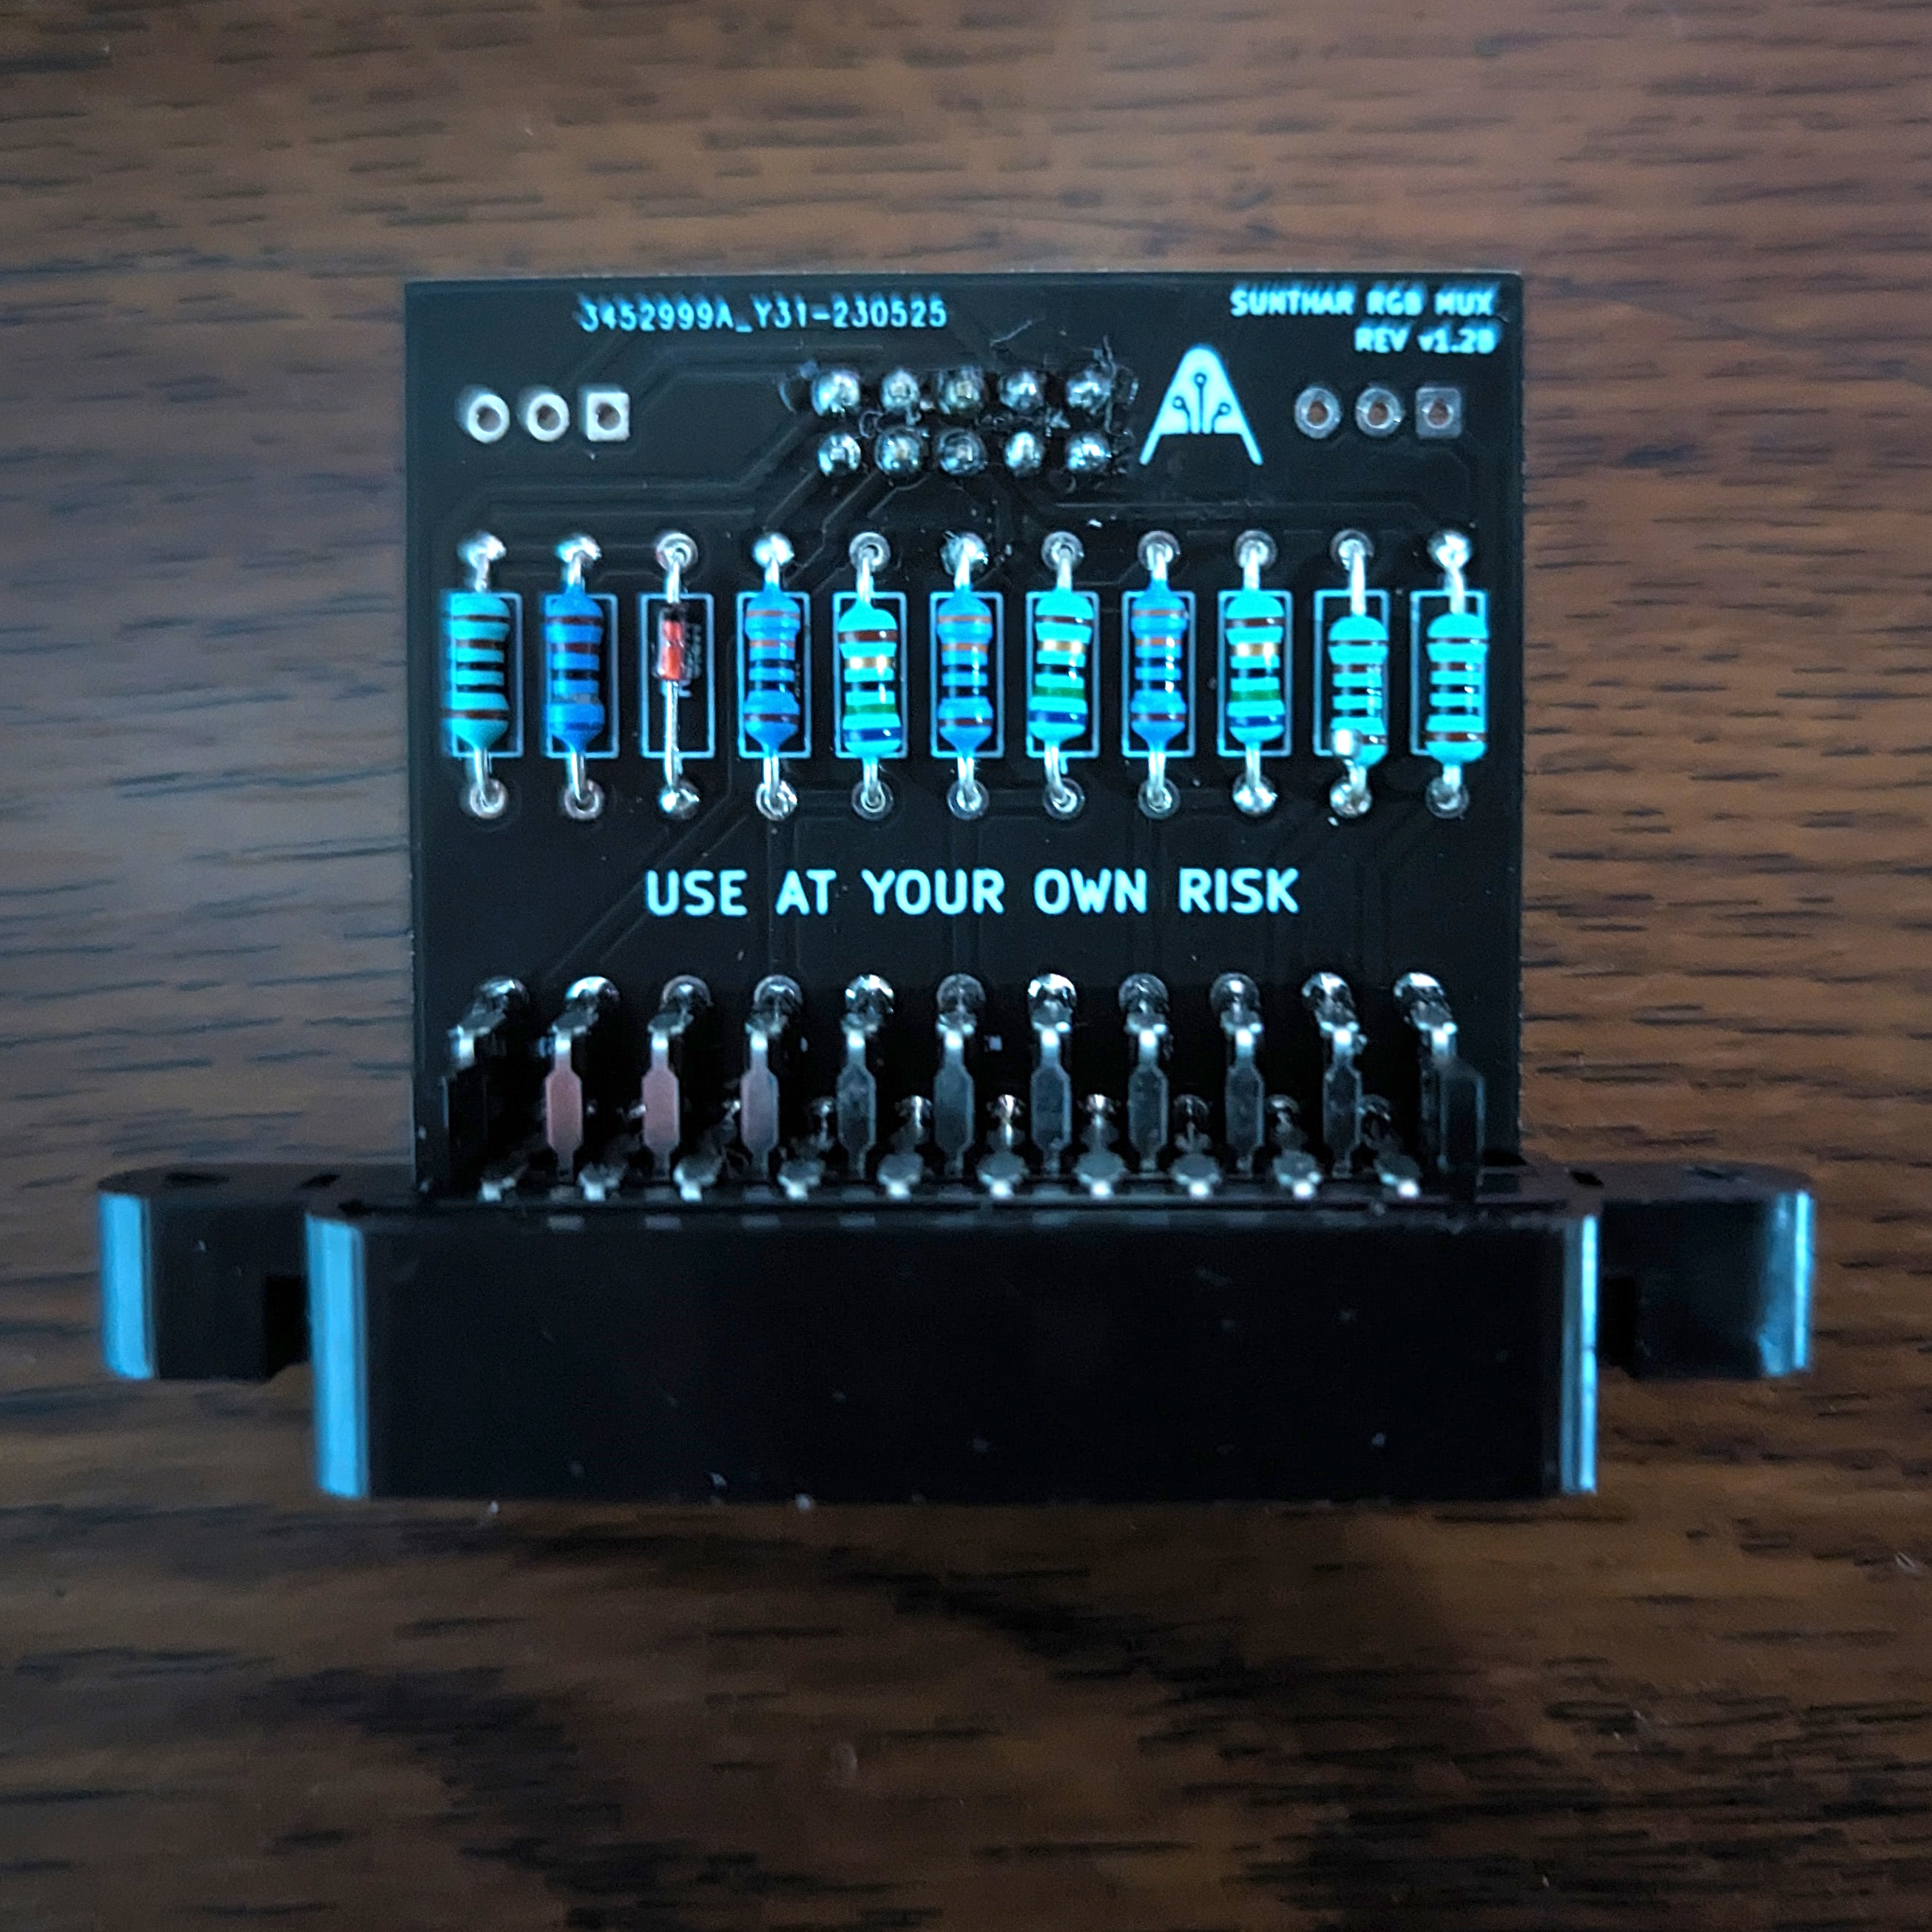
STEP 6: Attach the female SCART connector to TV
Creating a SCART cutout and mounting it is an art. I have a dedicated section for it. How to create and mount a SCART female plug?
Pictures
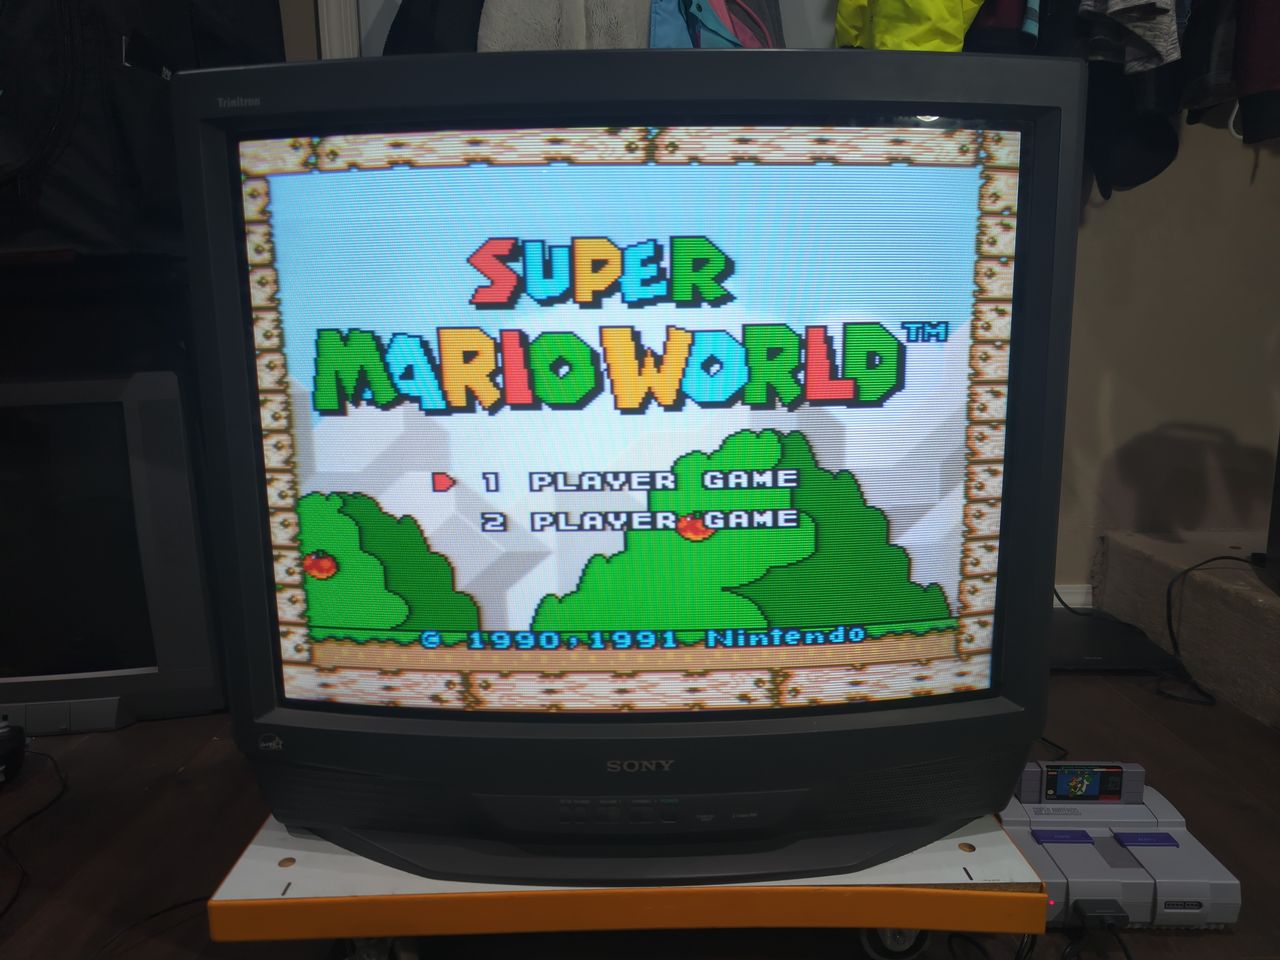
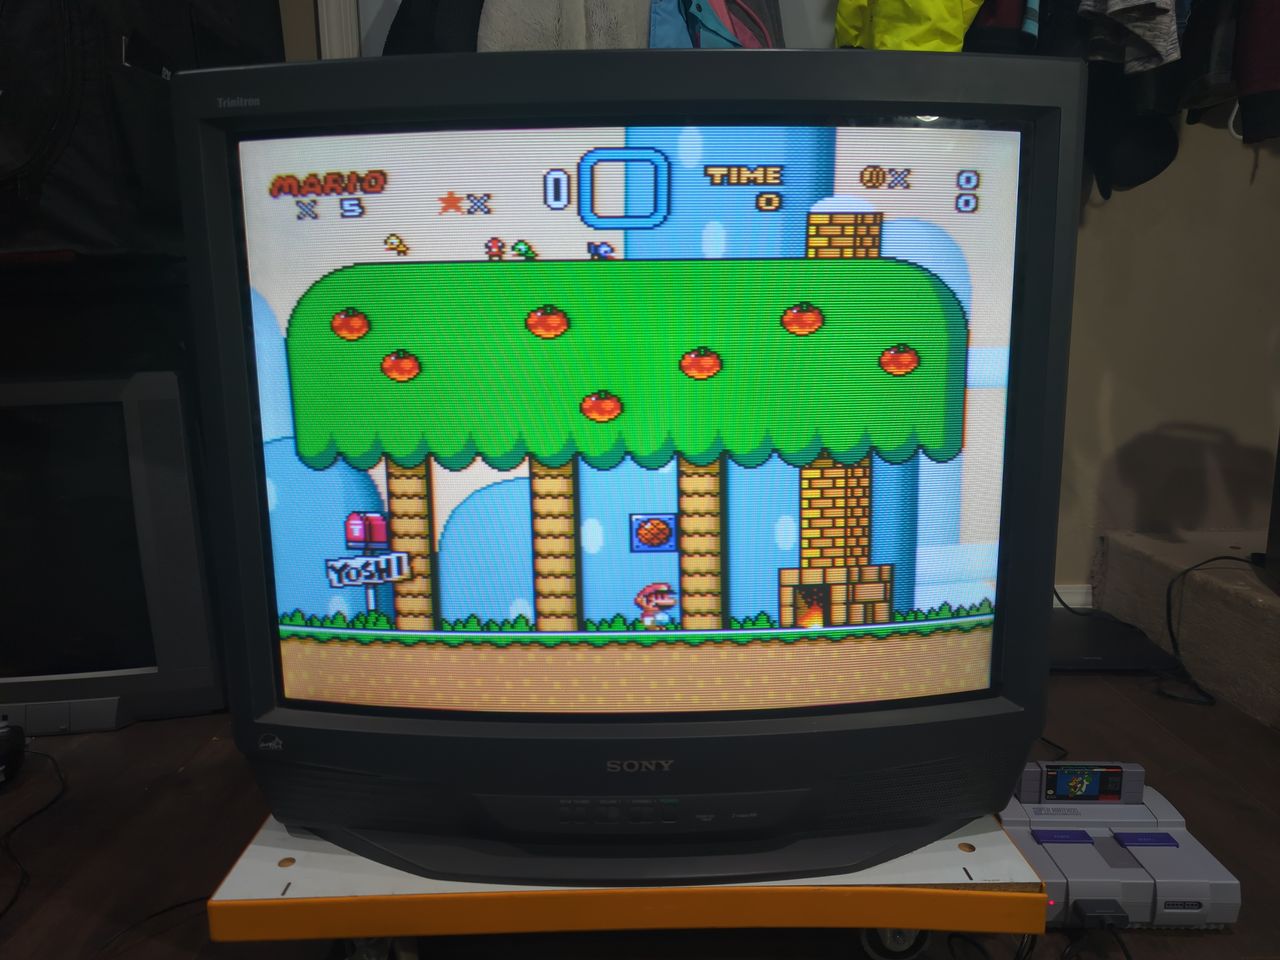
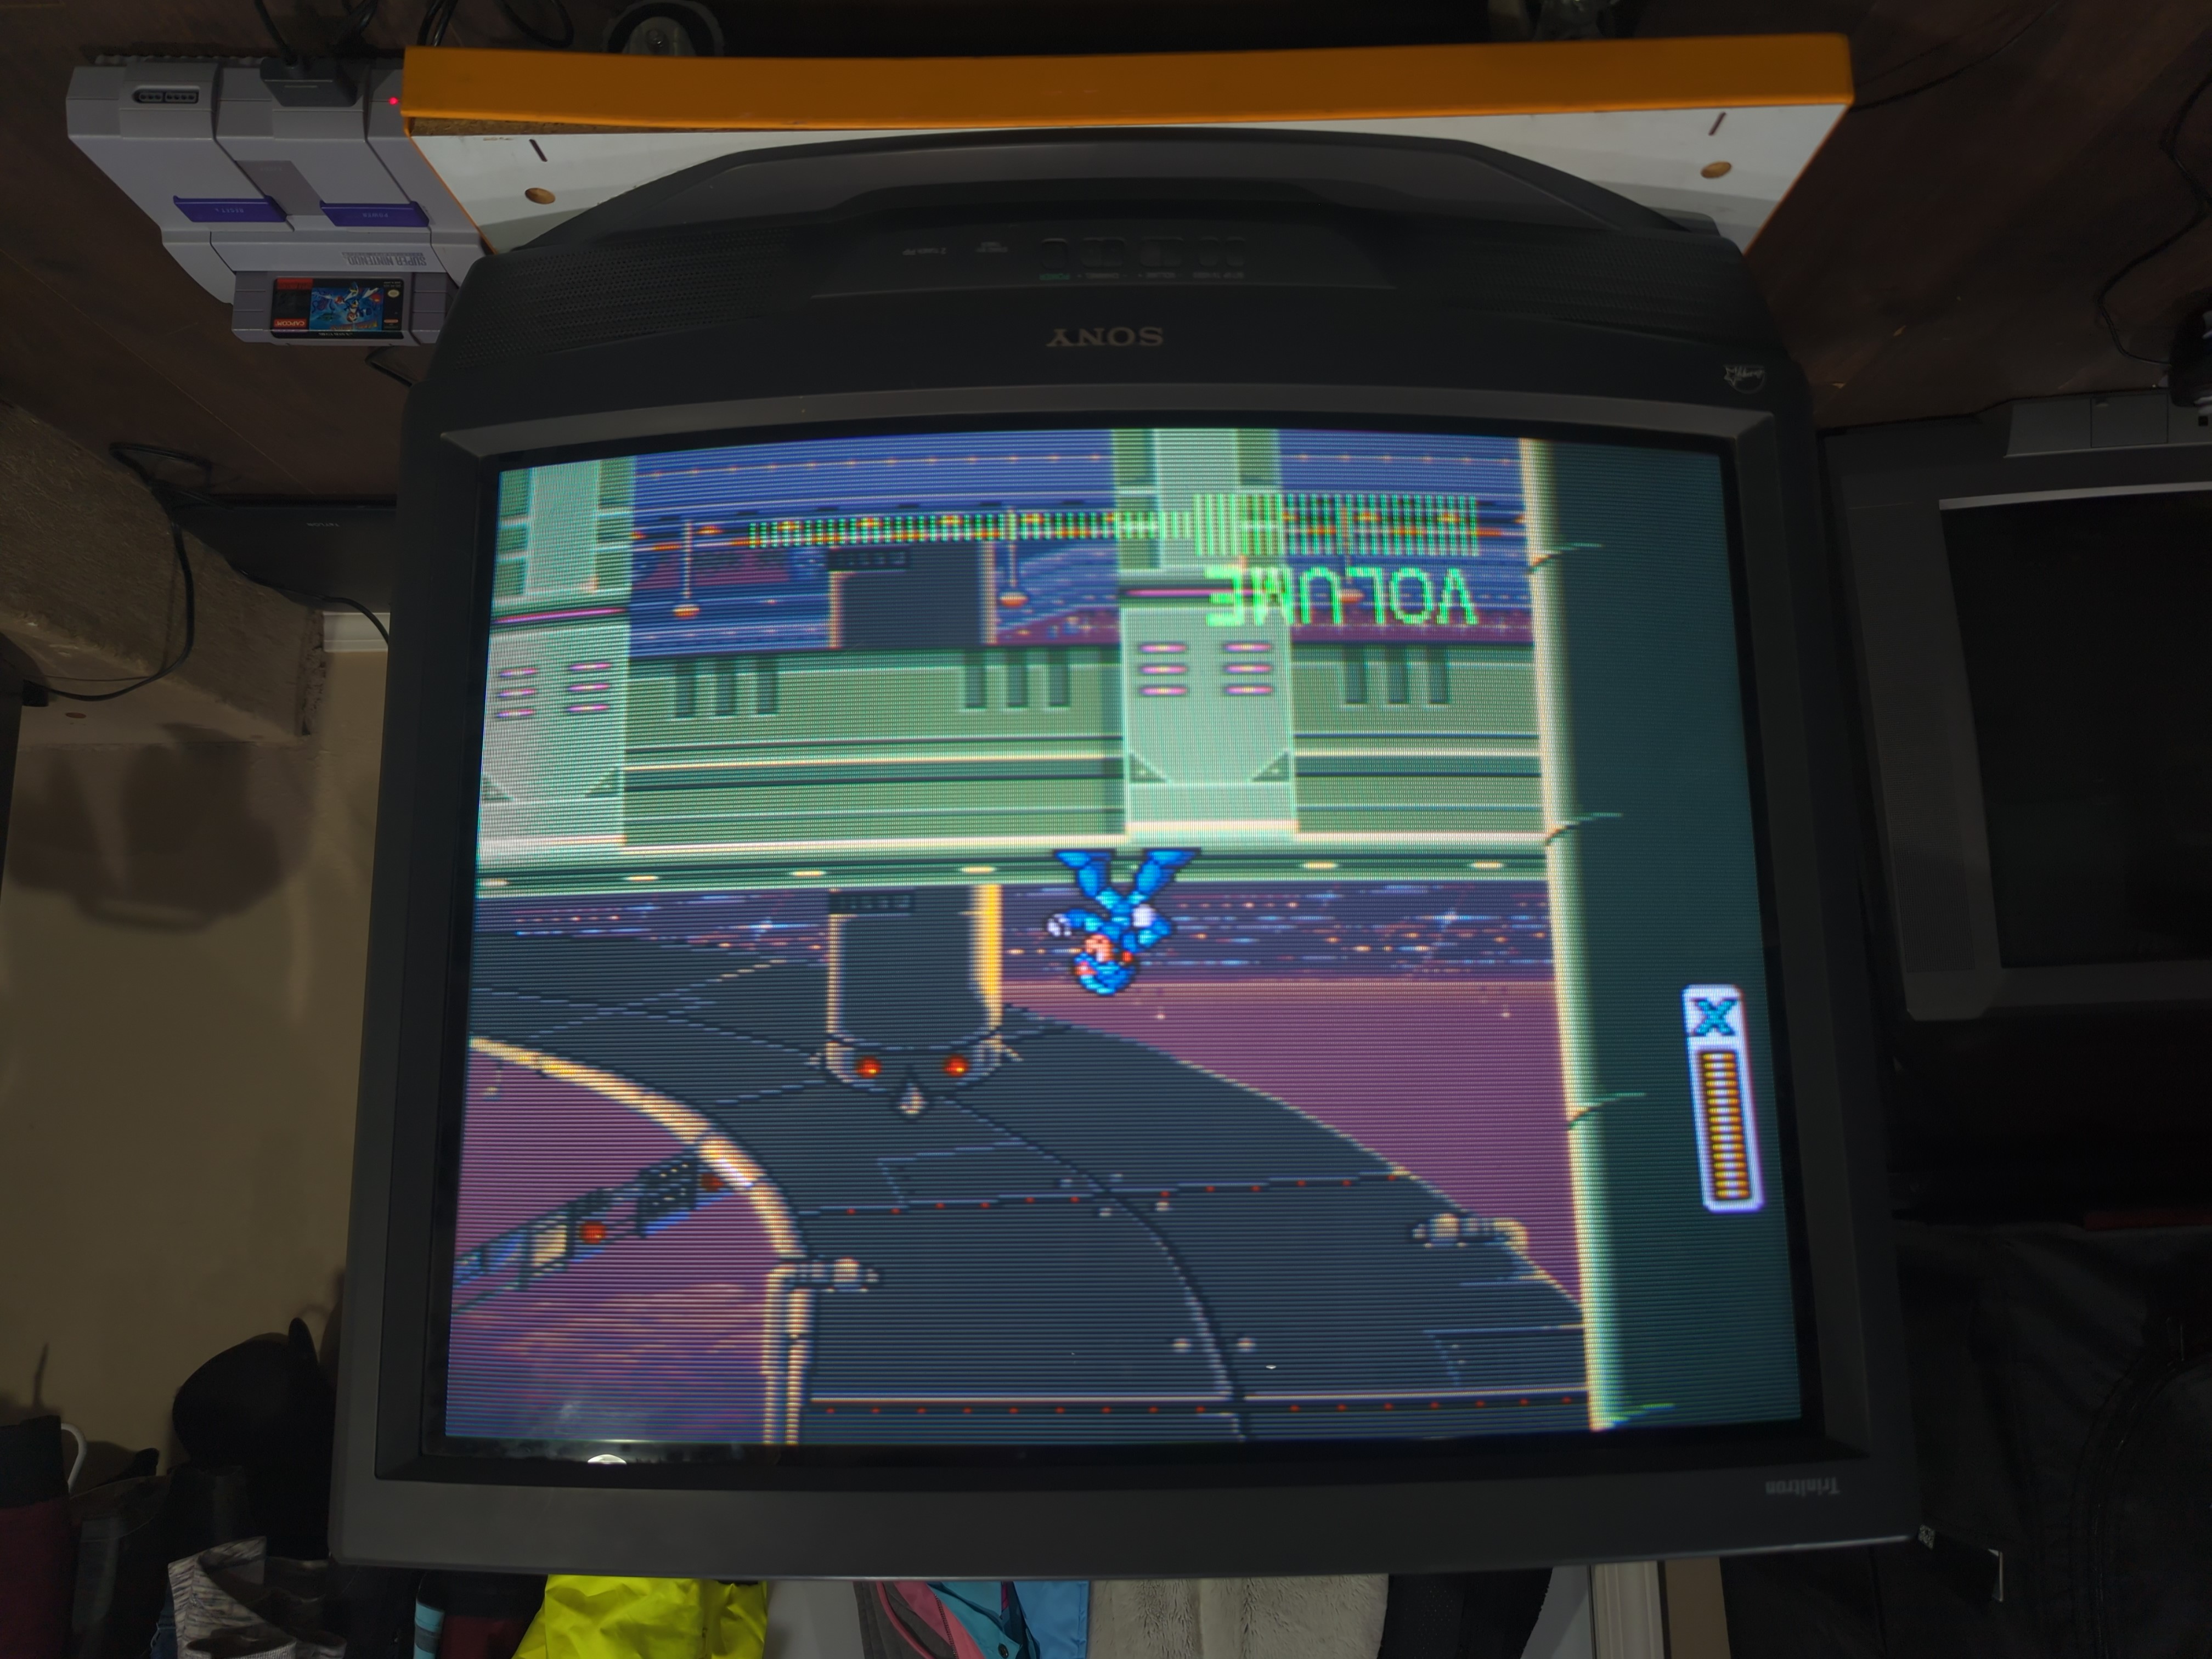
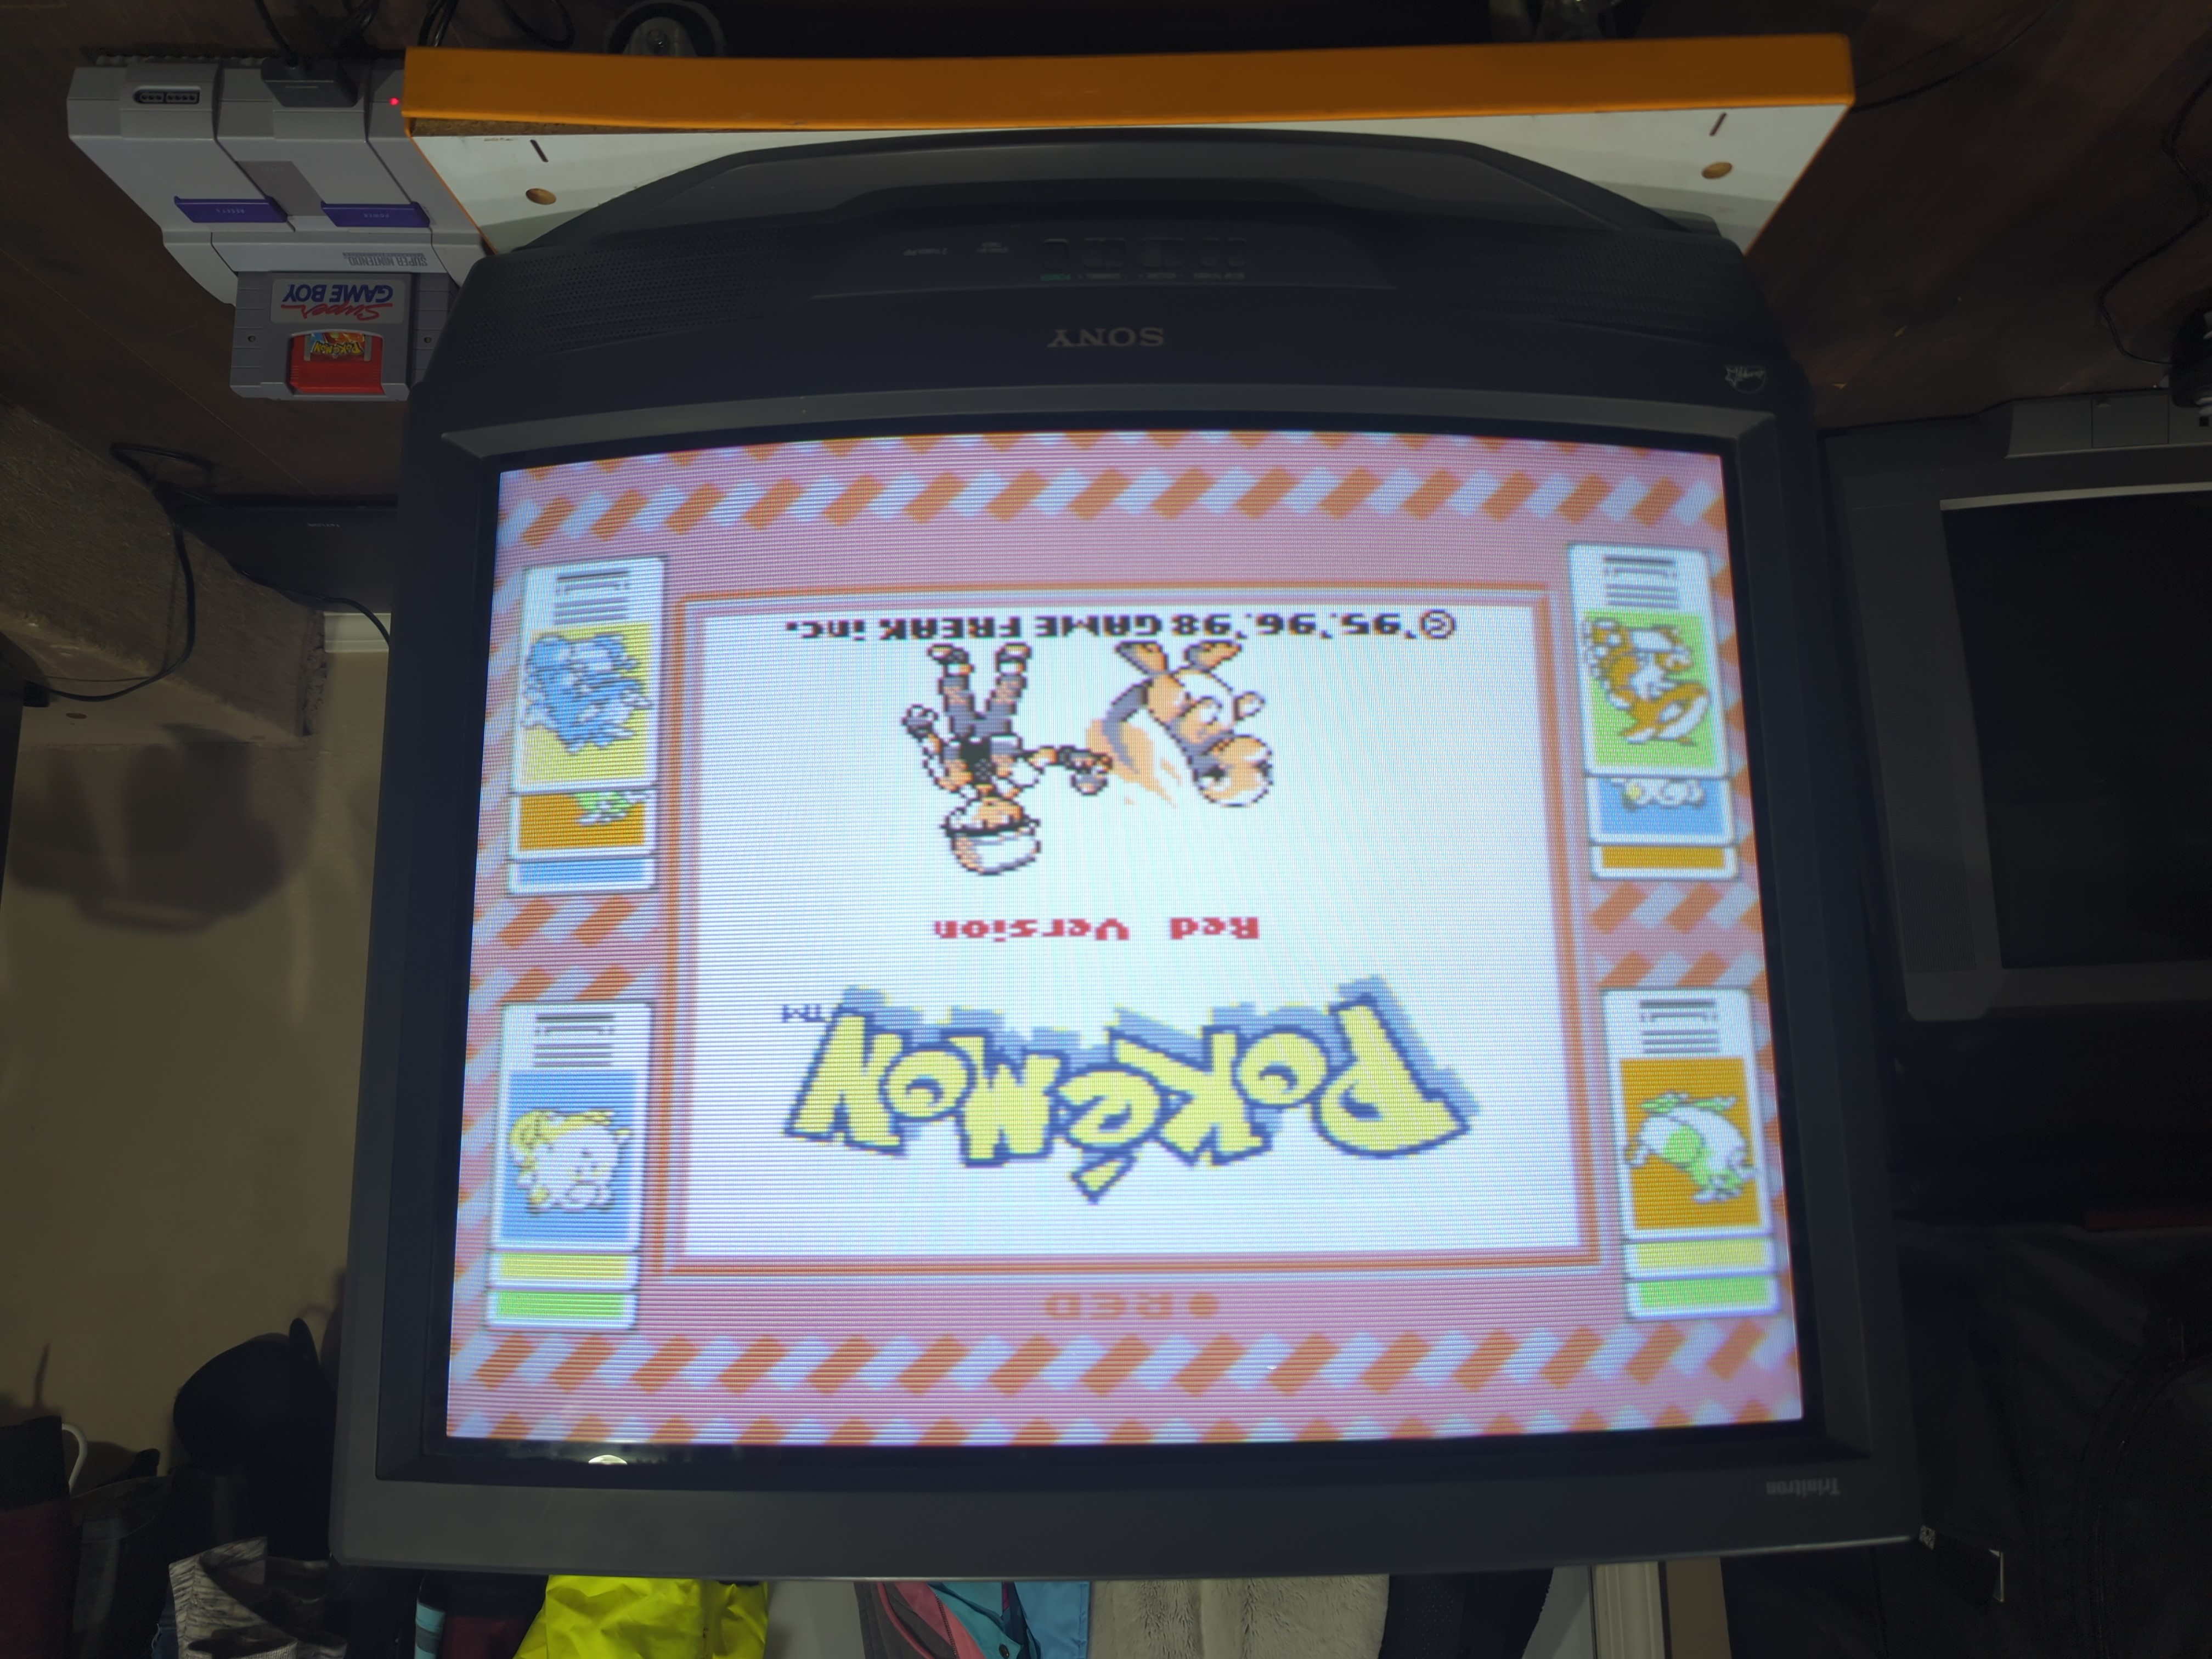
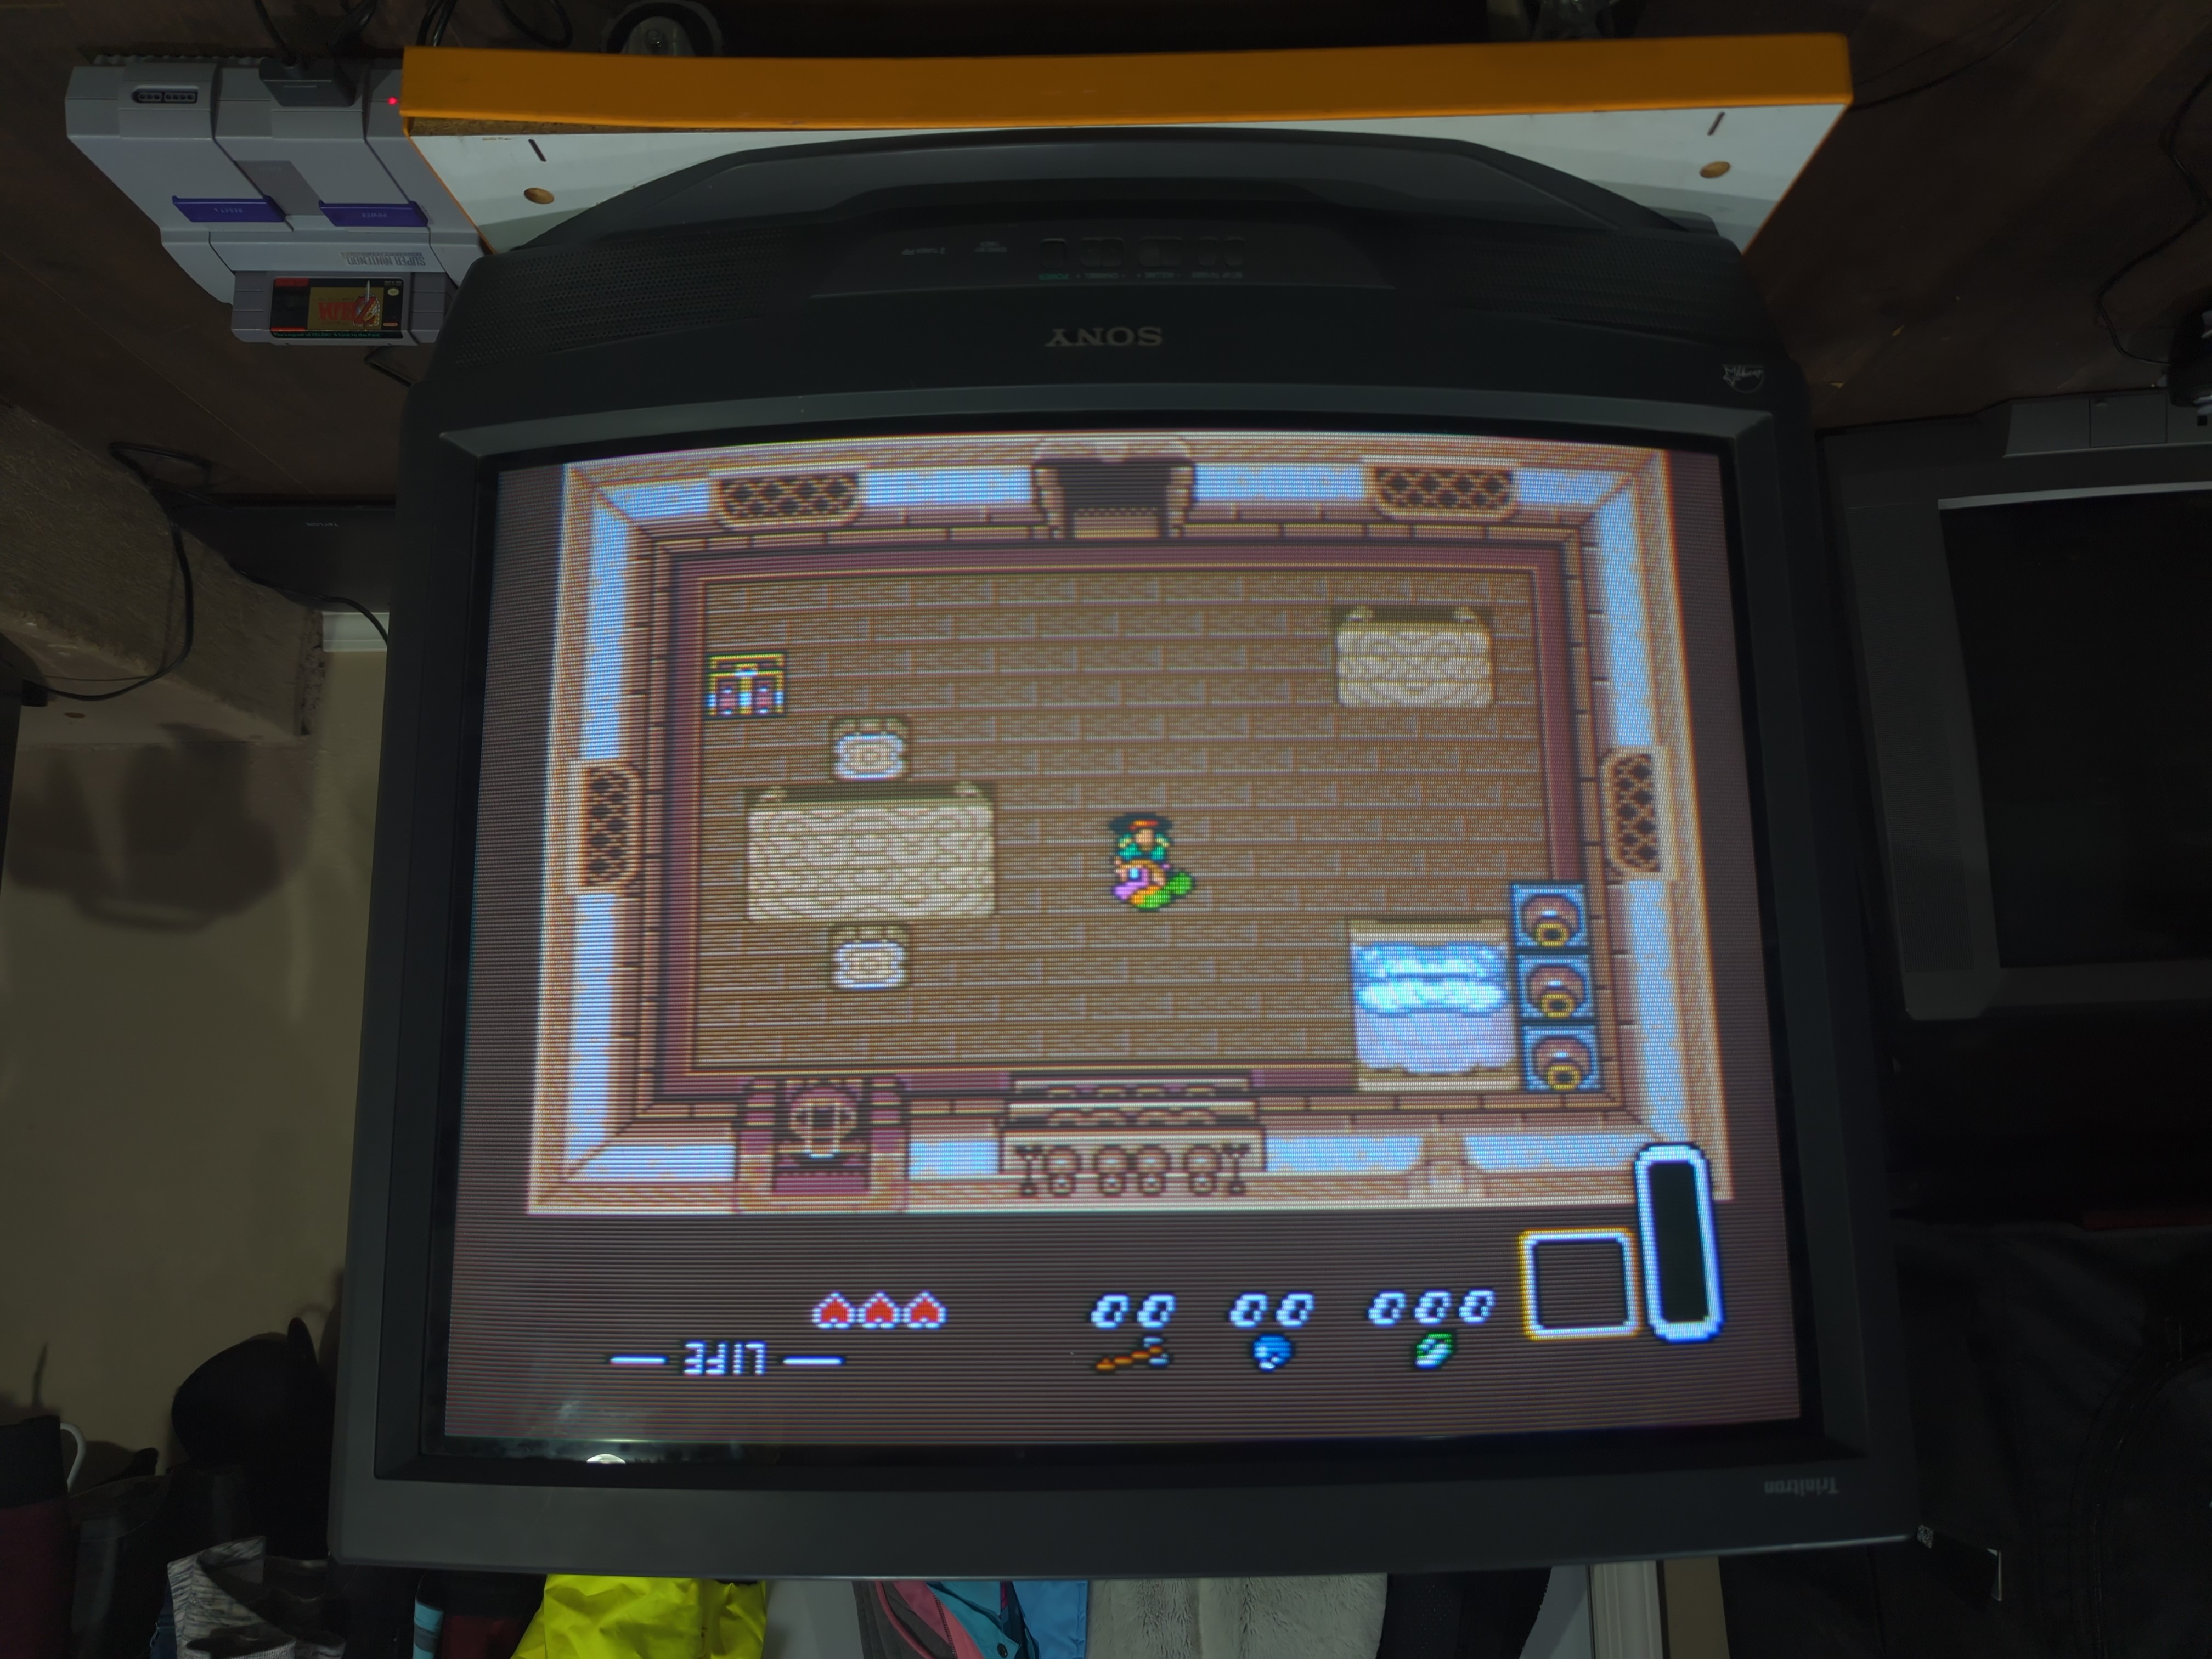
Games
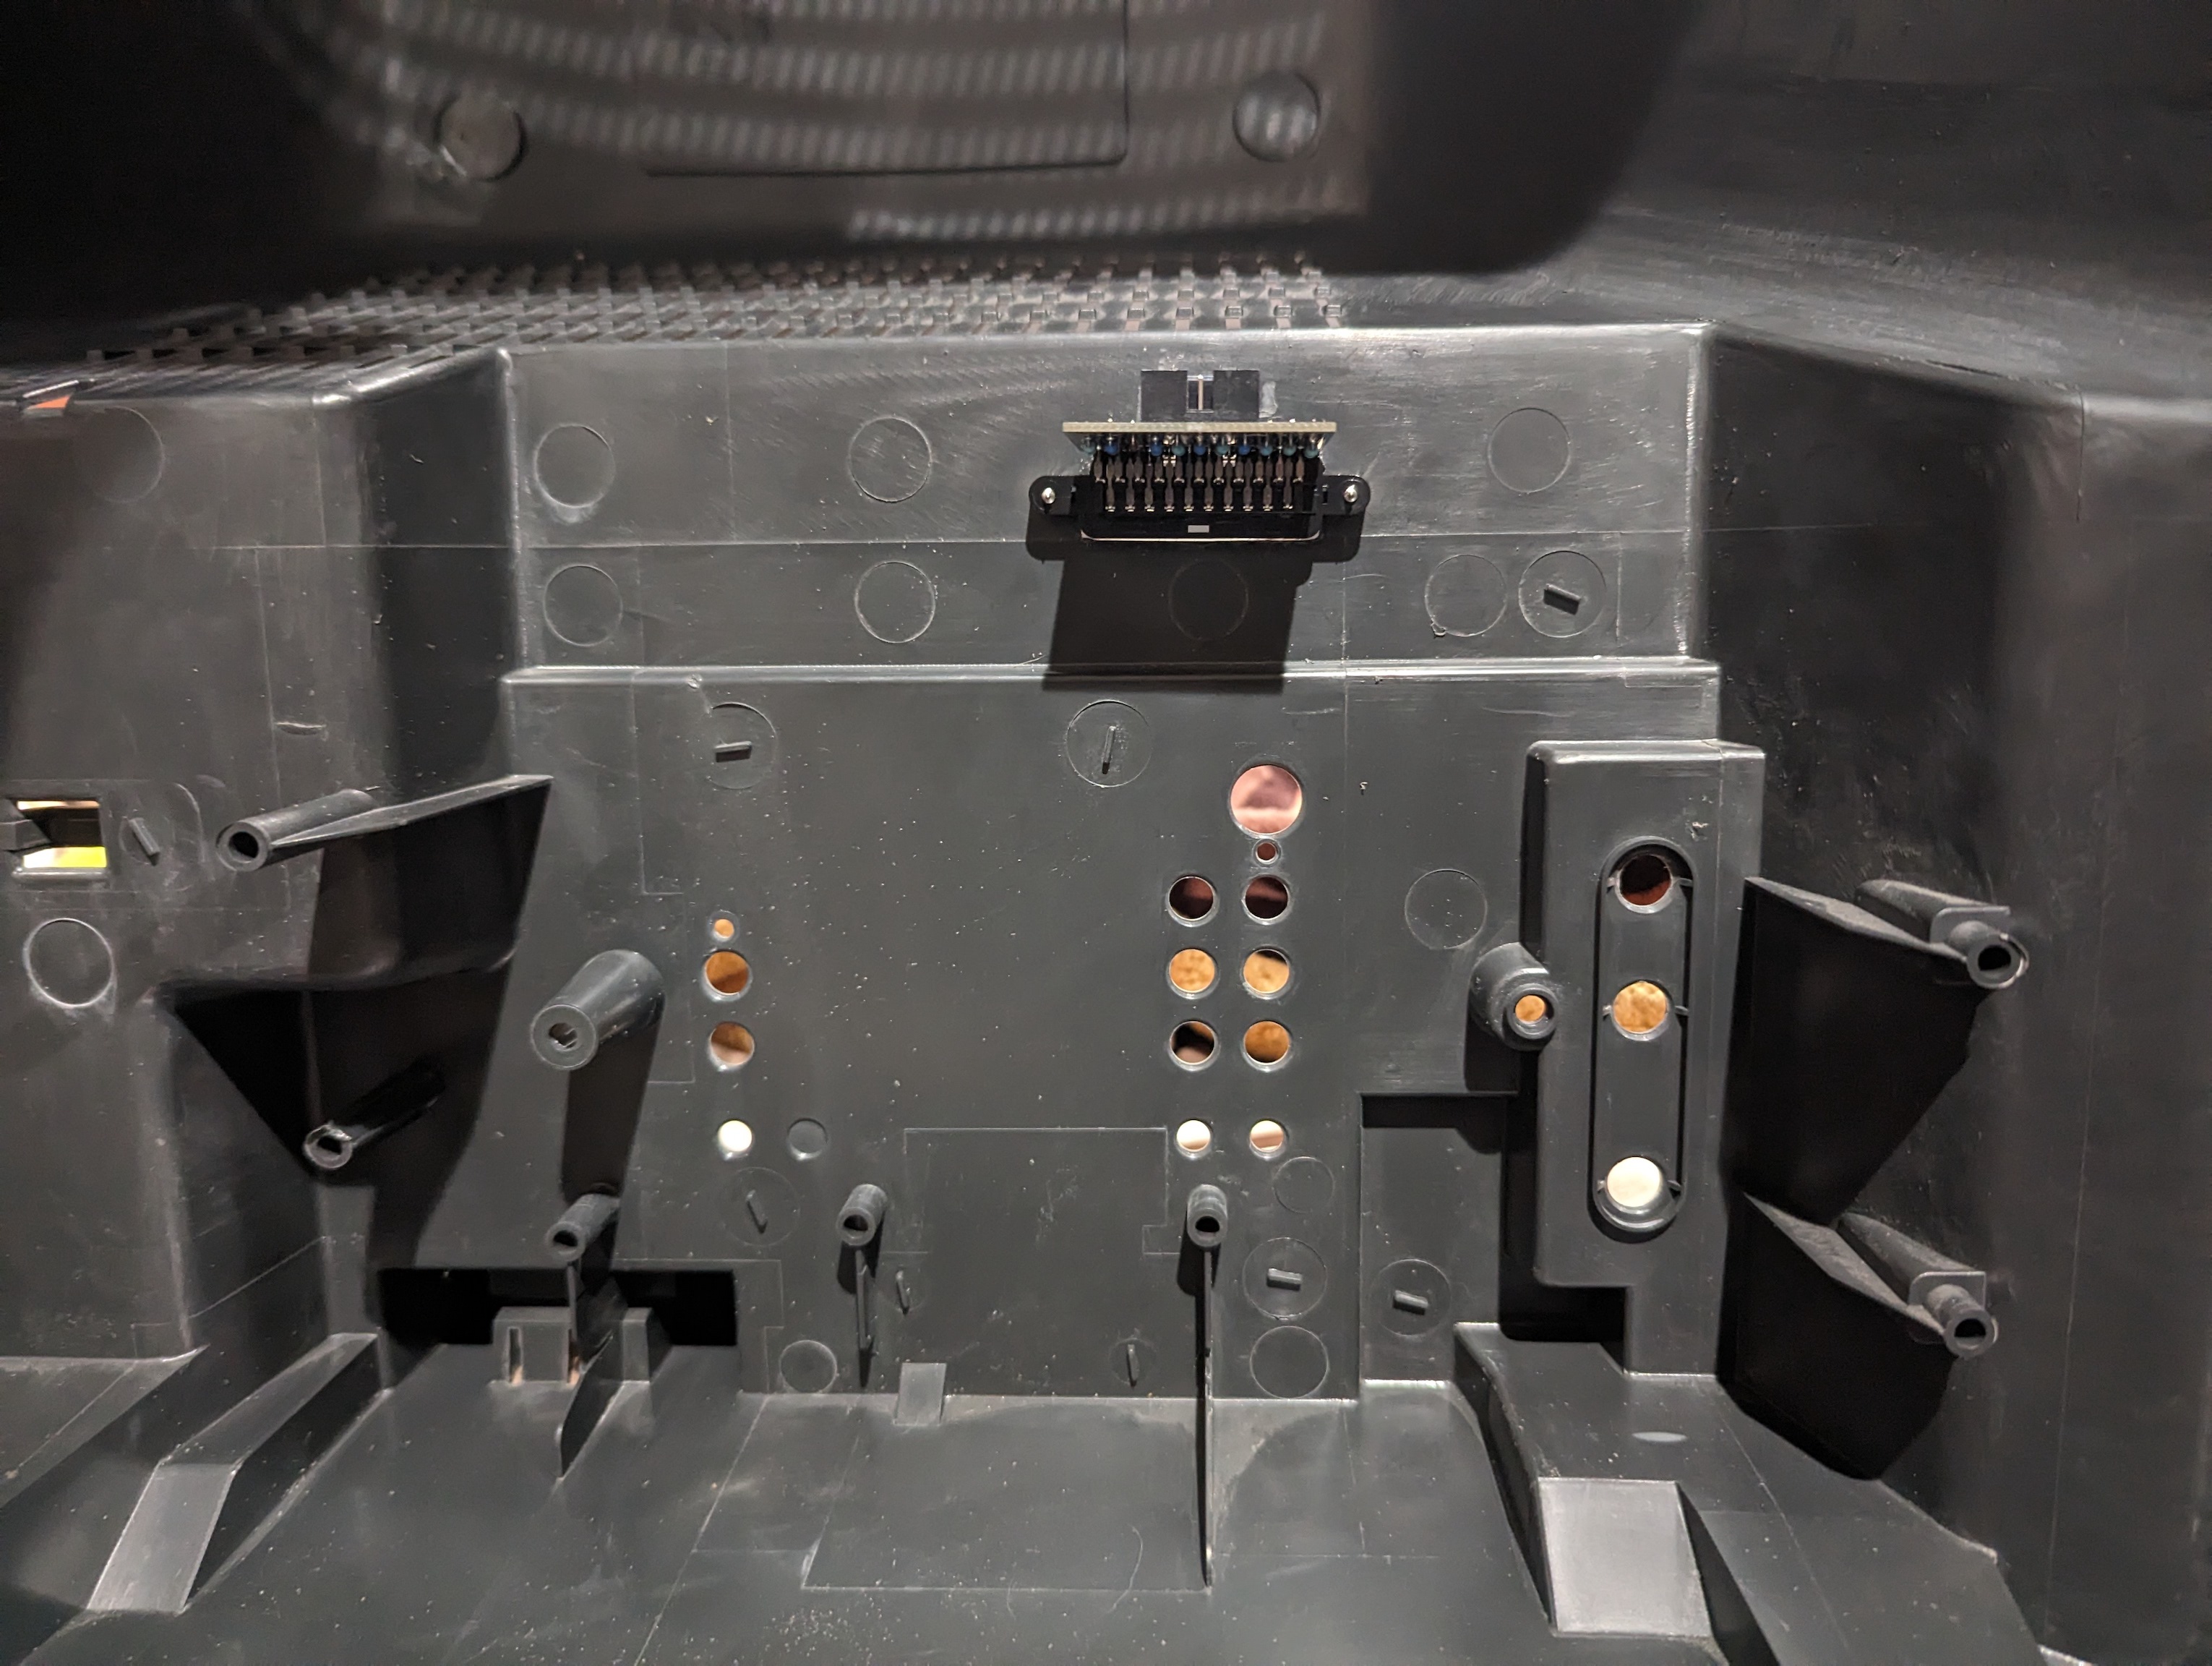
Mux mod in action 
SNES - Super Mario World 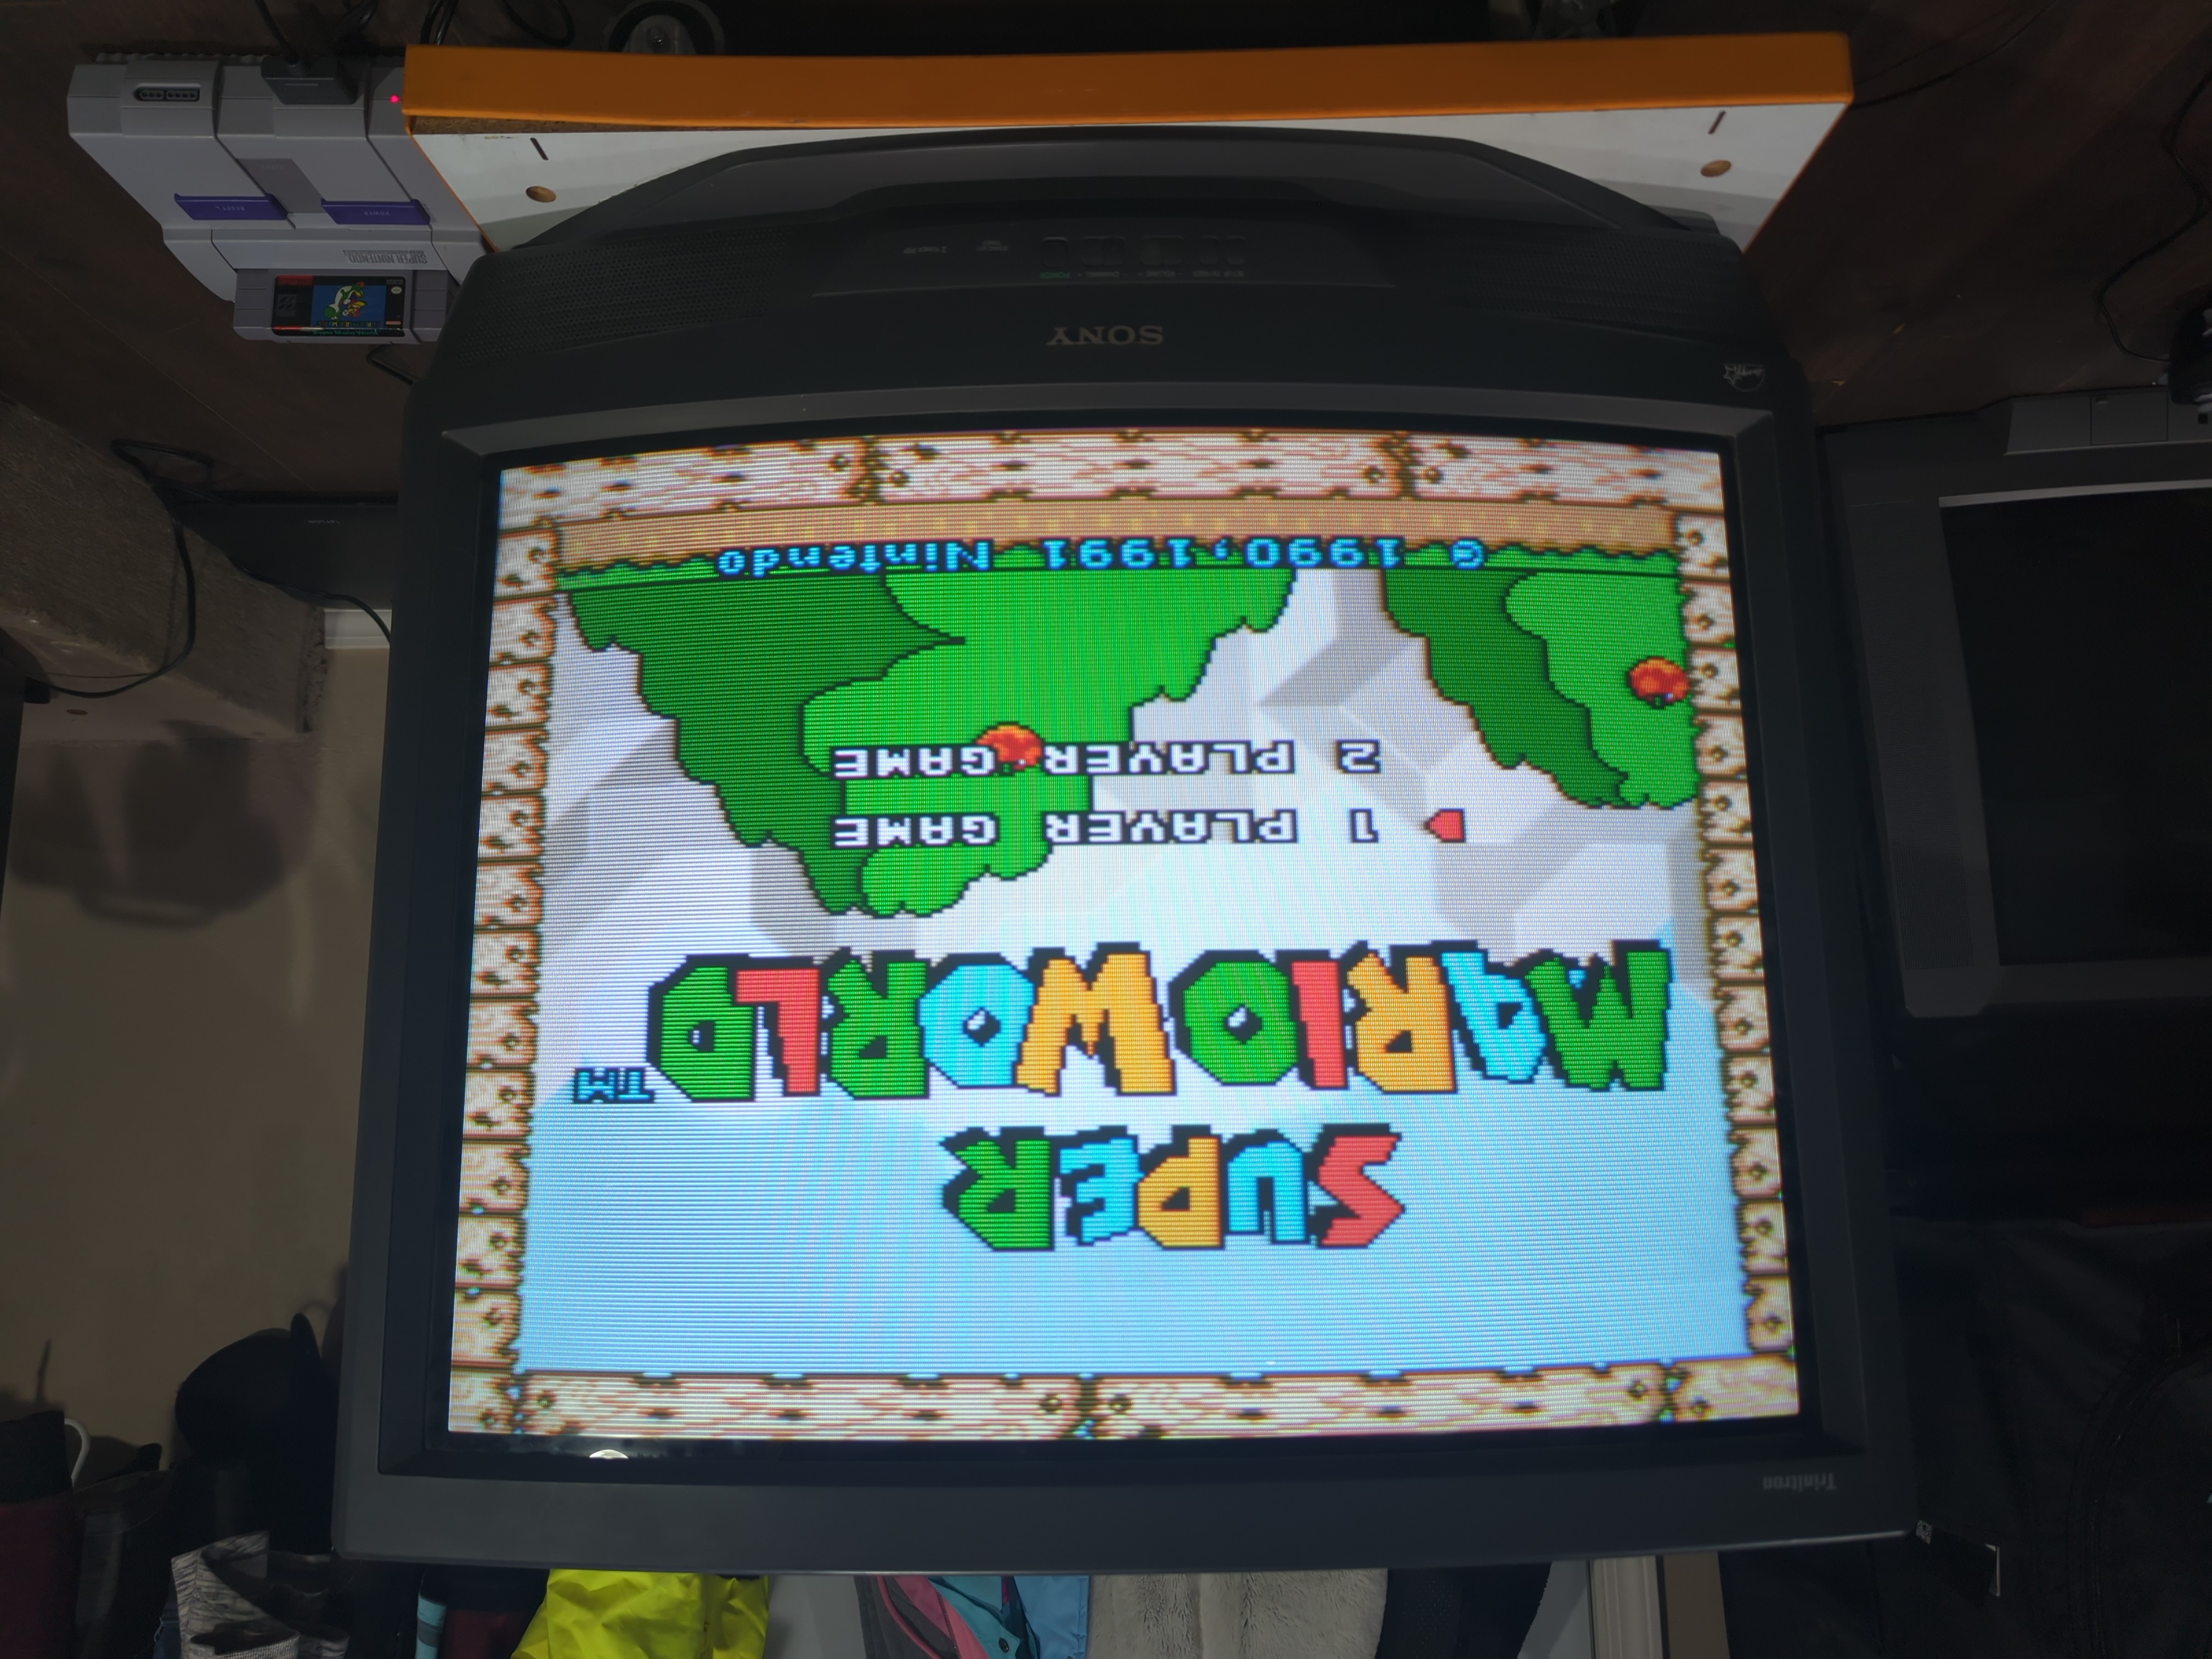
TV
Front 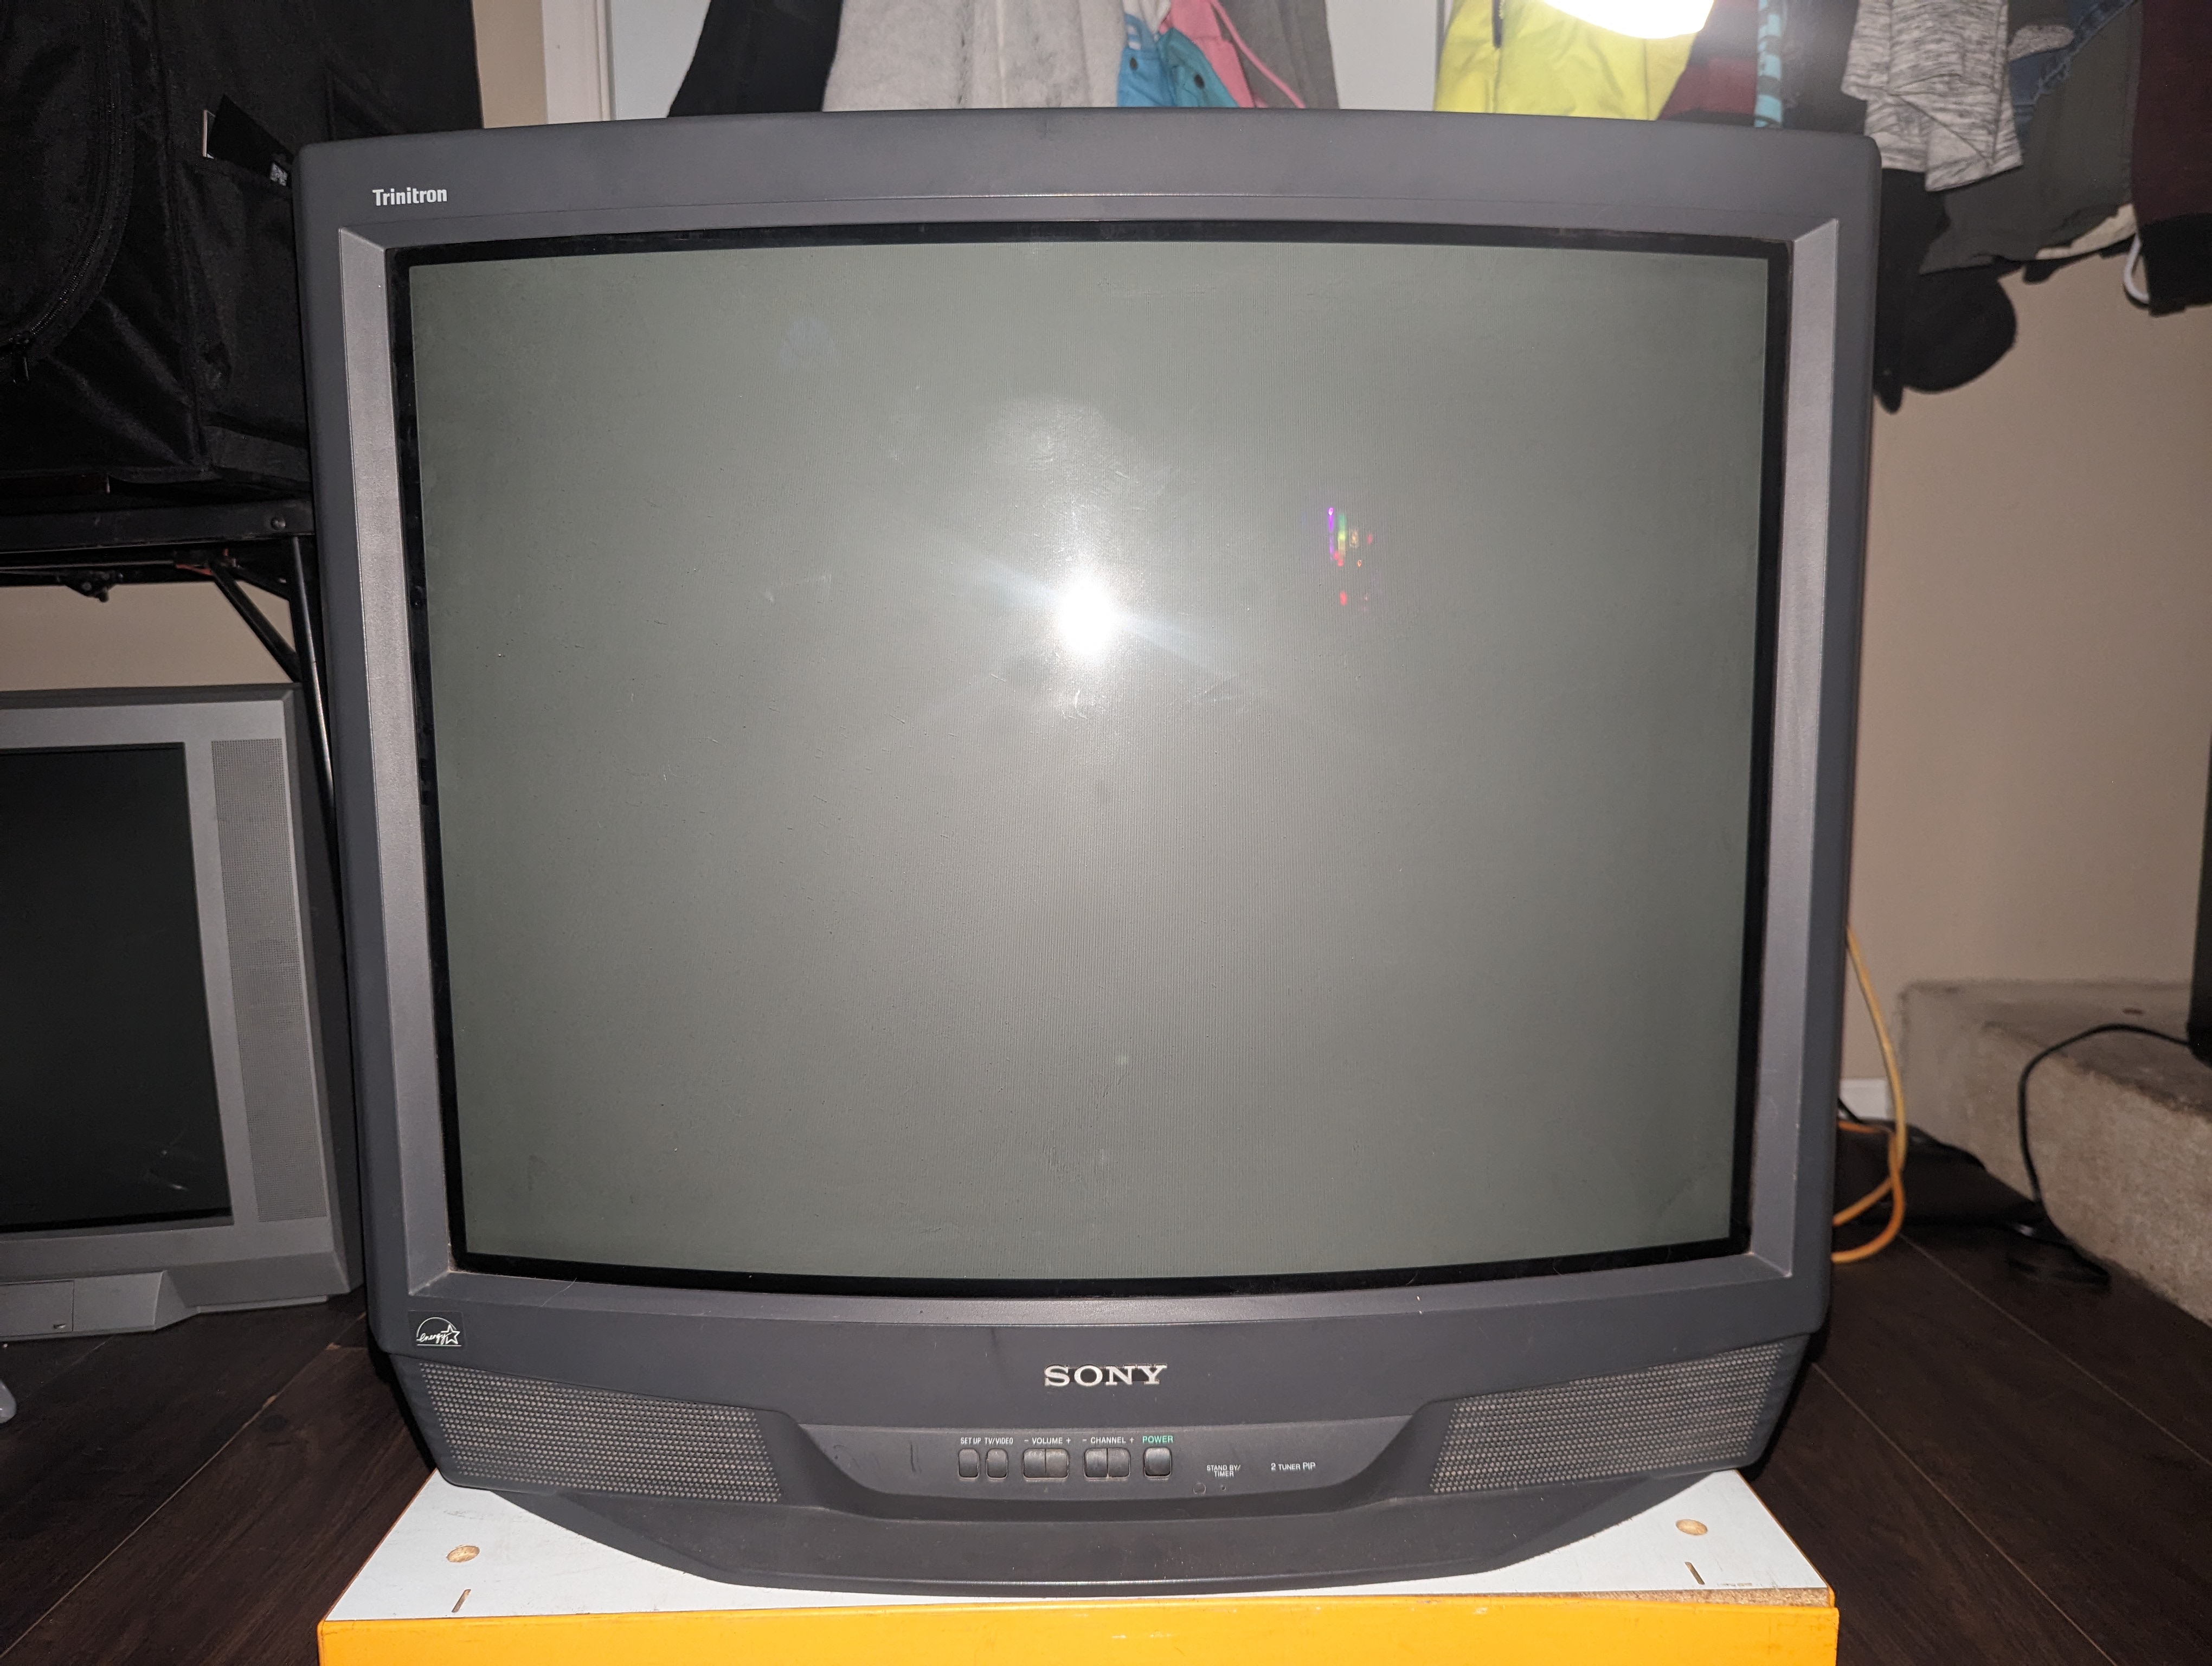
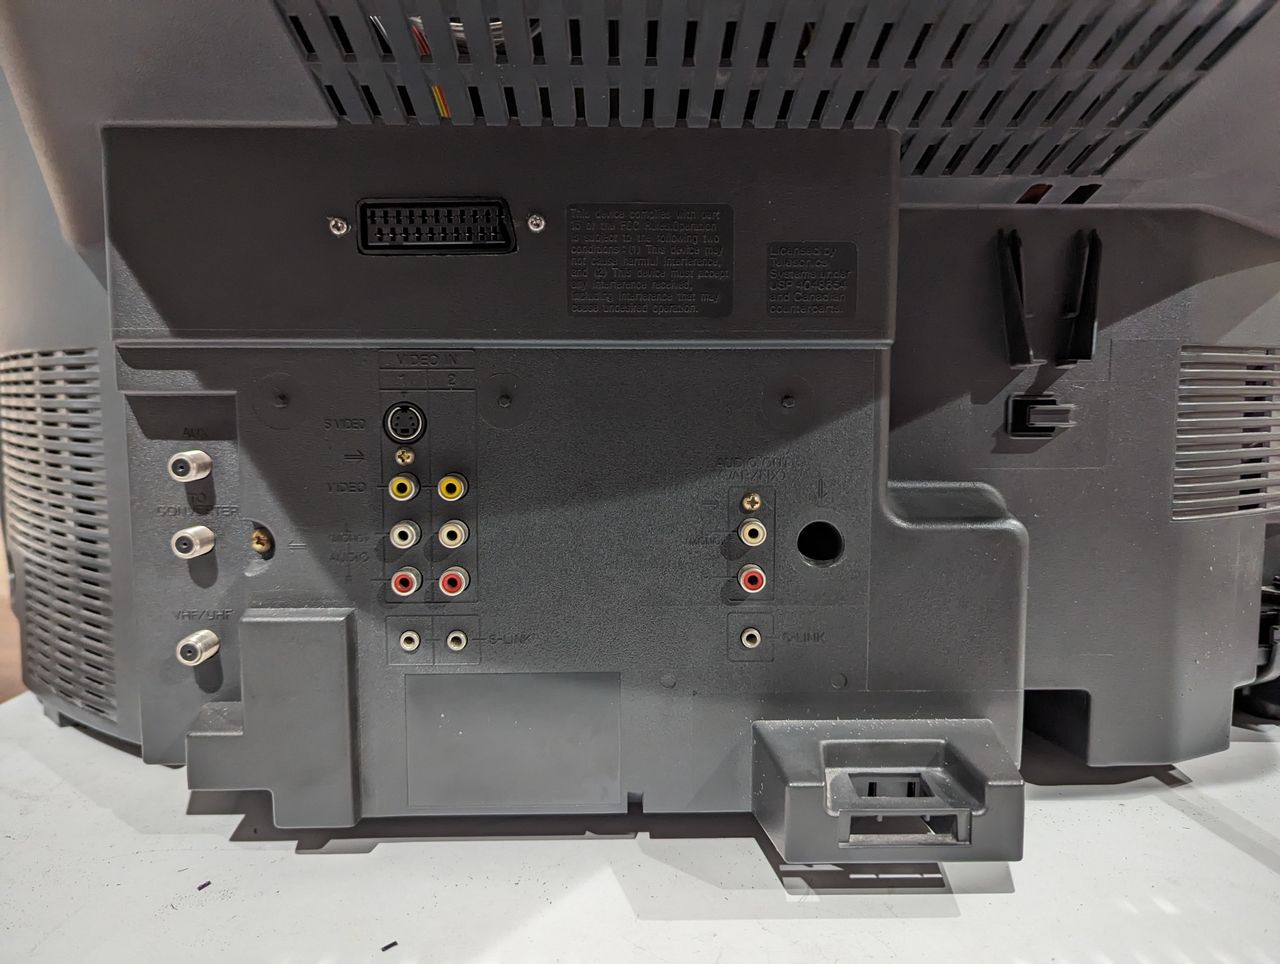
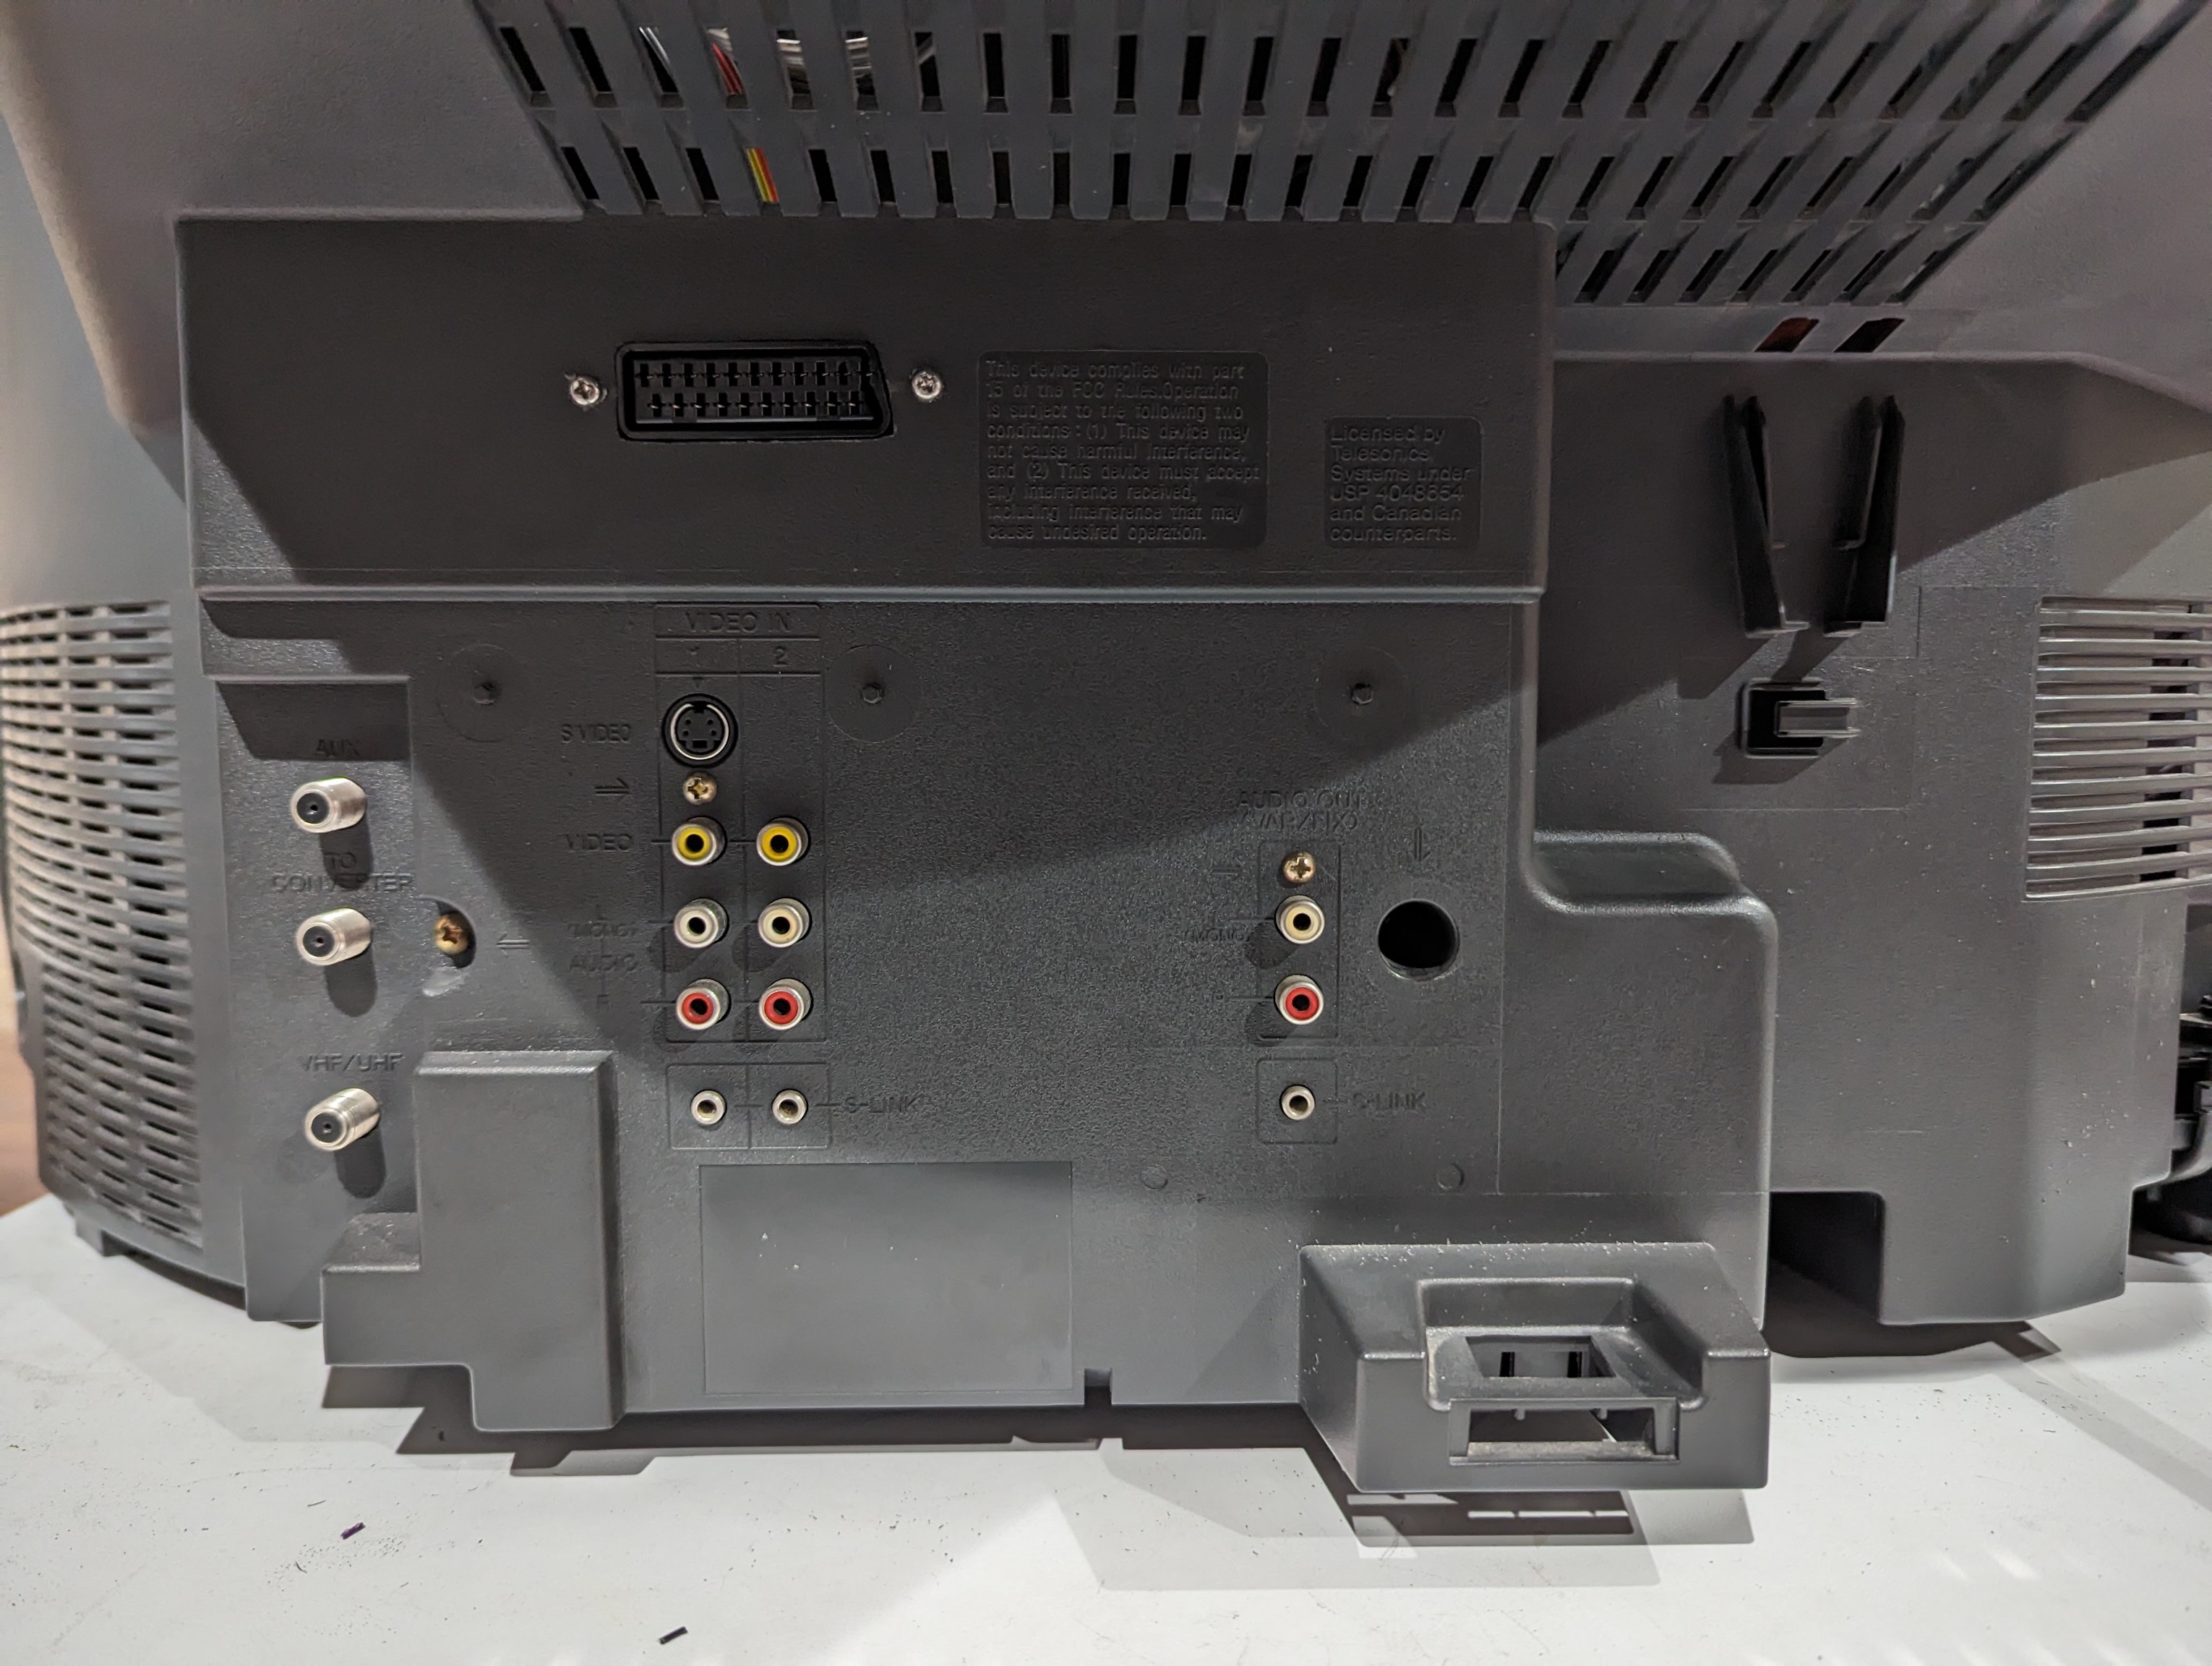
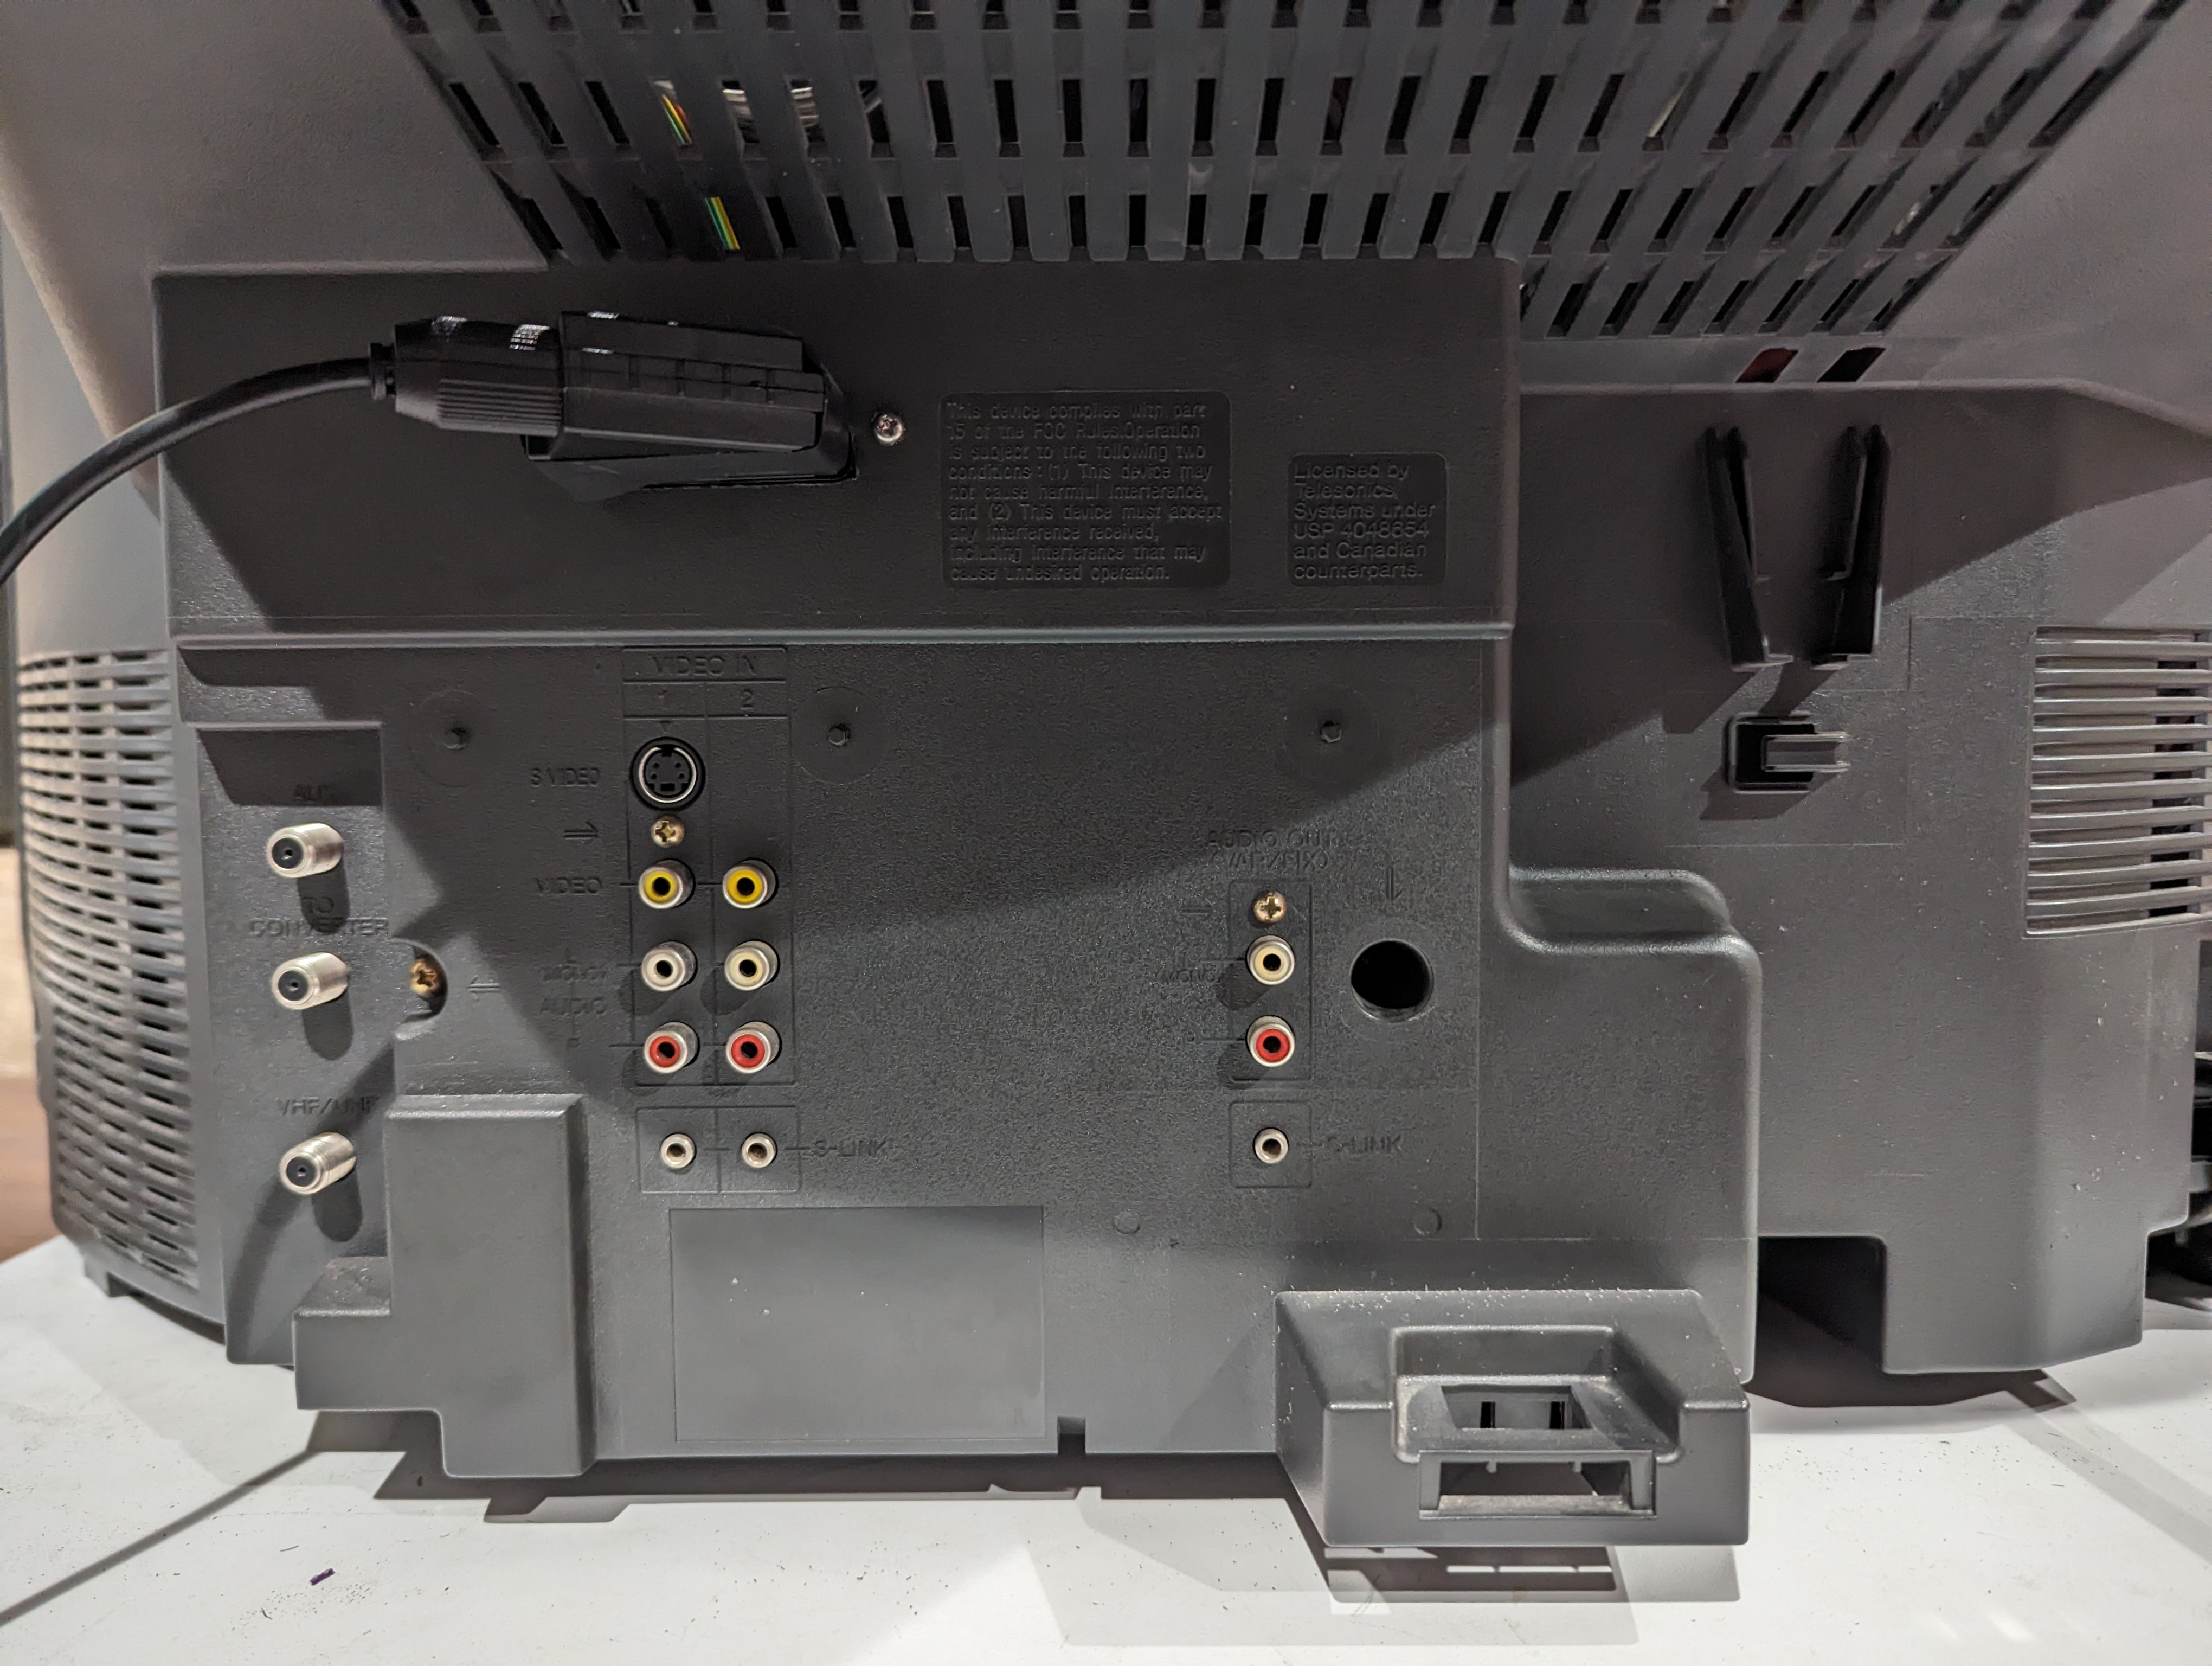
Back 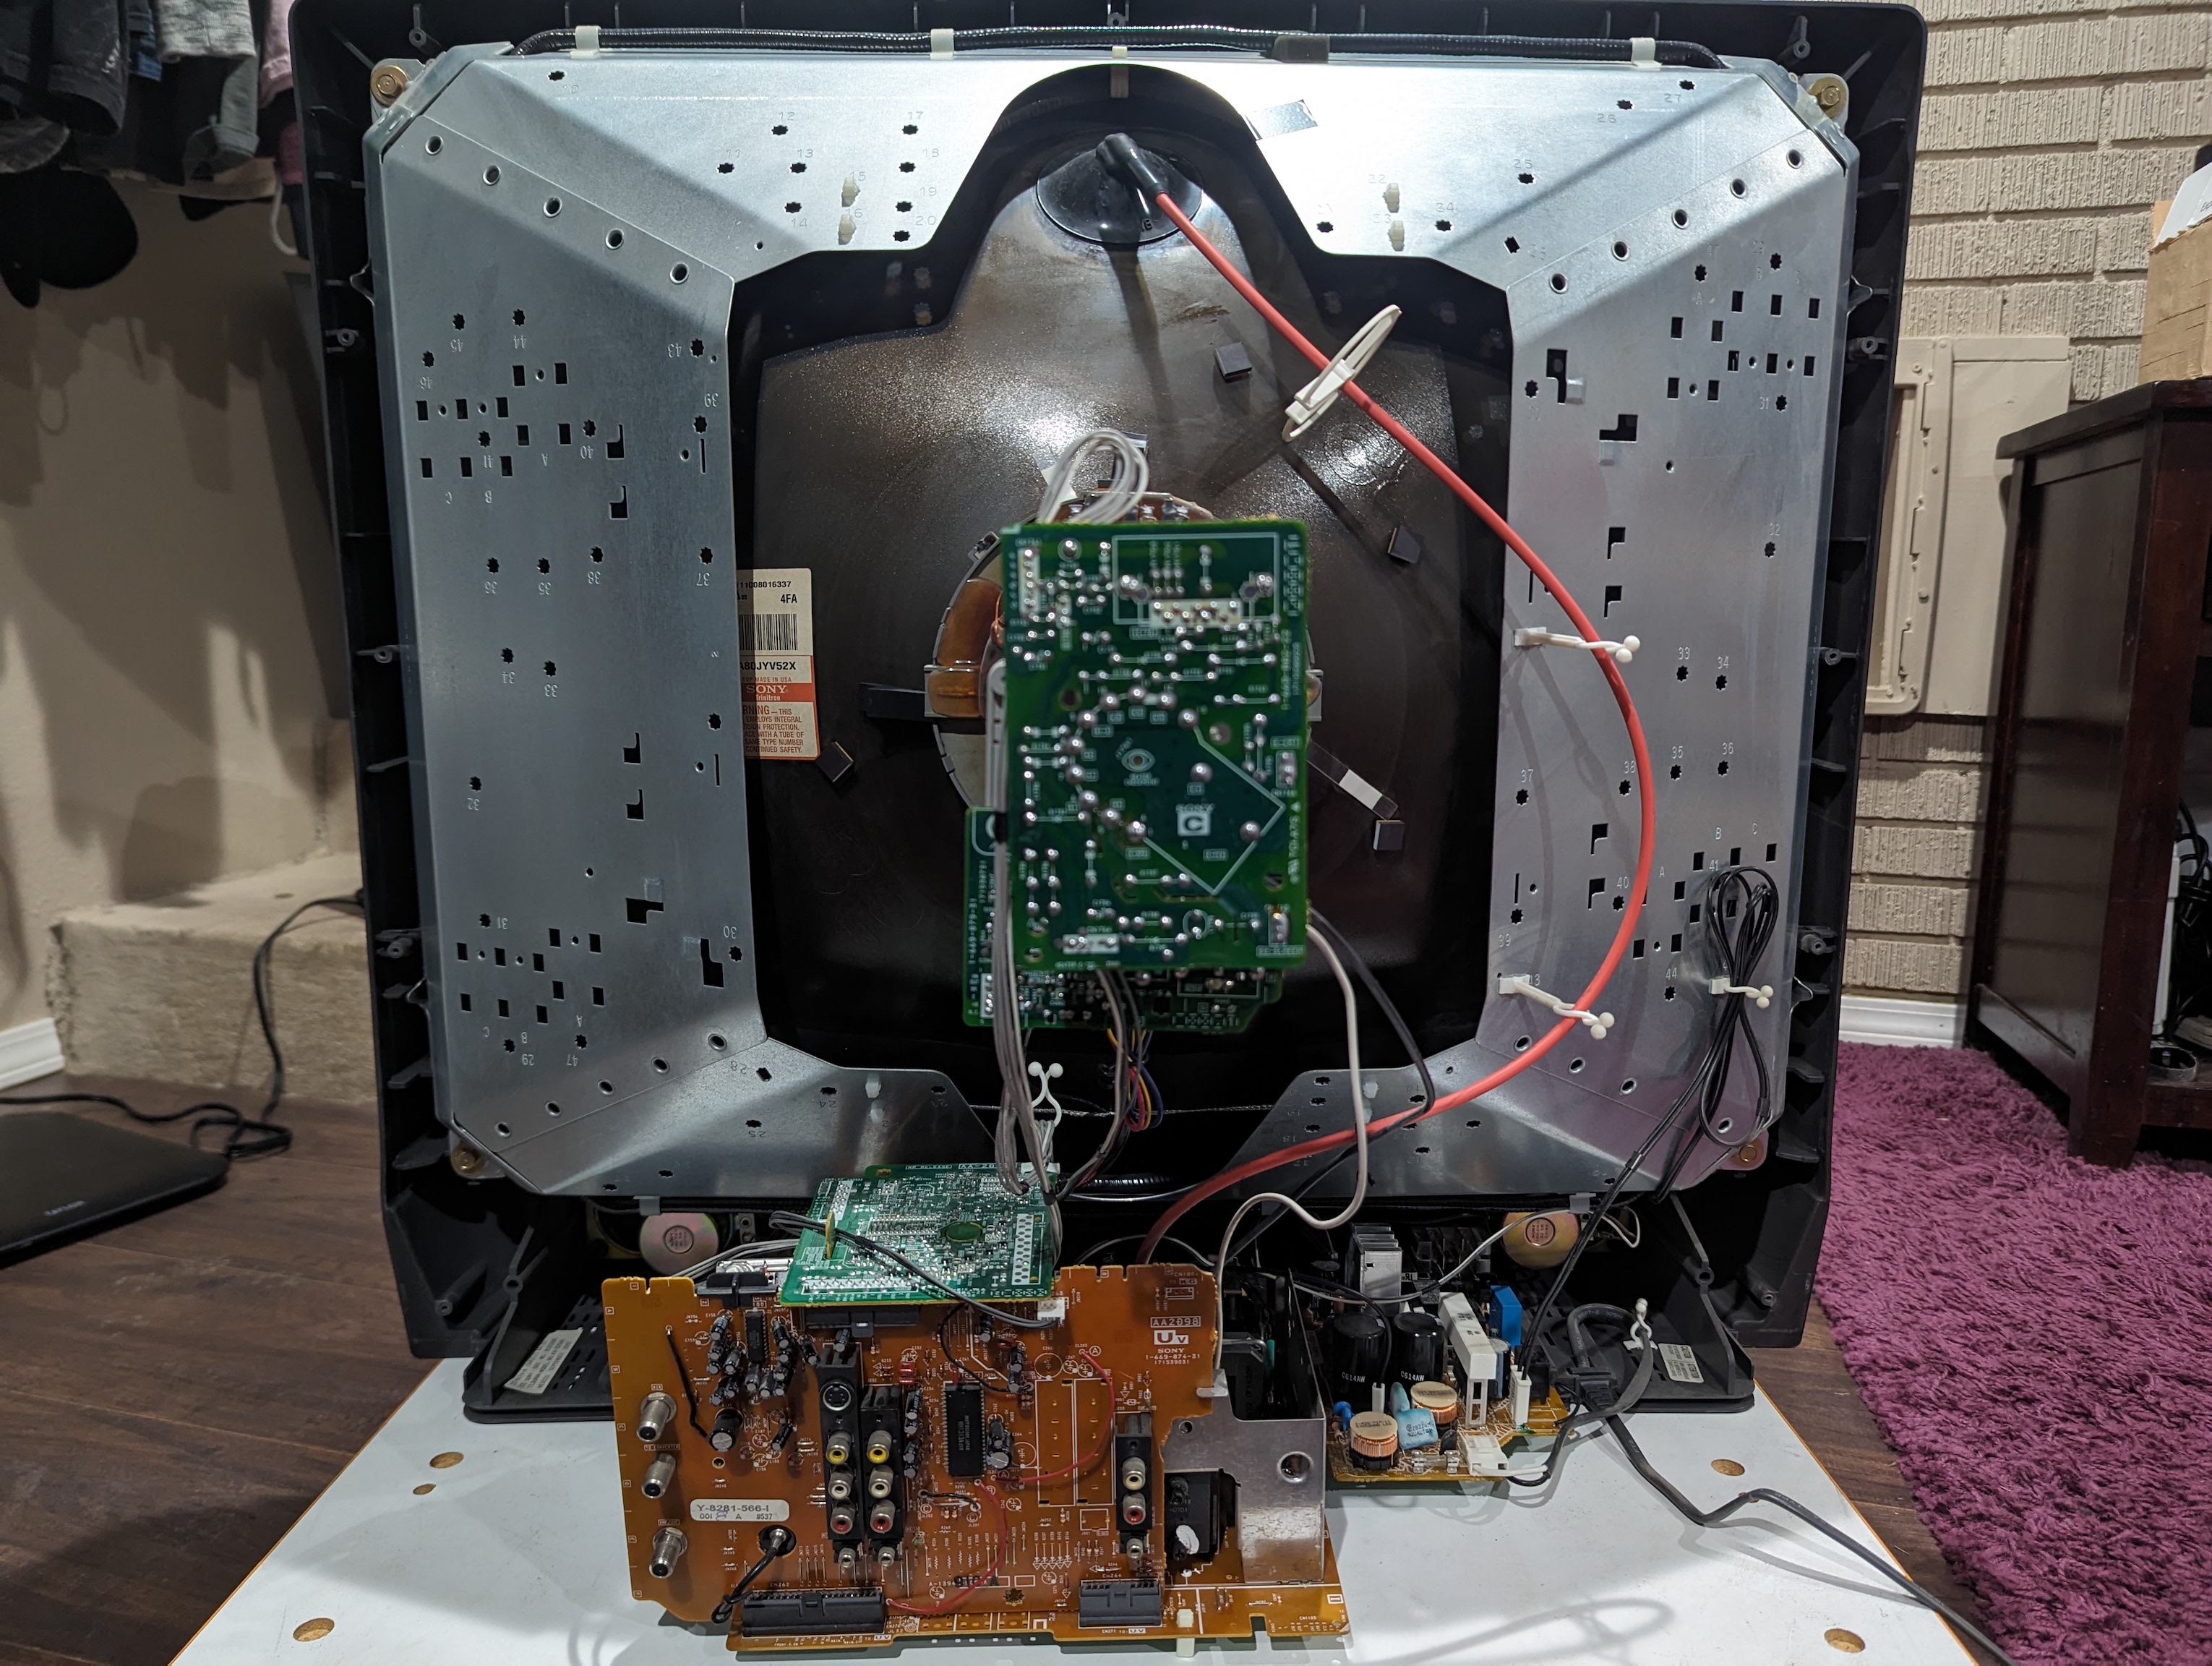
Back open 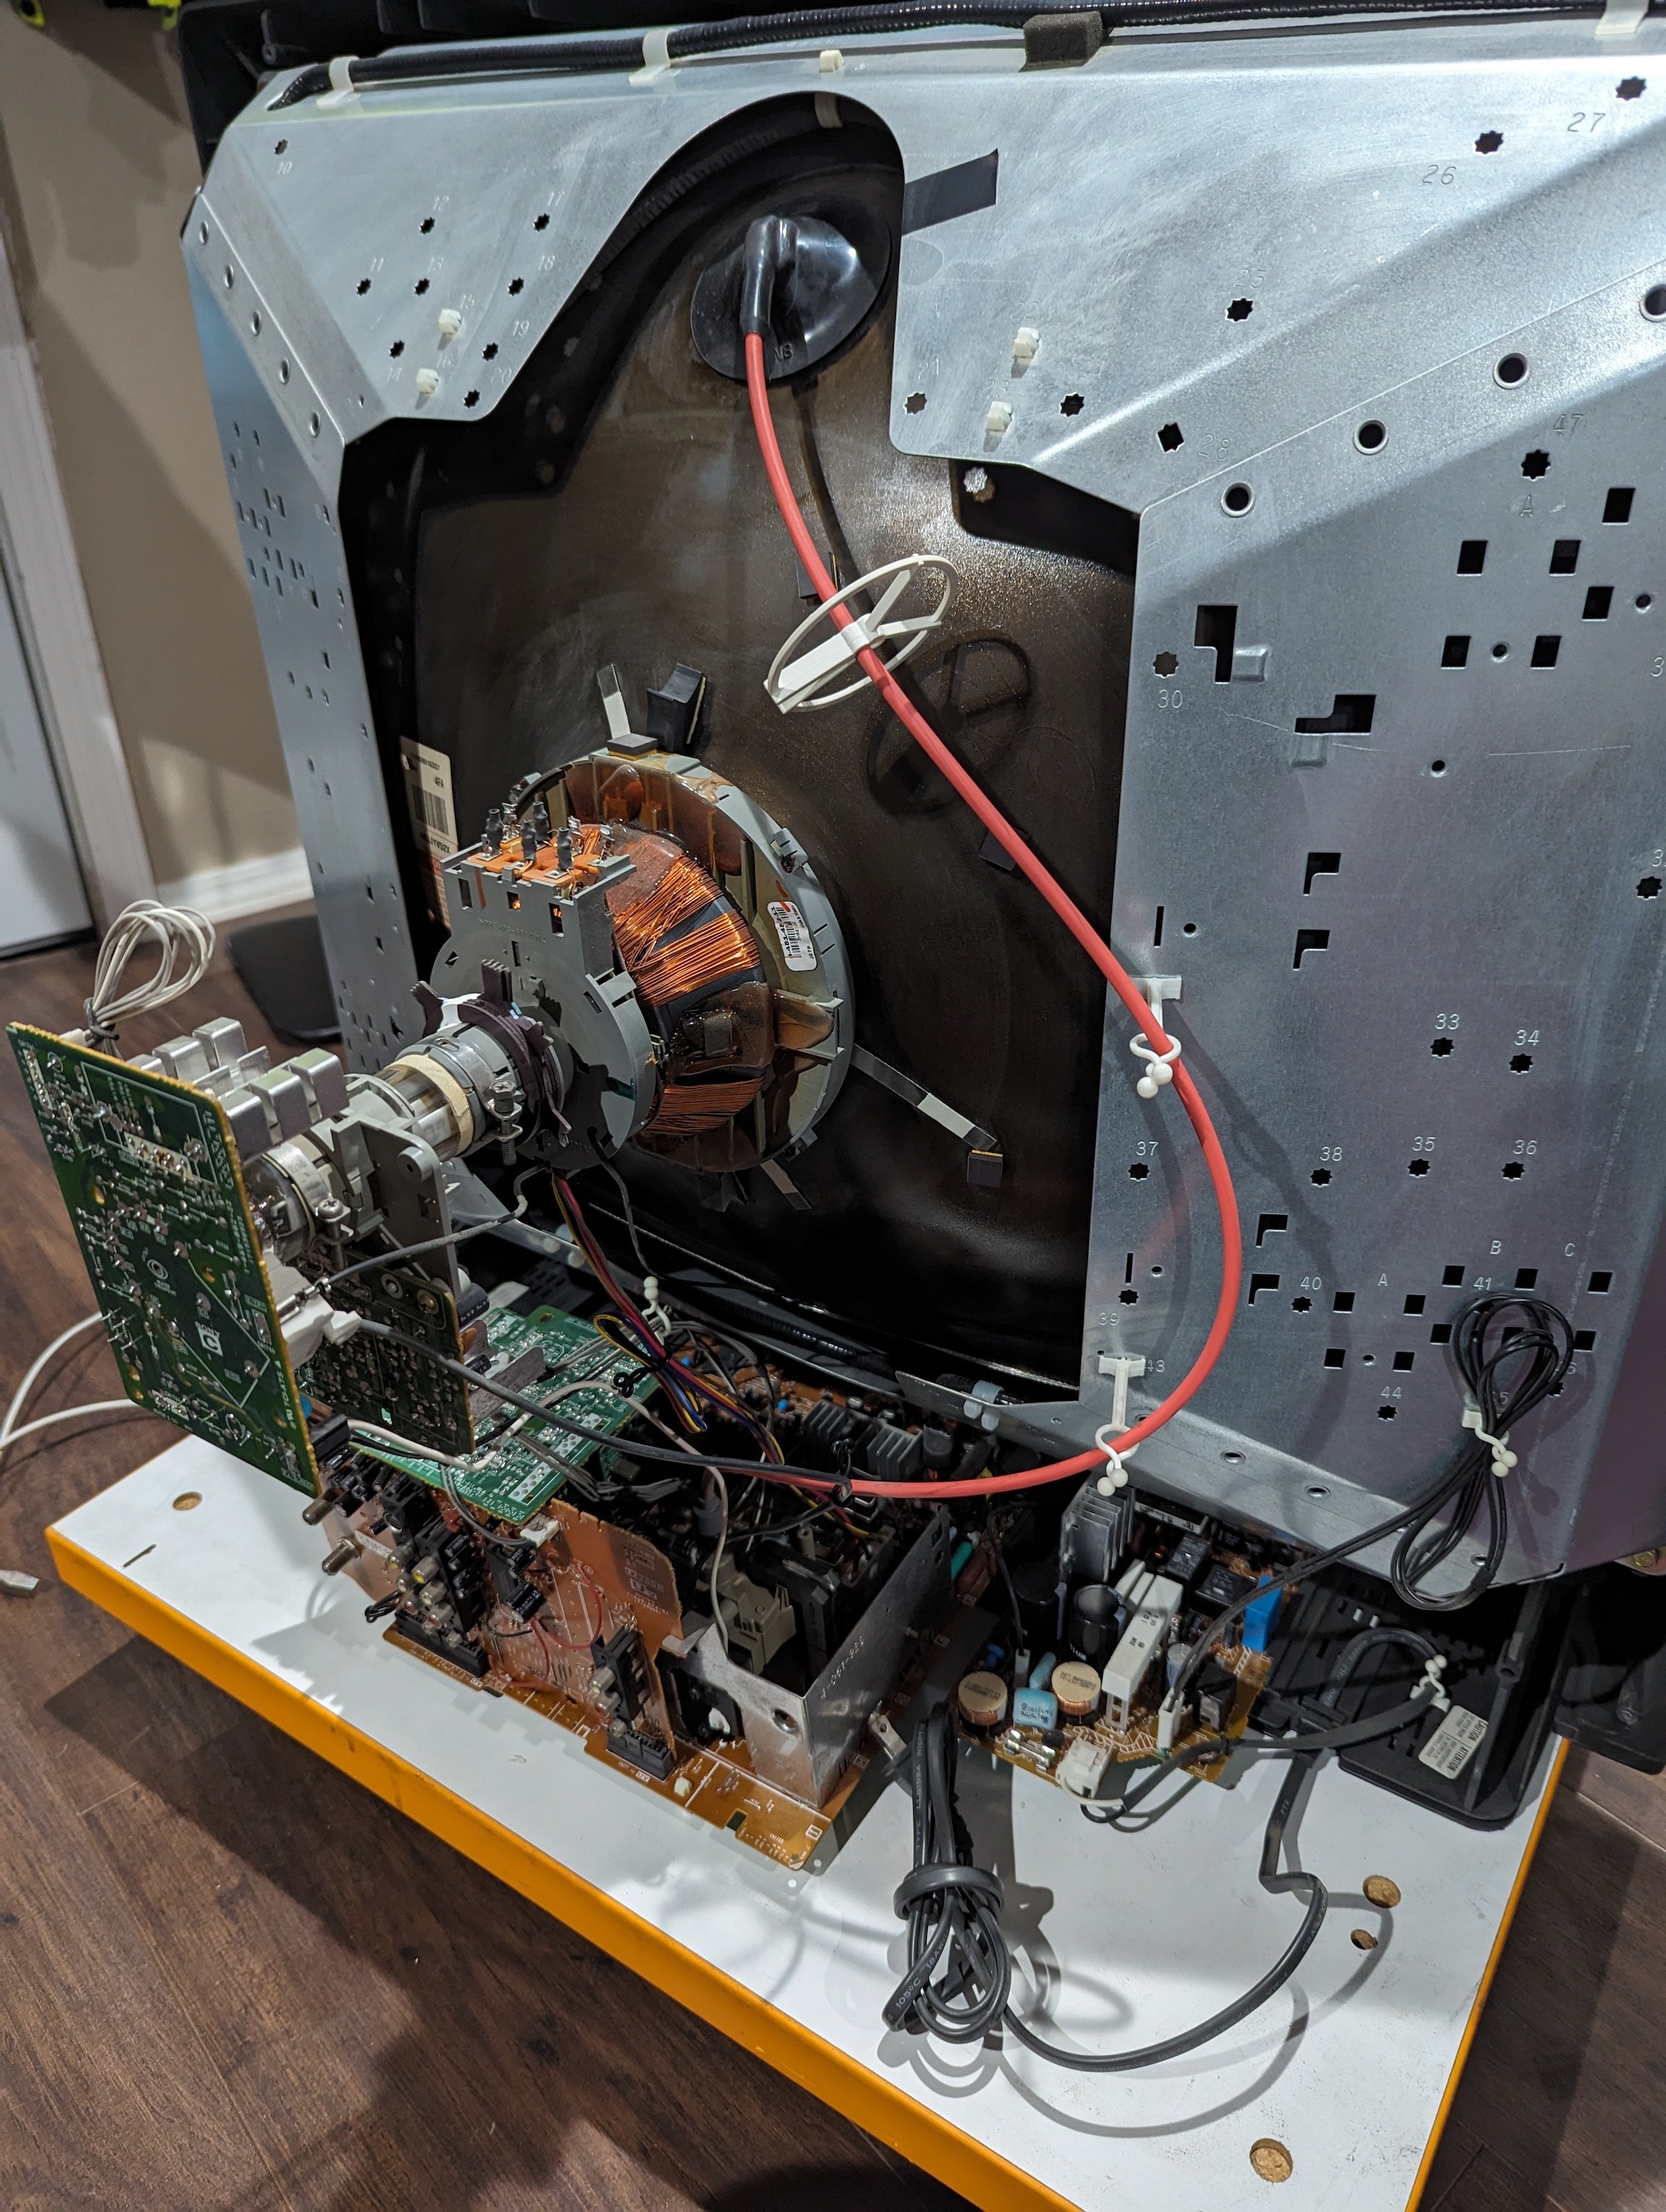
Chroma 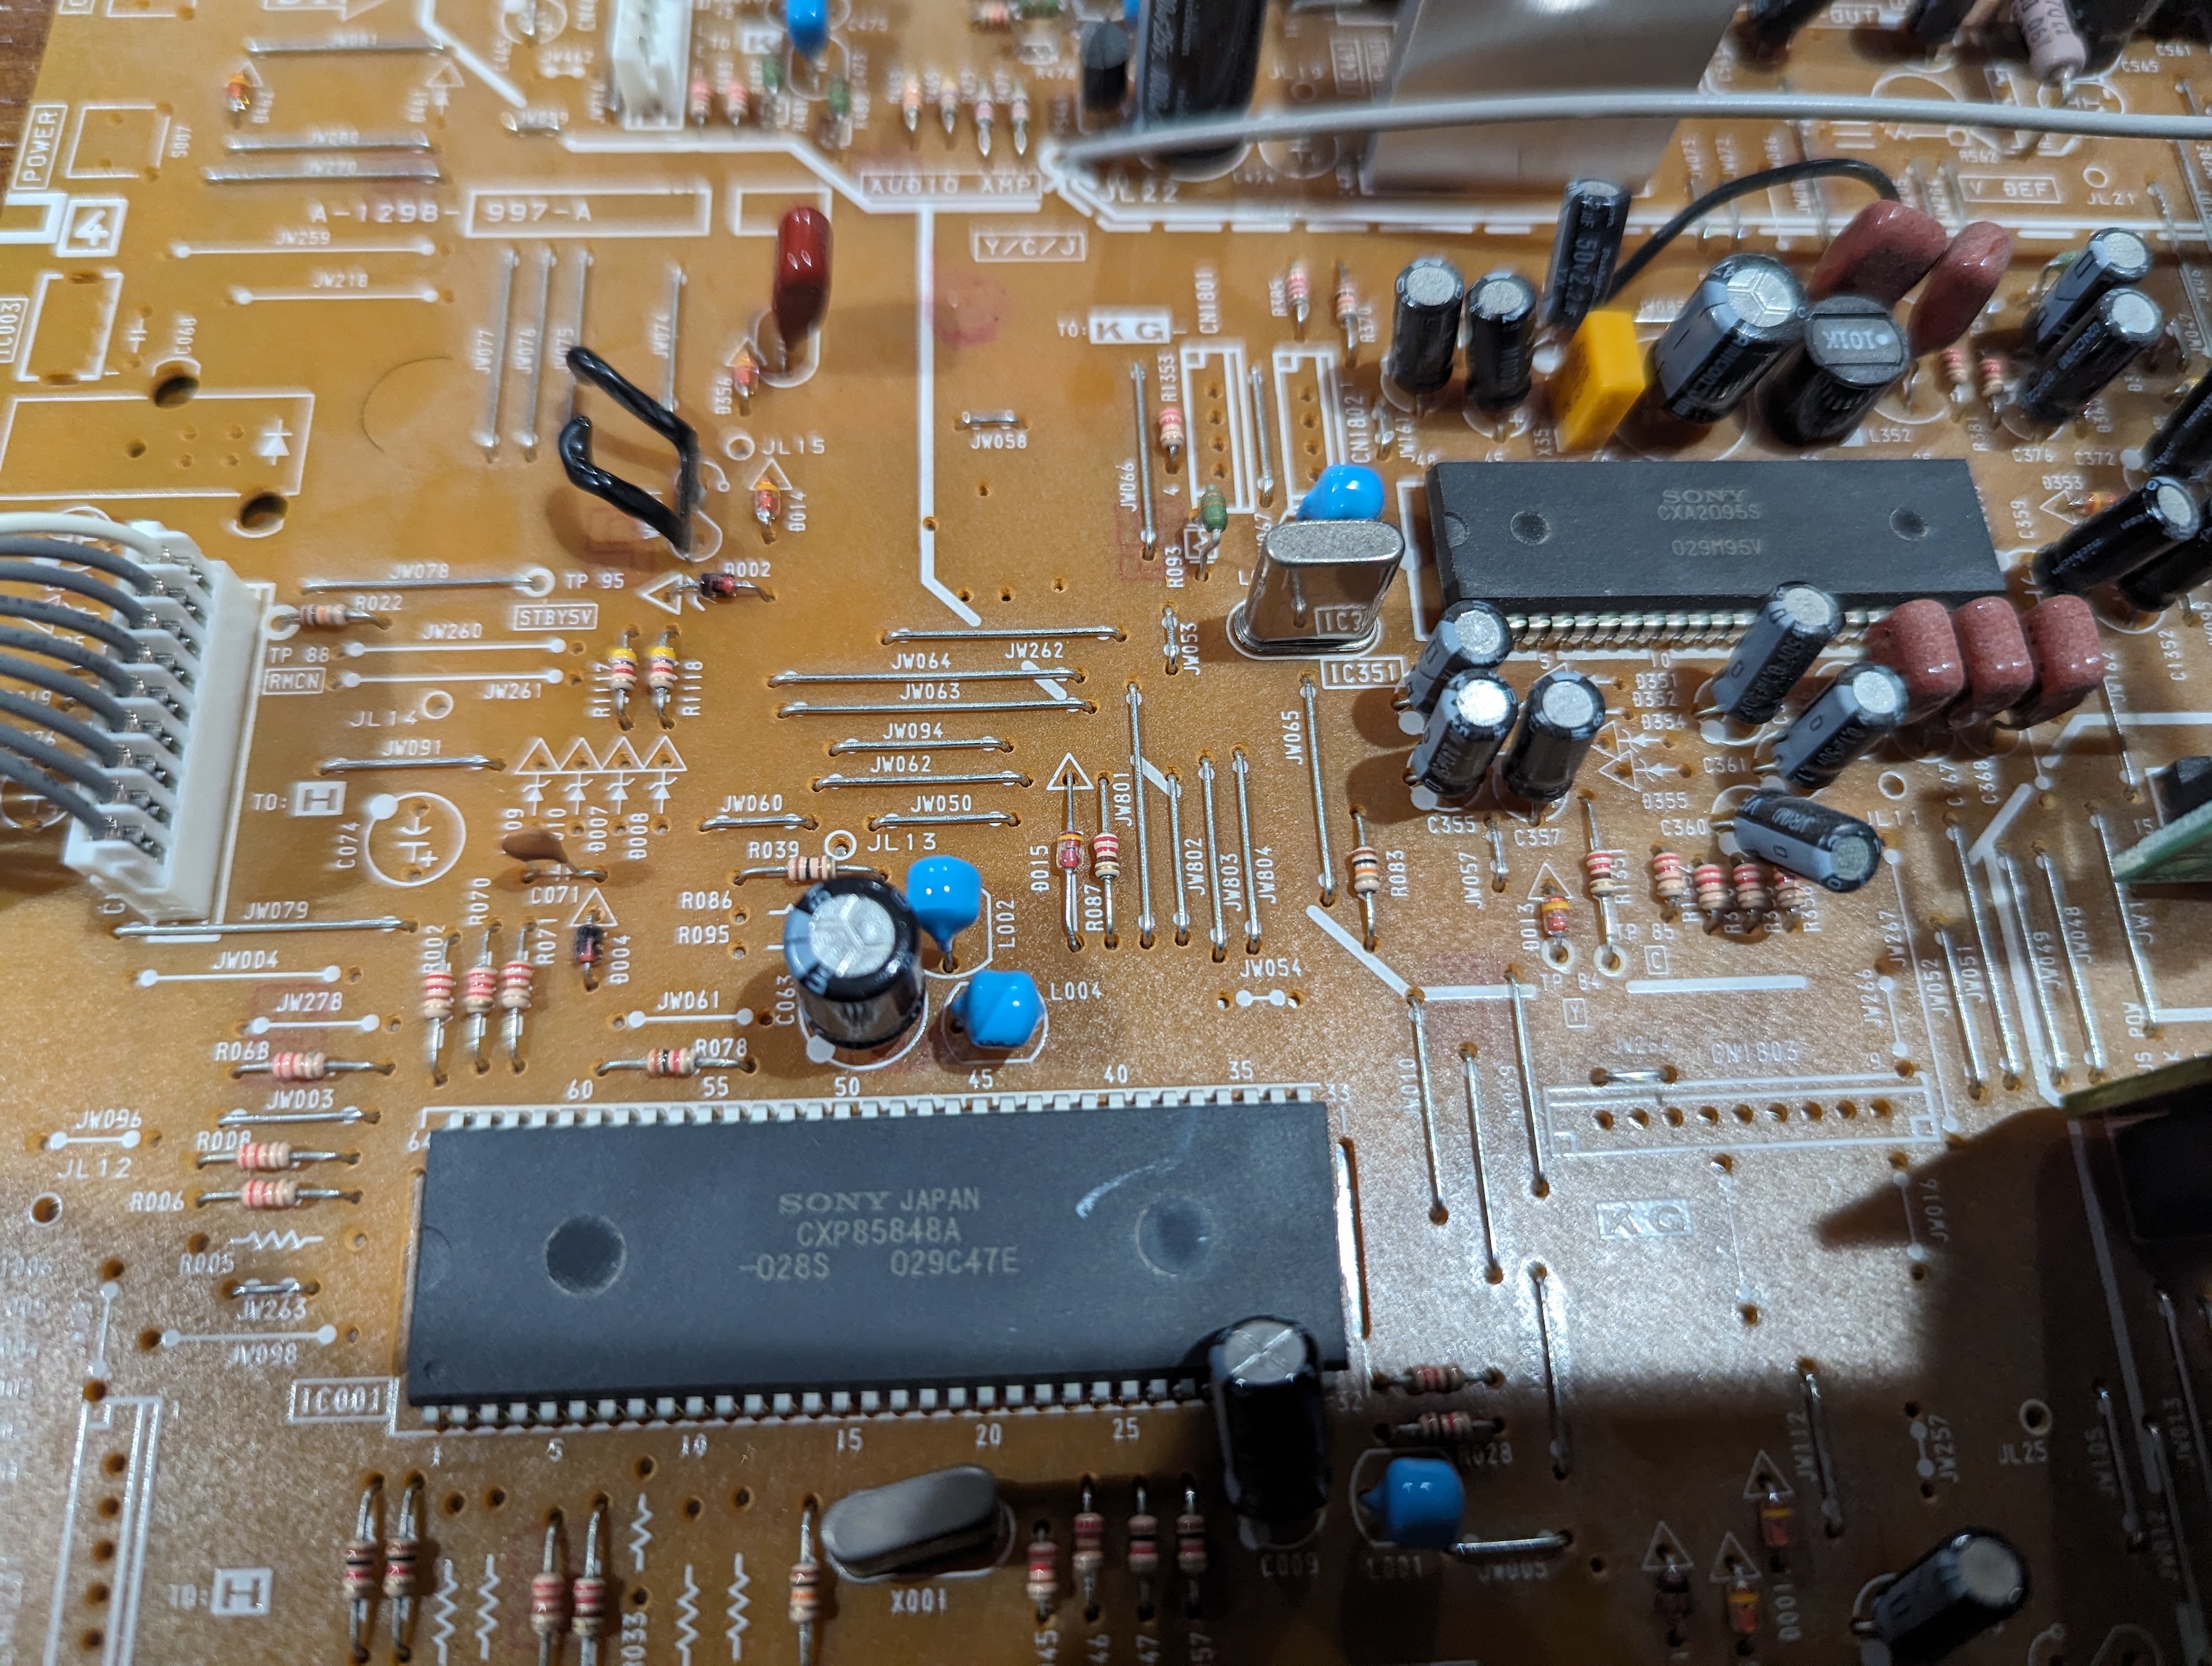
Chassis assembly 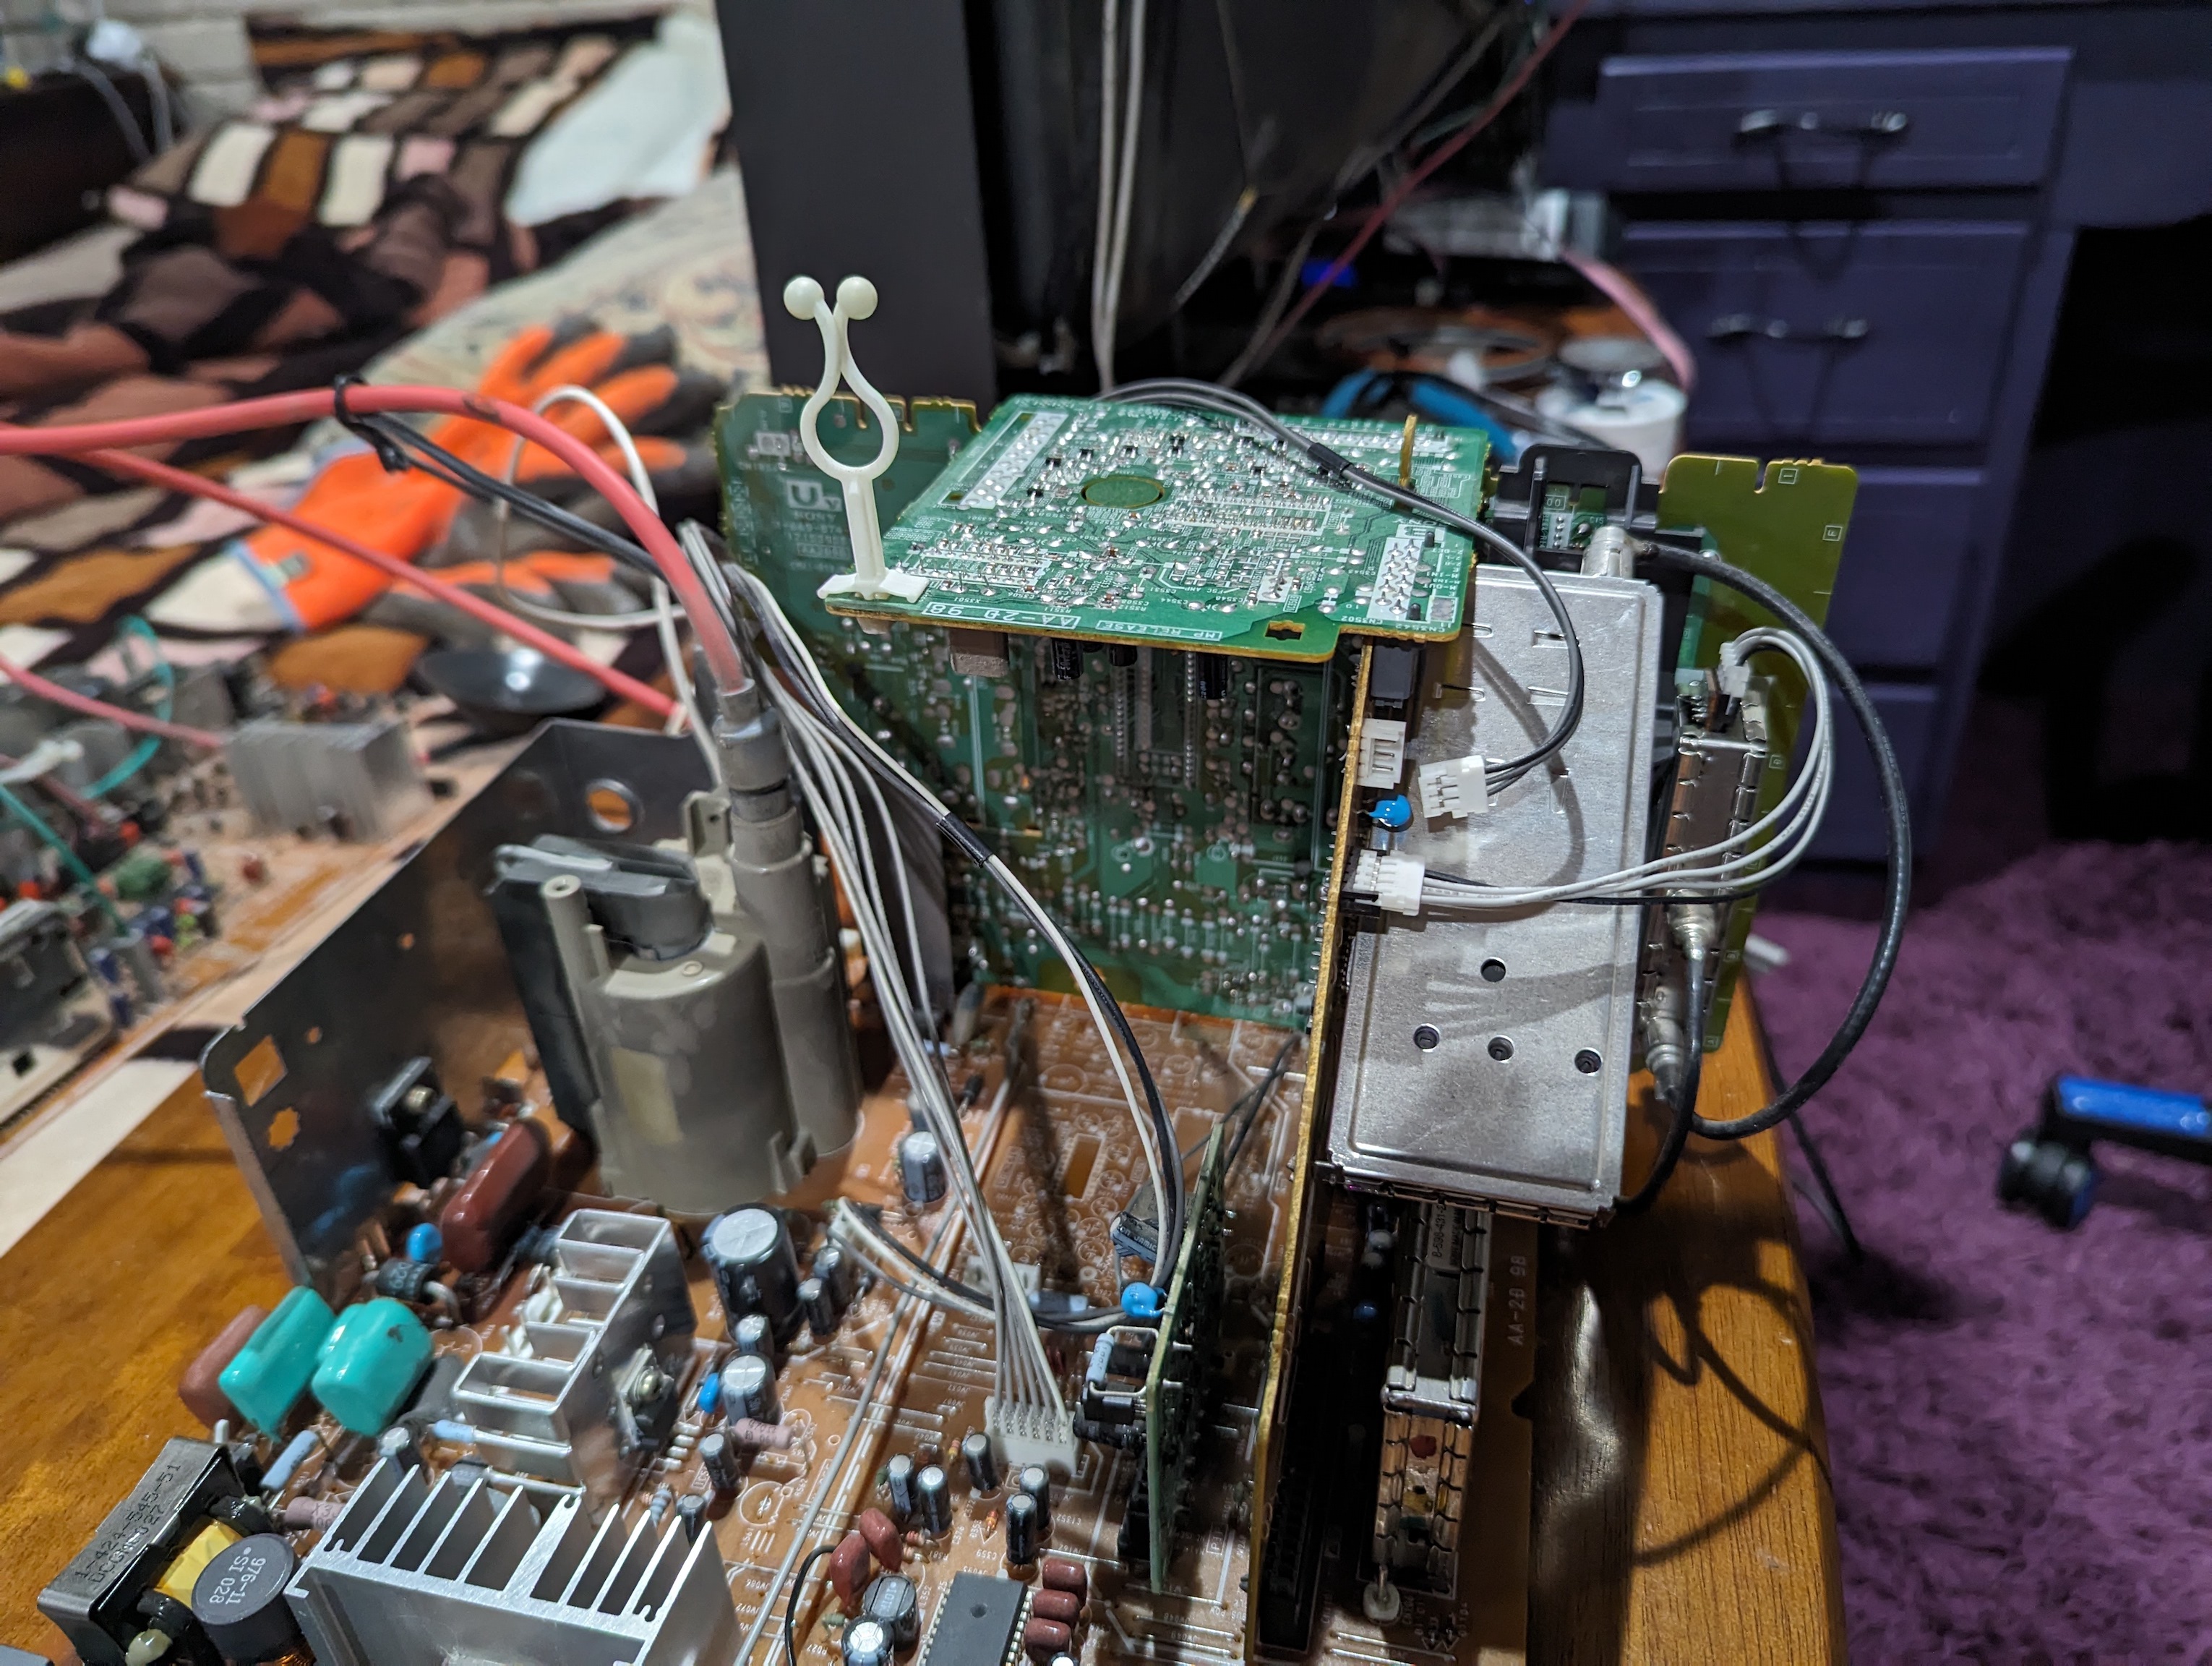
AV board 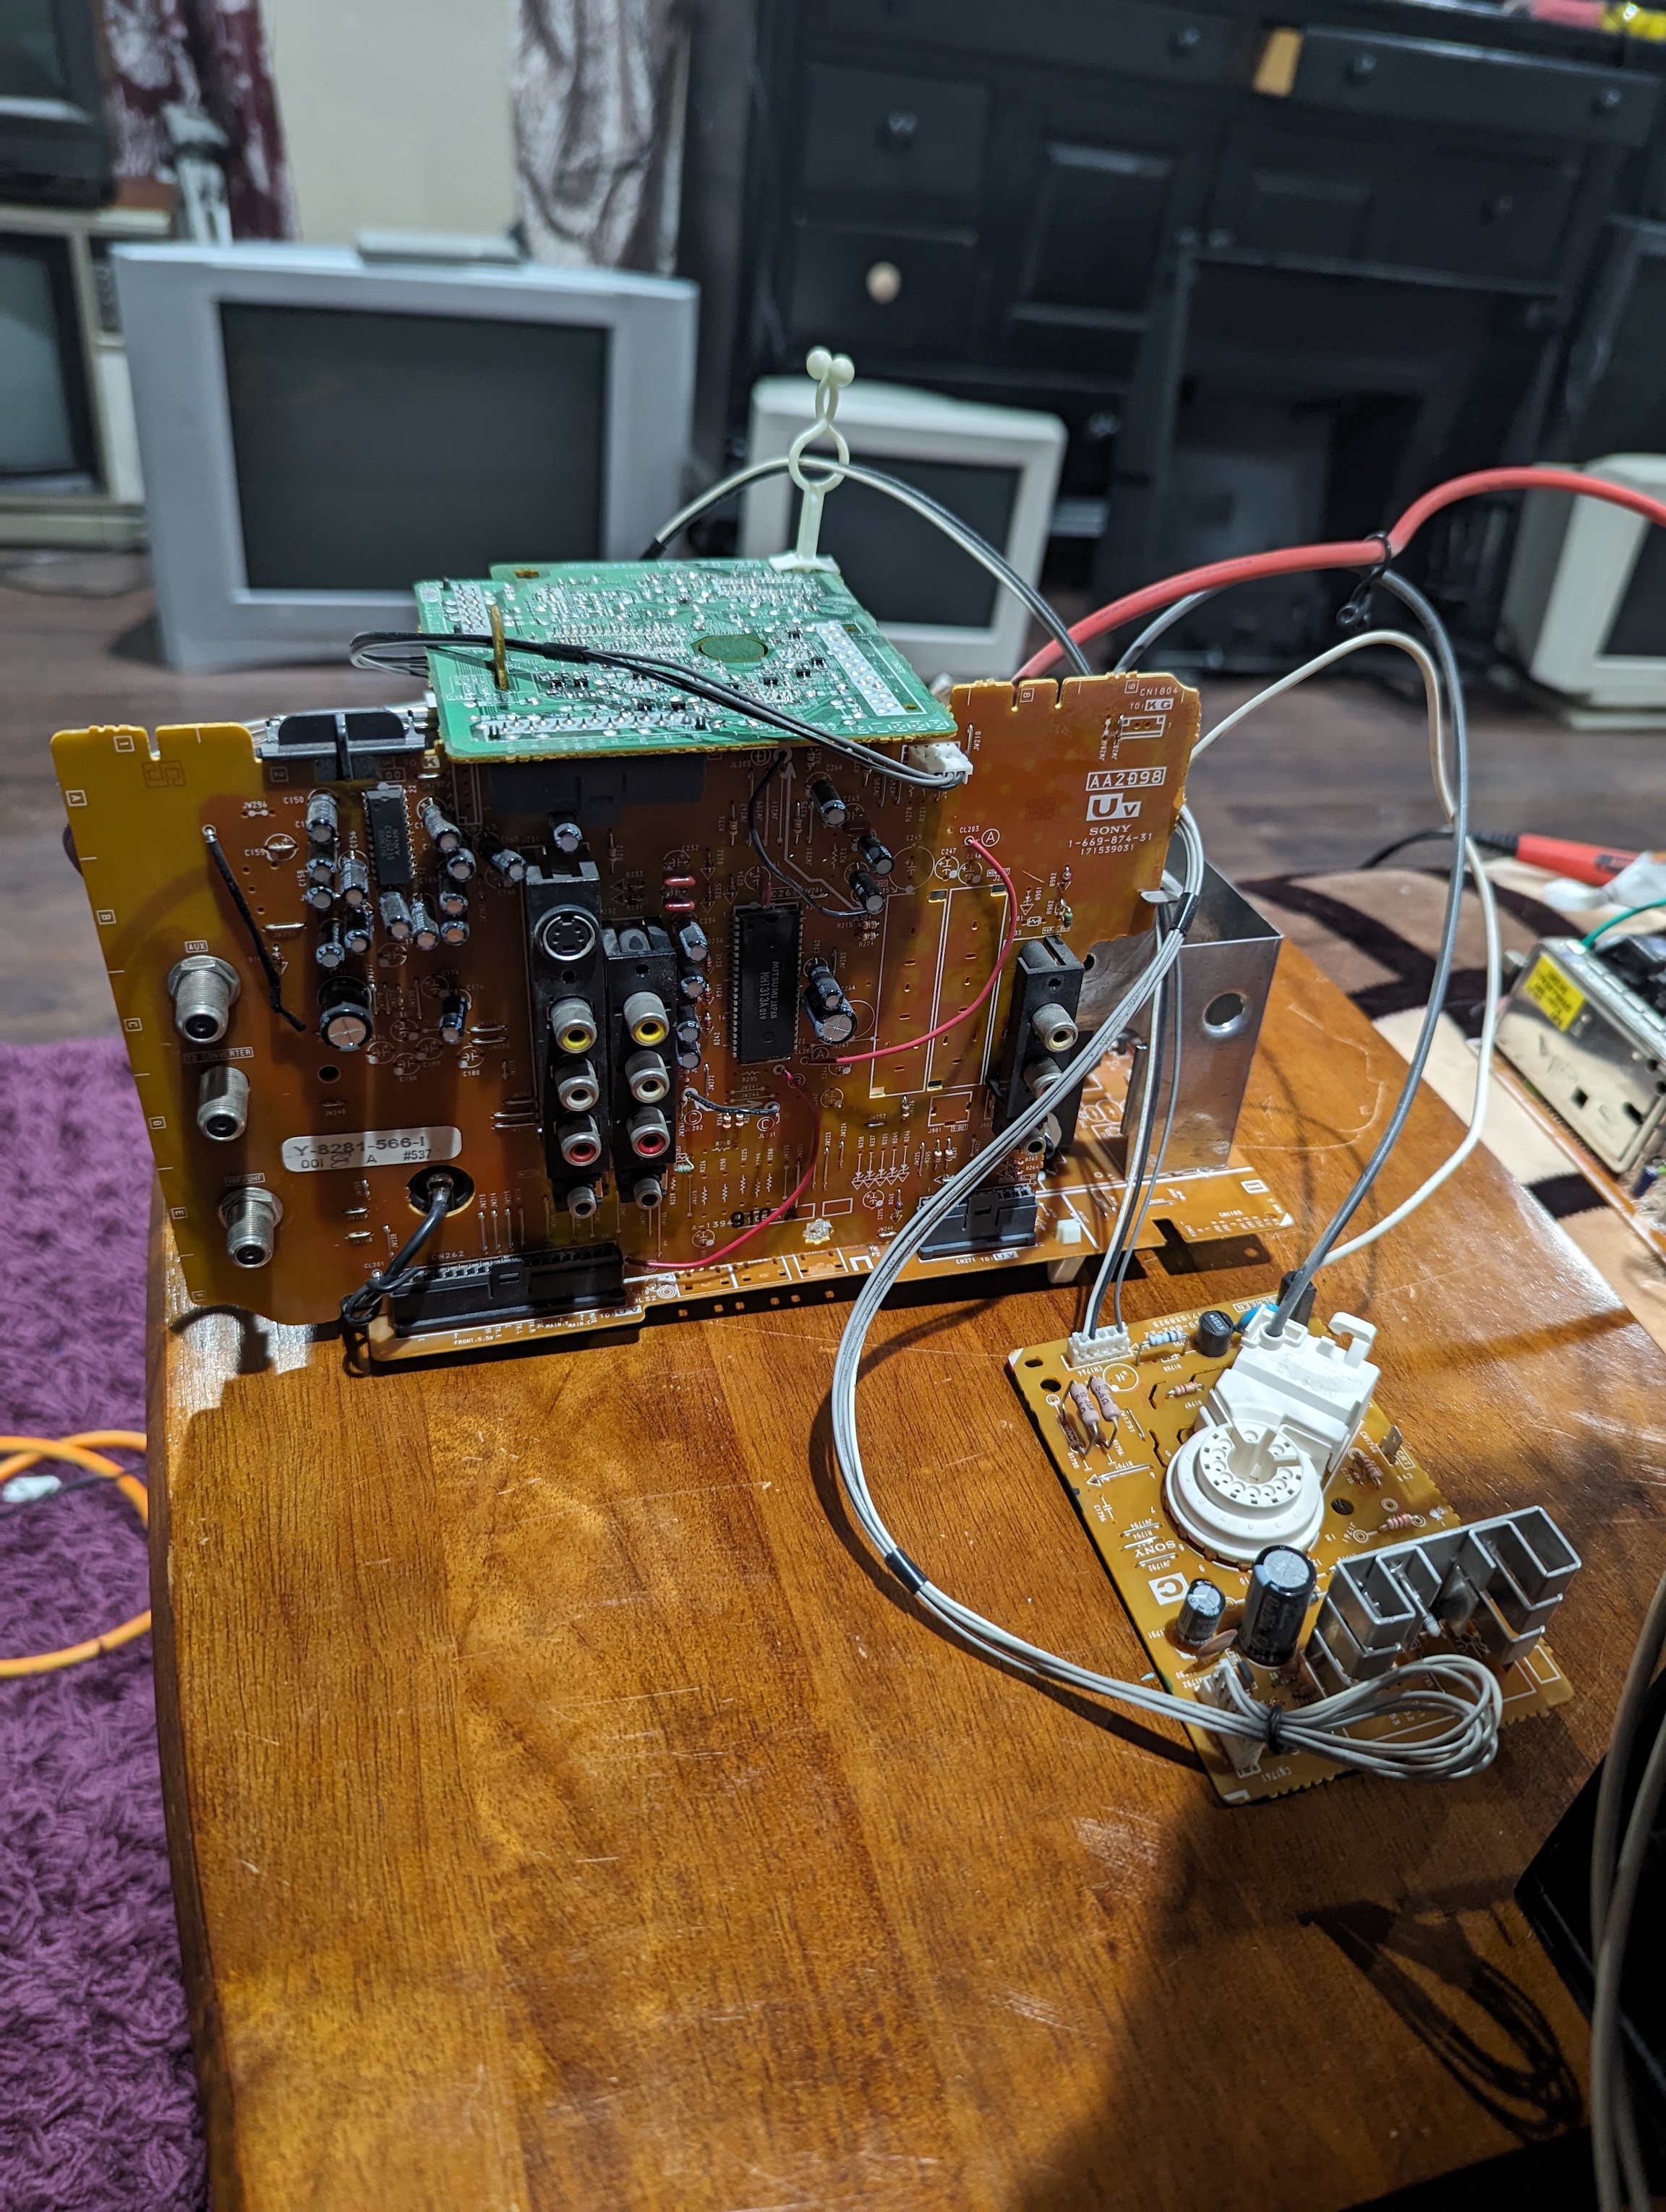
Inside view 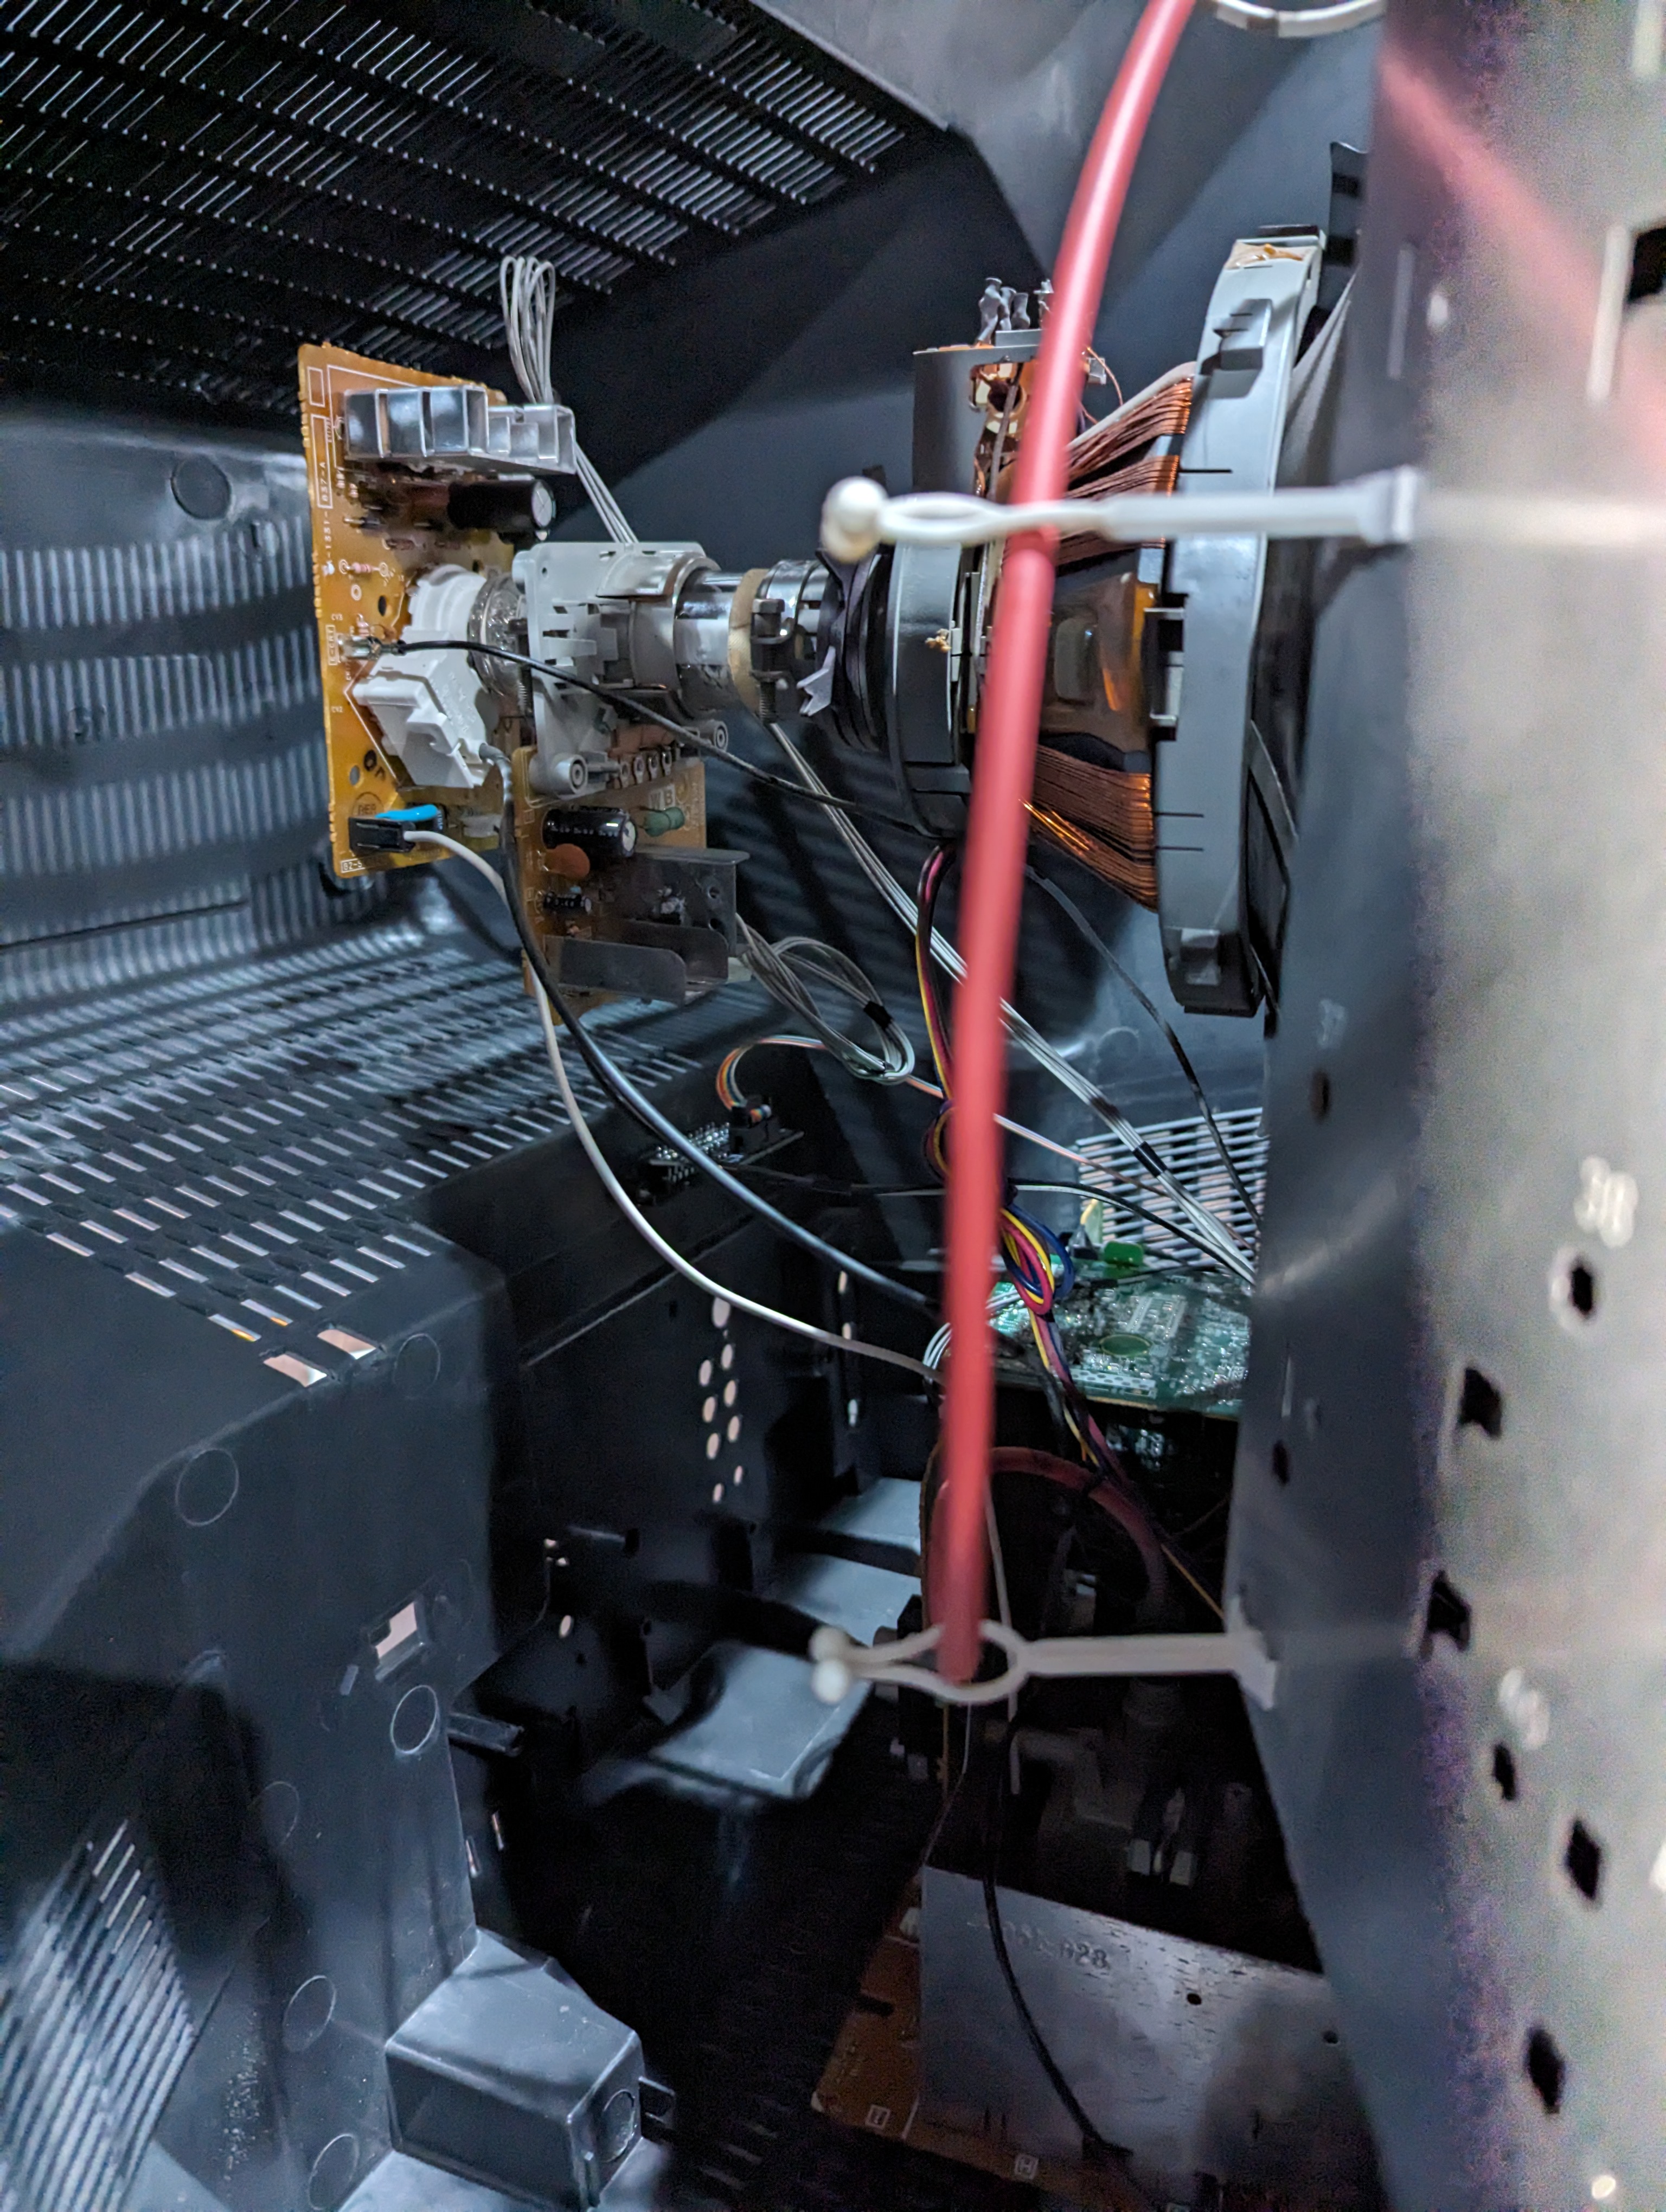
Neck board 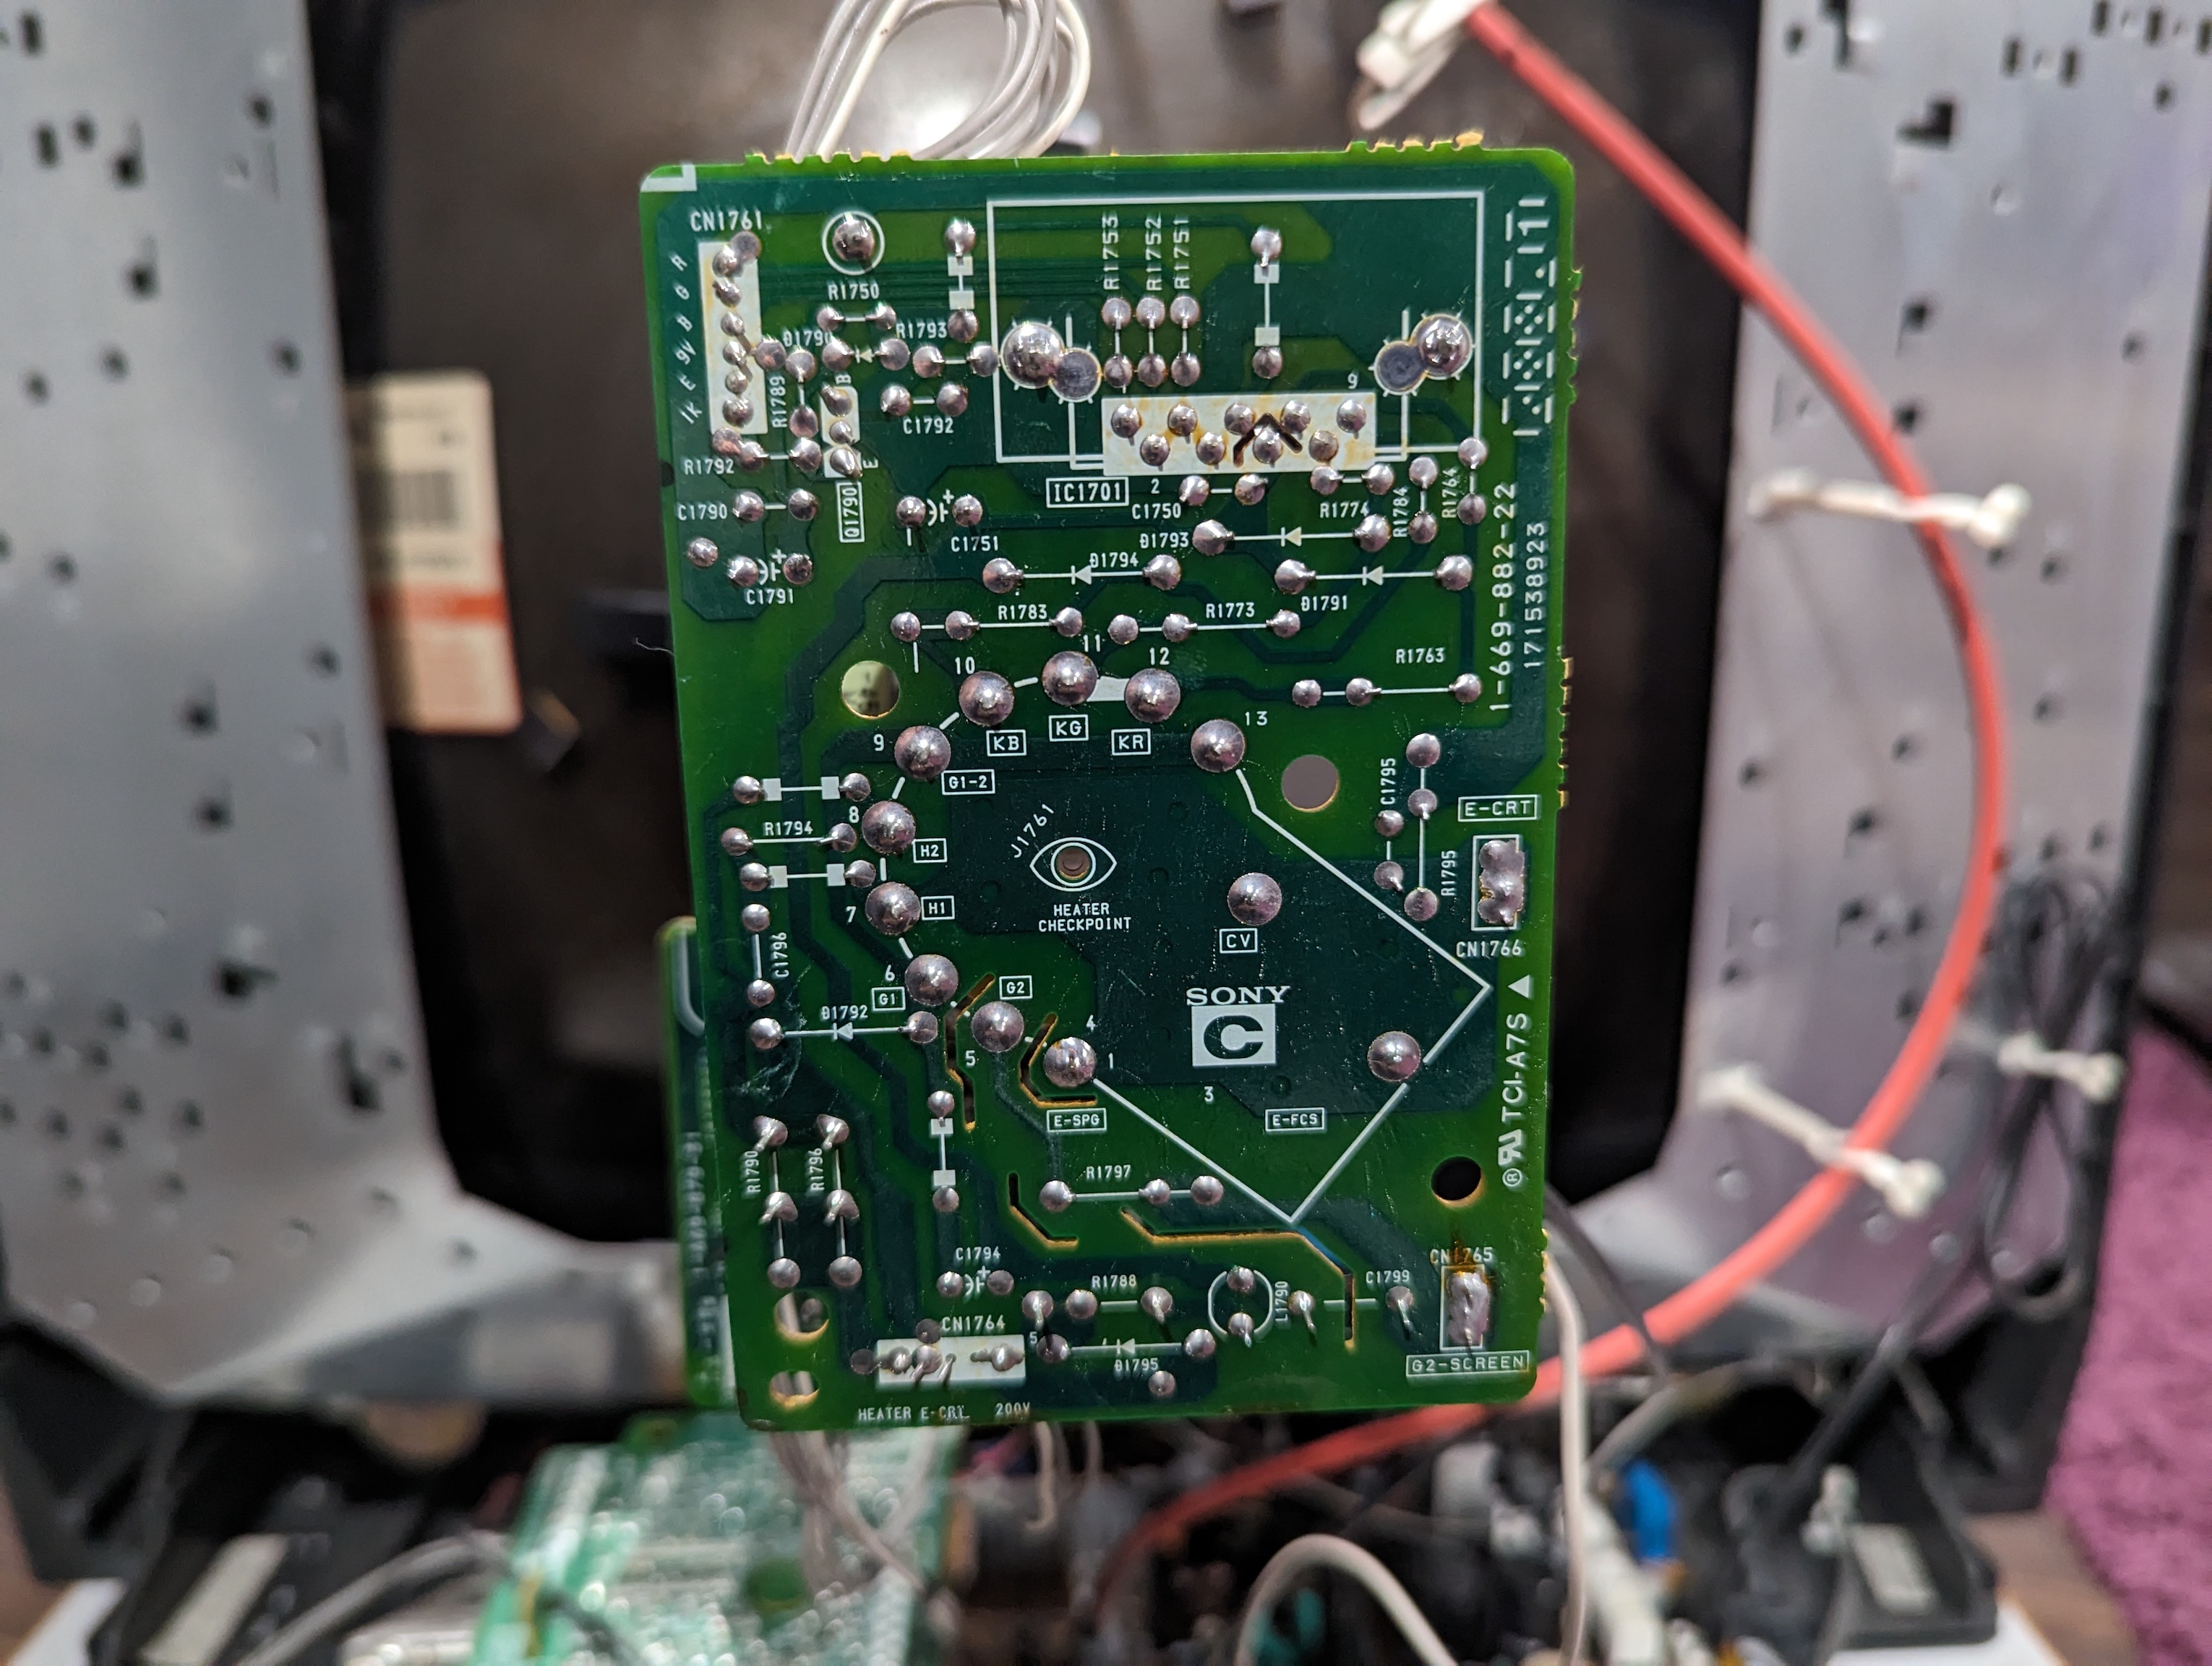
Pictures
Reference Photos