Toshiba 24AF43+
Toshiba 24AF43+ CRT RGB mod
This tutorial covers the RGB mod for the below models.
- Toshiba 24AF43
- Toshiba 24AF44
- Toshiba 24AF45
- Toshiba 24AF46
The Toshiba 24AF43 is a 24" flat-screen CRT television released in 2003. It is praised for its excellent picture clarity, robust built-in stereo speakers, and a wide range of connections, including RF, Composite, Component YPbPr, and S-Video.
This model is RGB mux moddable, with instructions applicable to the 24AF43, 24AF44, 24AF45, and 24AF46.
The last digit in the model number indicates the year of release. Over the years, Toshiba gradually removed inputs and made some bill of materials adjustments to reduce costs. Fortunately, all these models remain RGB moddable.
View full CRT details and more mod examples →
Please also see other Toshiba AF series mods, as the instructions are more or less the same.
Contributors
Thank you to everyone who contributed to this guide:
- Sunthar — author, RGB mod and pictures
CRT safety
Caution
You can die doing this! So read carefully! CRT TV is not a toy. Do not open a CRT TV. If you don't have any prior knowledge about handling high voltage devices, this guide is not for you. CRT TV contains high enough voltage (20,000+ V) and current to be deadly, even when it is turned off.
Plan of attack
Manuals and Datasheets
- TOSHIBA 24AF45 SM
- TOSHIBA 24AF44 SM
- TOSHIBA 24AF43 SM
- TOSHIBA 24AF46 SM
- Renesas M61283FP Datasheet (Jungle)
Specs
- Manufactured: Thailand (2003)
- Format: NTSC
- Chassis: M3M627
- Tube: Orion A60LVY196X11
- Jungle Chip: Renesas M61283FP
- OSD Chip: Orion OEC7090A
- Screen Size: 24"
- Power: 125 W
- Weight: 73 lbs
- Inputs: Composite, S-Video, RF, Component YPbPr
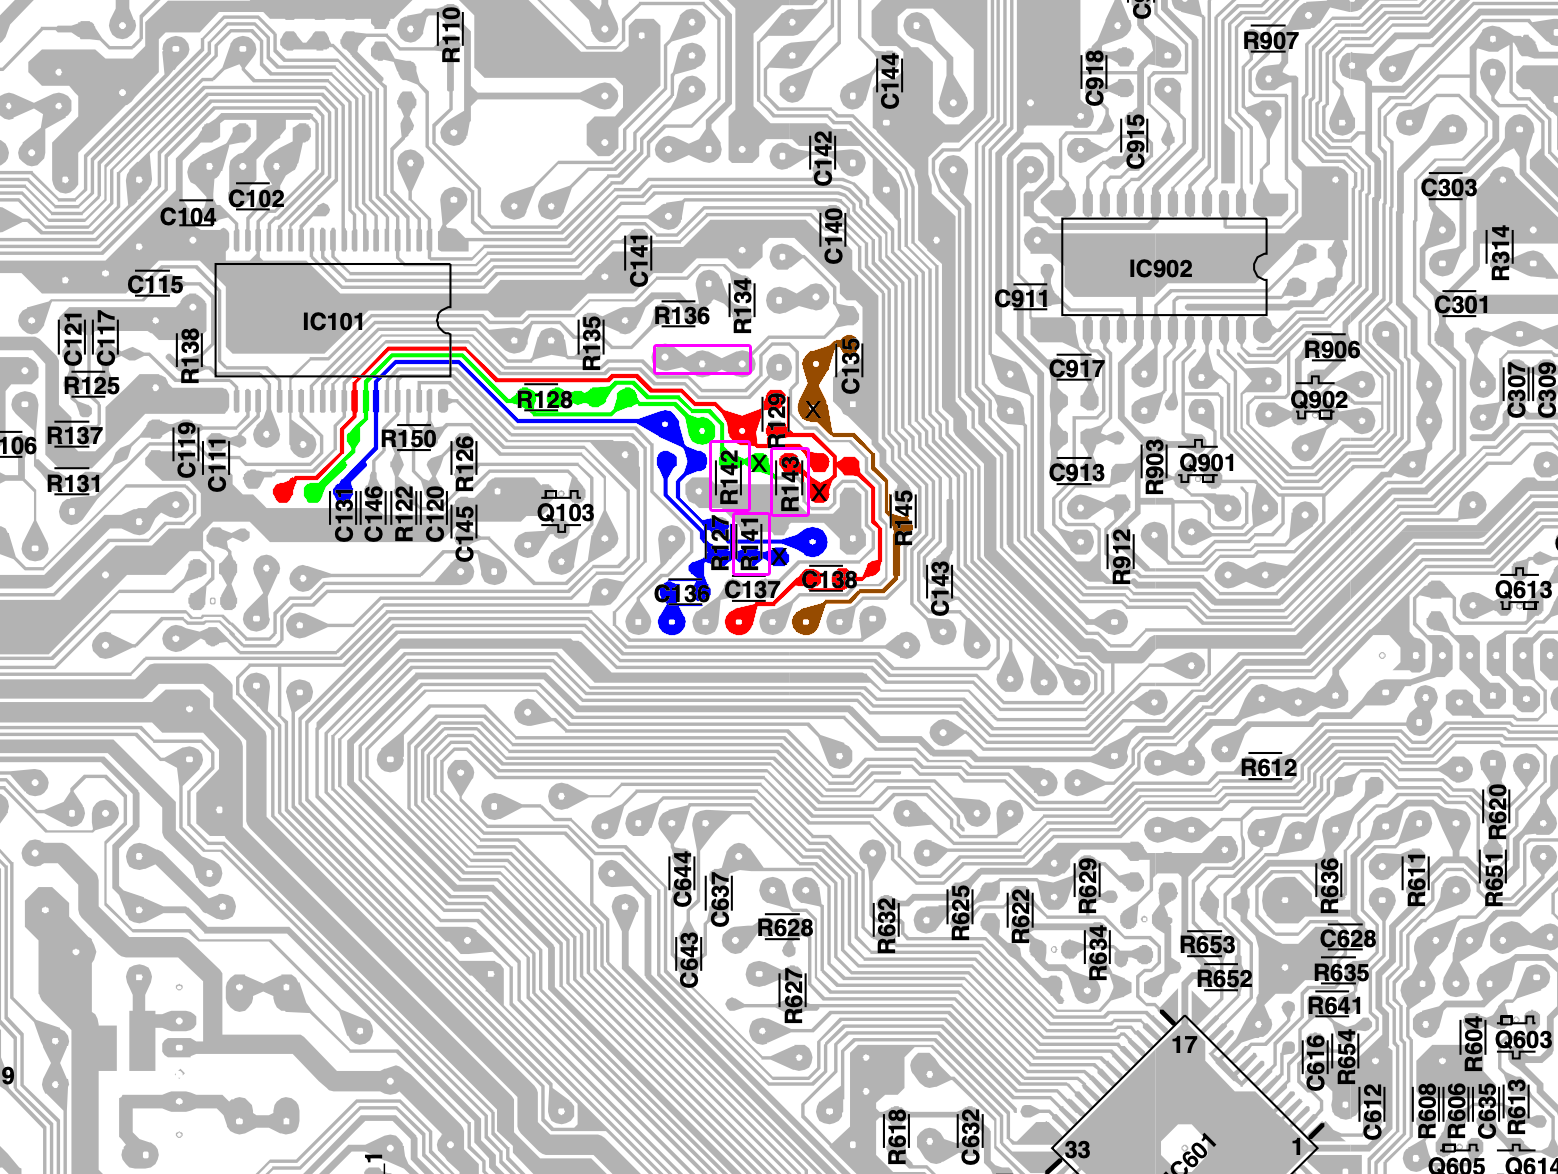
RGB mux diagram
Prepare the mux diagram. If you are building your own circuit, this diagram should help.
PCB
Points where the R, G, B and Blank wires should be connected are marked "X". Pink boxes show the resistors, diodes that needs to be removed.
Actual PCB might be slightly different for your particular CRT. However, the mod that needs to be applied is in similar location. Below was taken from Toshiba 20AF44.
Performing the mod
STEP 1: Remove the following components
Remove the RGB resistors to ground
- R141
- R142
- R143
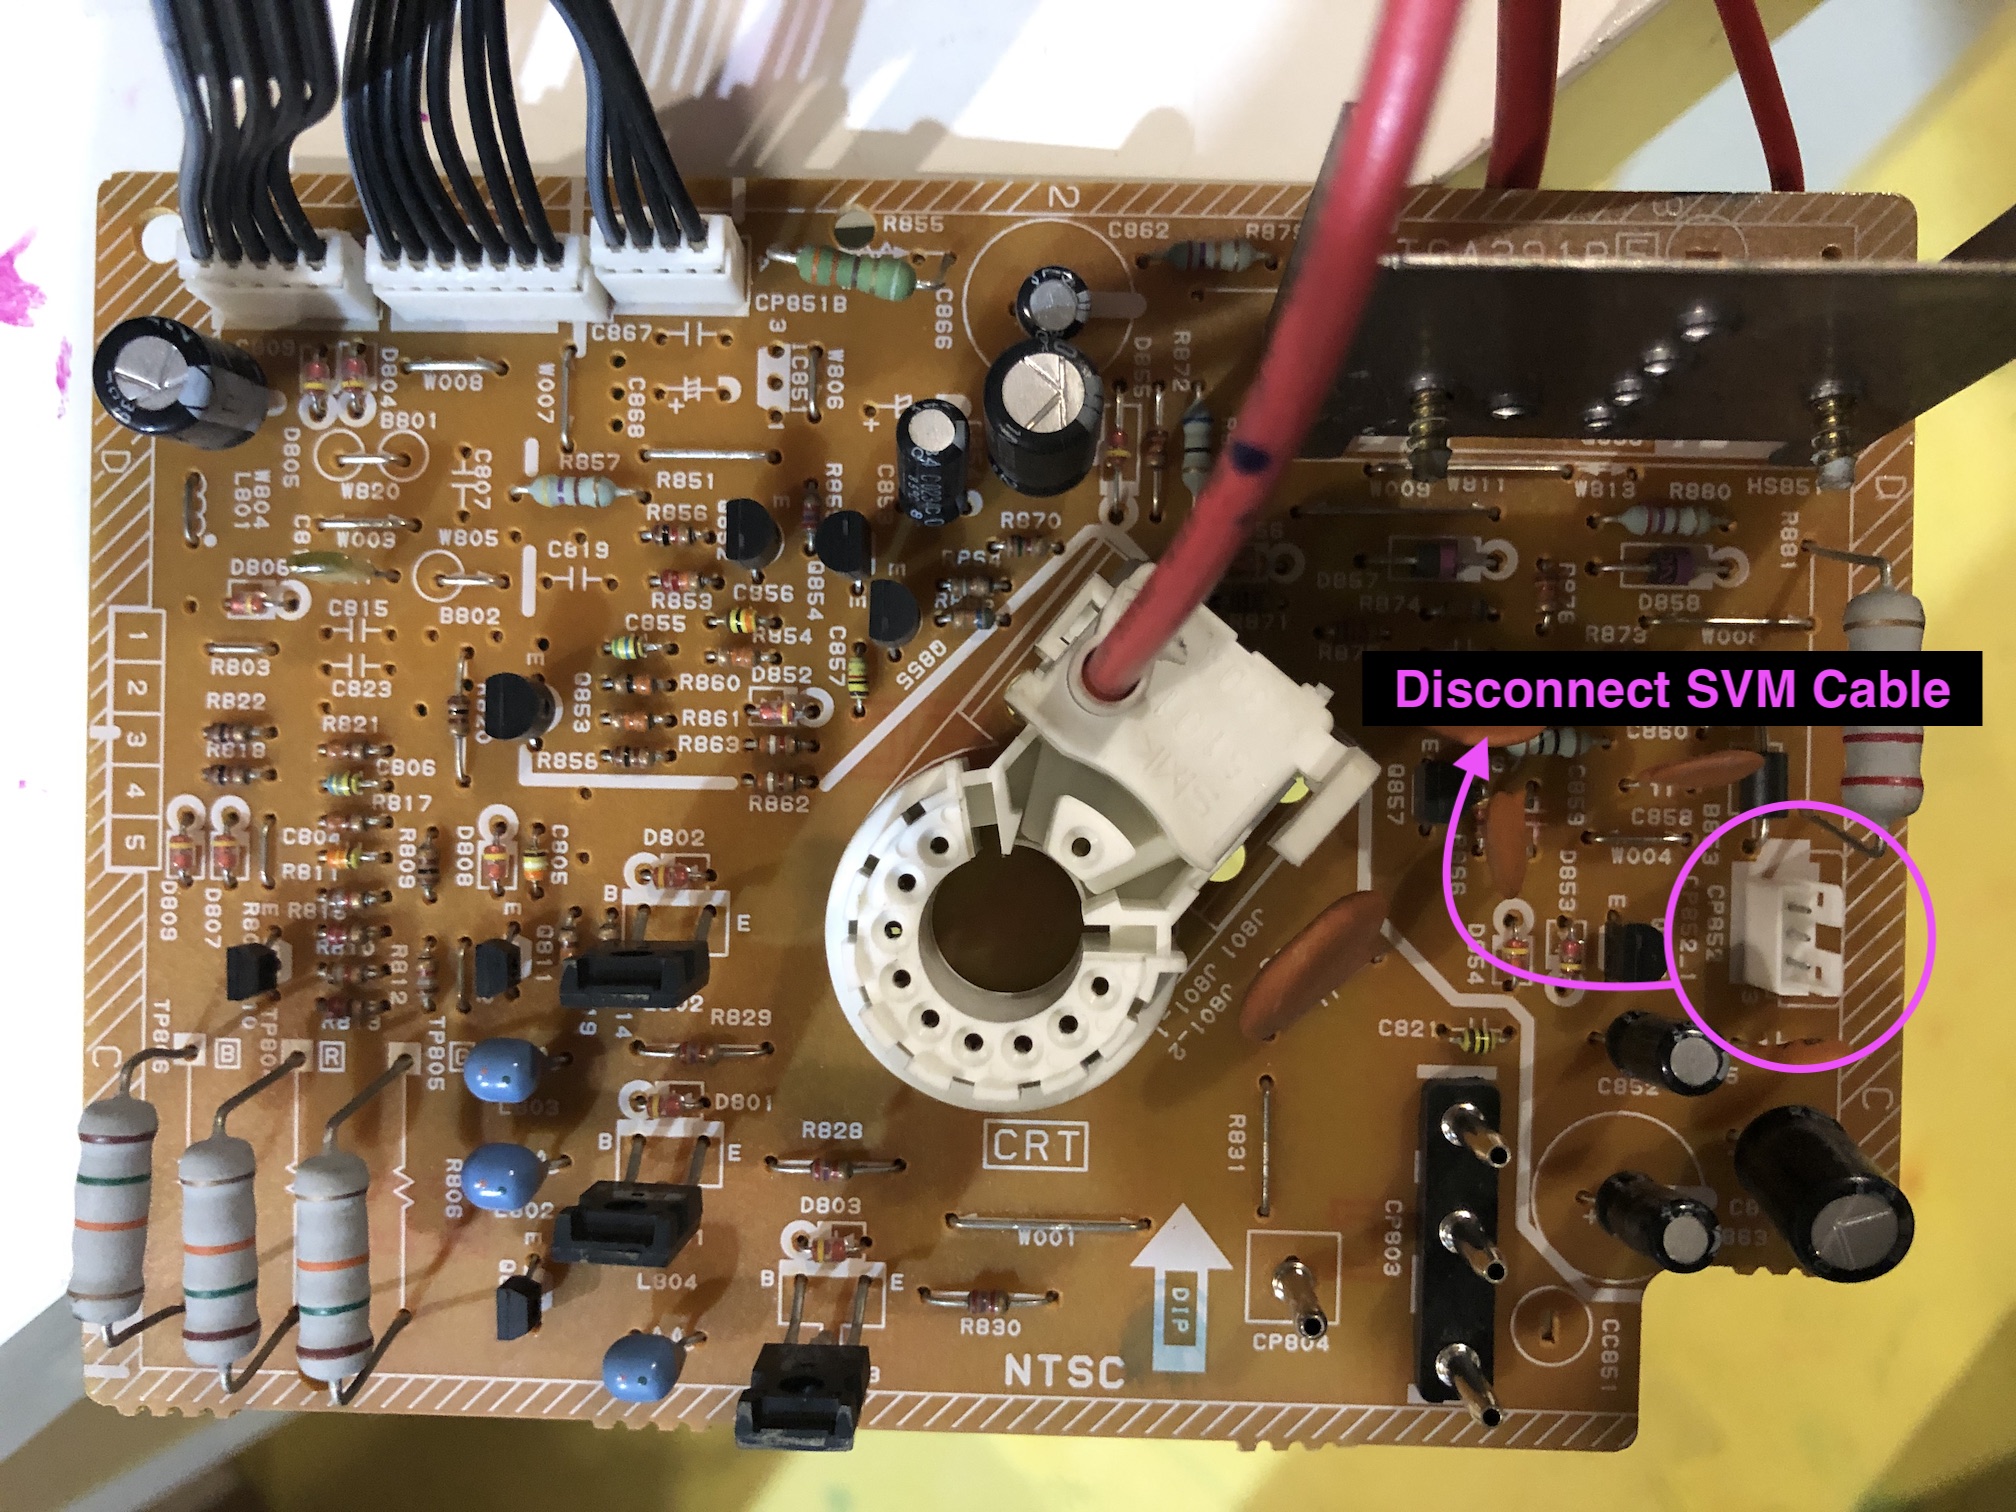
Unplug the VM cable on the neck board. 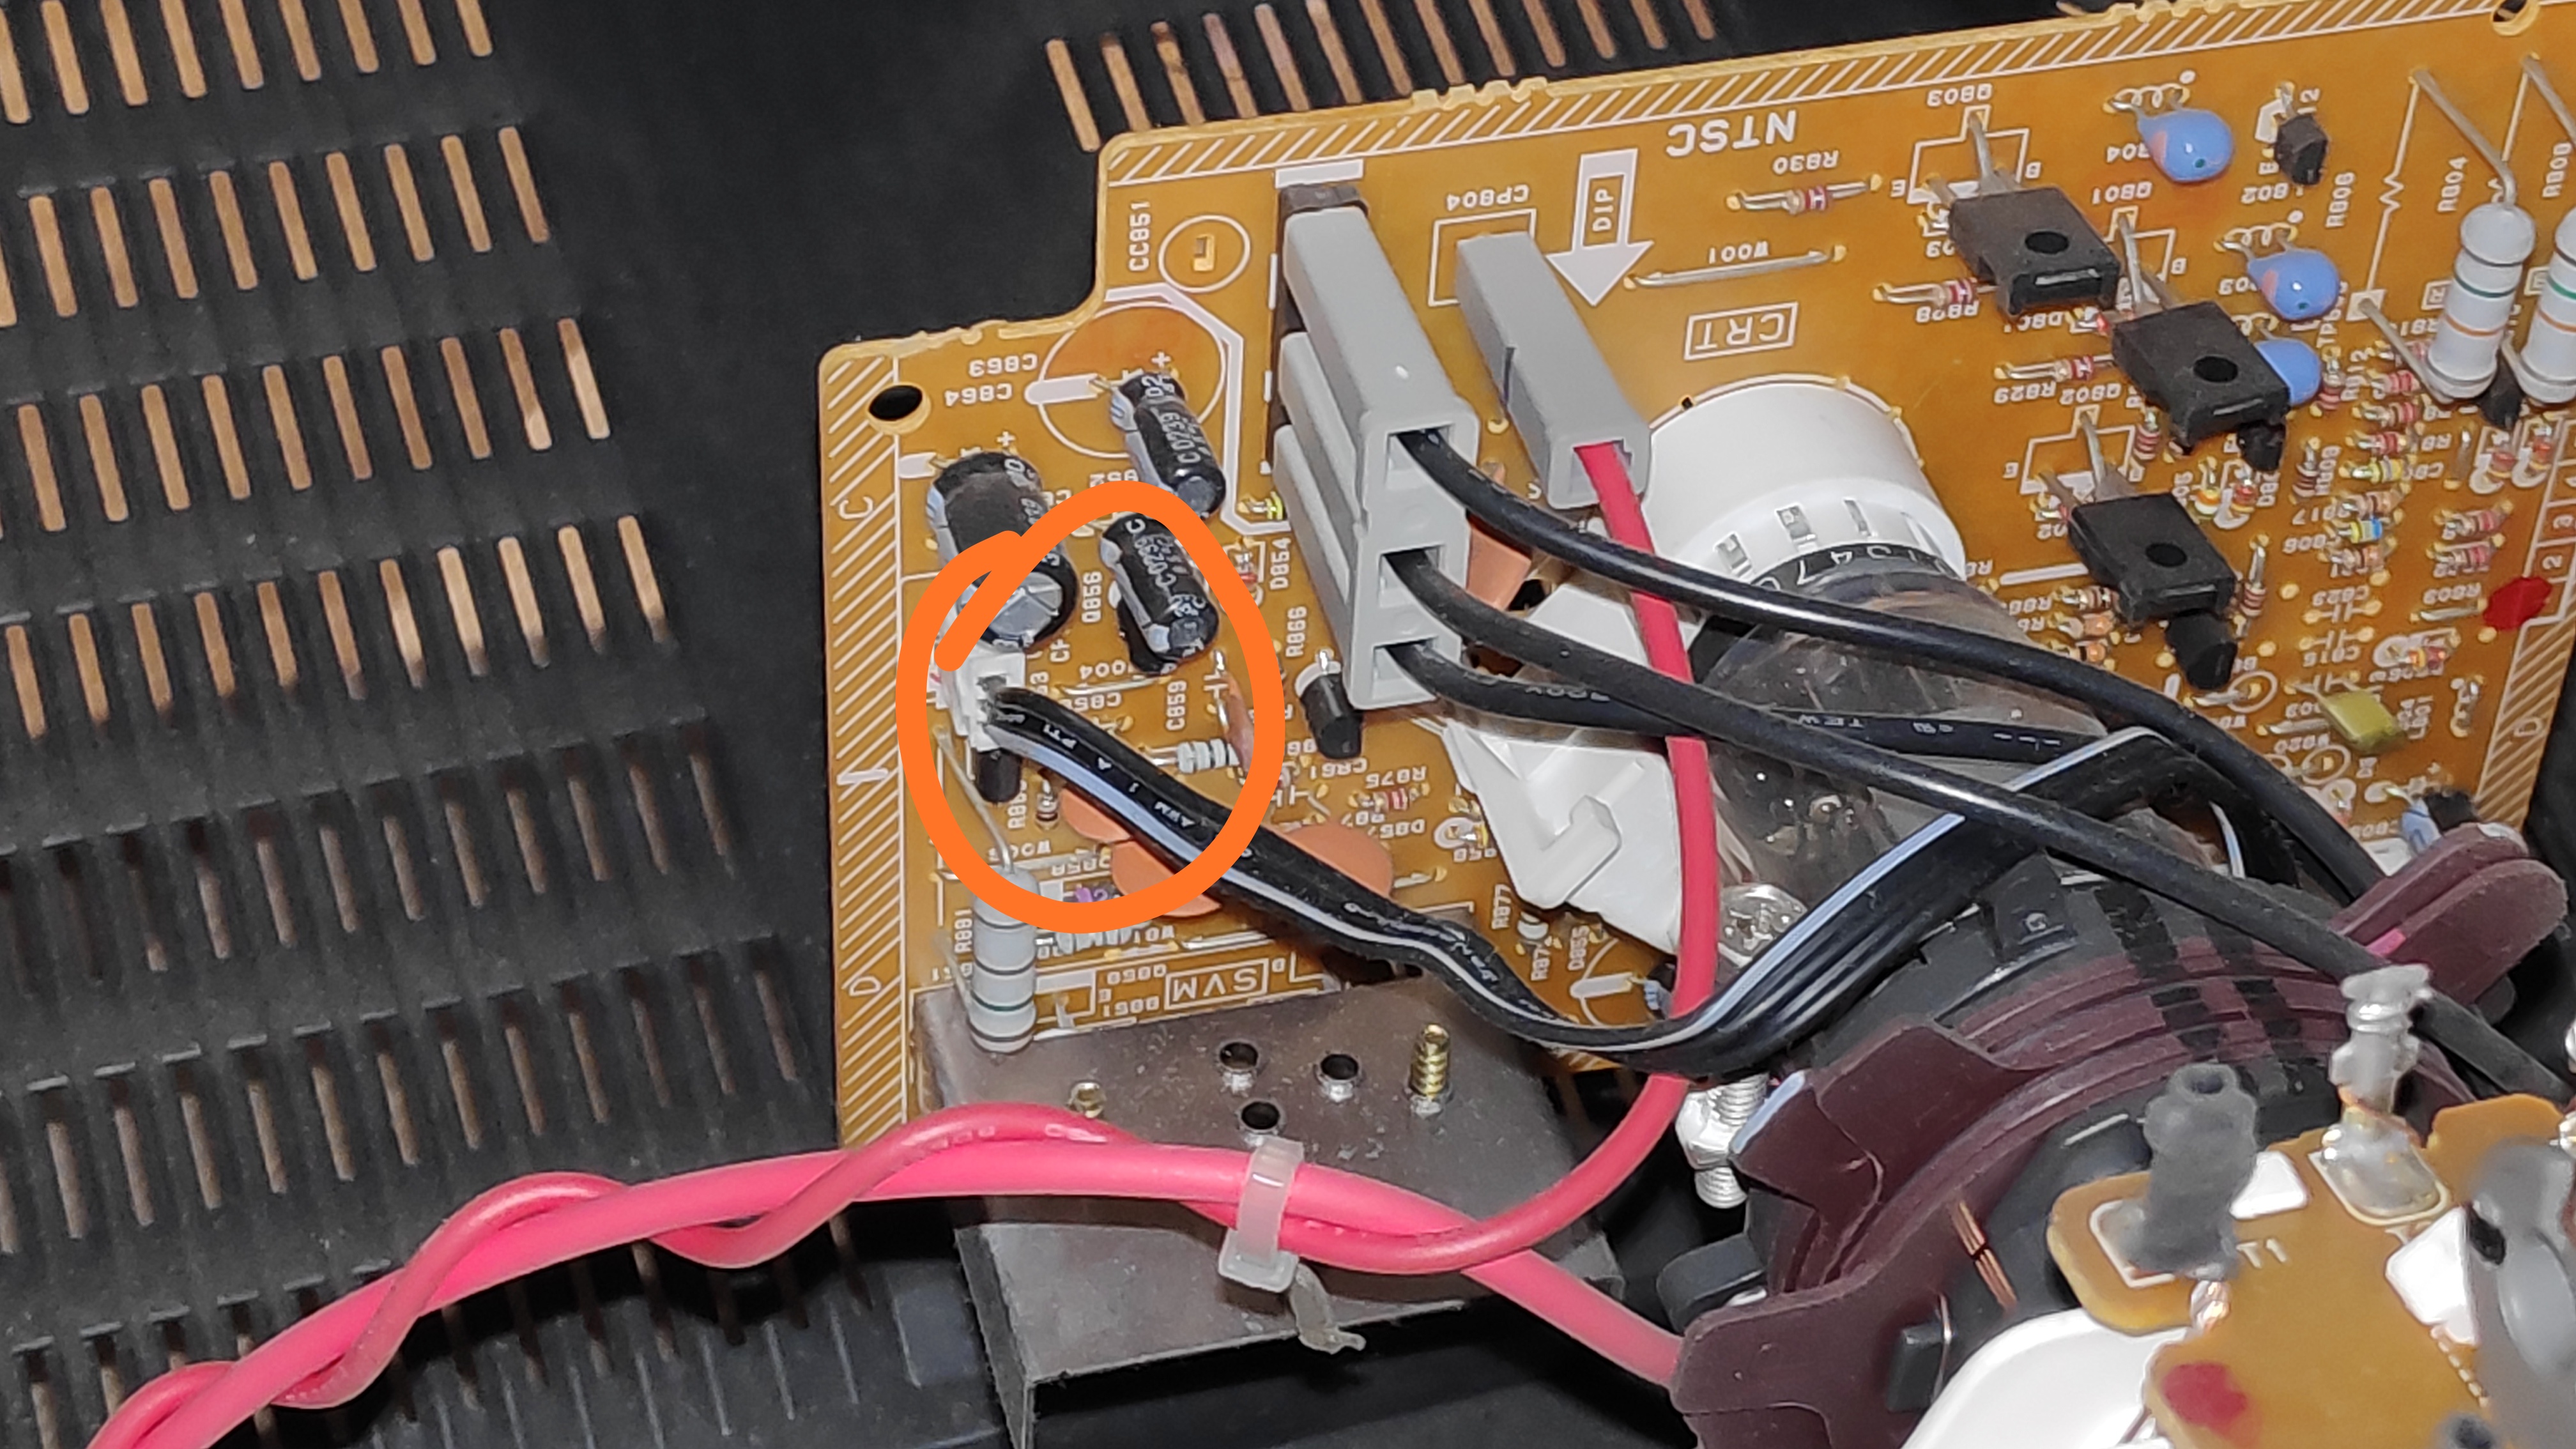
STEP 2: Connect RGBs, Blanking and Audio
Connect the RED, GREEN, BLUE, BLANKING wires 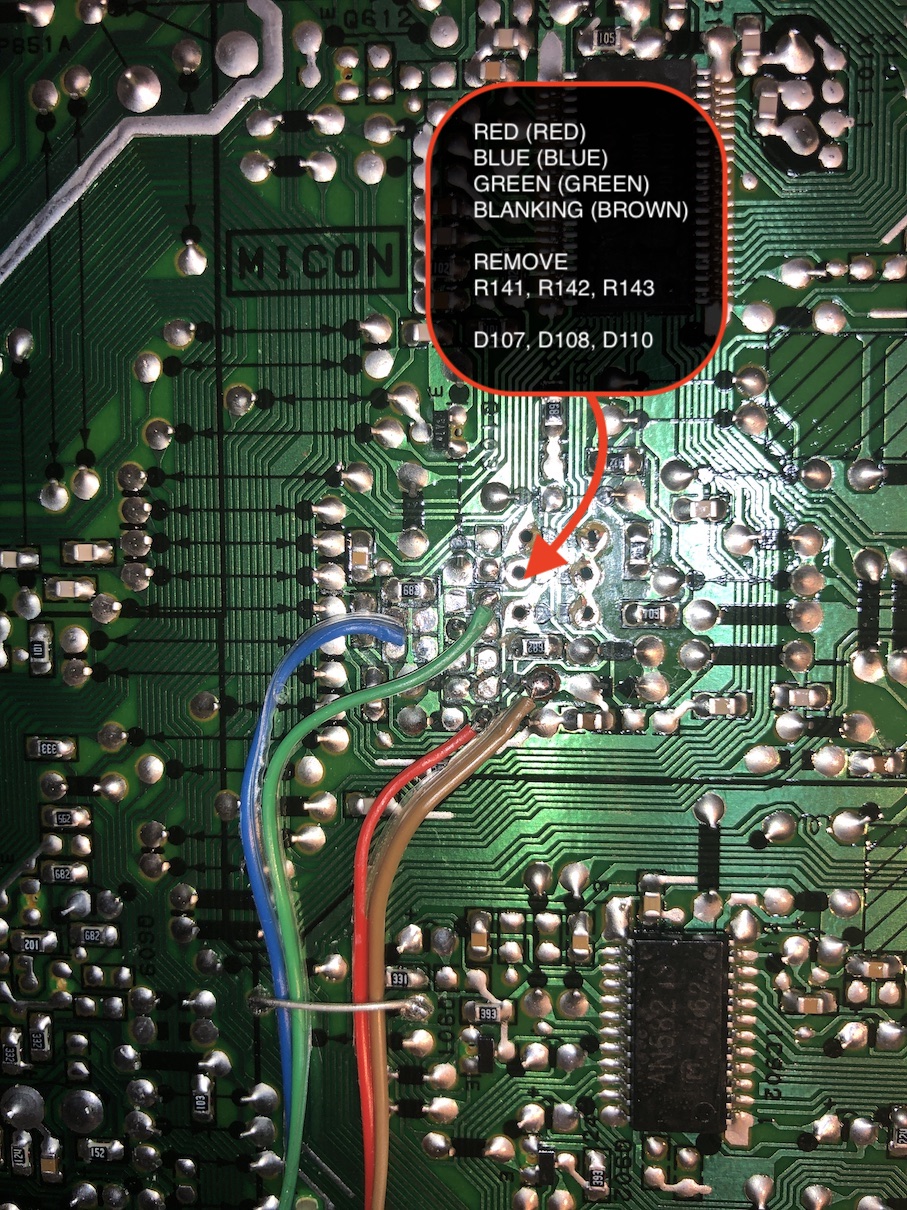
Connect the SIGNAL, AUDIO RIGHT, AUDIO LEFT, GROUND wires 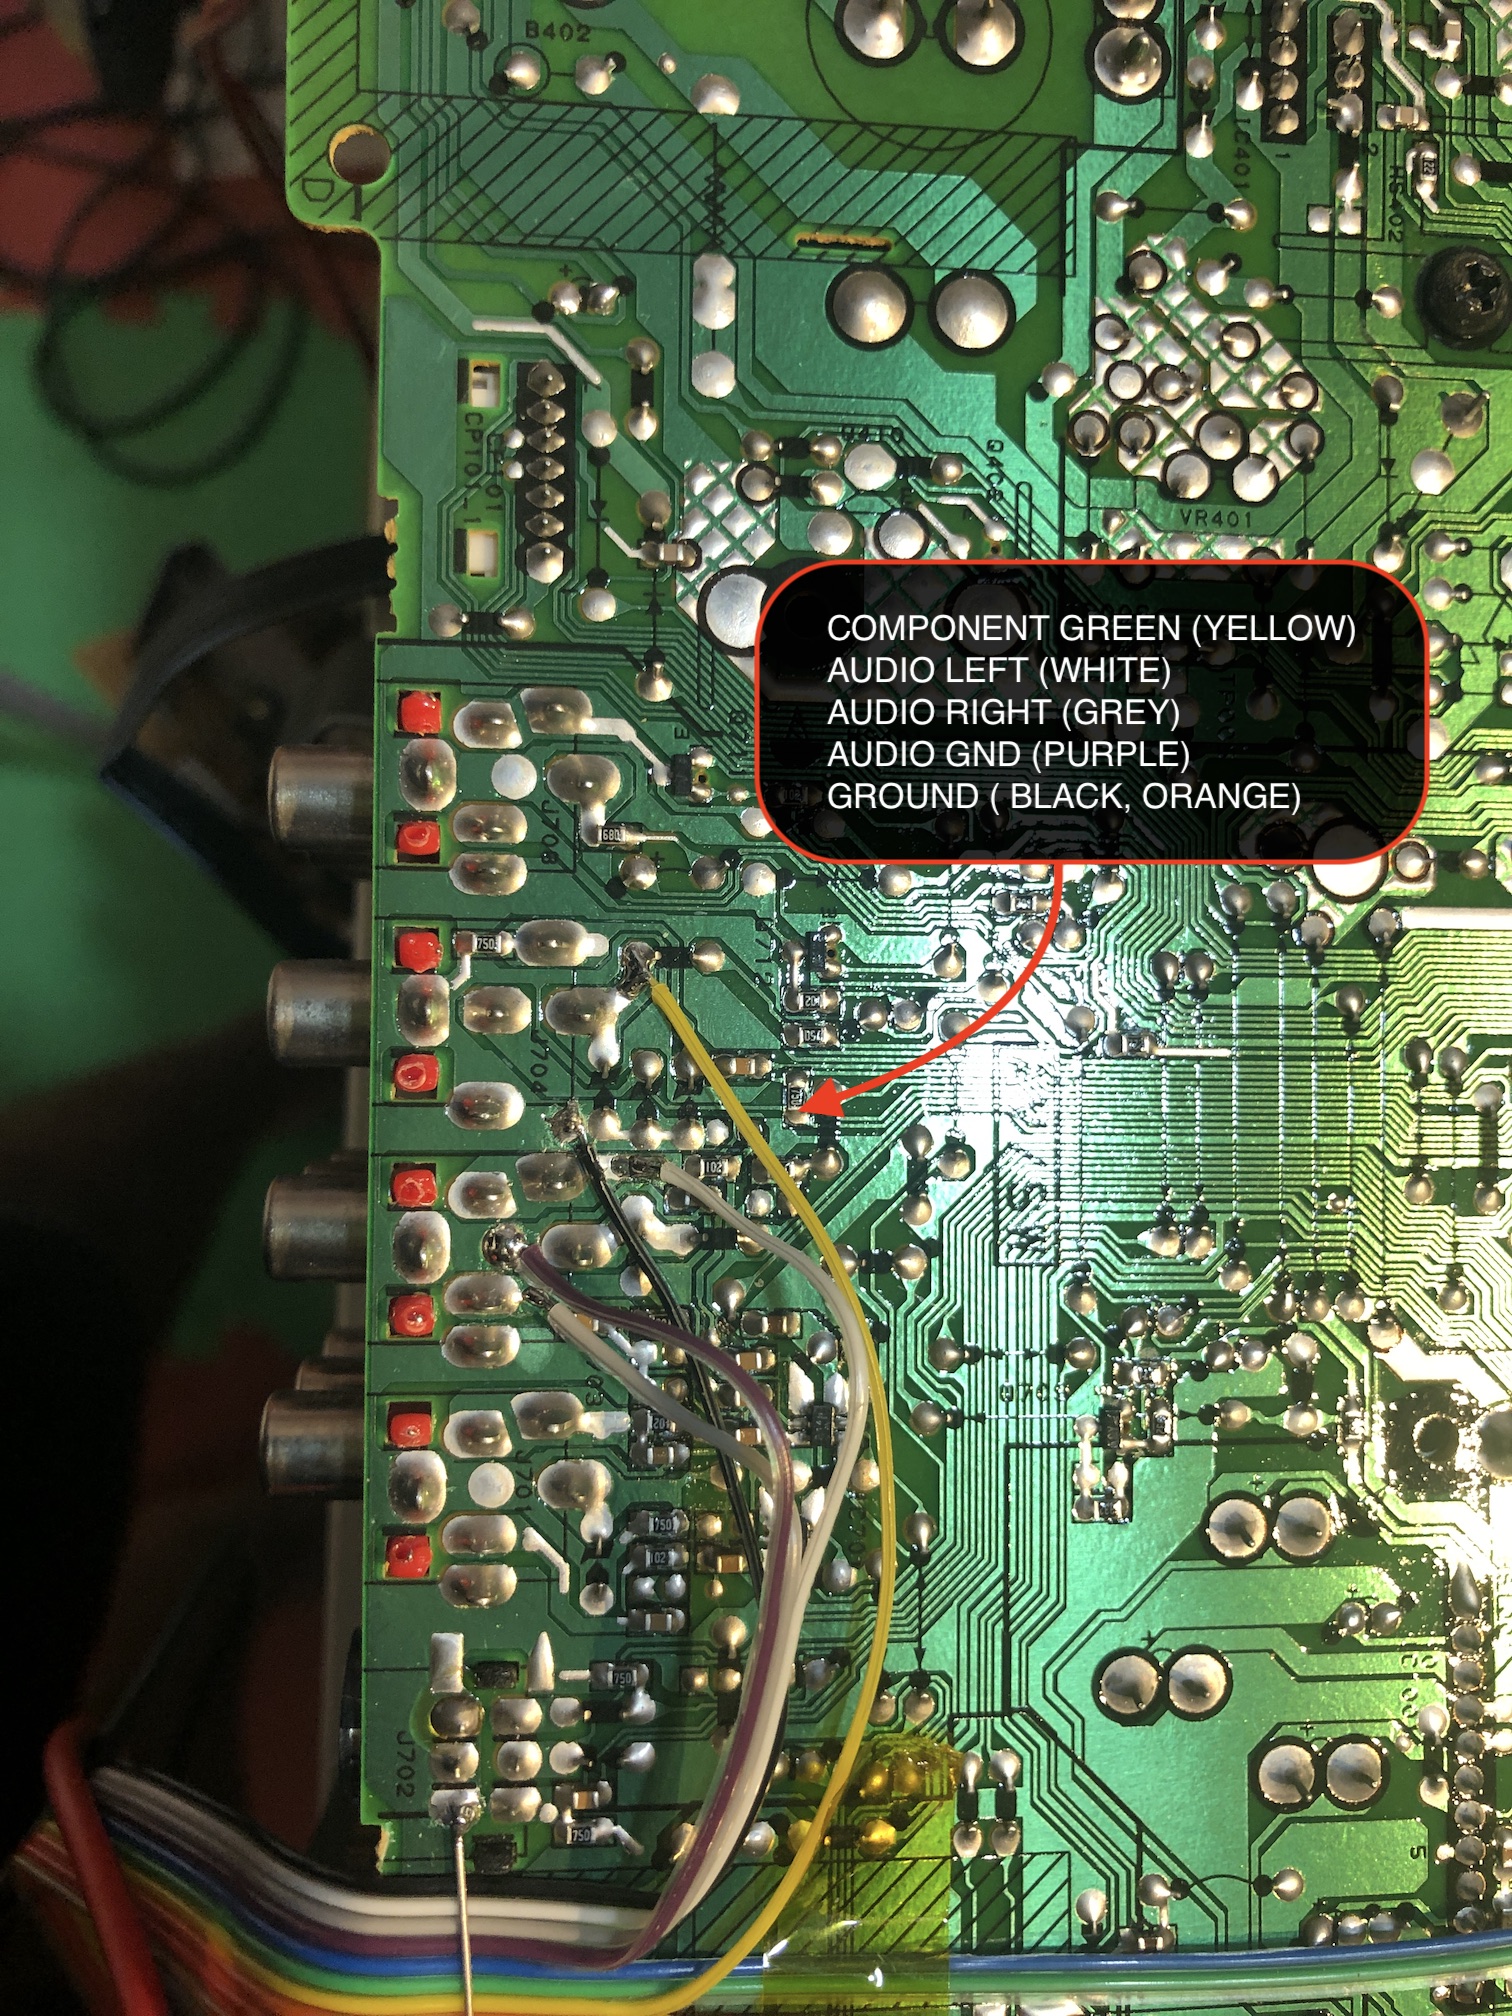
STEP 3: Build your mux circuit
This mod uses the RGB mux board. This is optional, but will make your mod easier and stable. You can also create the circuit presented in the schematics above without the board. Please also checkout the mux calculator to play with your own values.
| On Toshiba CRT Chassis | 24AF43 |
|---|---|
| CRT RGB inline resistor | 3.9kΩ |
| CRT RGB ground resistors removed | 680Ω |
| 0.1μF caps replaced | Yes |
| Add diodes on chassis RGB lines? | Yes |
| Add blanking diode on chassis | No |
| RGB mux board | 24AF43 |
|---|---|
| Mux board RGB termination (R1, R2, R3) | 75Ω |
| Mux board RGB inline resistors (R4, R5, R6) | 1kΩ |
| Mux board Audio LR (R7, R8) | 1kΩ |
| Mux board blanking diode (R9) | 1N4148 |
| Mux board blanking ground resistor (R10) | open |
| Mux board blanking resistor (R11) | short |
Compatible mux boards:
If you're not confident in cutting the SCART port yourself, I recommend going with the 1.4C along with the trim plate for a cleaner, more professional look.
Follow this method to reduce ringing artifacts
Sample Toshiba 20AF44 RGB Mux Adapter 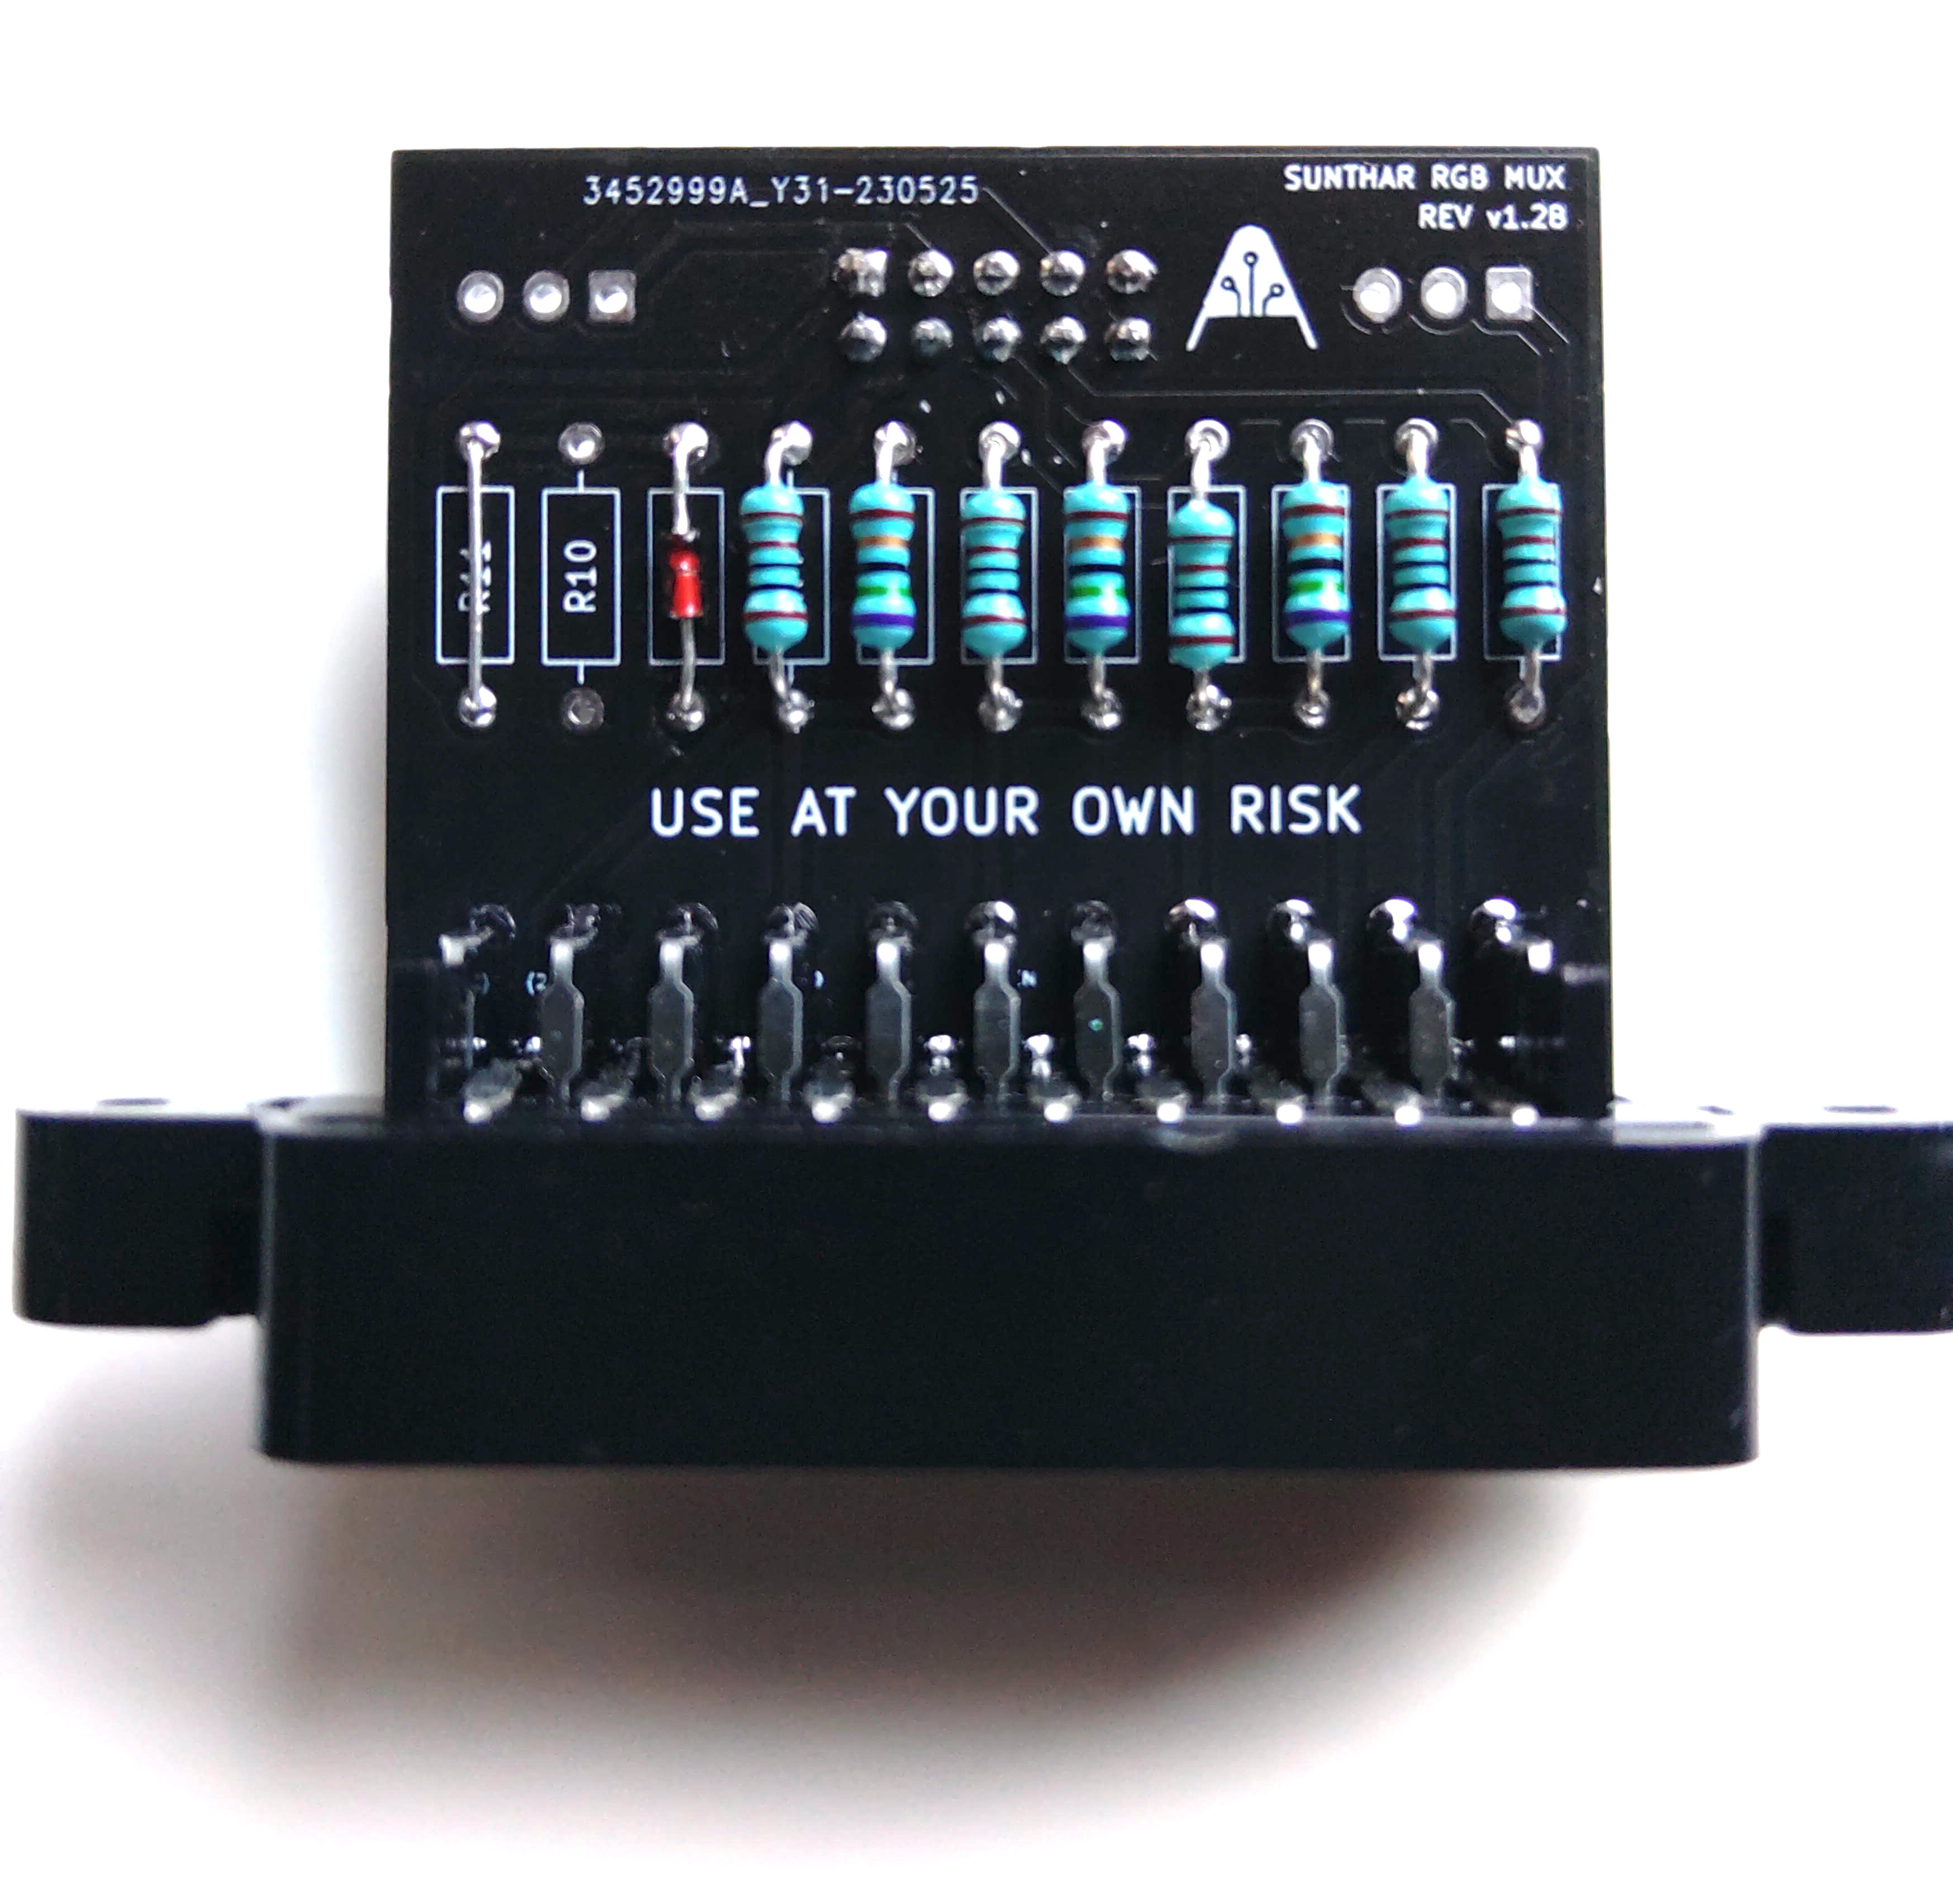
STEP 4: Attach the female SCART connector to TV
Creating a SCART cutout and mounting it is an art. I have a dedicated section for it.
How to create and mount a SCART female plug?
Pictures
Mux board on TV
Mux board, inside view 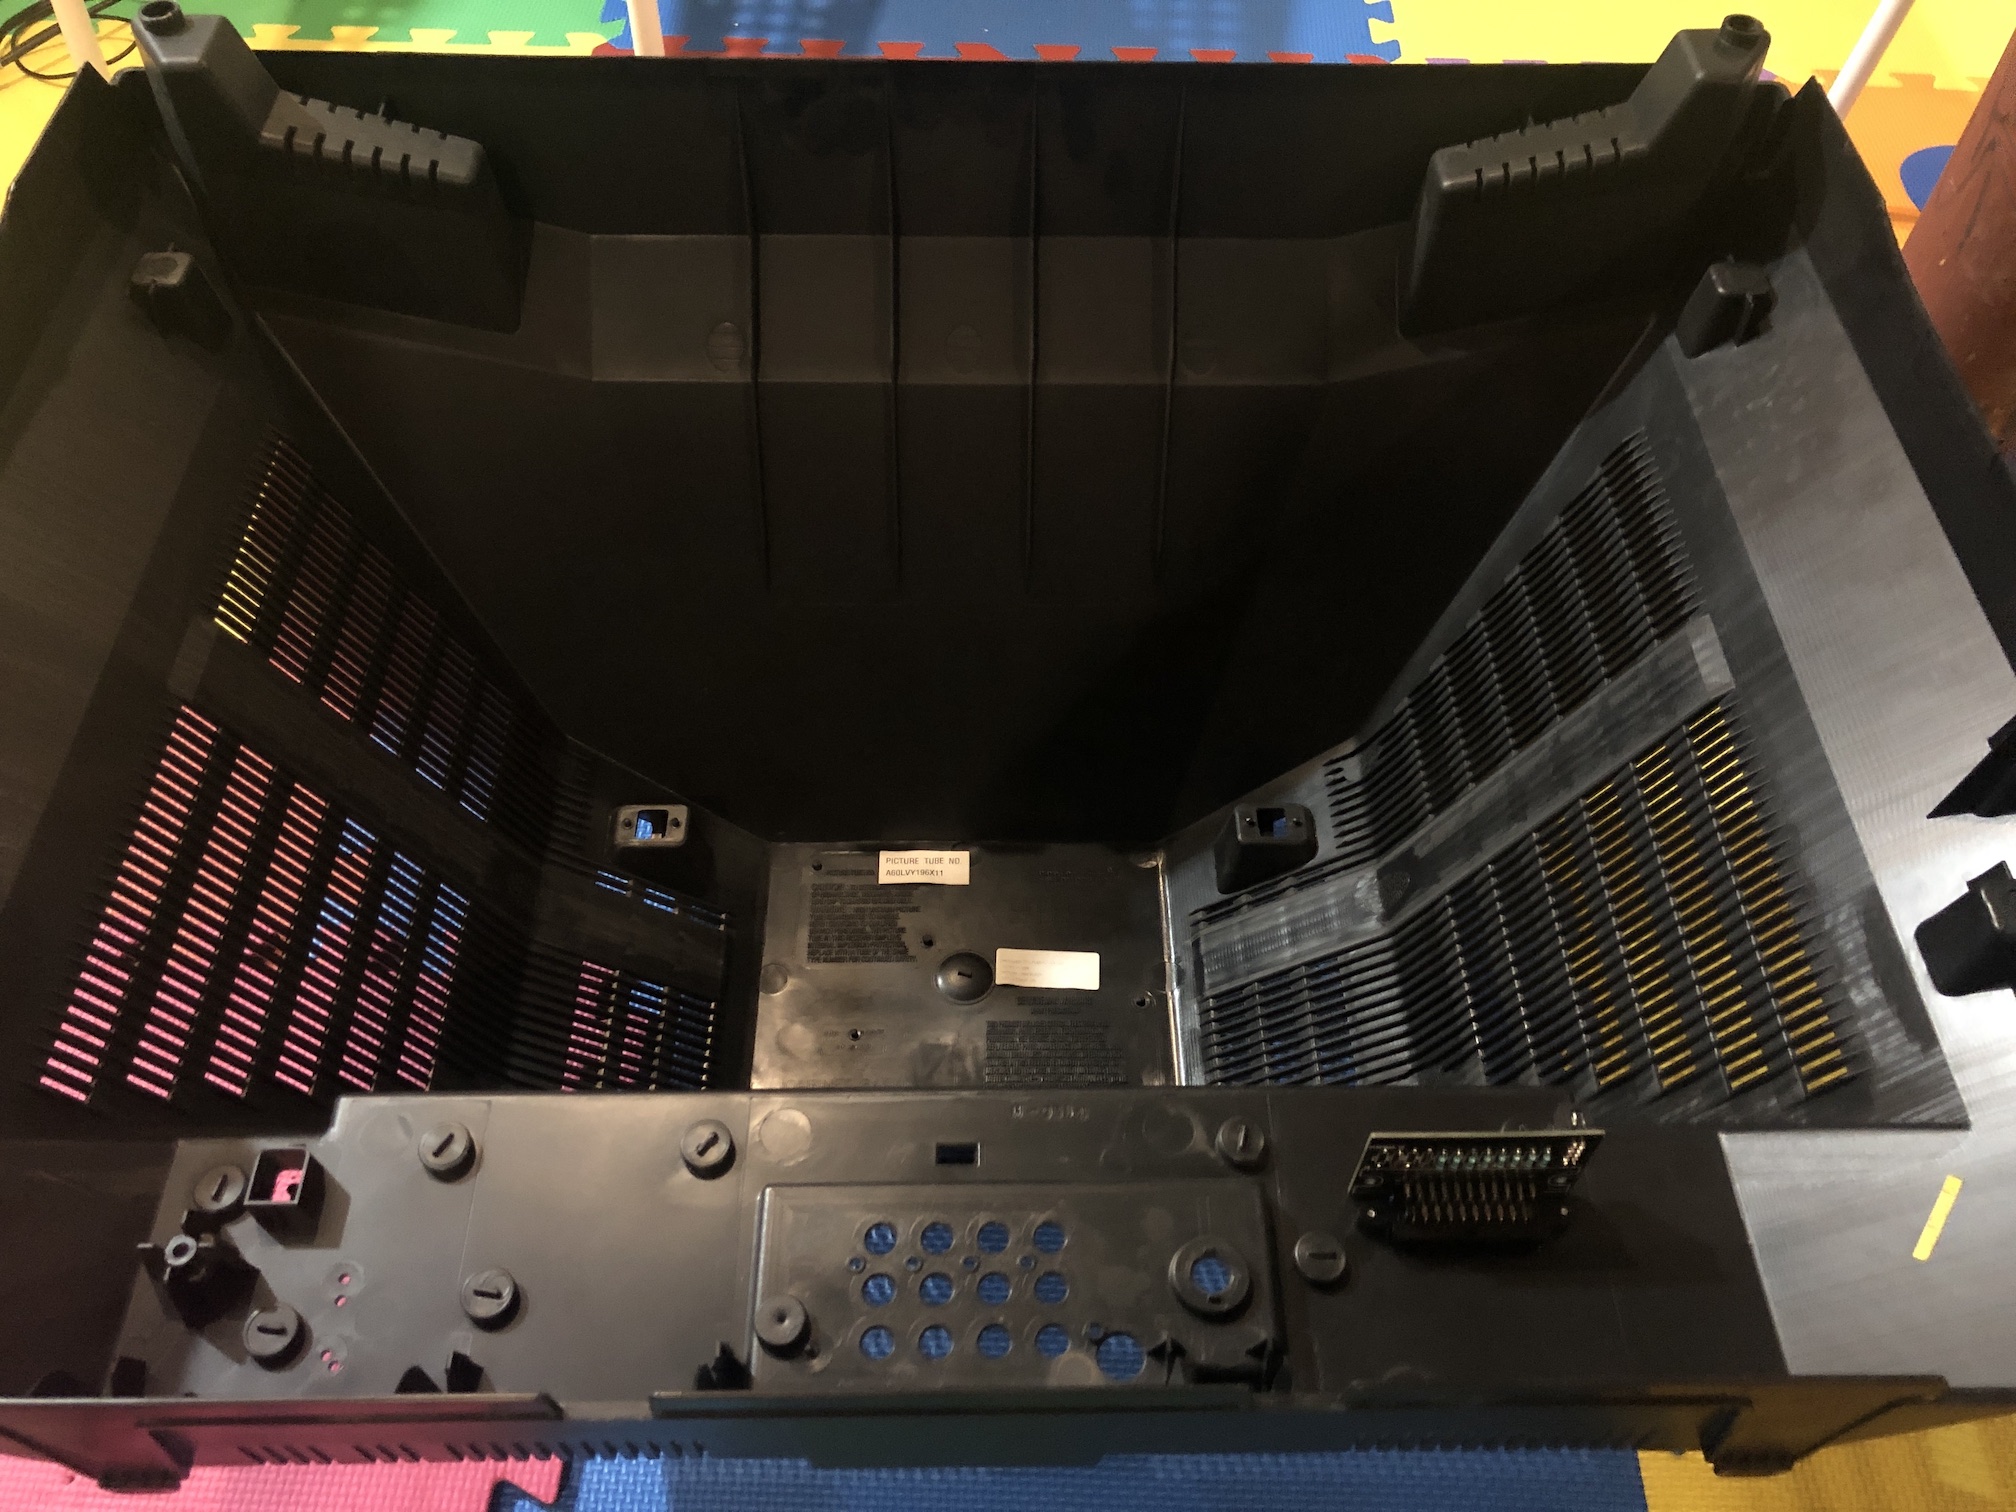
Mux board, outside view 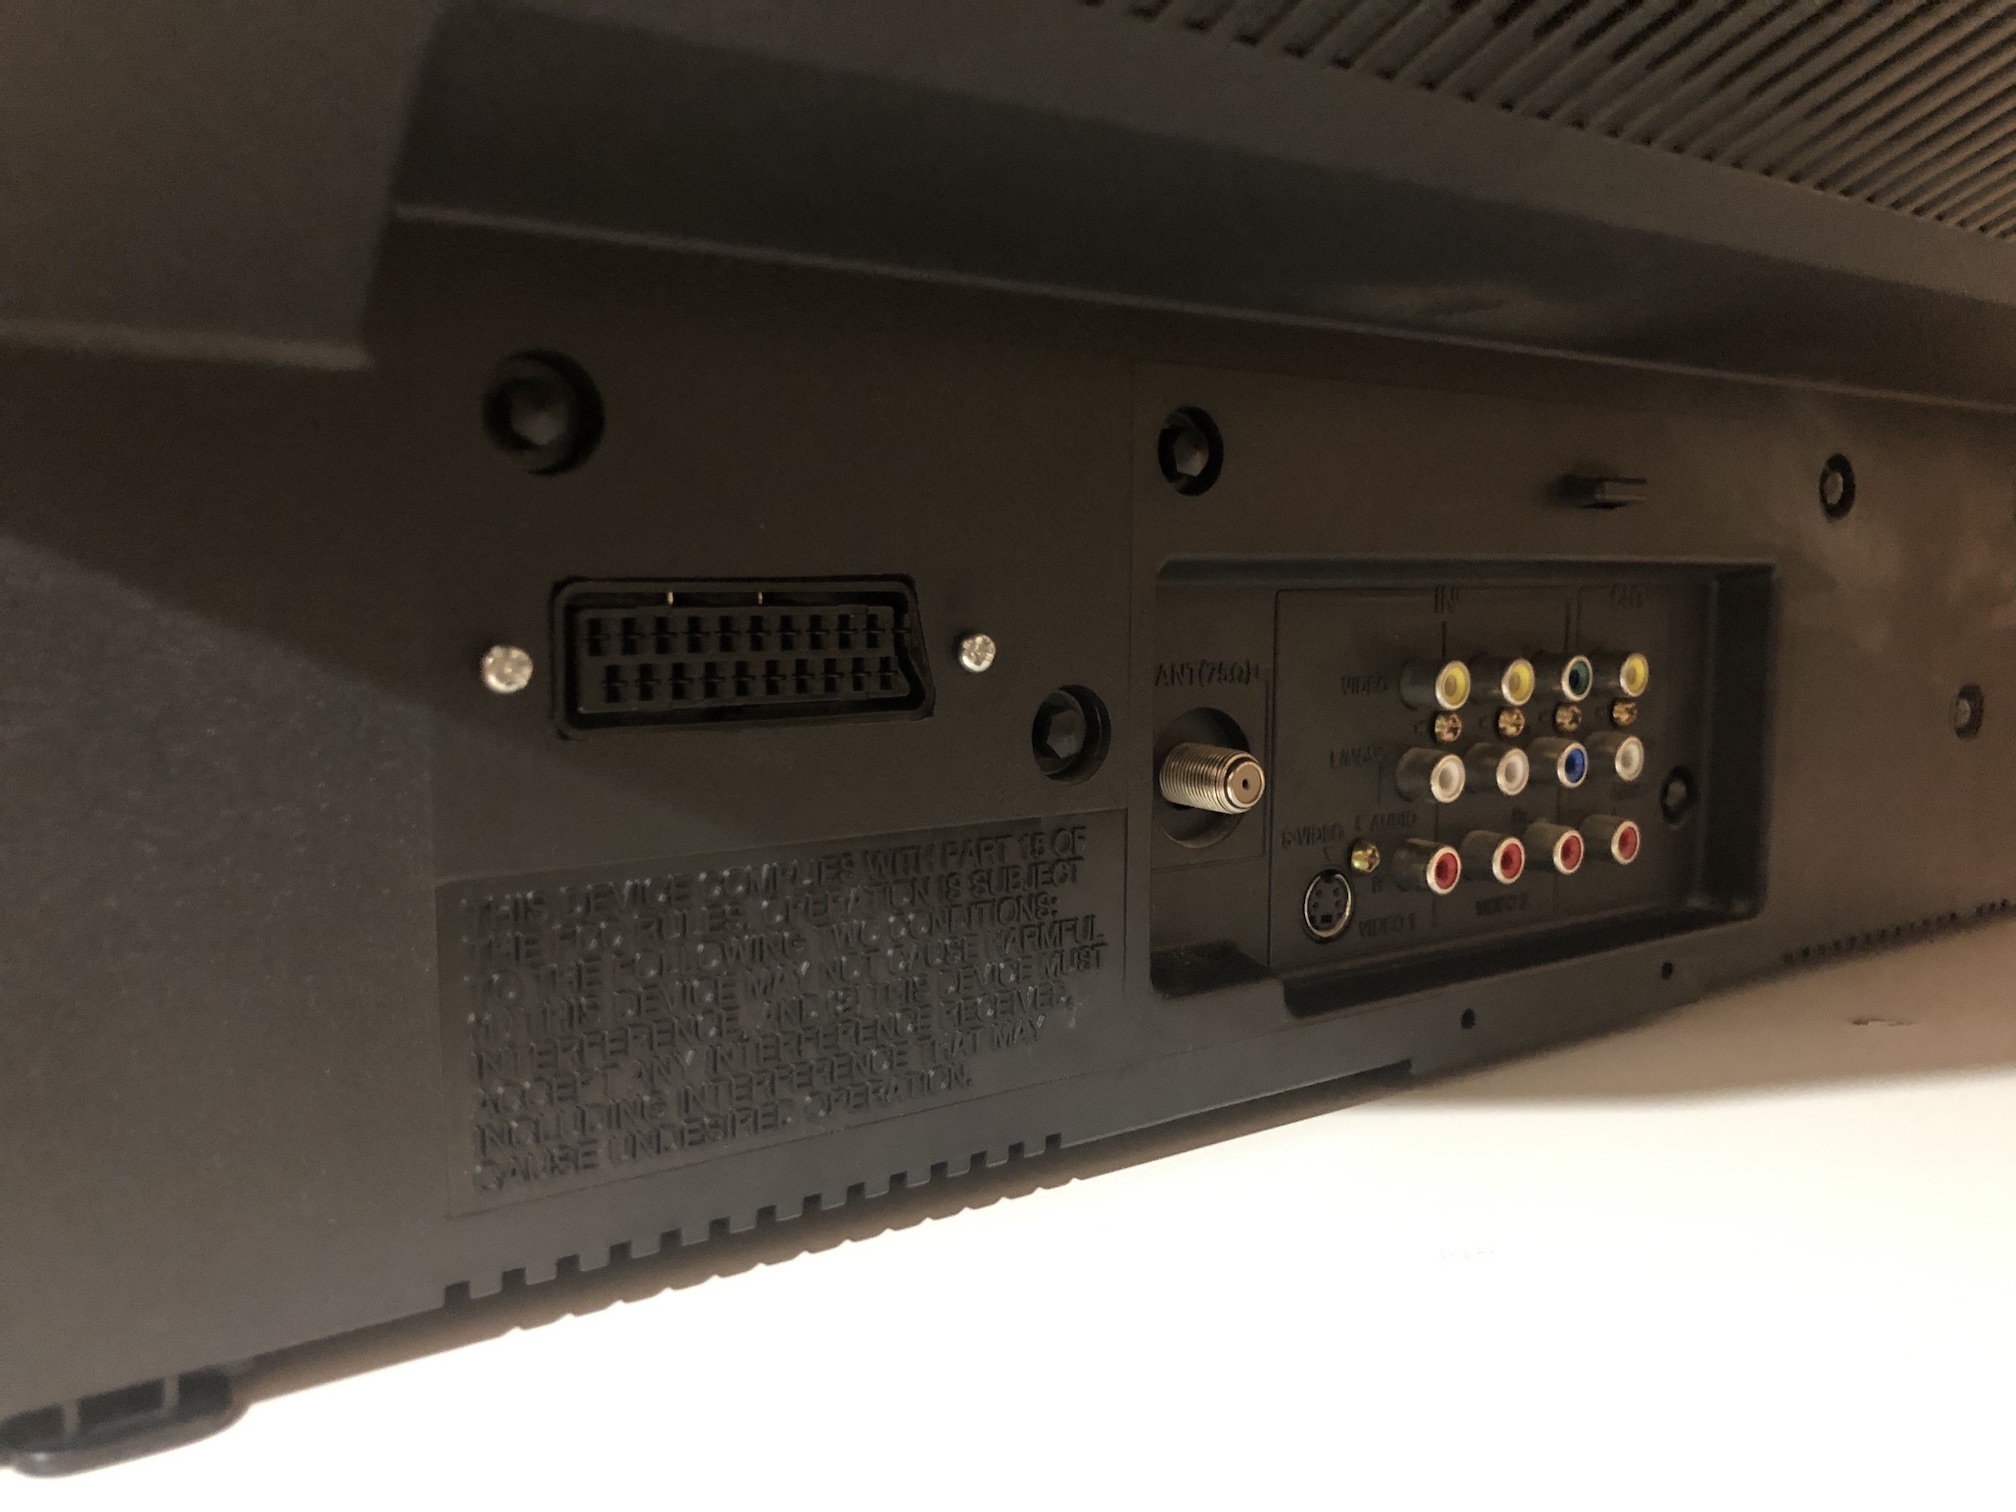
Games - Close up
SNES - Contra 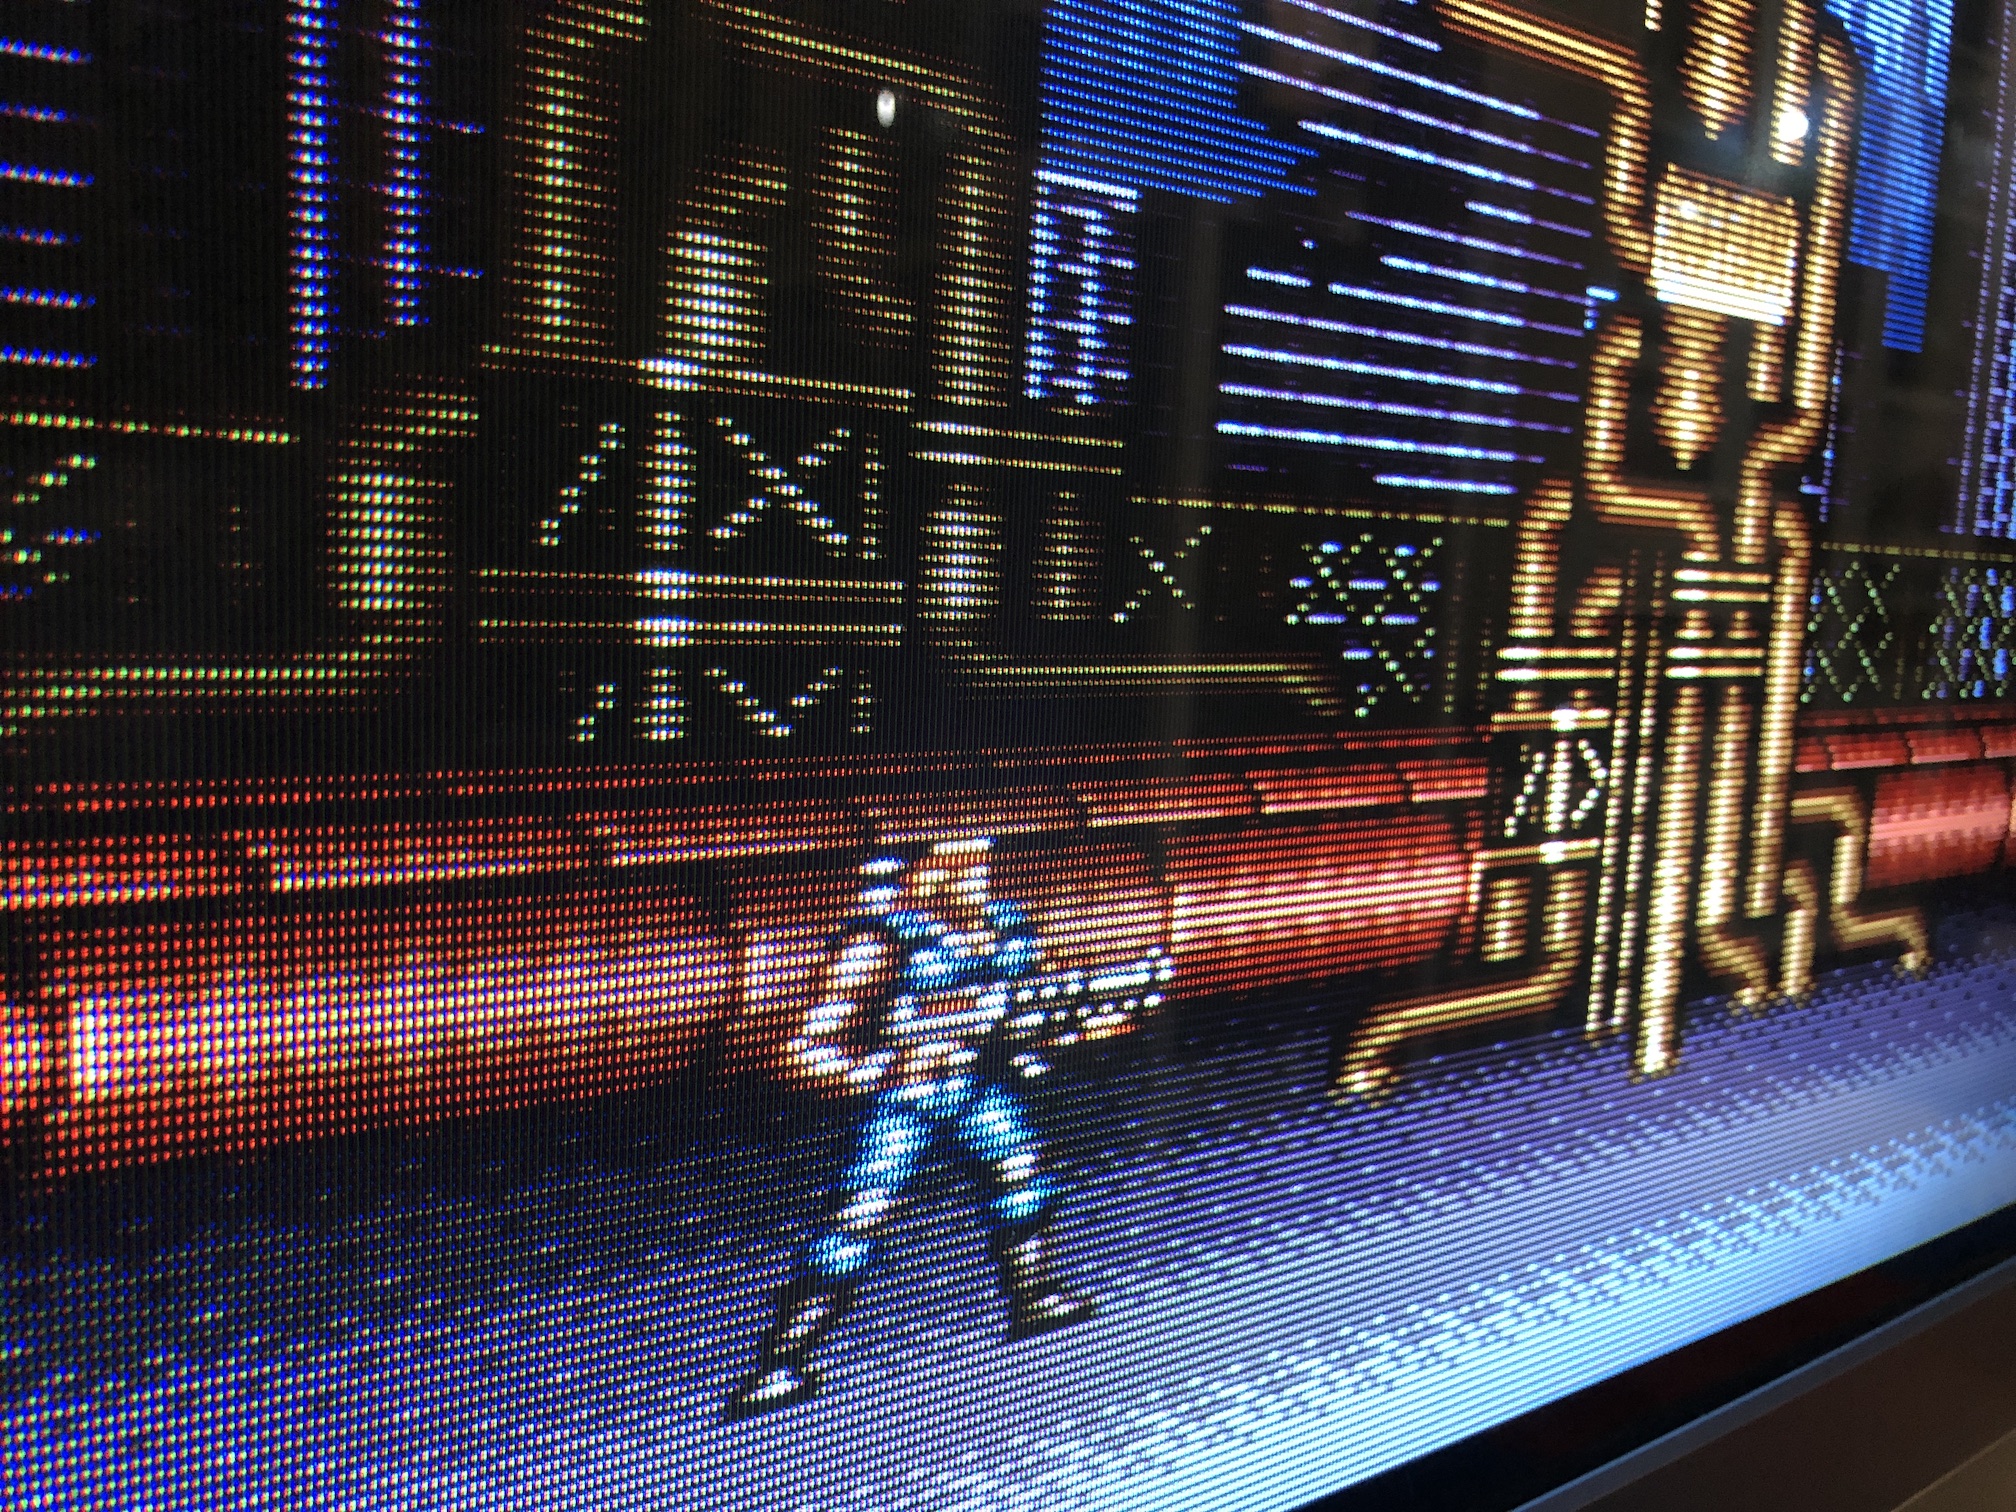
NES - Adventure Island 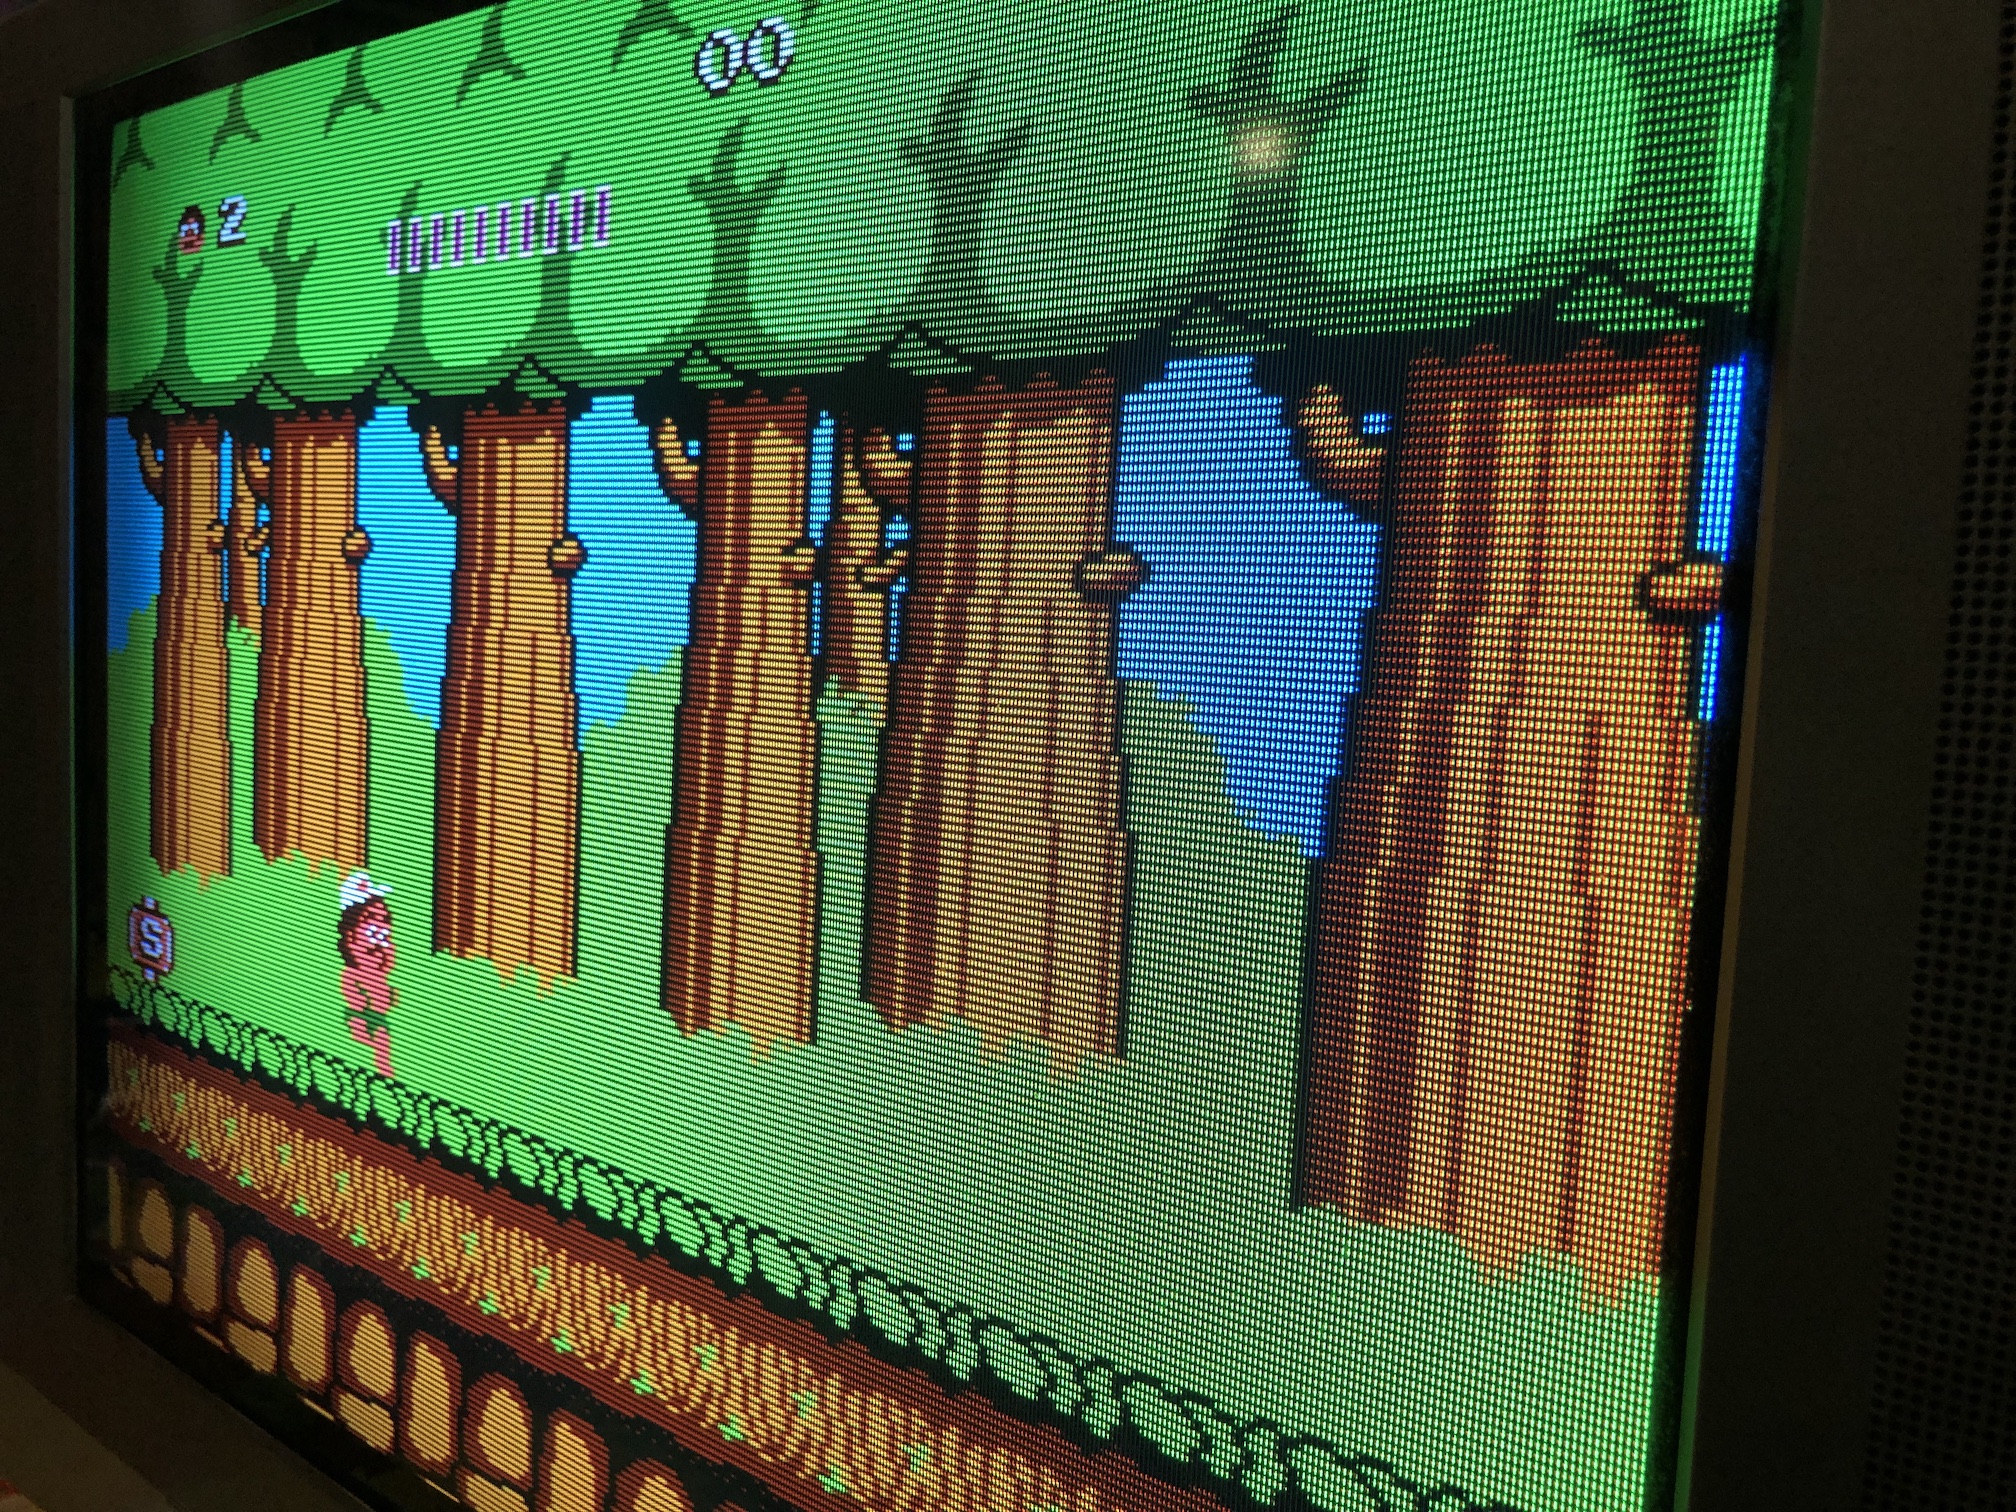
NES - Super Mario 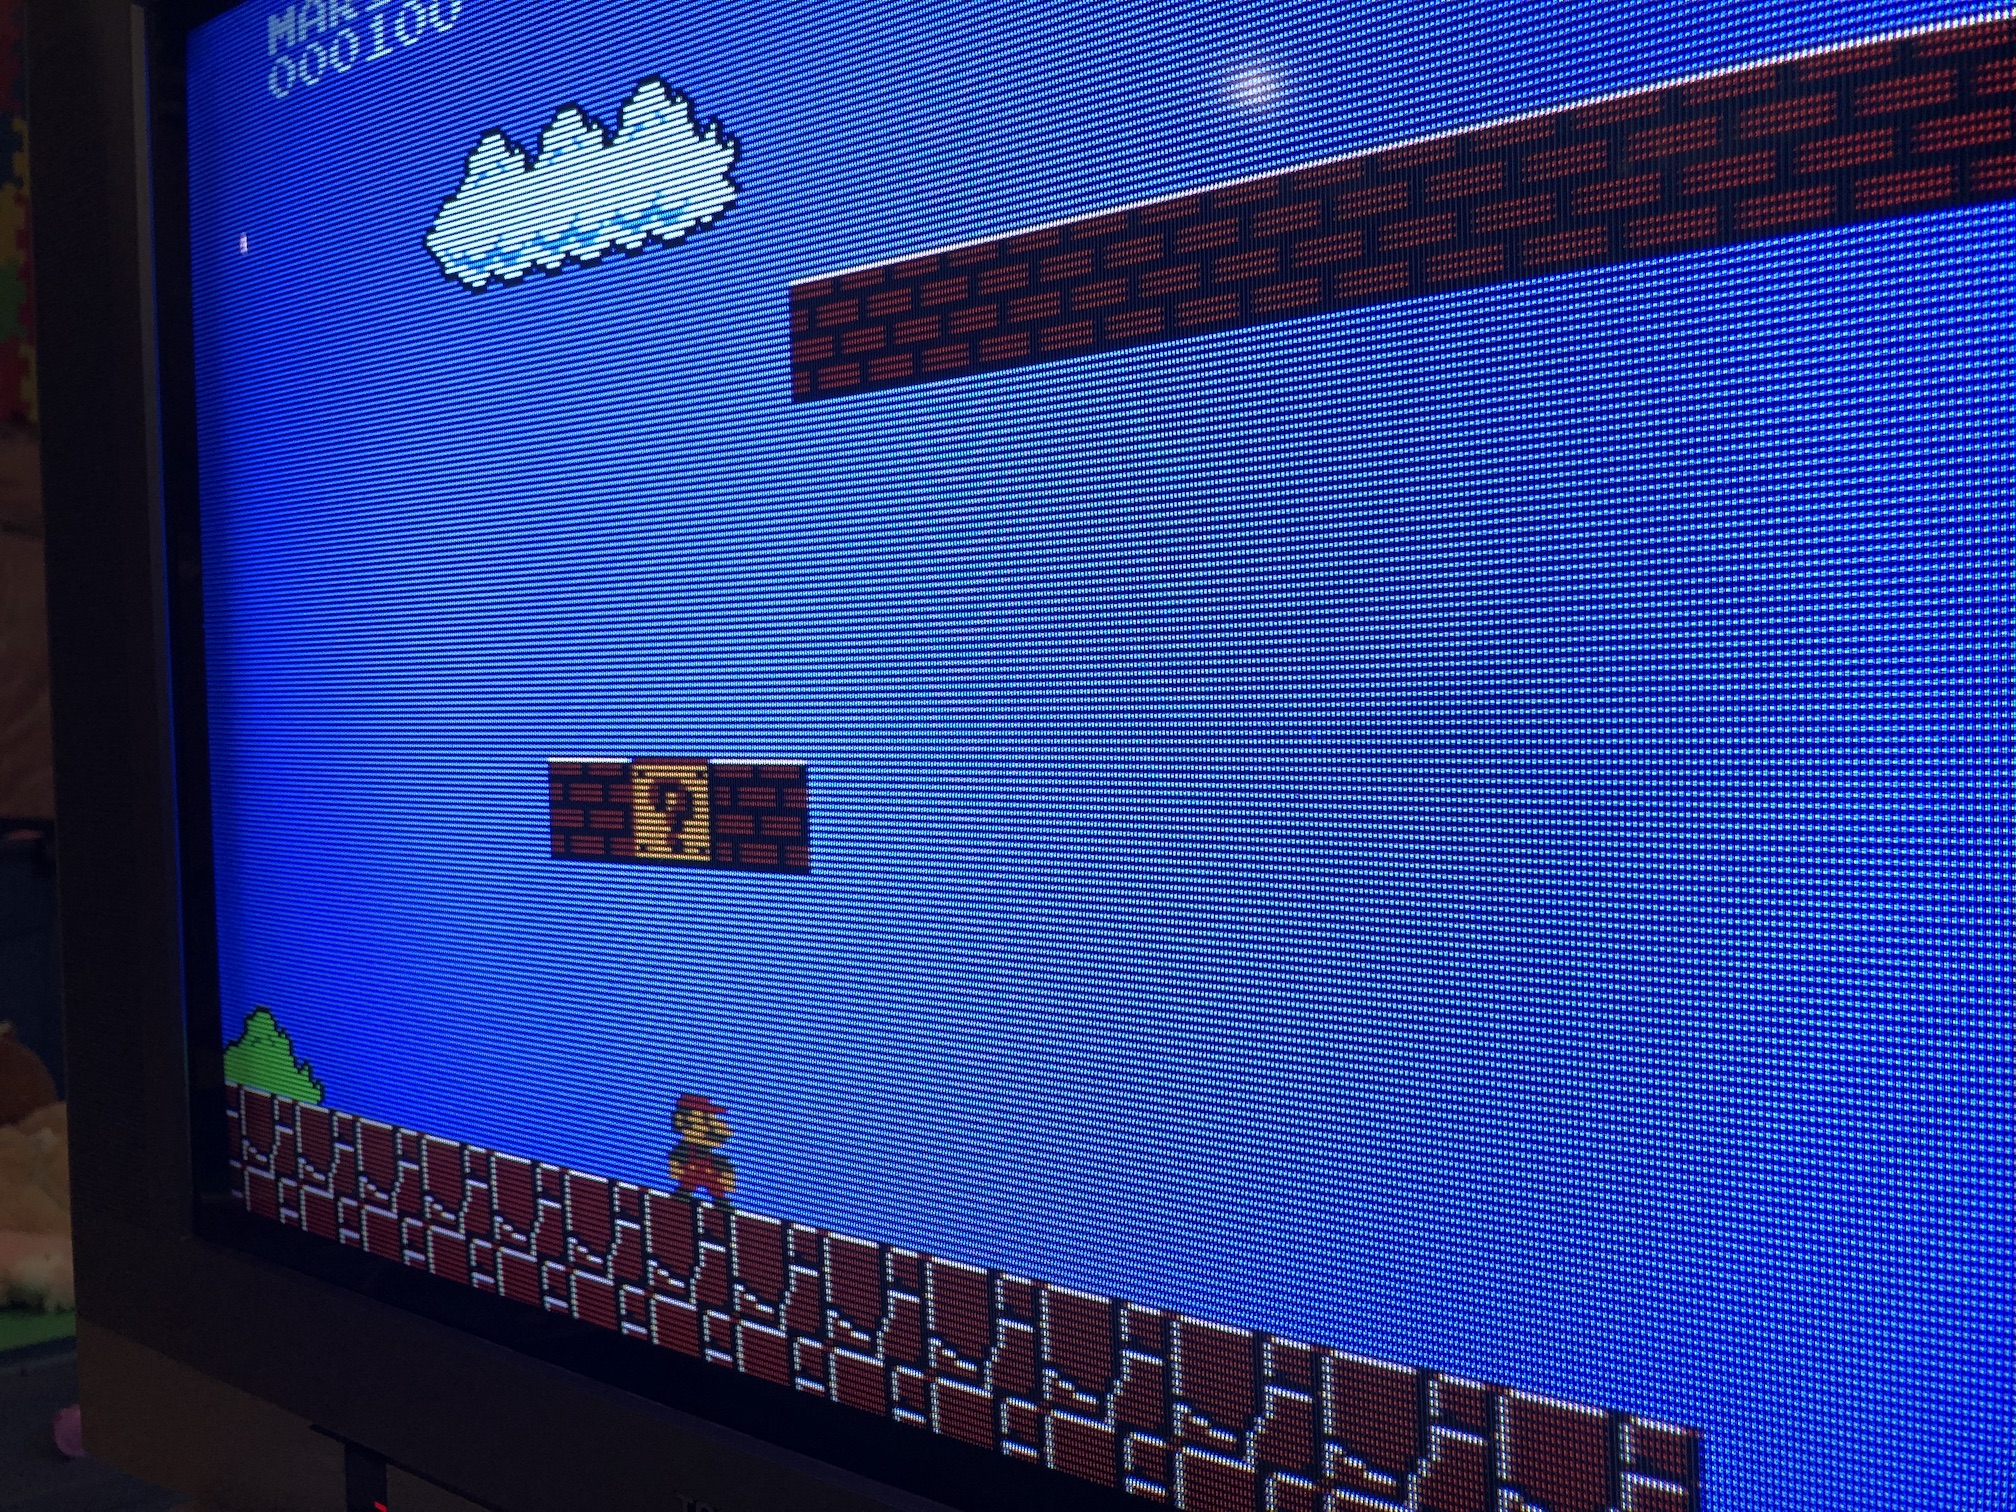
SNES - Mega Man X 
Games
SNES - Contra 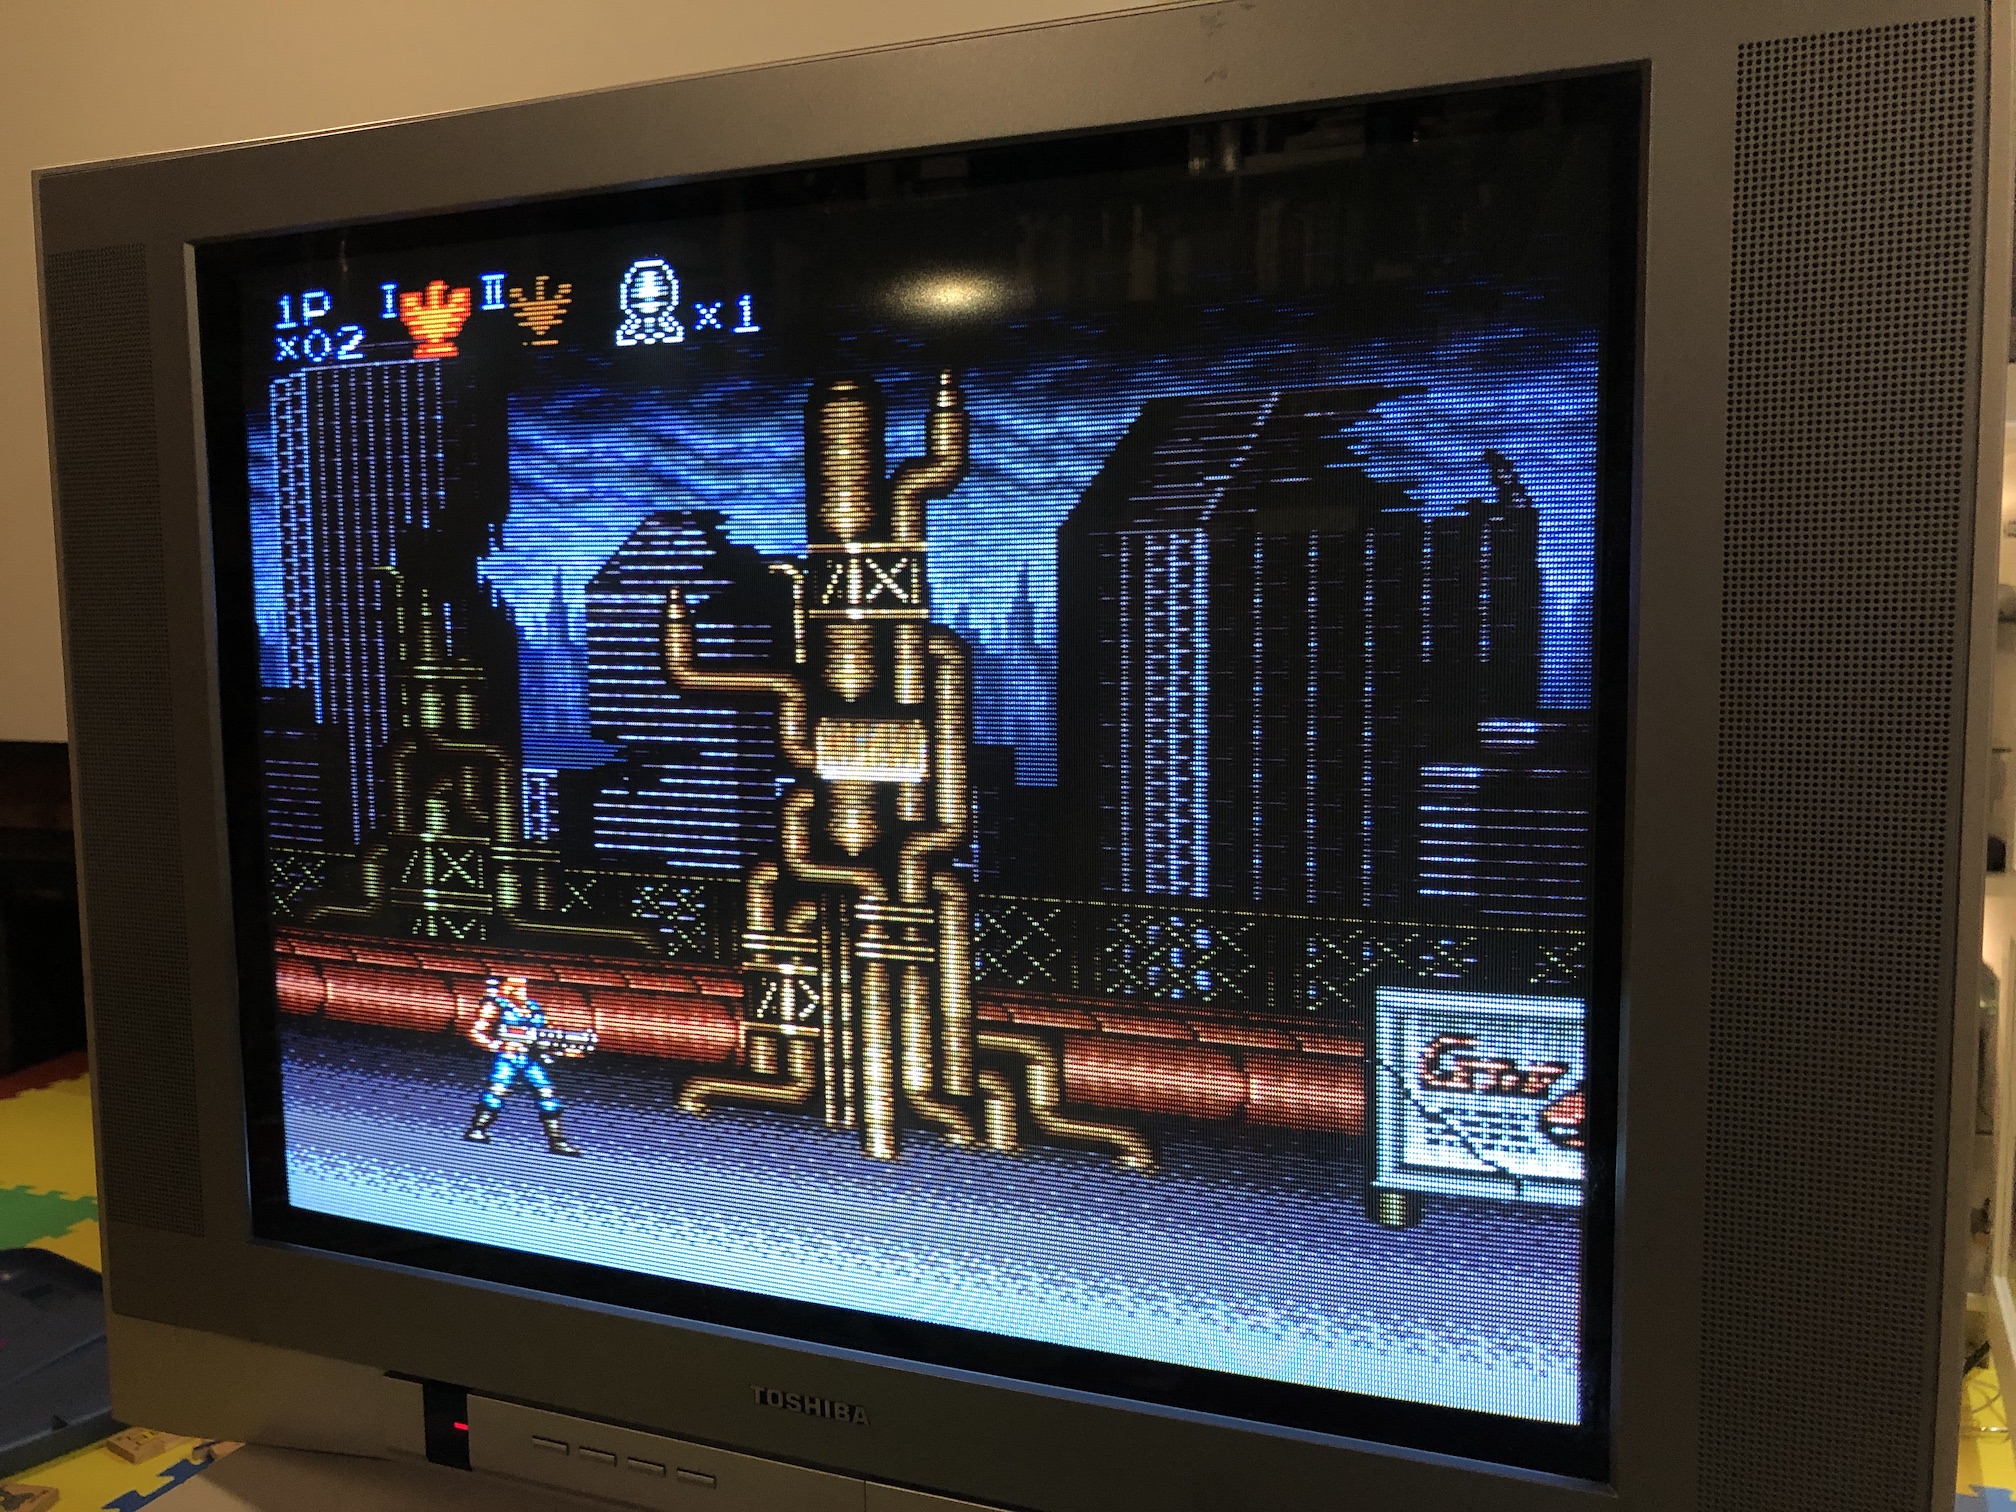
NES - Adventure Island 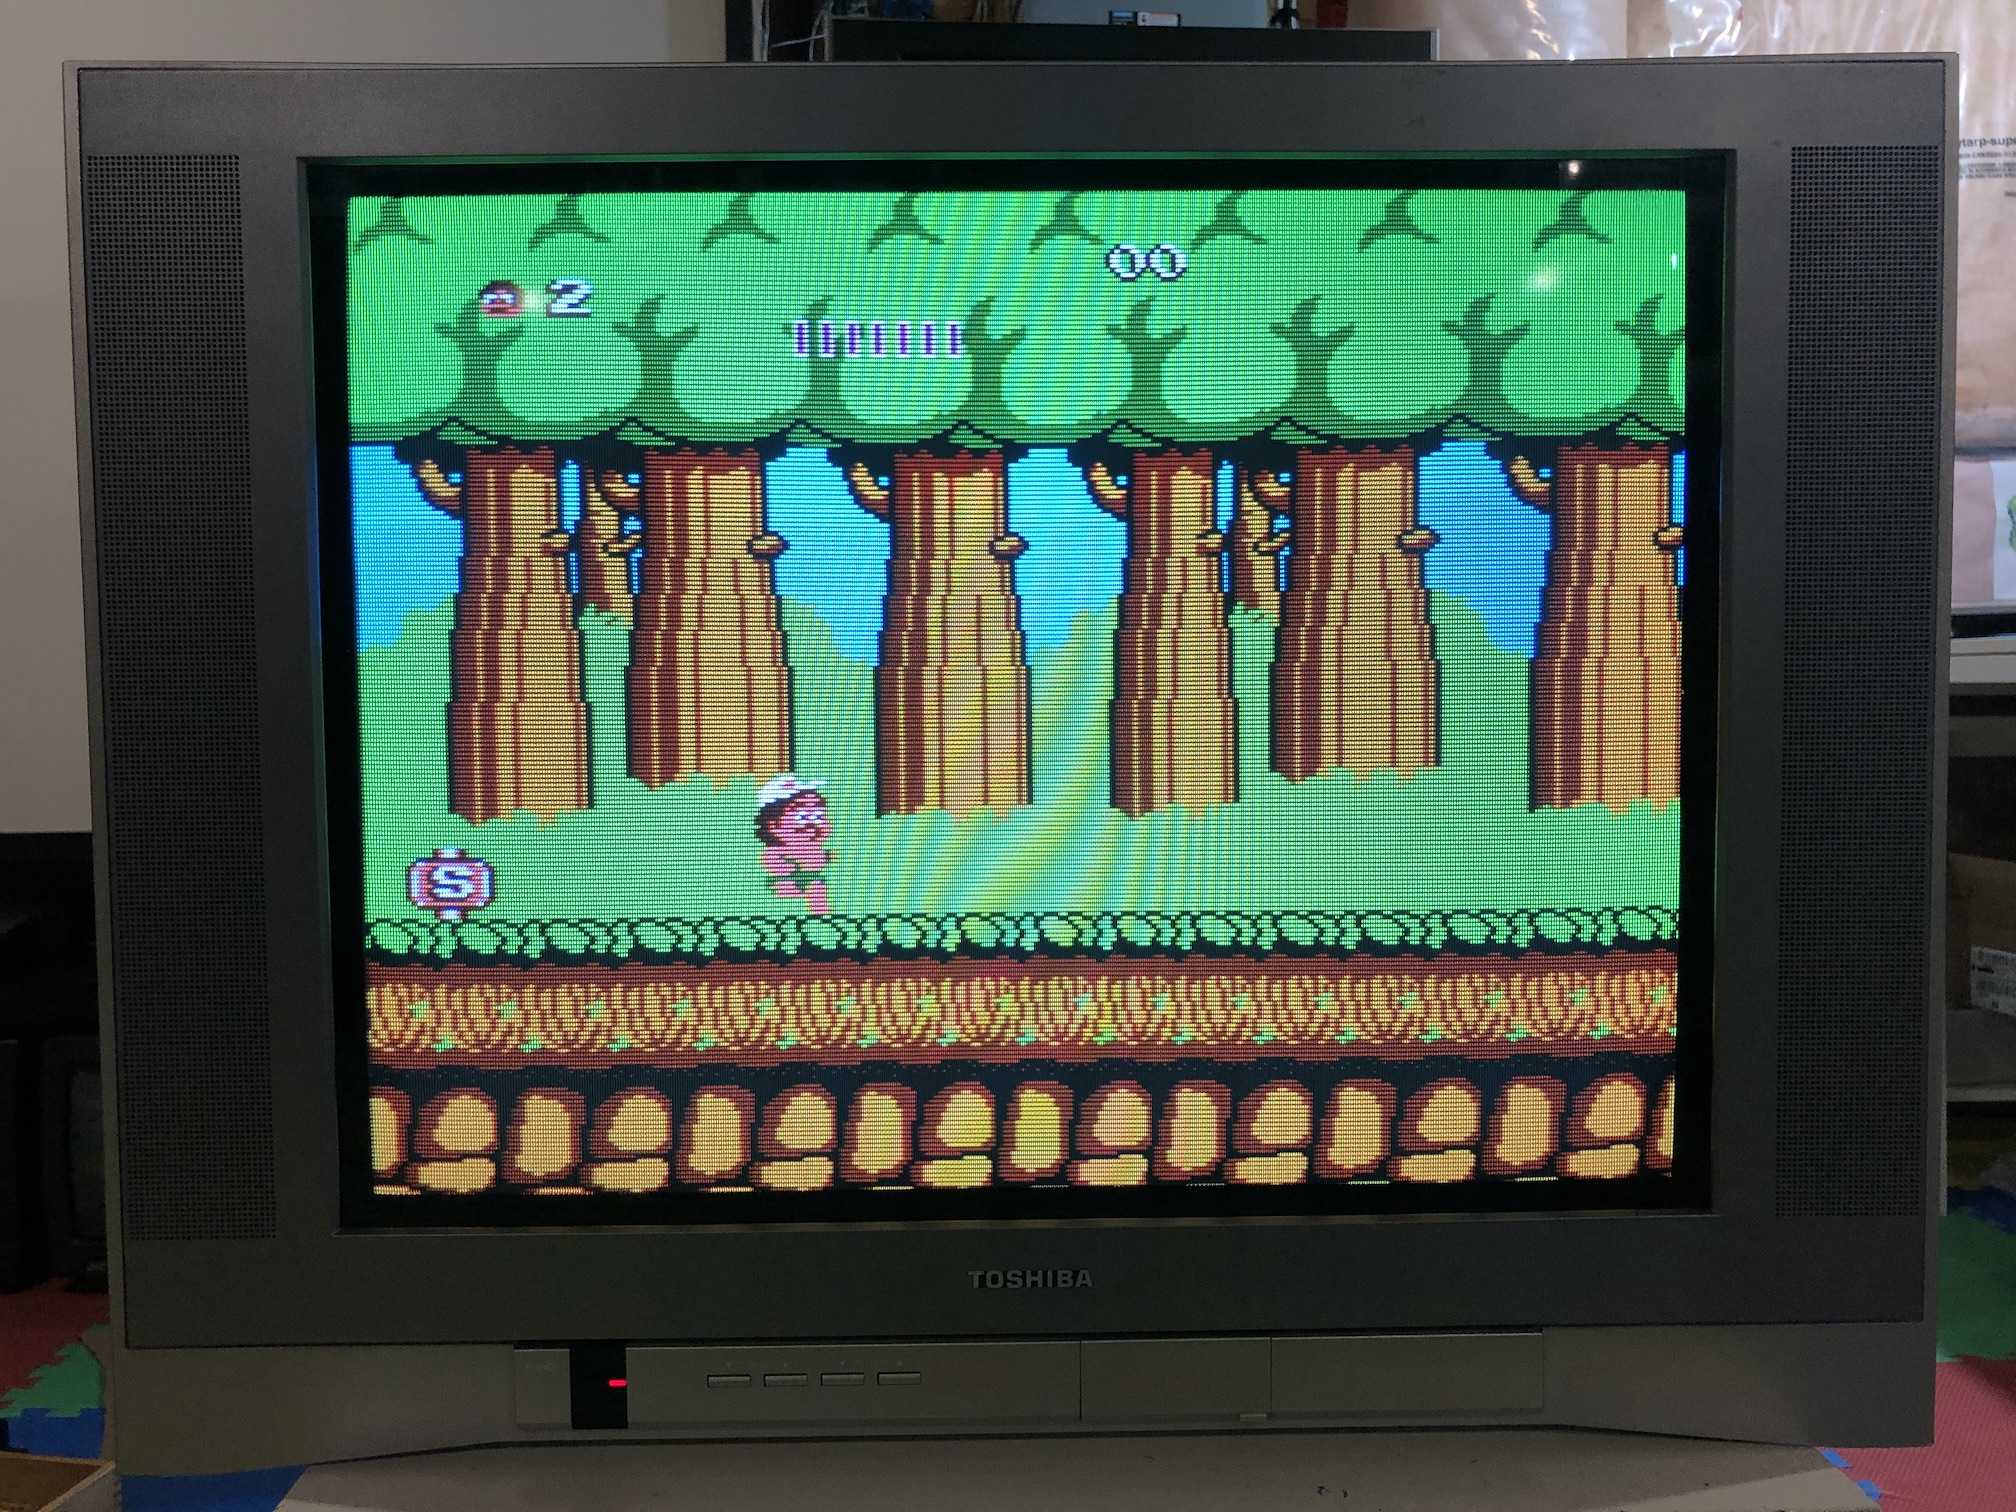
SNES - Mega Man X 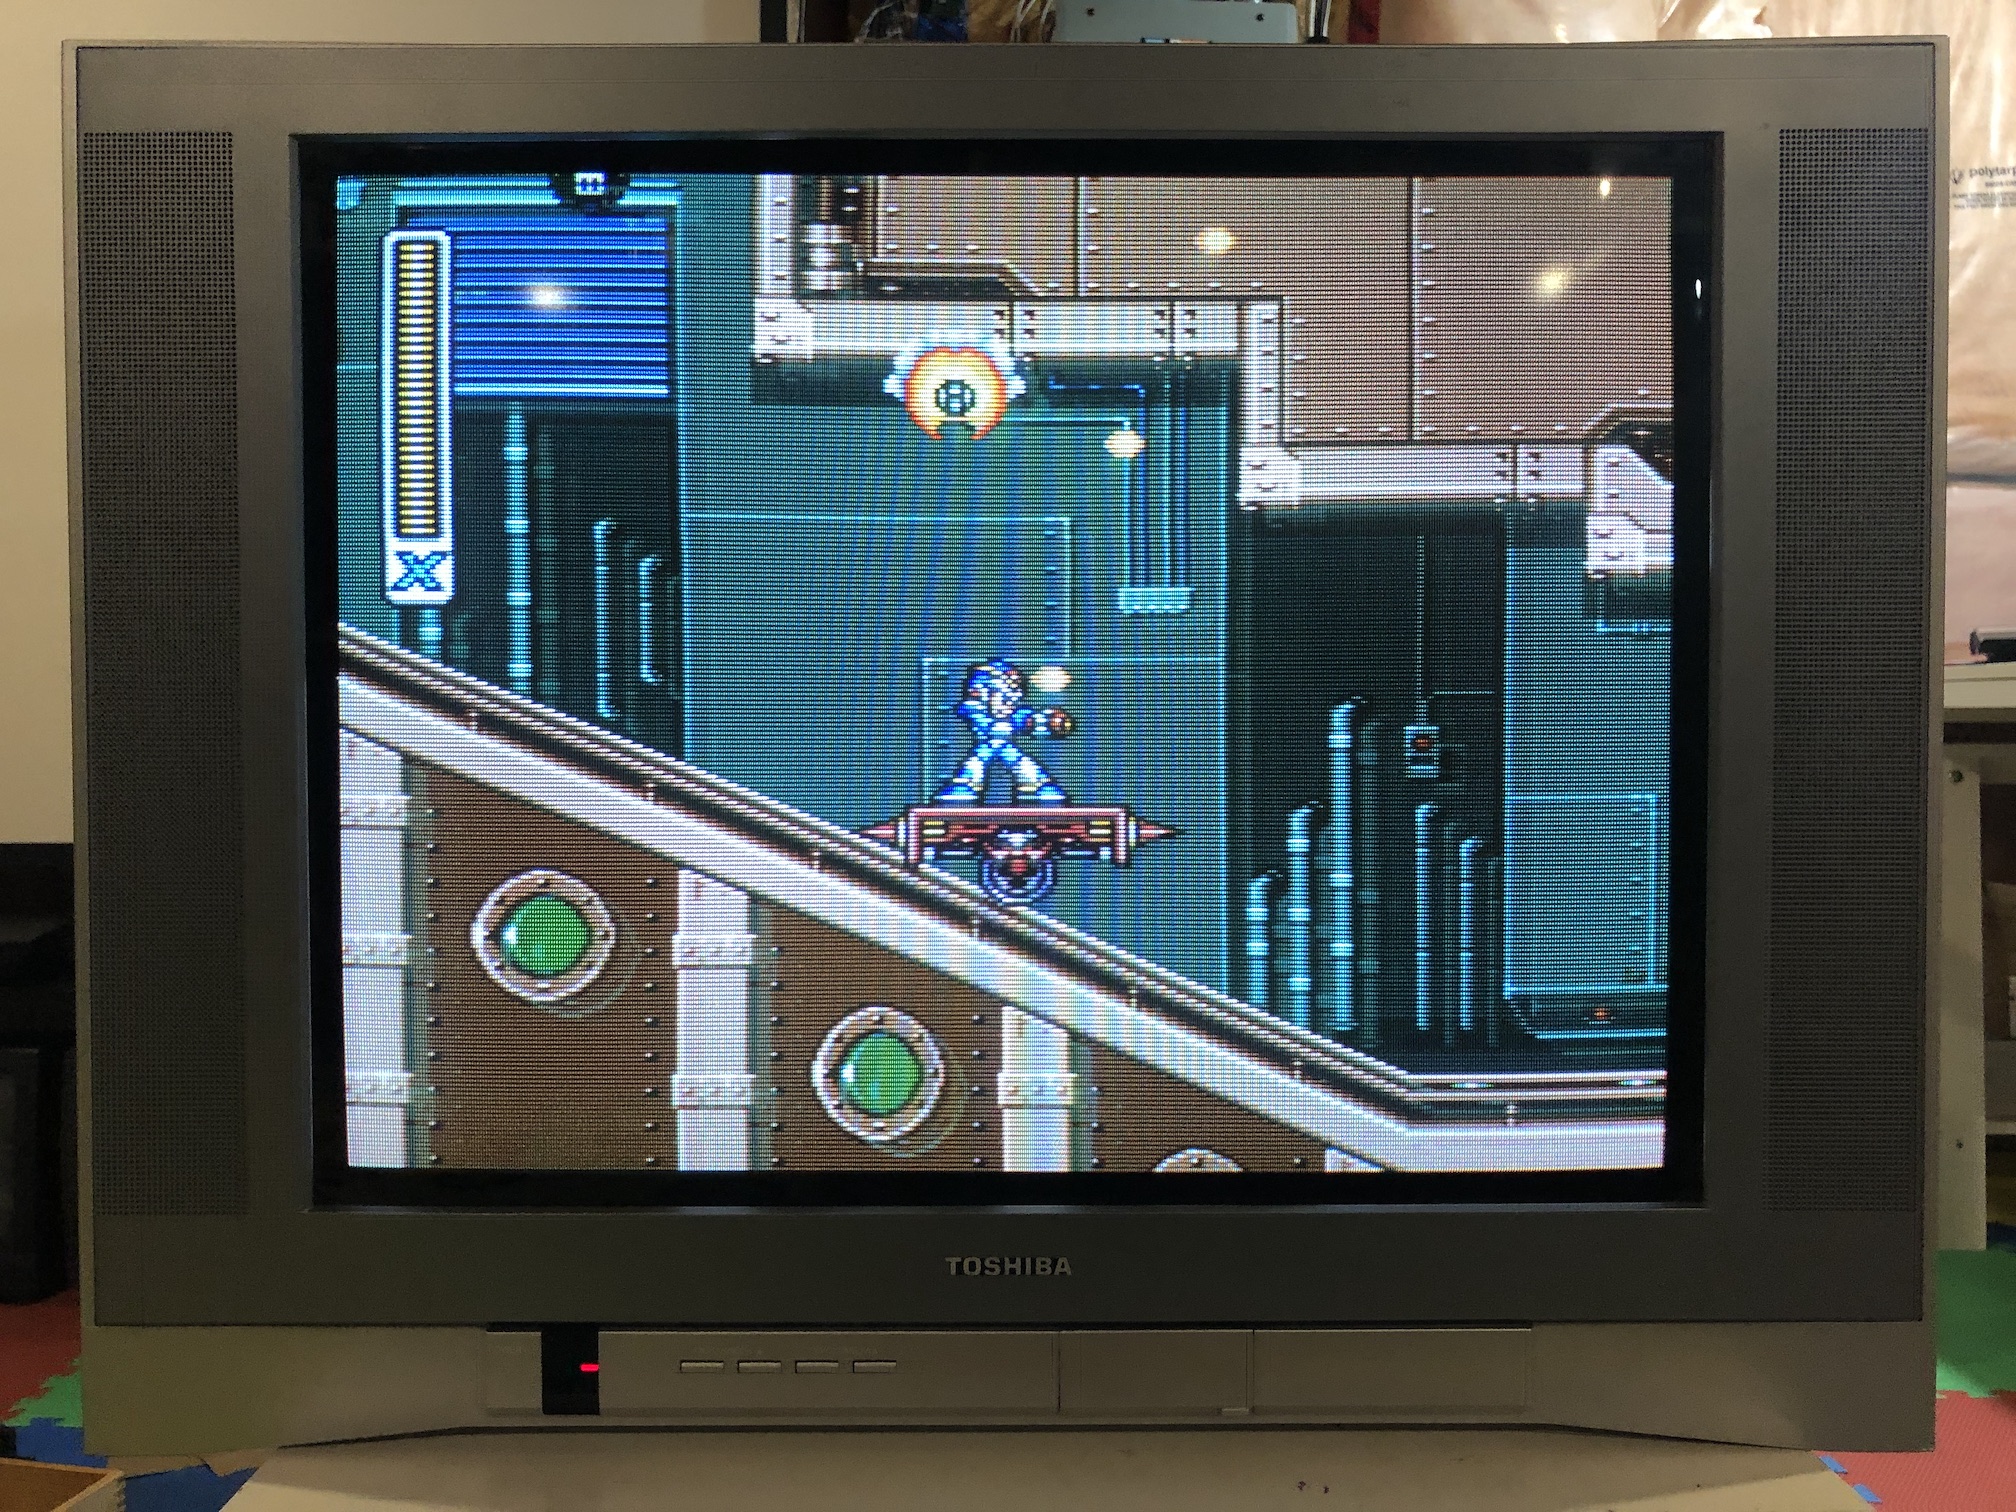
Sega Genesis - Sonic 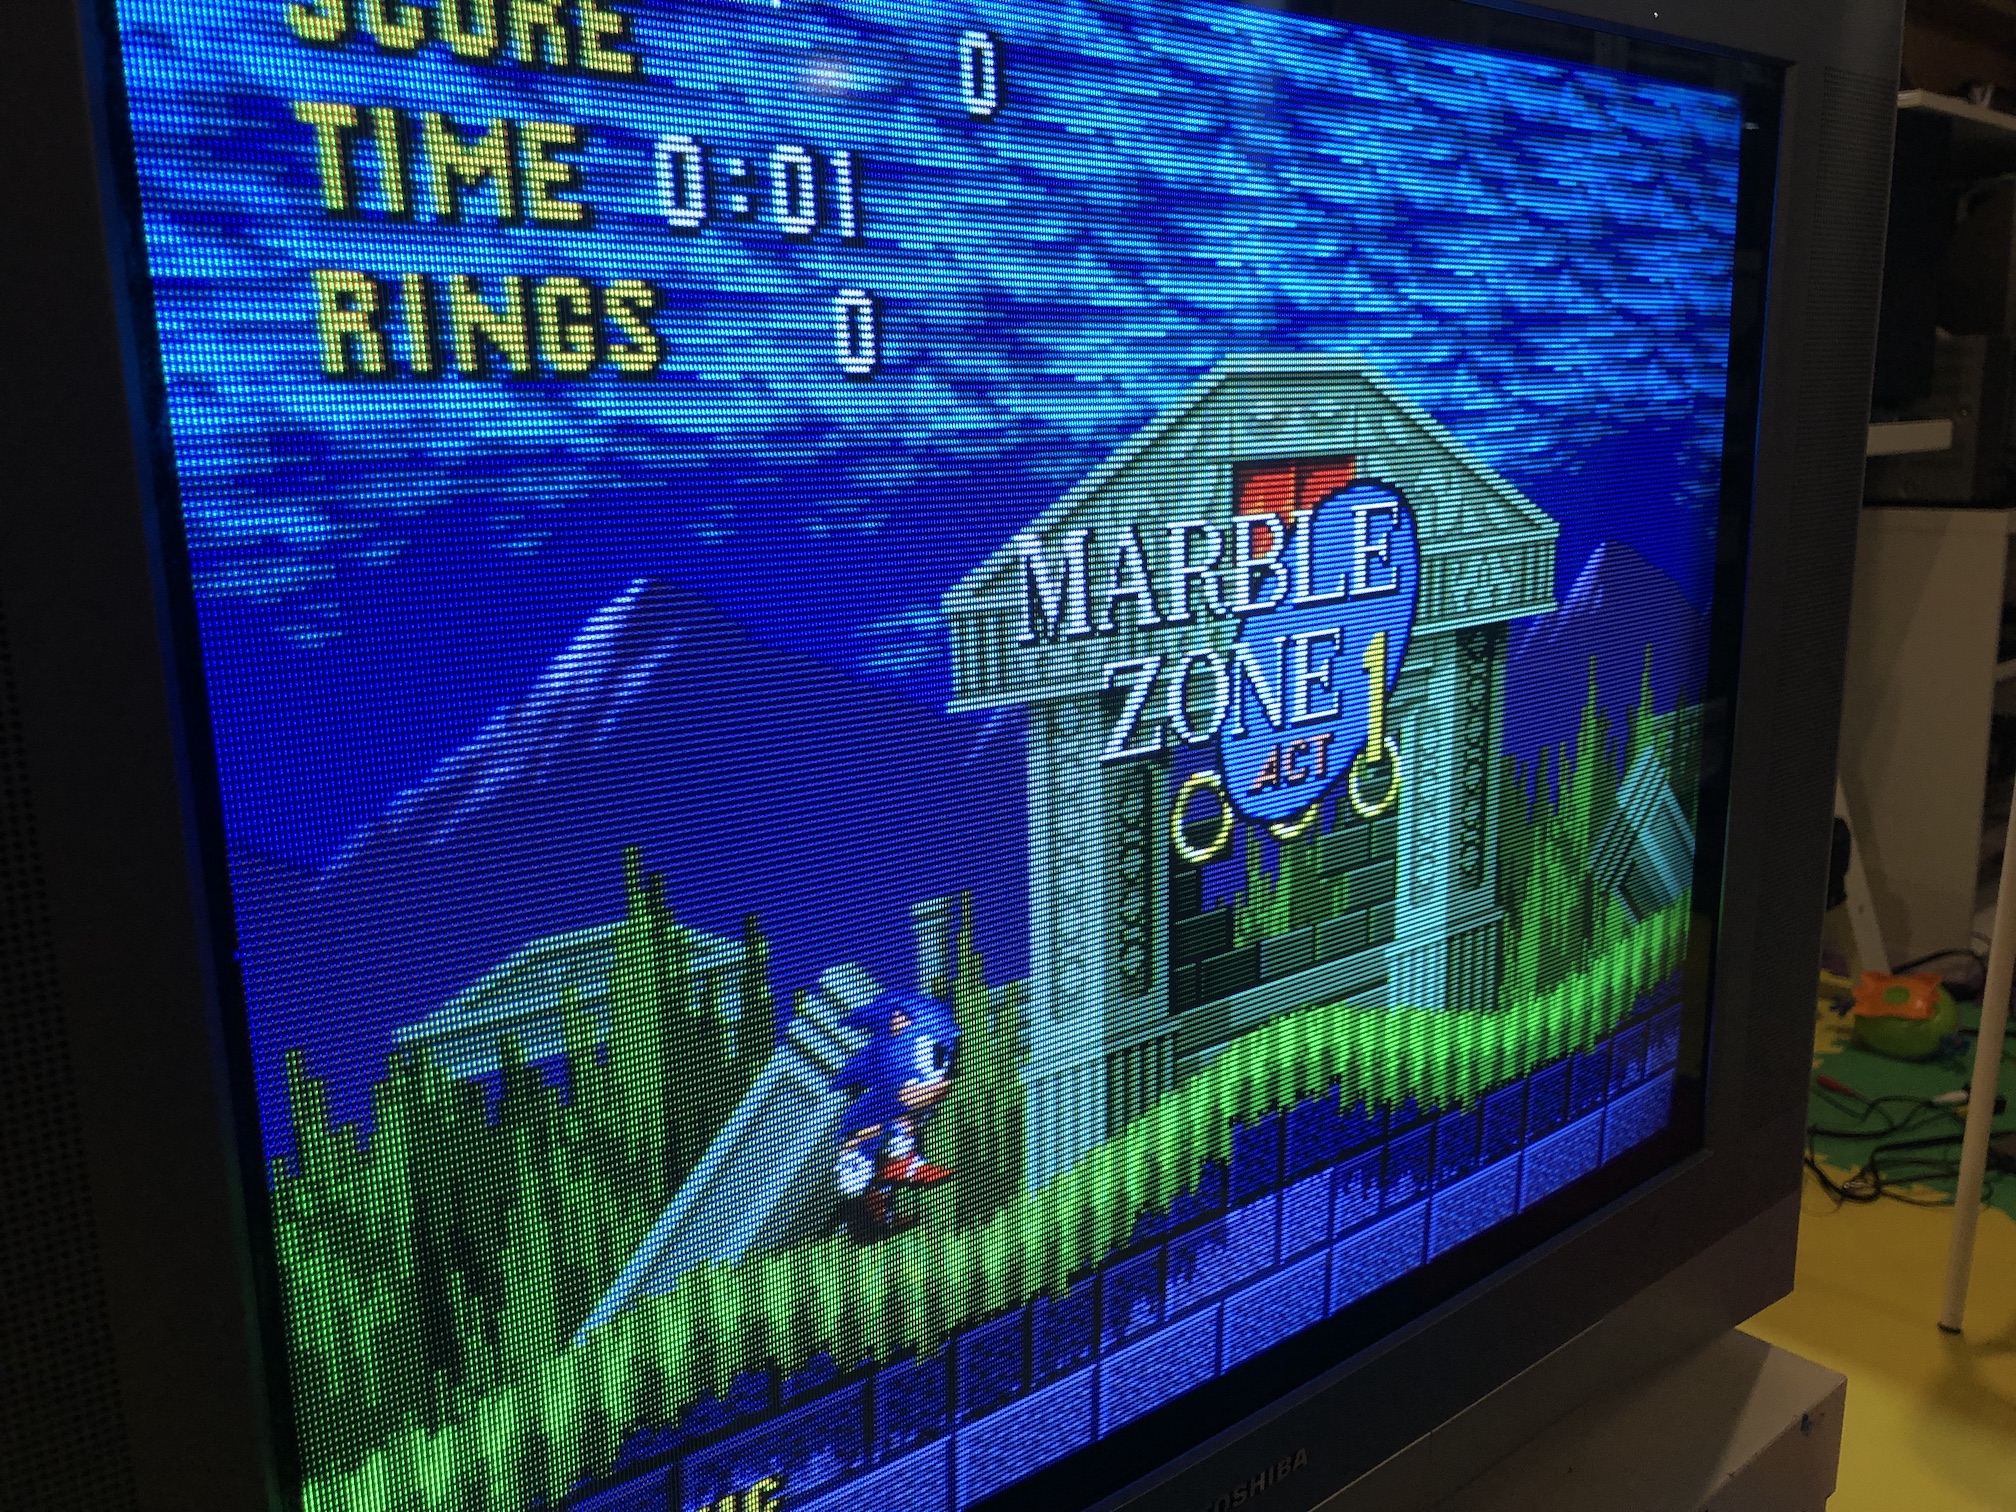
XBOX - UnleashX menu 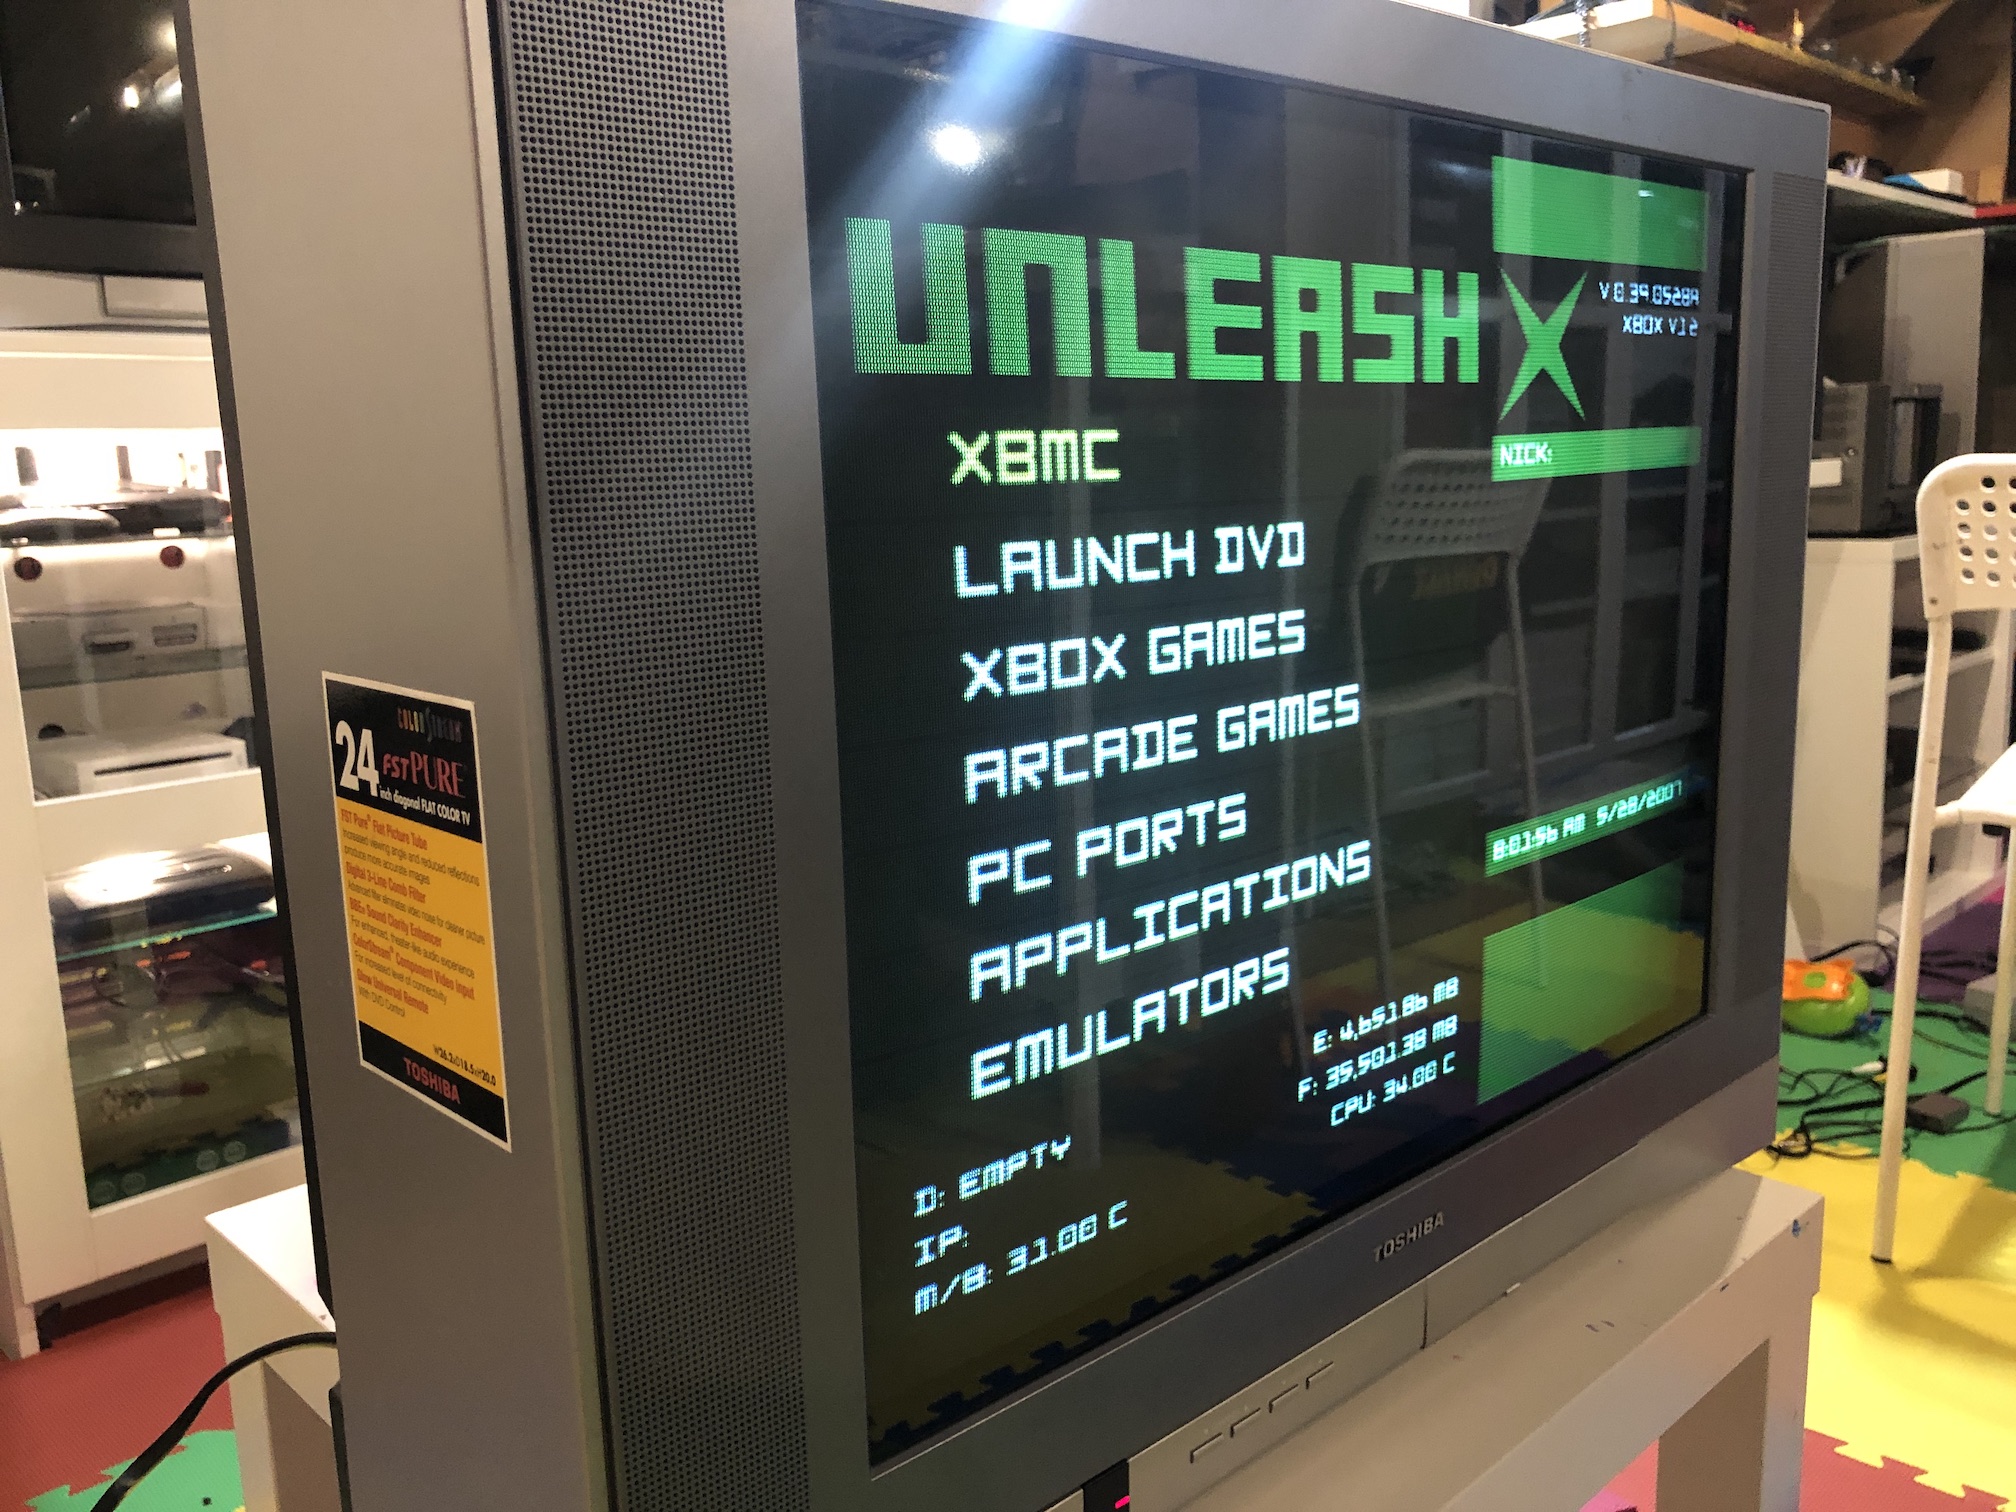
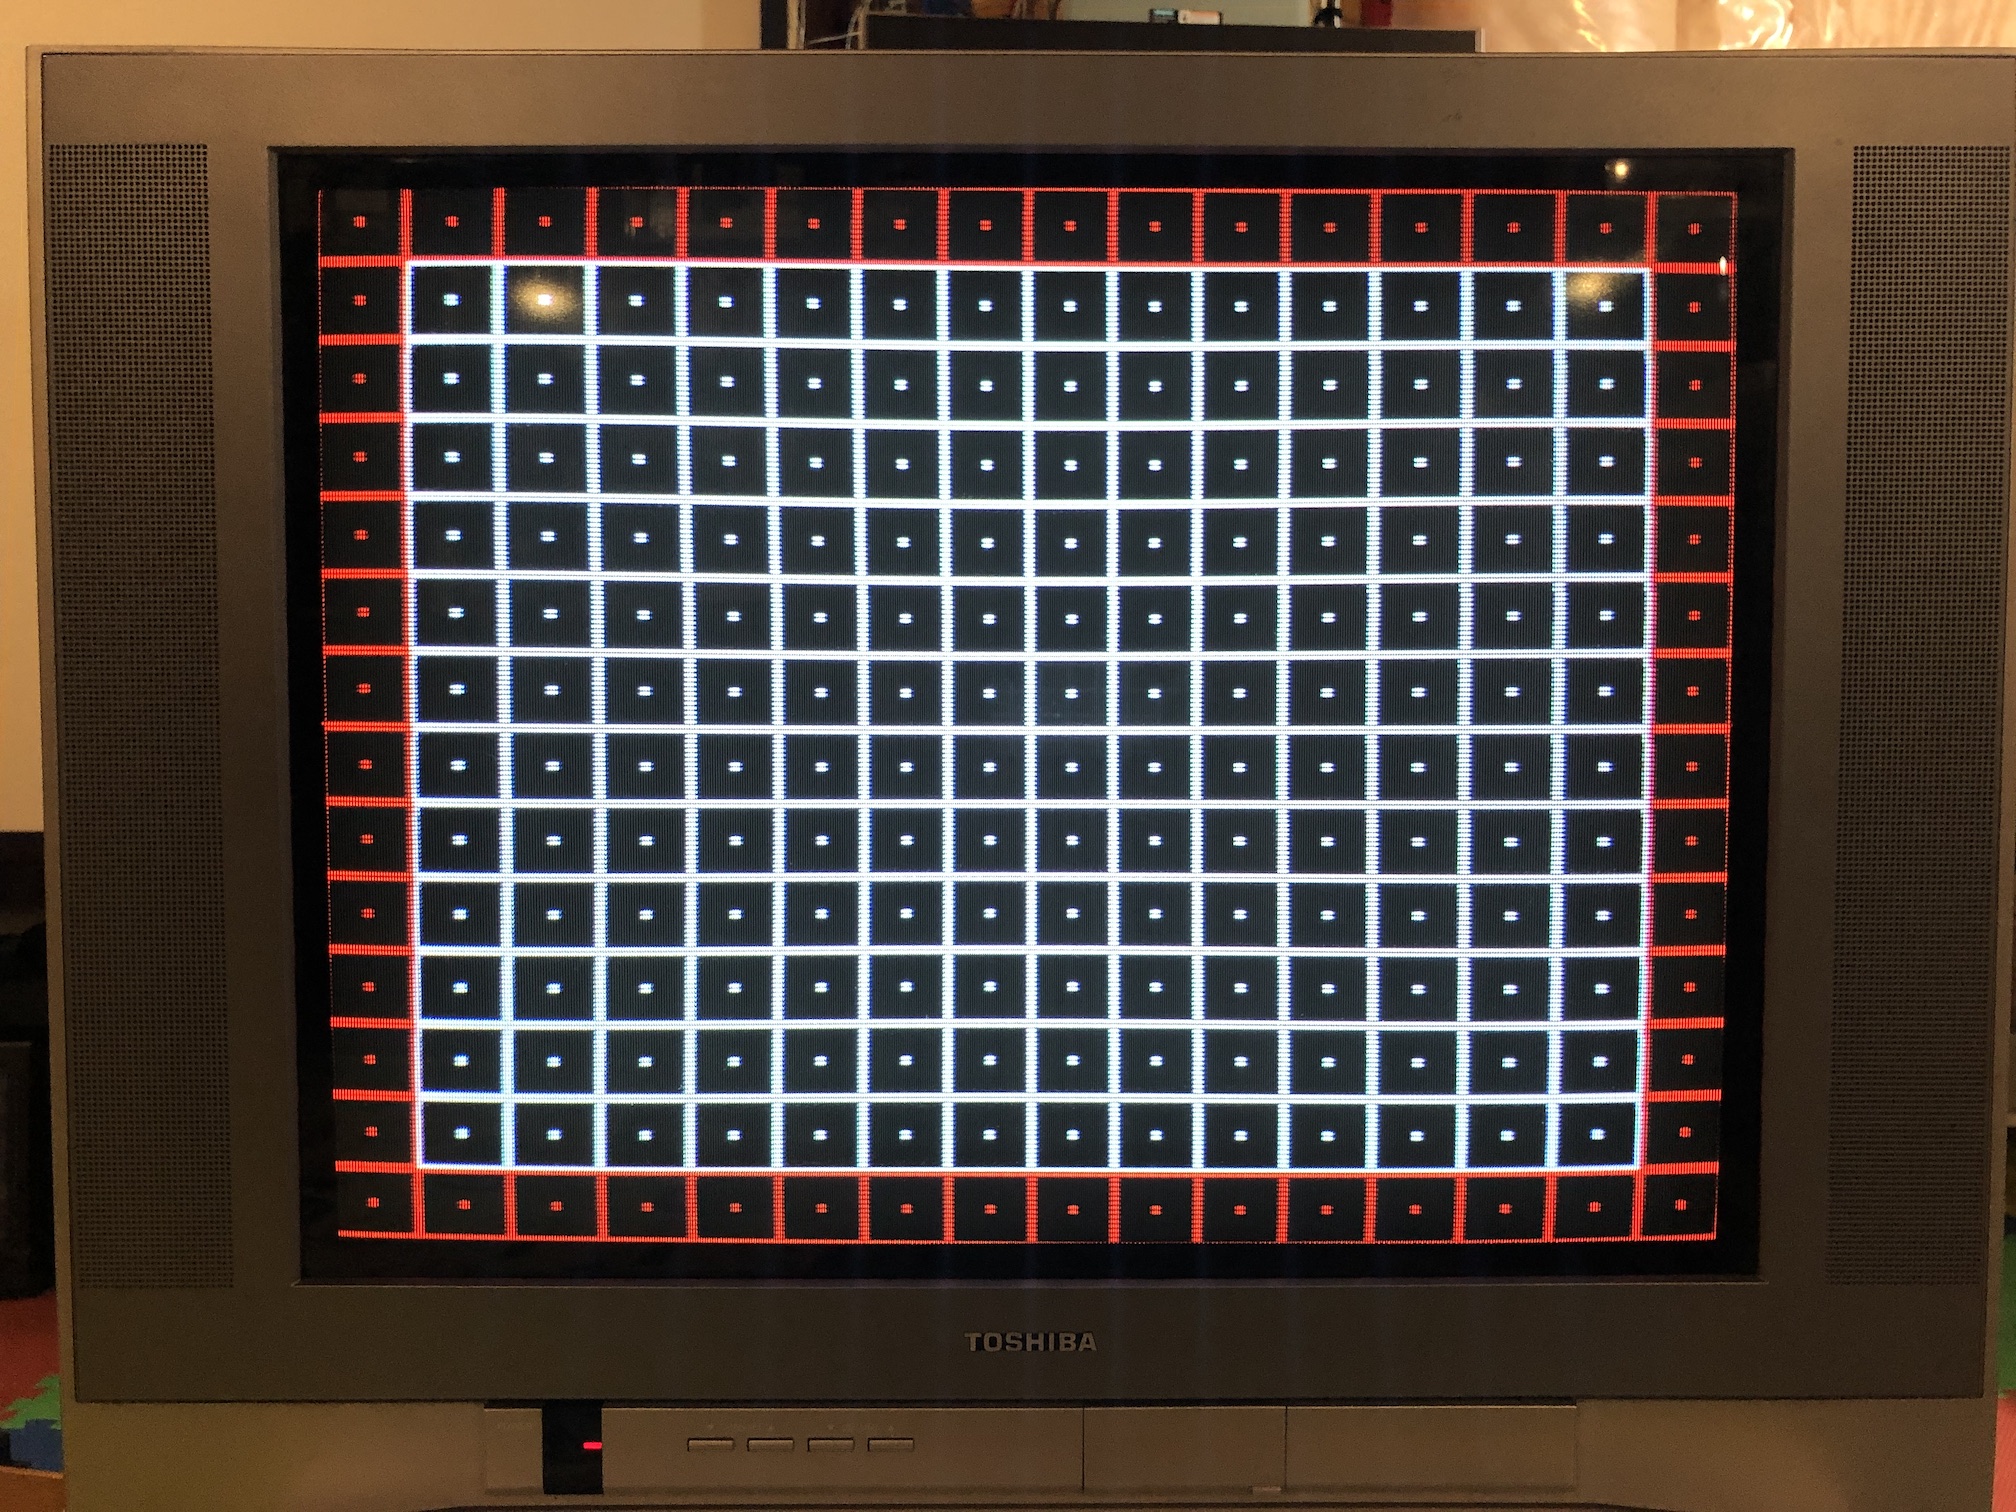
Test patterns