Sony (BA-4D) KV-20S90
Sony (BA-4D) KV-20S90 CRT RGB mod
Below mod was performed on a Sony KV-20S90, by a reddit user /u/atomized69. You can follow similar instructions for other models listed below as well.
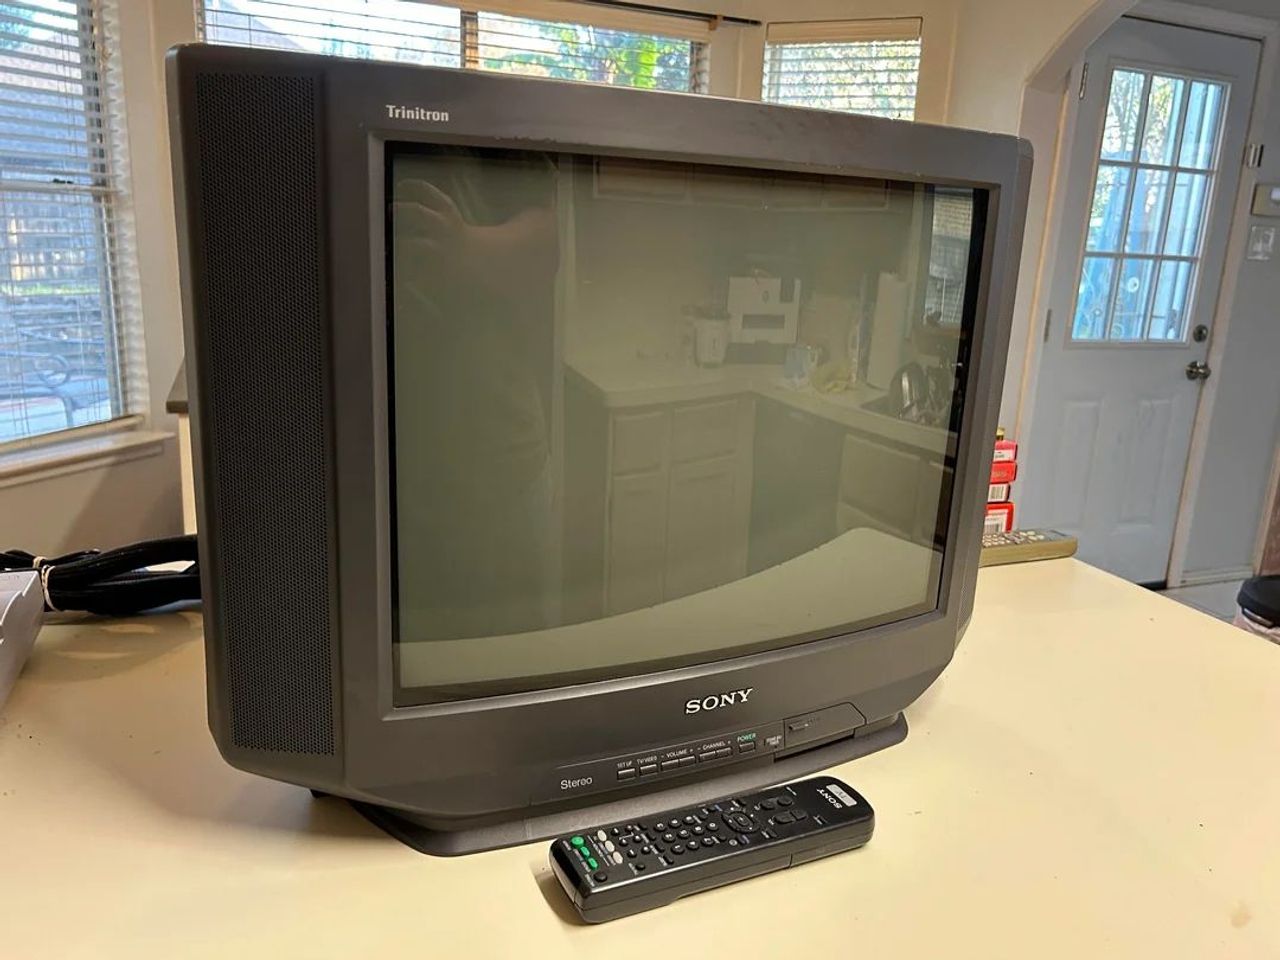
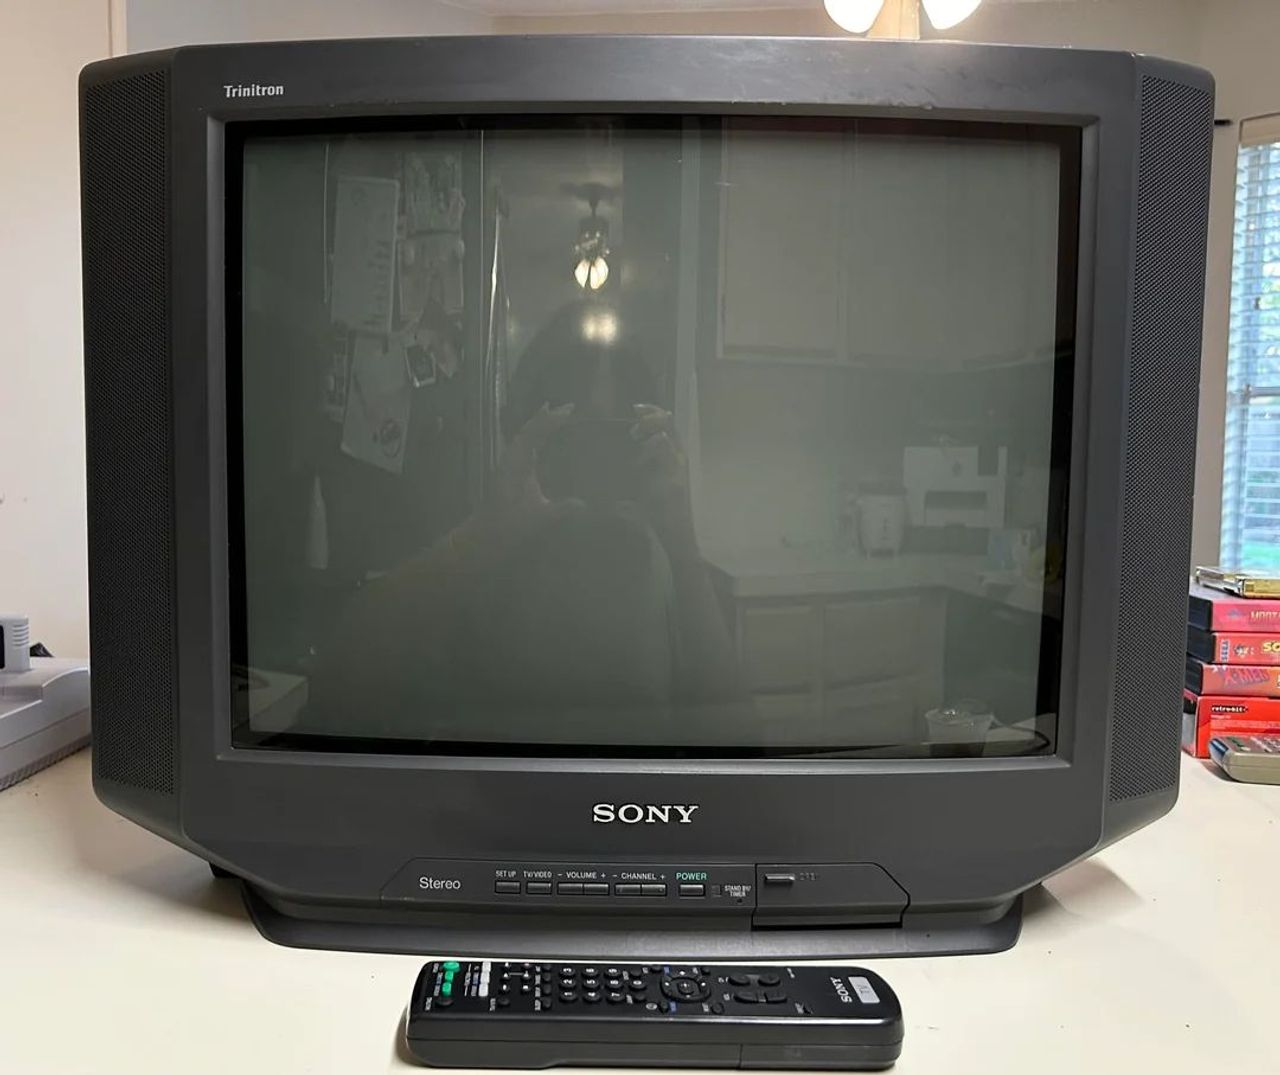
The Sony KV-20S90 is a 20" curved screen CRT television introduced in 2001. This is a more modern version than the popular KV-20S42. This CRT features side-mounted stereo speakers that provide clear, robust audio.
RGB modification for this CRT is very similar to other BA-4D based models.
View full CRT details and more mod examples →
Table of Contents
Contributors
Thank you to everyone who contributed to this guide:
- Andy King — contributor, CRT specs from CRT Database.
- atomized69 — contributor, RGB mod
- Kcorleone — contributor, RGB mod pictures
CRT safety
Caution
You can die doing this! So read carefully! CRT TV is not a toy. Do not open a CRT TV. If you don't have any prior knowledge about handling high voltage devices, this guide is not for you. CRT TV contains high enough voltage (20,000+ V) and current to be deadly, even when it is turned off.
Plan of attack
Manuals and Datasheets
Specs
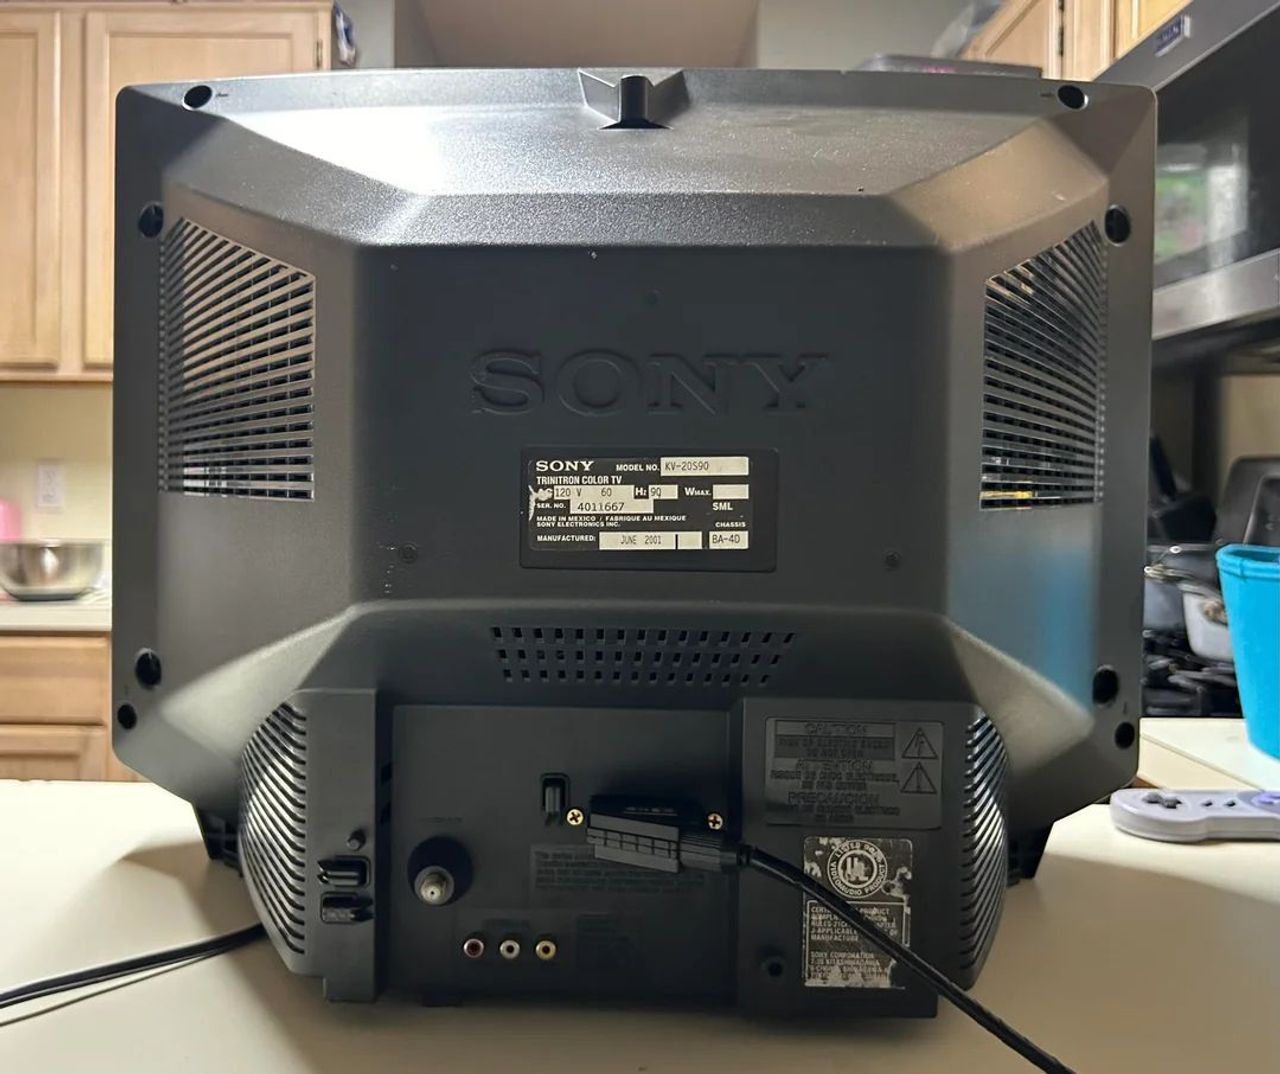
- Manufactured: Mexico (2001)
- Format: NTSC
- Chassis: BA-4D
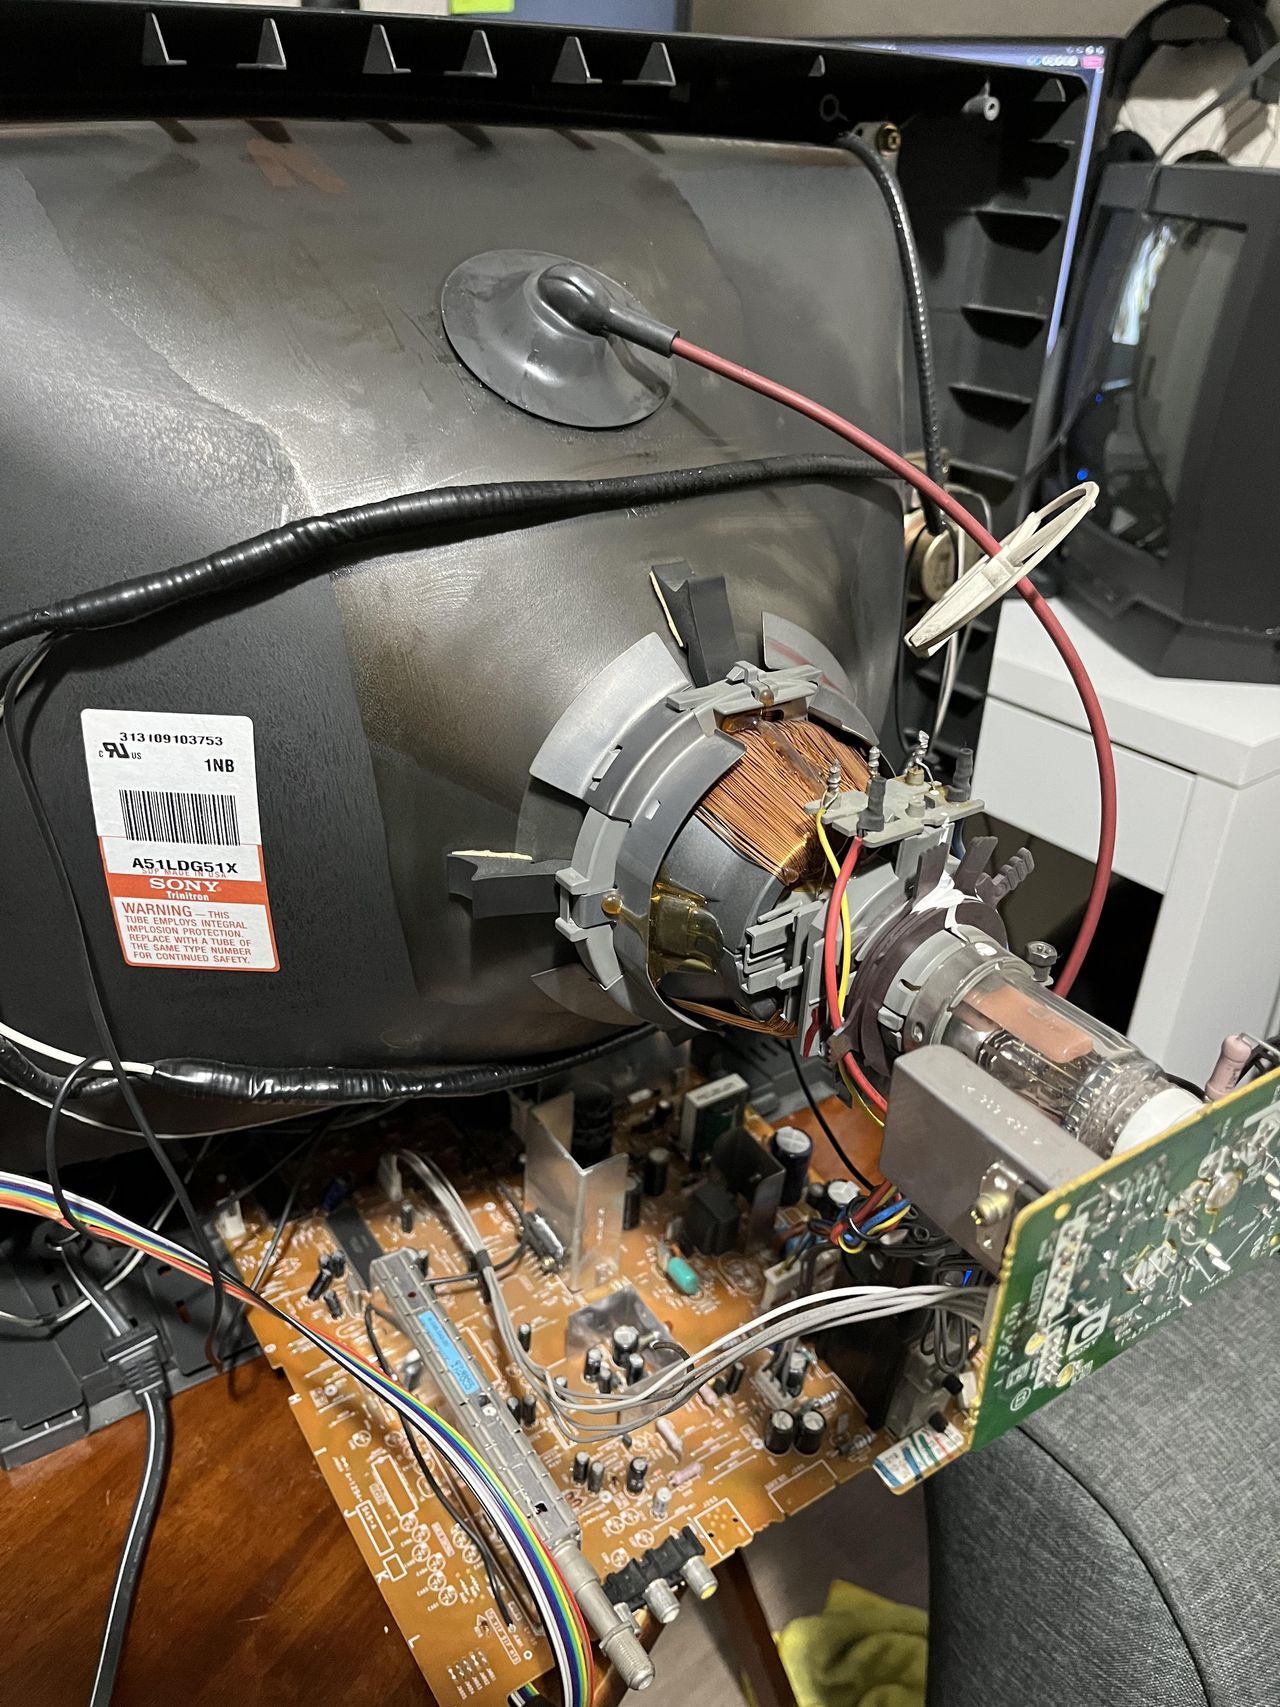
- Tube: Sony Trinitron A51LDG51X
- Jungle Chip: Sony CXA2061S
- OSD Chip: Mitsubishi M37273MF-255SP
- Screen Size: 20"
- Inputs: Composite, RF
Schematics
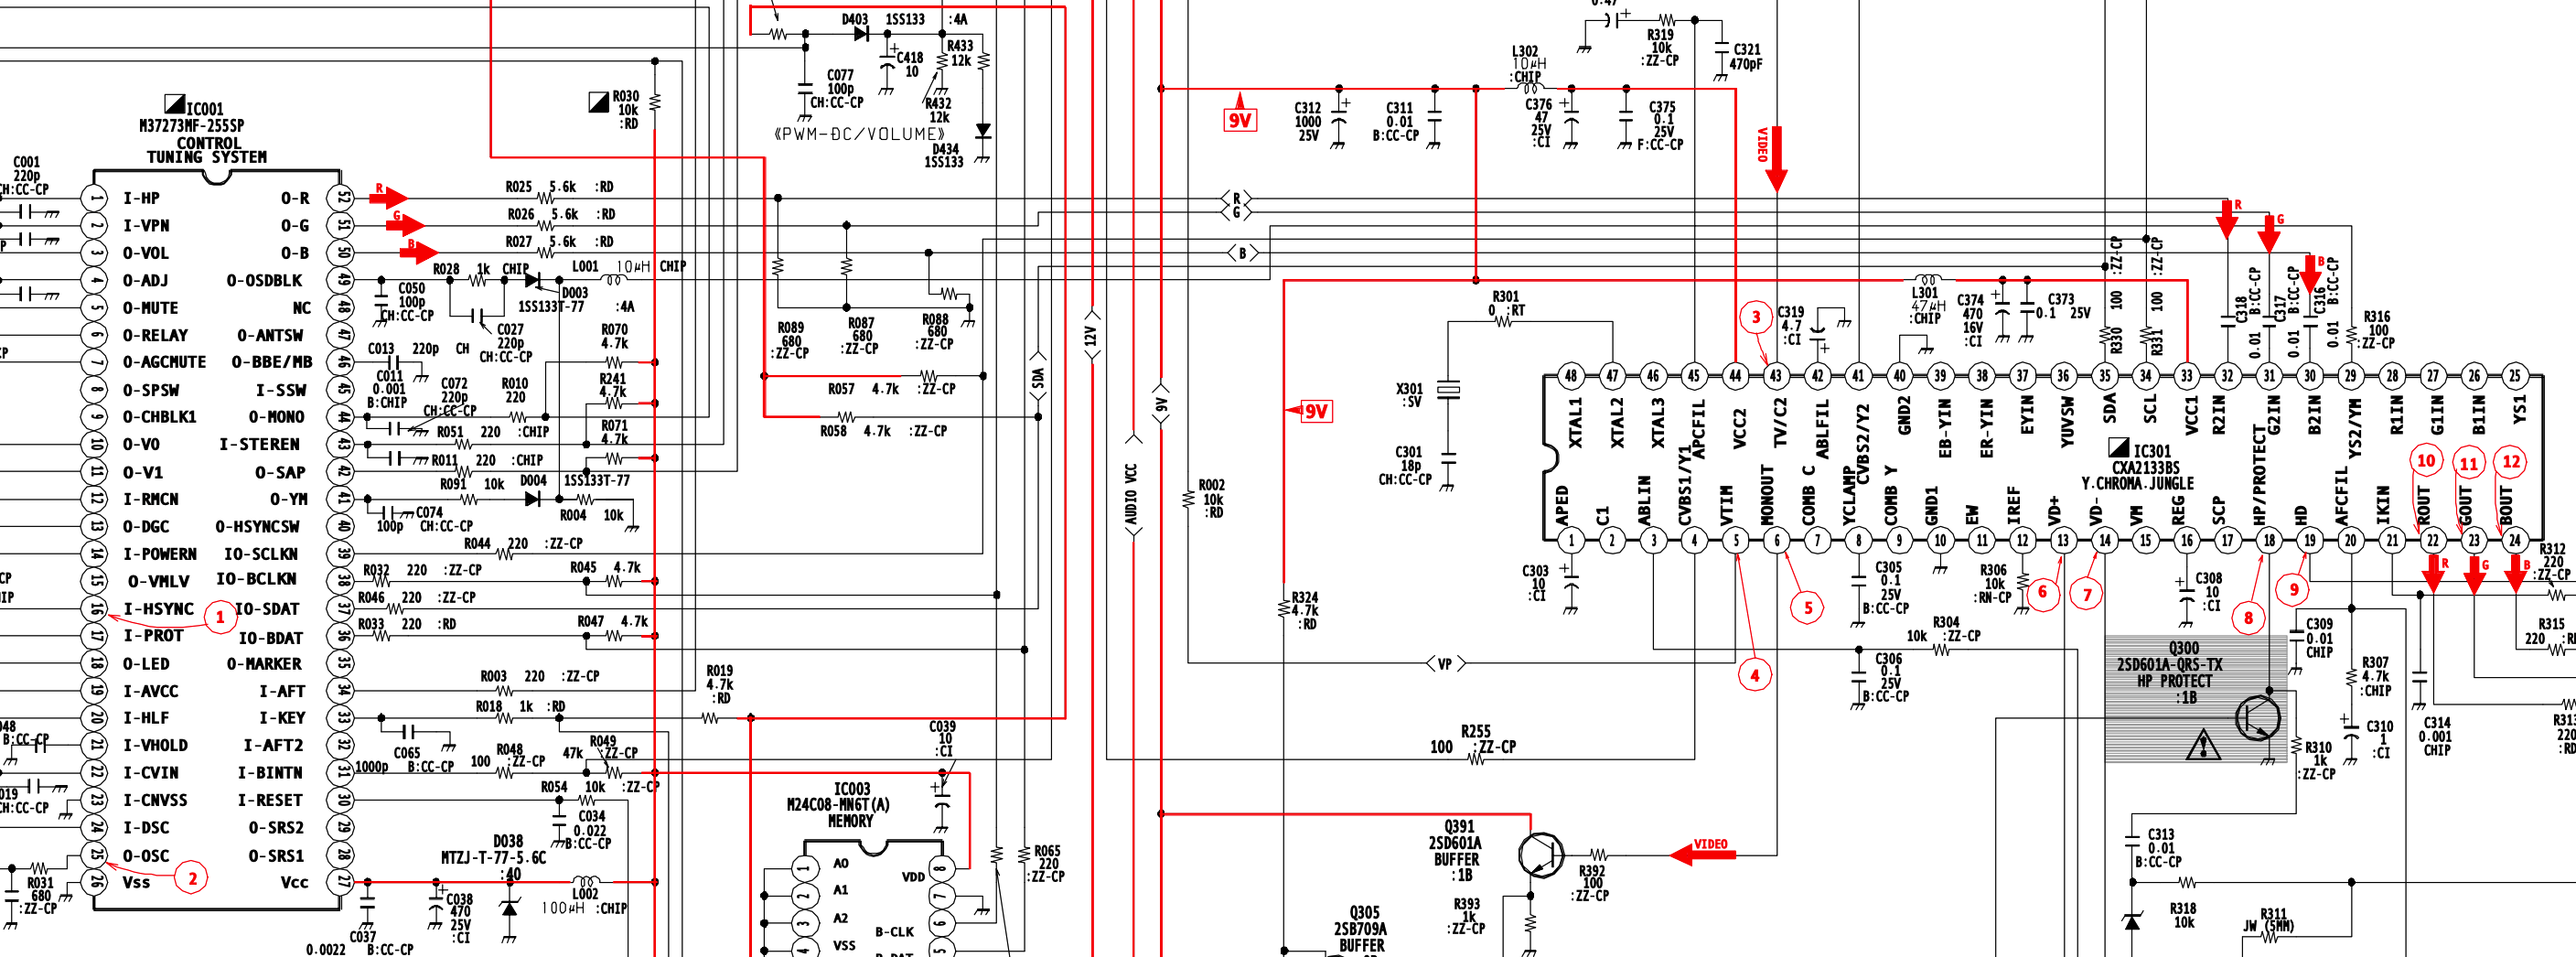
RGB mux diagram
Prepare the mux diagram. If you are building your own circuit, this diagram should help.
Calculating the RGB external resistor value
Formula from our theory page!

Calcualted 910Ω for 0.7Vp-p. With didoe inline for RGB, you have to use 1kΩ
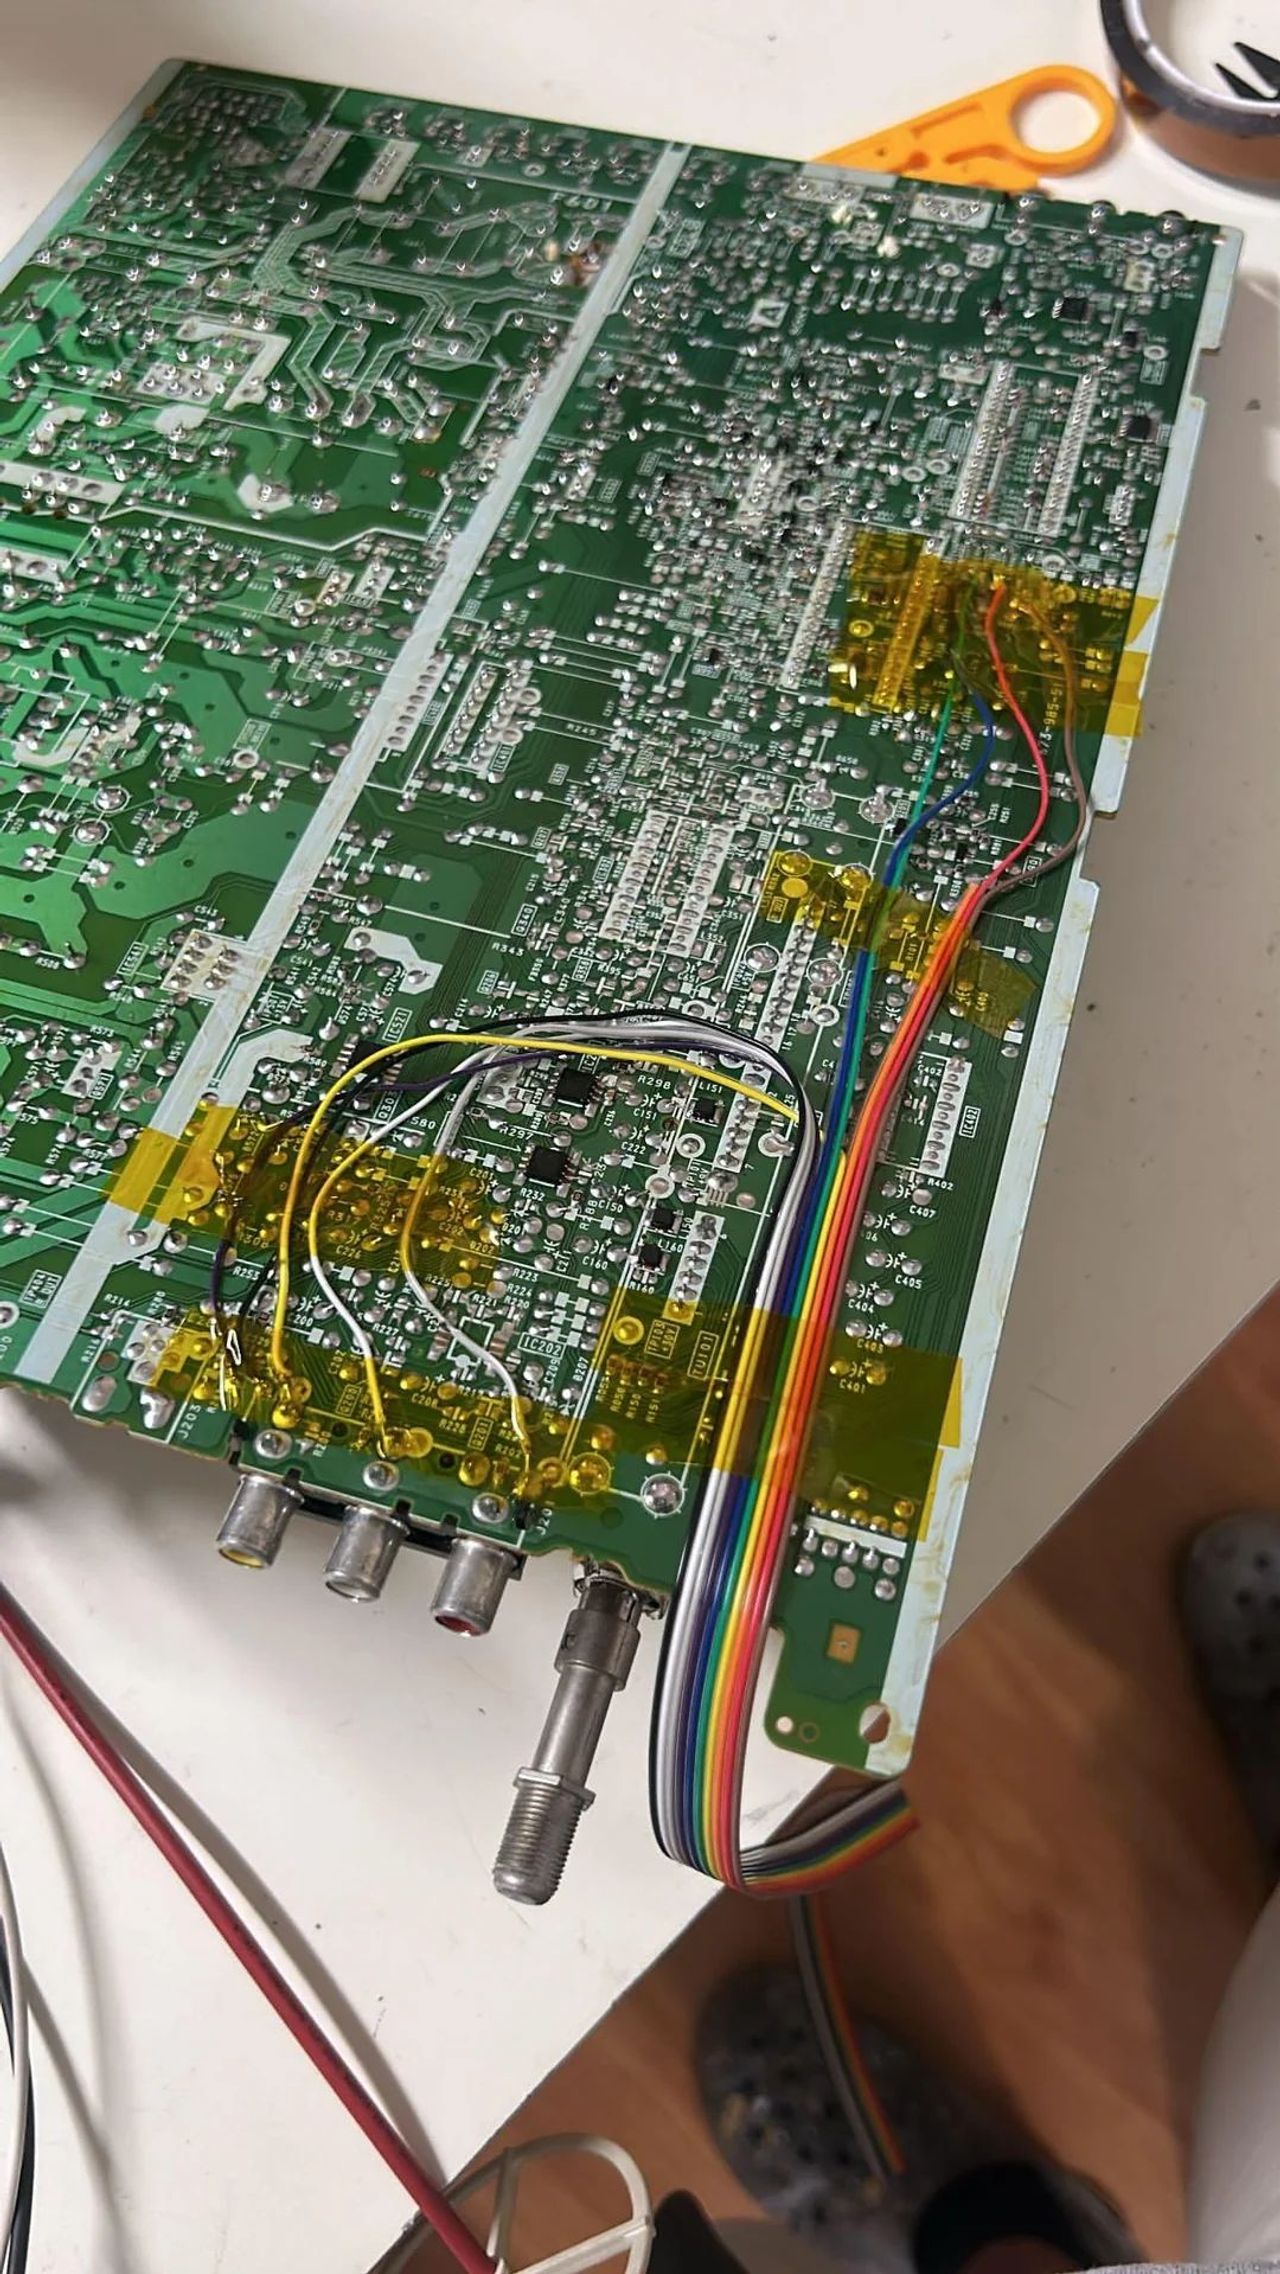
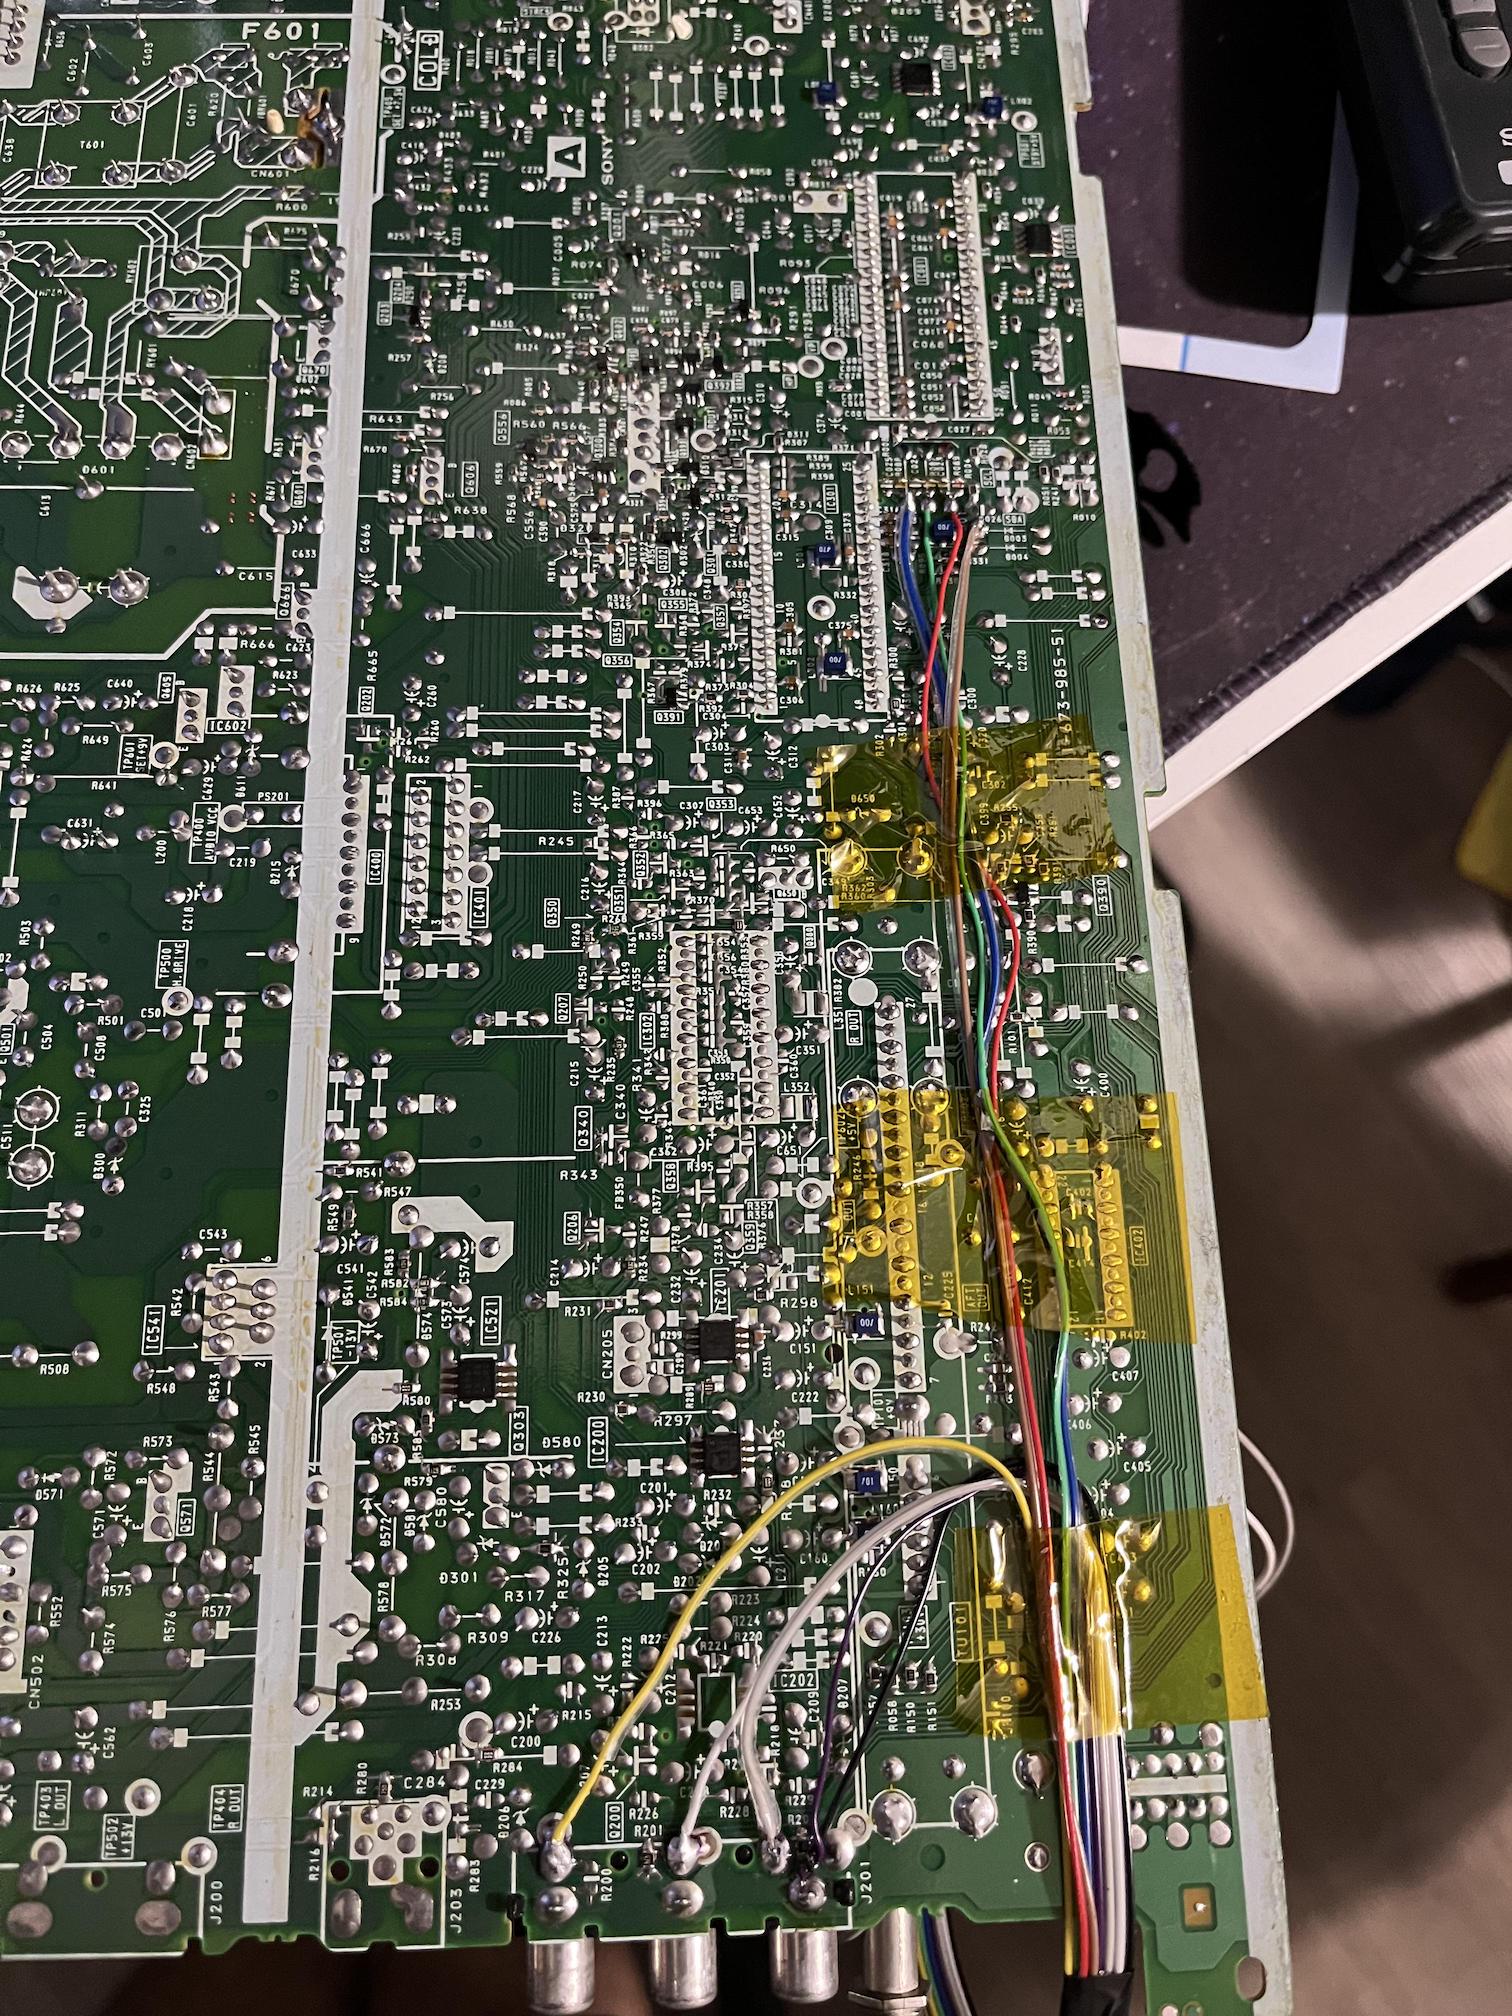
Performing the mod
STEP 1 to STEP 4: Removing resistors and injecting RGBs and blanking
Follow the KV-20S42 RGB mod guide.
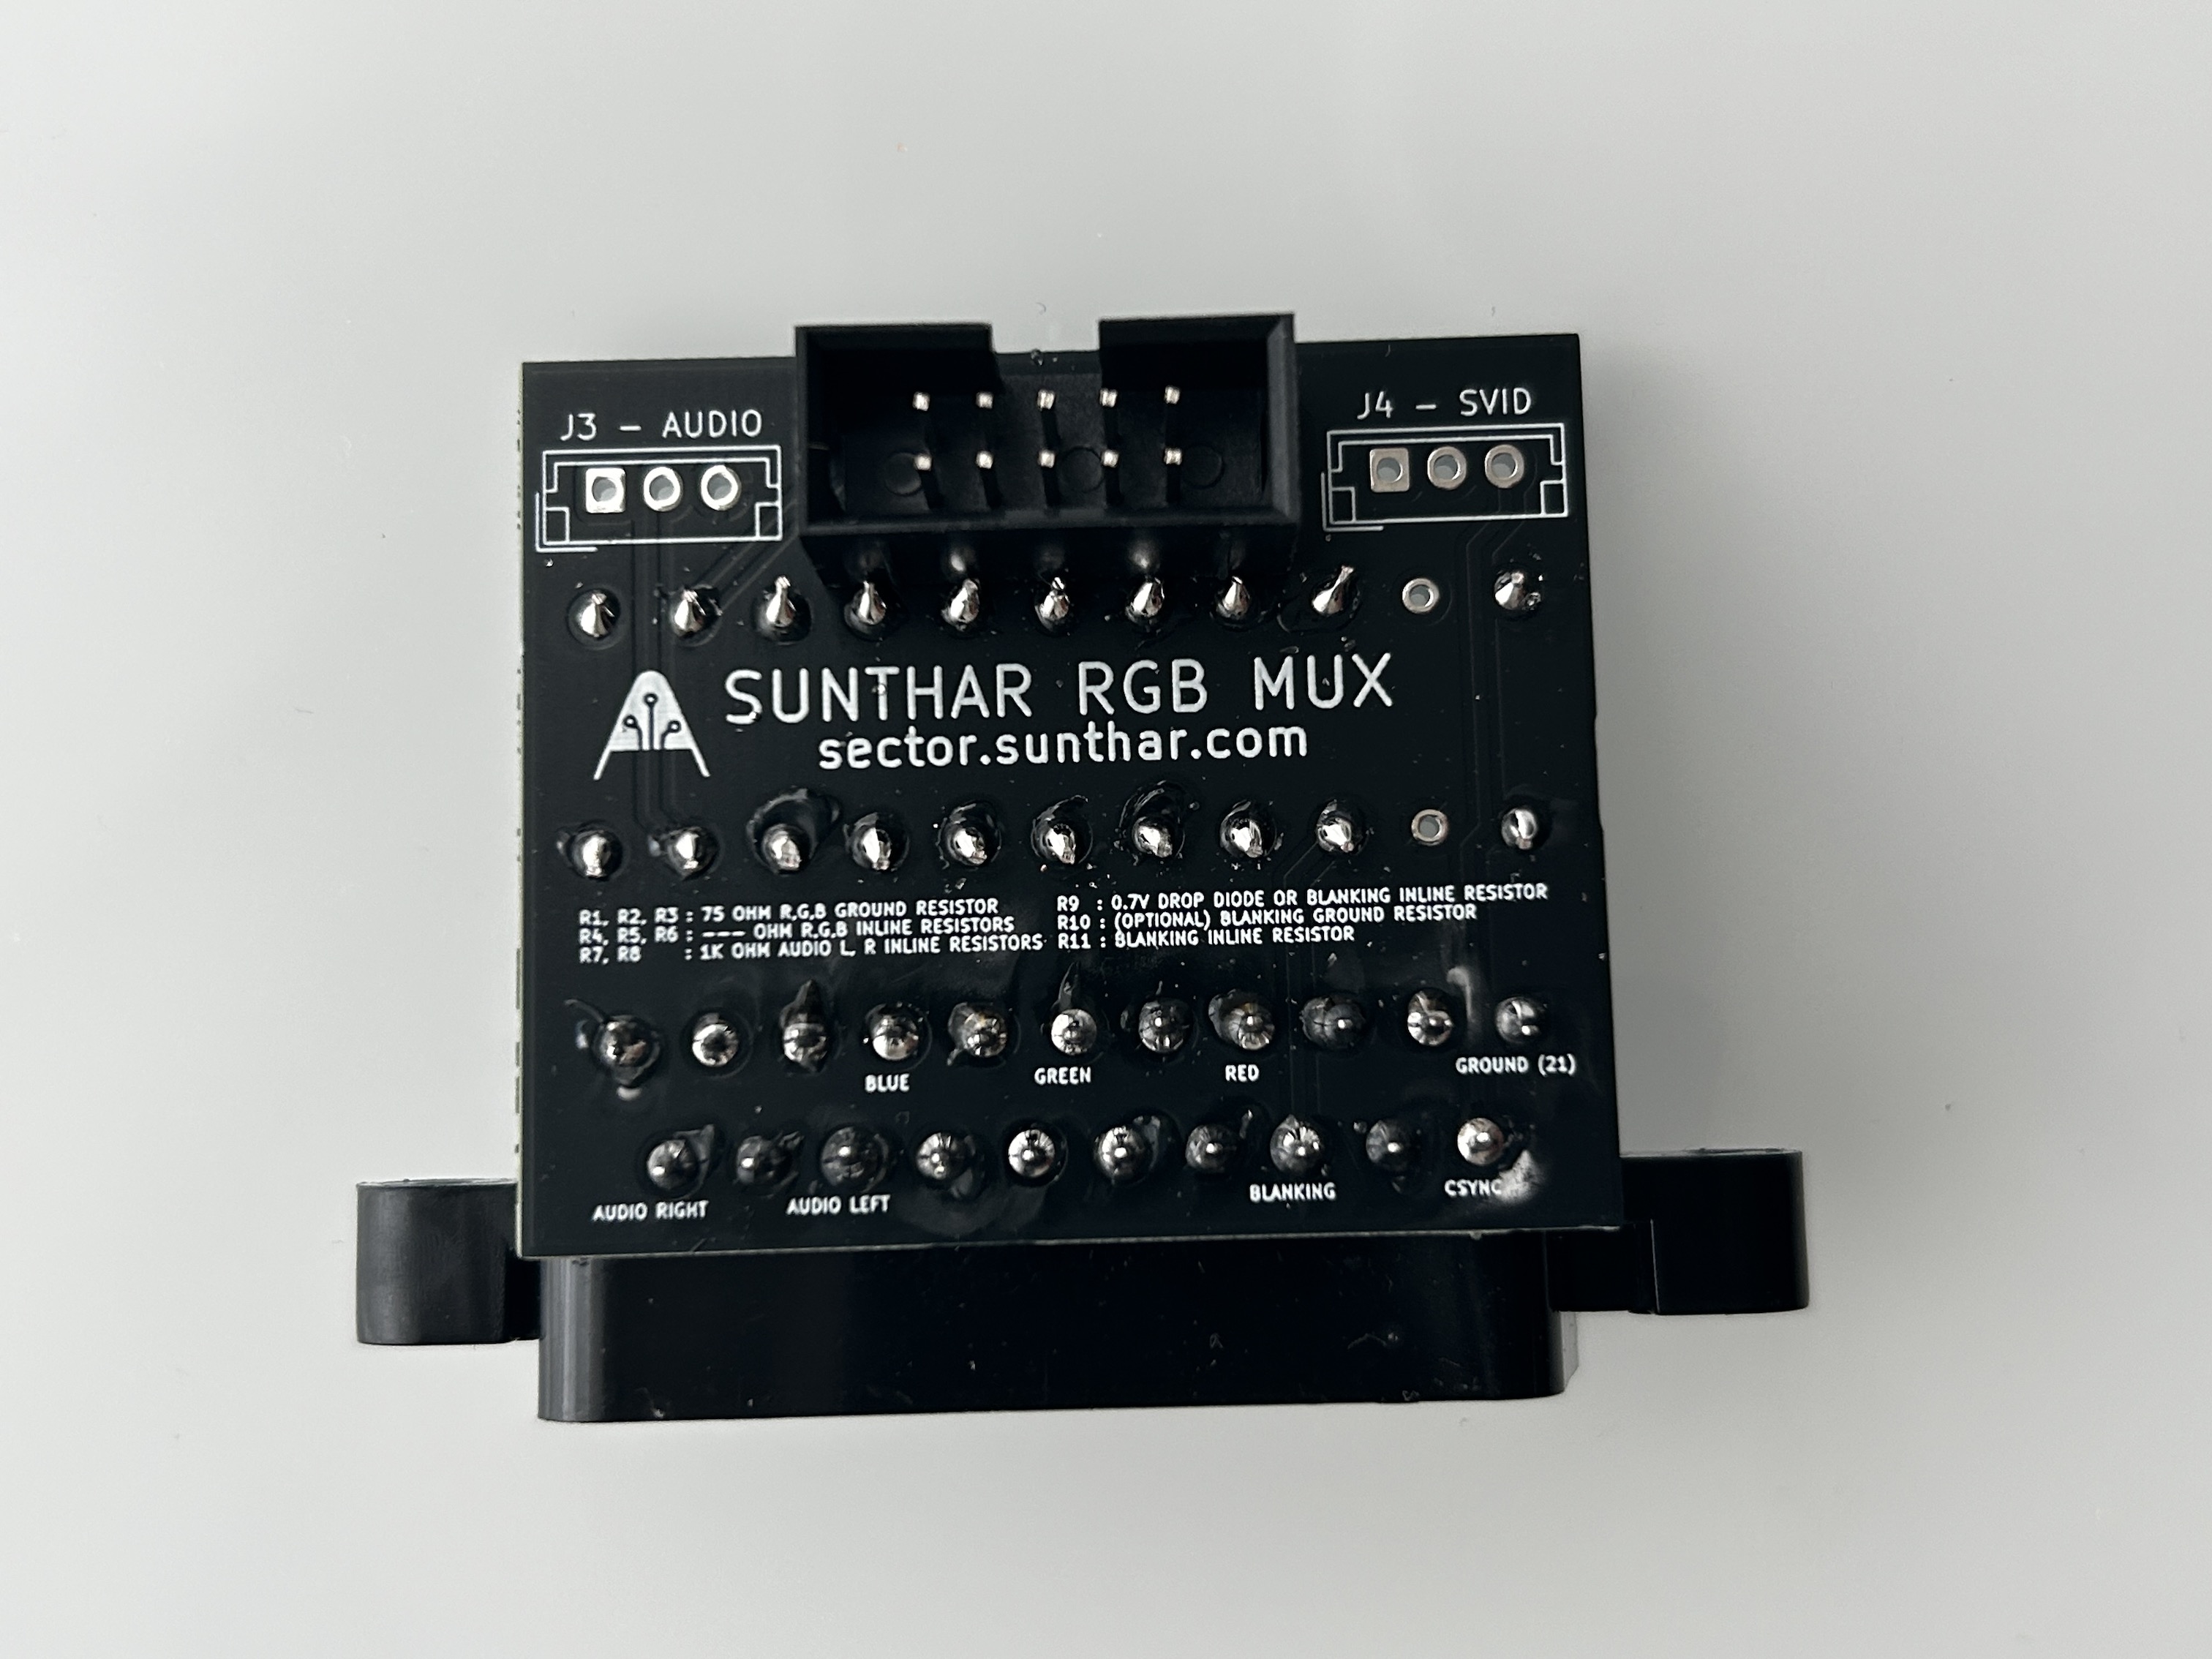
STEP 5: Build your mux board
This mod uses the RGB mux board. This is optional, but will make your mod easier and stable. You can also create the circuit presented in the schematics above without the board. Please also checkout the mux calculator to play with your own values.
| On Sony CRT Chassis | KV-20S90 |
|---|---|
| CRT RGB inline resistor | 5.6kΩ |
| CRT RGB ground resistors removed | 680Ω |
| 0.1μF caps replaced | No |
| Add diodes on chassis RGB lines? | Yes |
| Add blanking diode on chassis | No |
| RGB mux board | KV-20S90 |
|---|---|
| Mux board RGB termination (R1, R2, R3) | 75Ω |
| Mux board RGB inline resistors (R4, R5, R6) | 1kΩ |
| Mux board Audio LR (R7, R8) | 1kΩ |
| Mux board blanking diode (R9) | 1N4148 |
| Mux board blanking ground resistor (R10) | open |
| Mux board blanking resistor (R11) | 1kΩ |
Compatible mux boards:

STEP 6: Attach the female SCART connector to TV
Creating a SCART cutout and mounting it is an art. I have a dedicated section for it. How to create and mount a SCART female plug?
Depending on your CRT, you might need to find a good place to mount the SCART port.
Sony KV-20S90 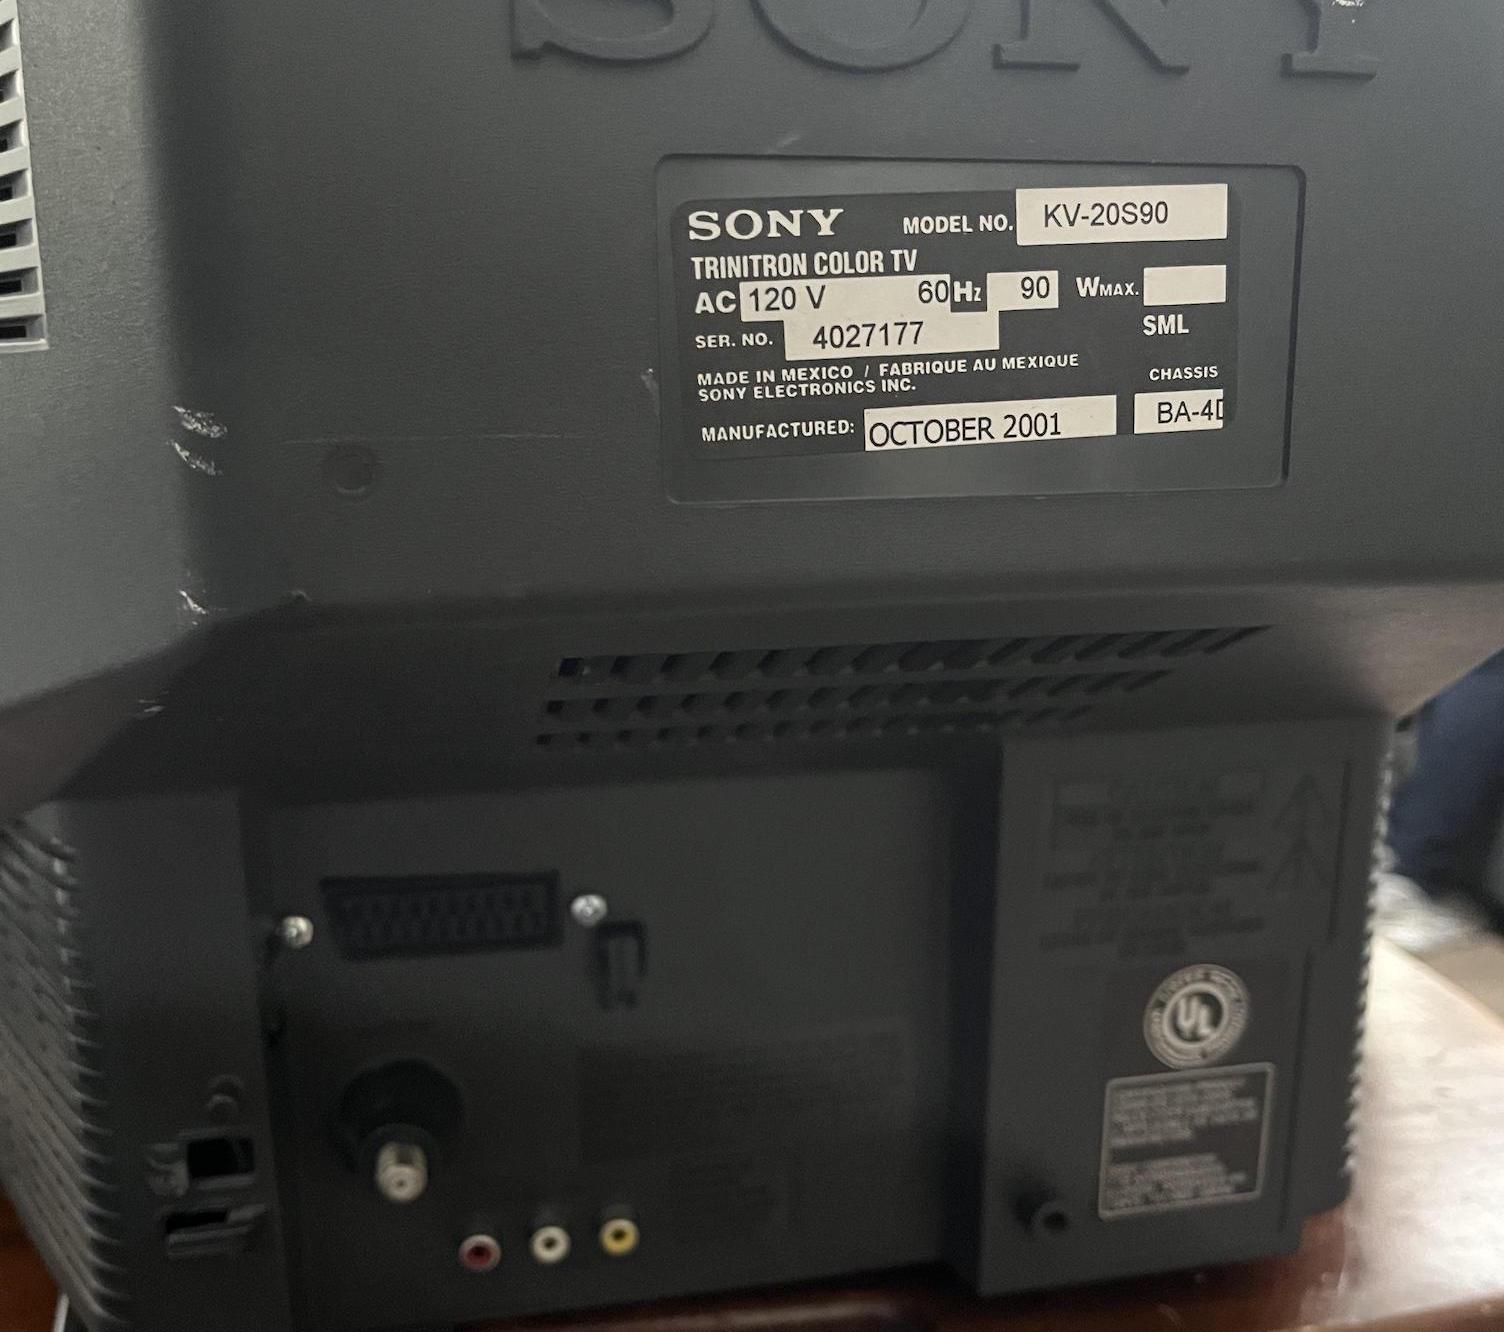
Reducing interference
Sometimes you might notice micro interference in the video signals. This is expected. To reduce it, try the following.
- Use diodes in-line for RGB signal
- Make sure your blanking wire is connected after the diode that feeds into the chroma chip (see diagram)
- Try routing most of the cabling below the PCB
- Keep the ribbon cable short
- I really didn't find any difference in interference in using shielded vs non-shileded cables. Therefore, this is optional.
Getting into the service menu
- Turn the set on and then put into standby
- Press the
Display,5,VOL +buttons in sequence - Turn on the CRT and you should be in service mode
- Use buttons "1" and "4" on the remote control to navigate the service menu
- Use buttons "3" and "6" to adjust the selected data
Pictures of the mod
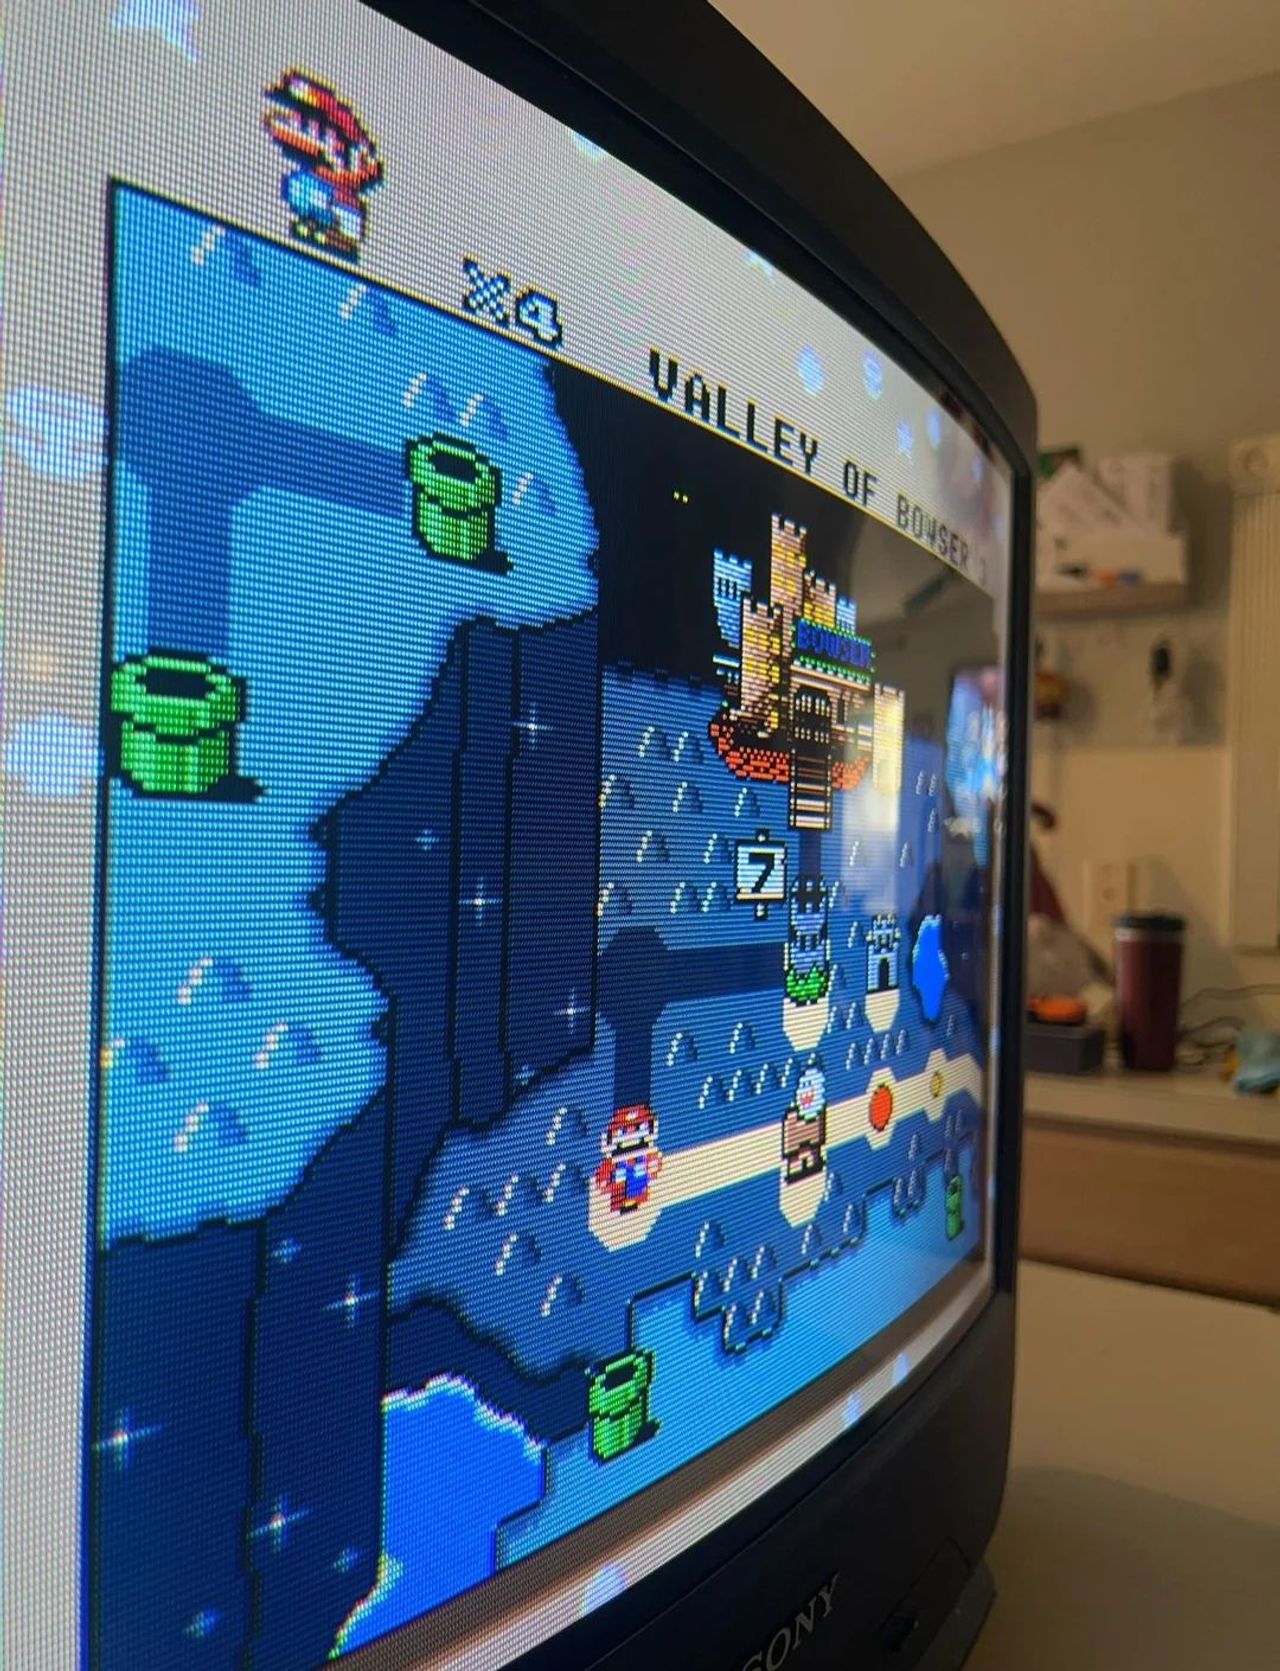
Games
Super Mario Kart 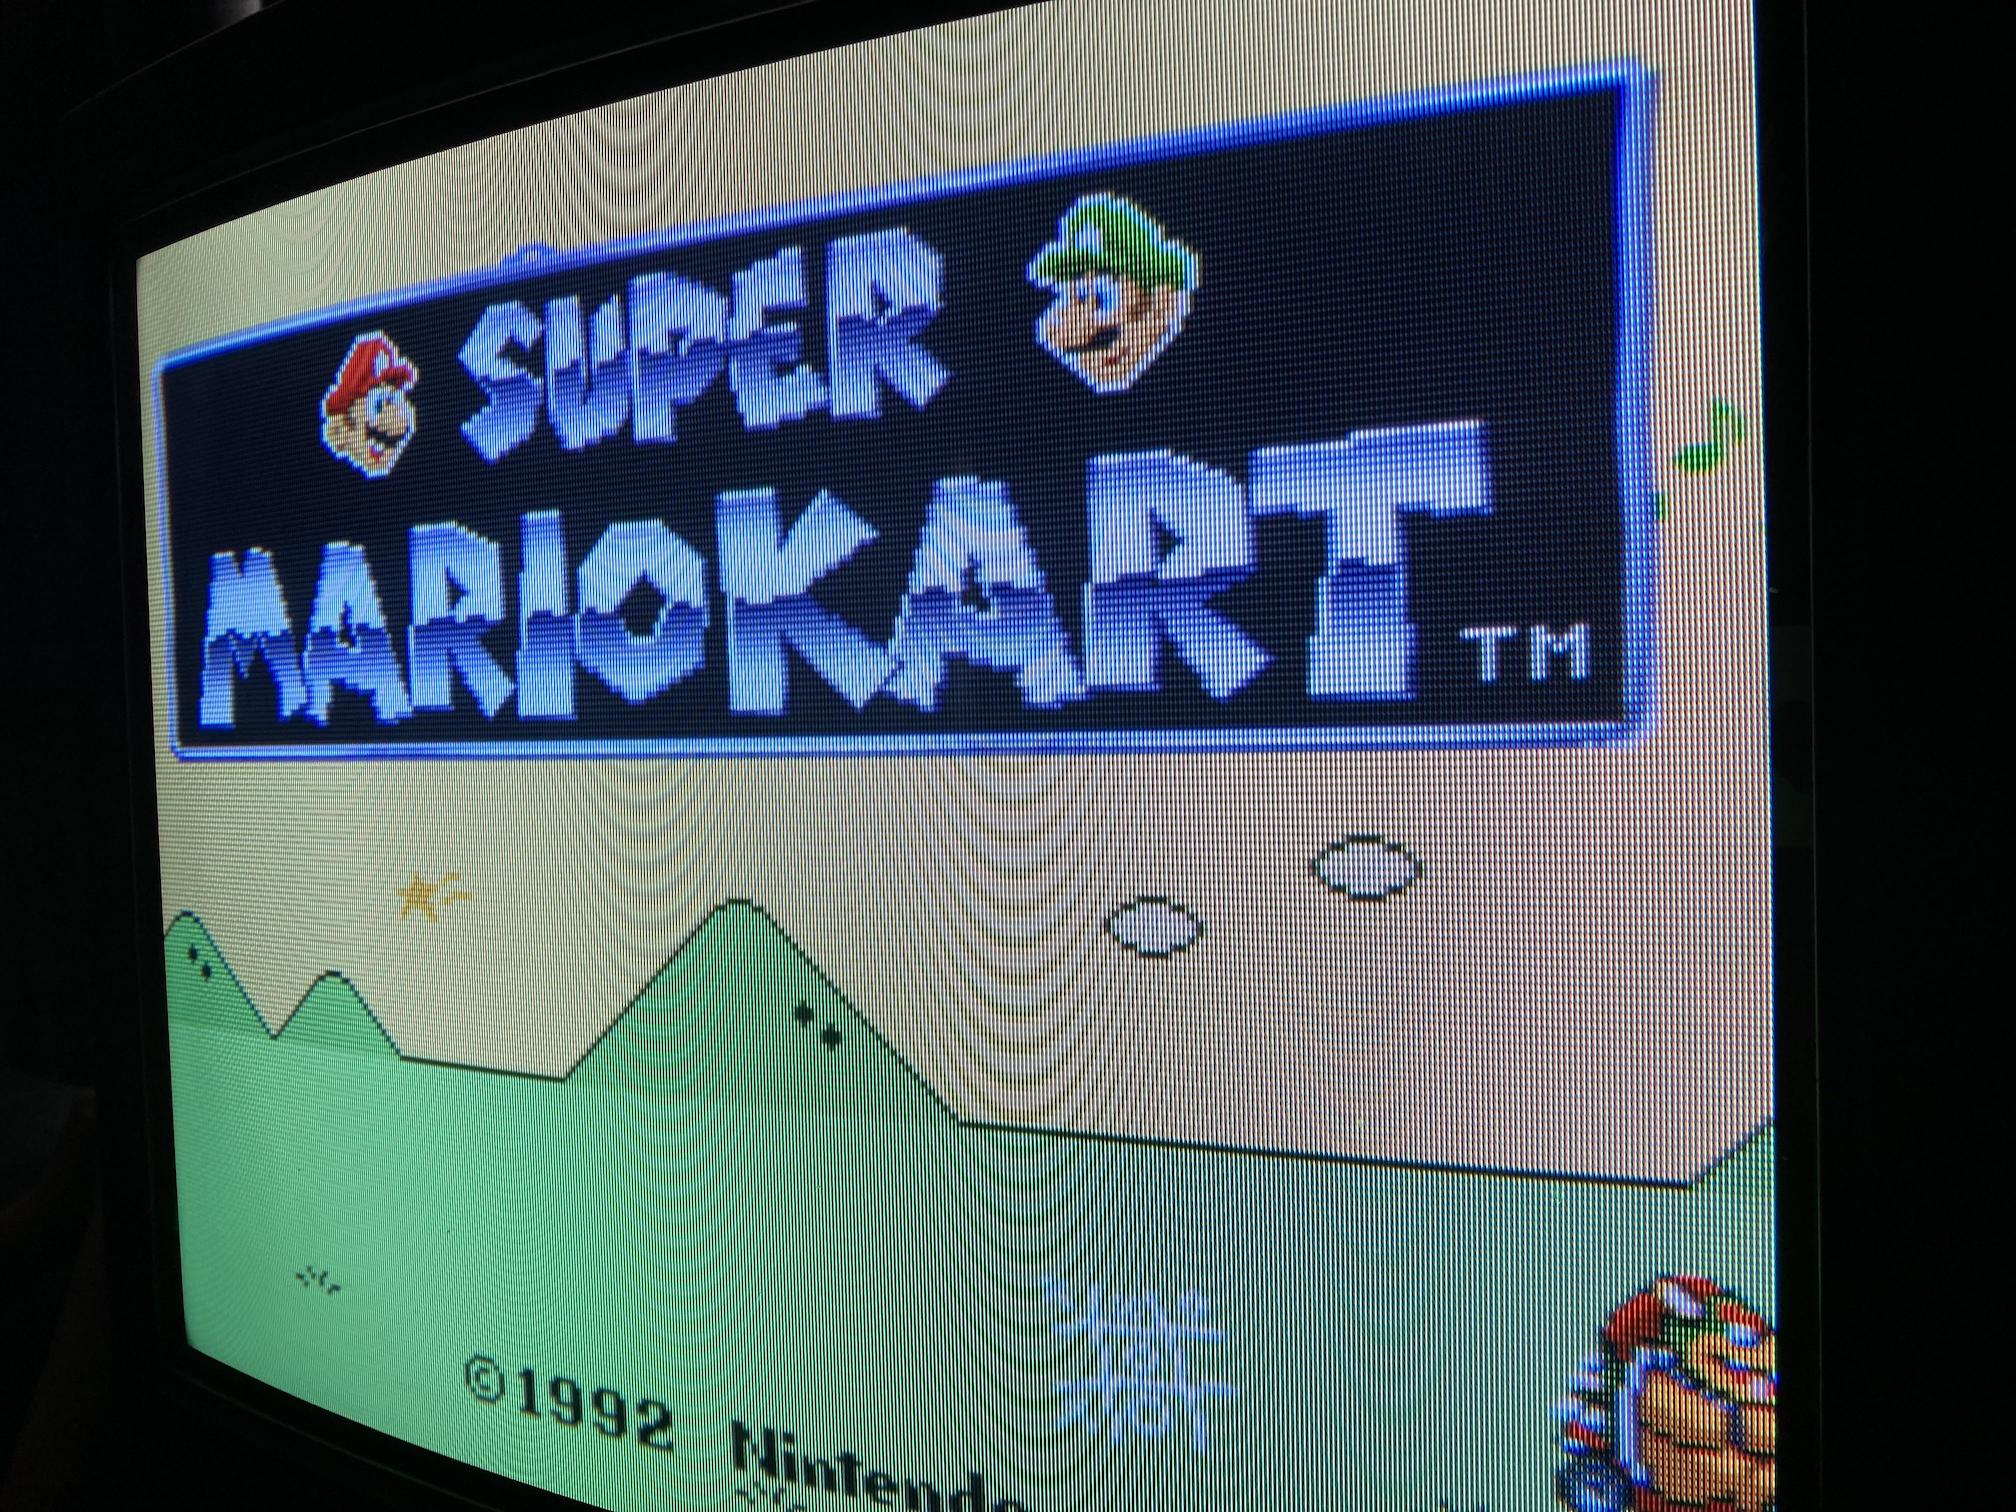
Demon's Crest 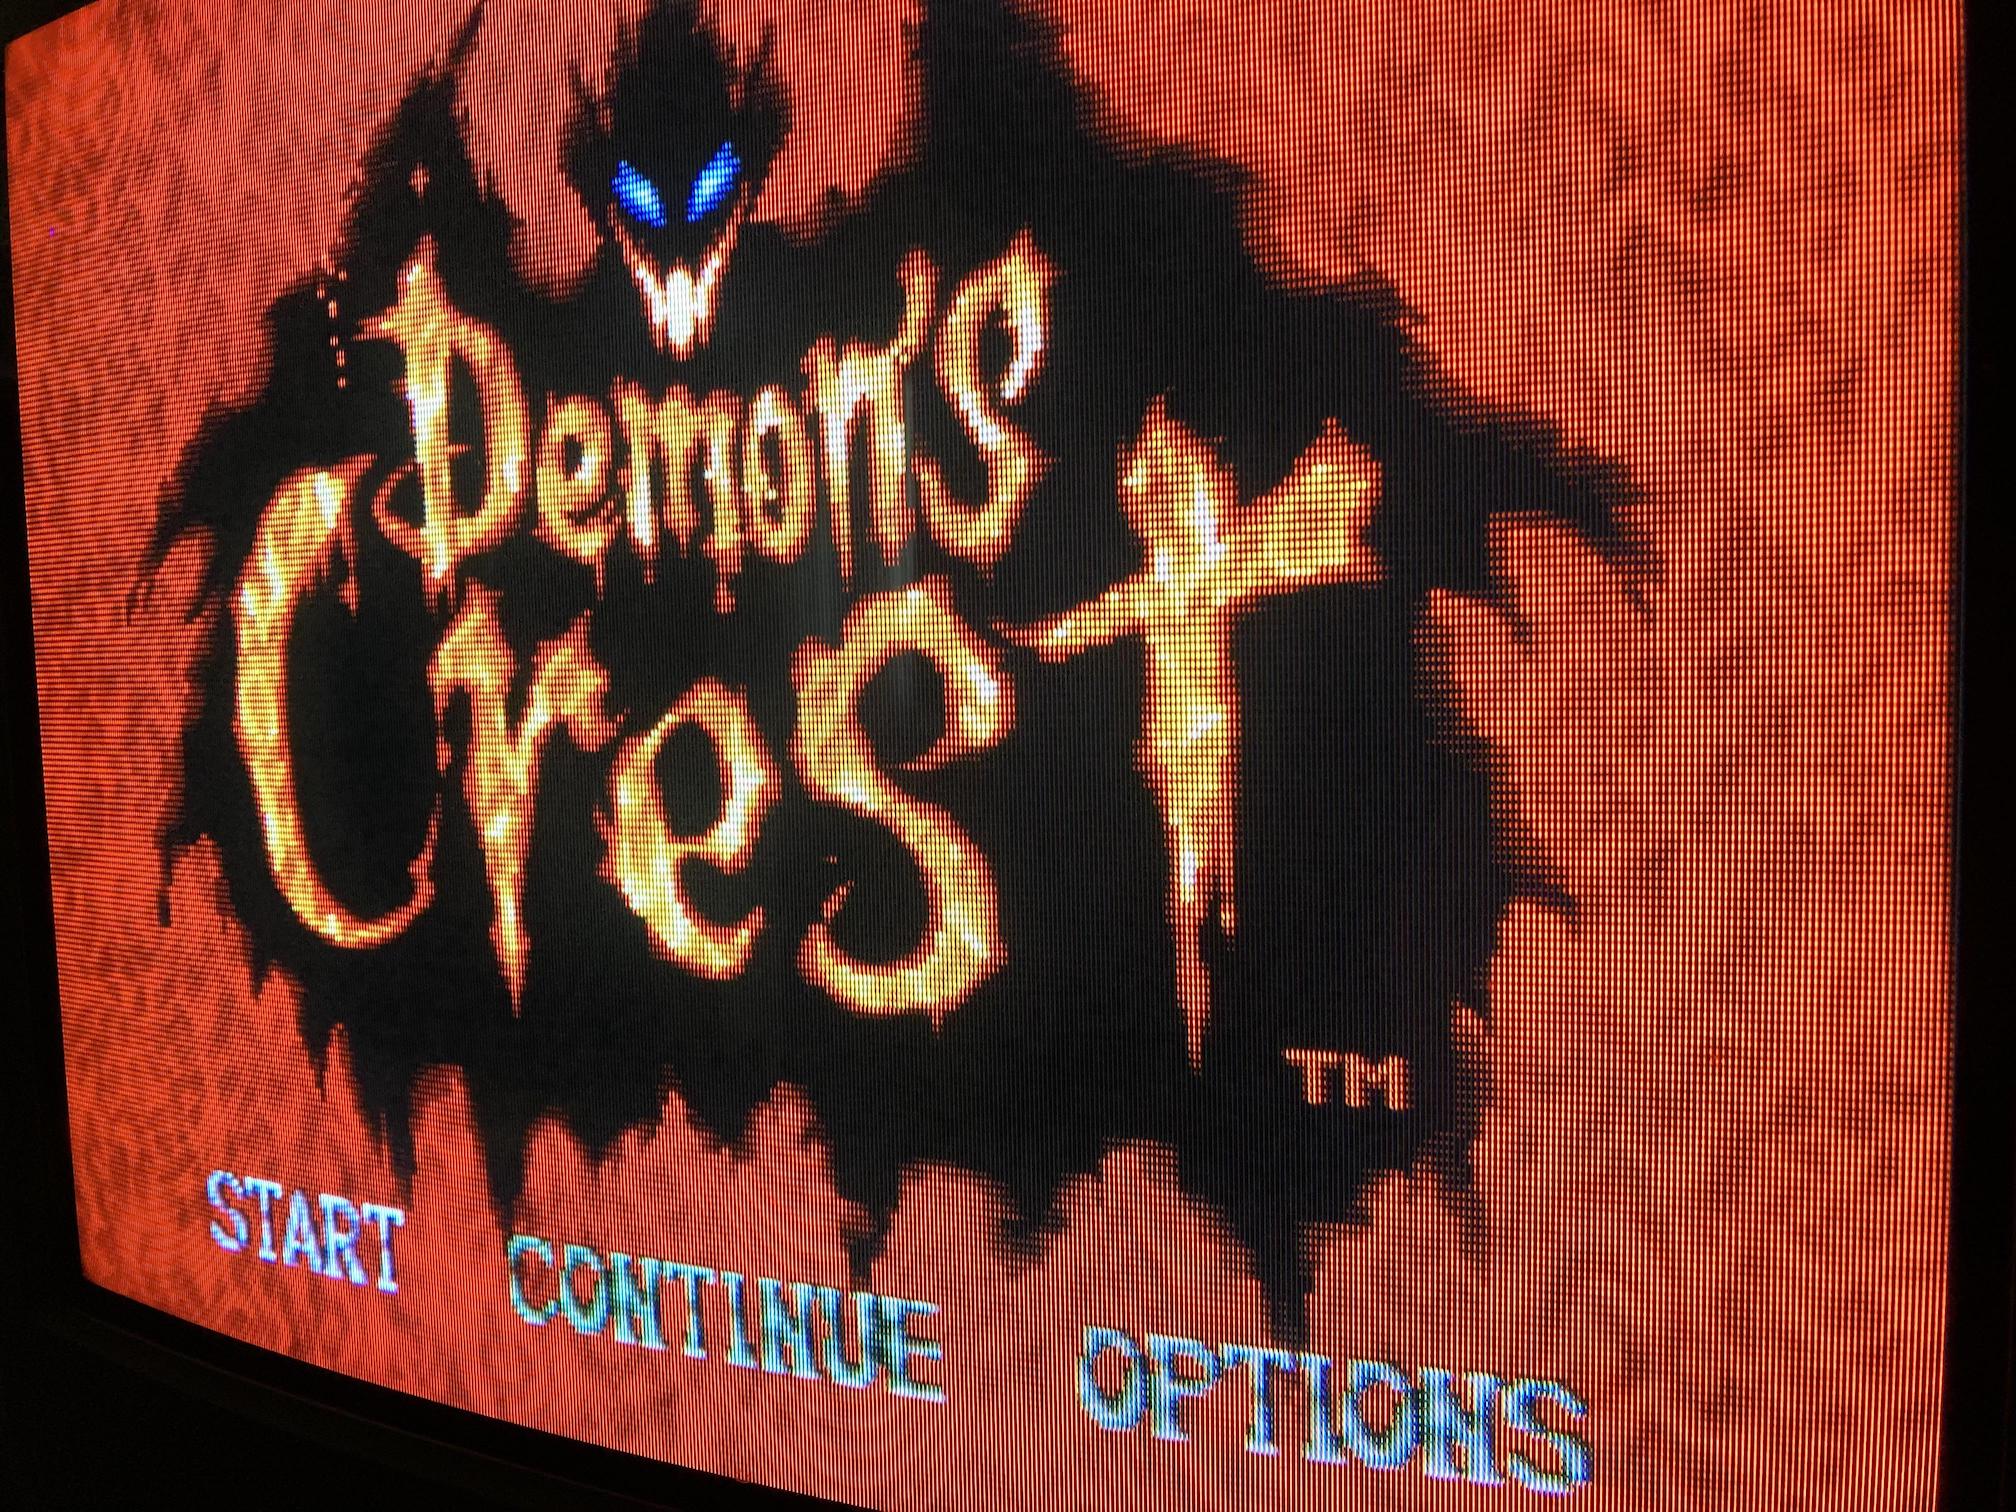
Zombies Ate My Neighbors 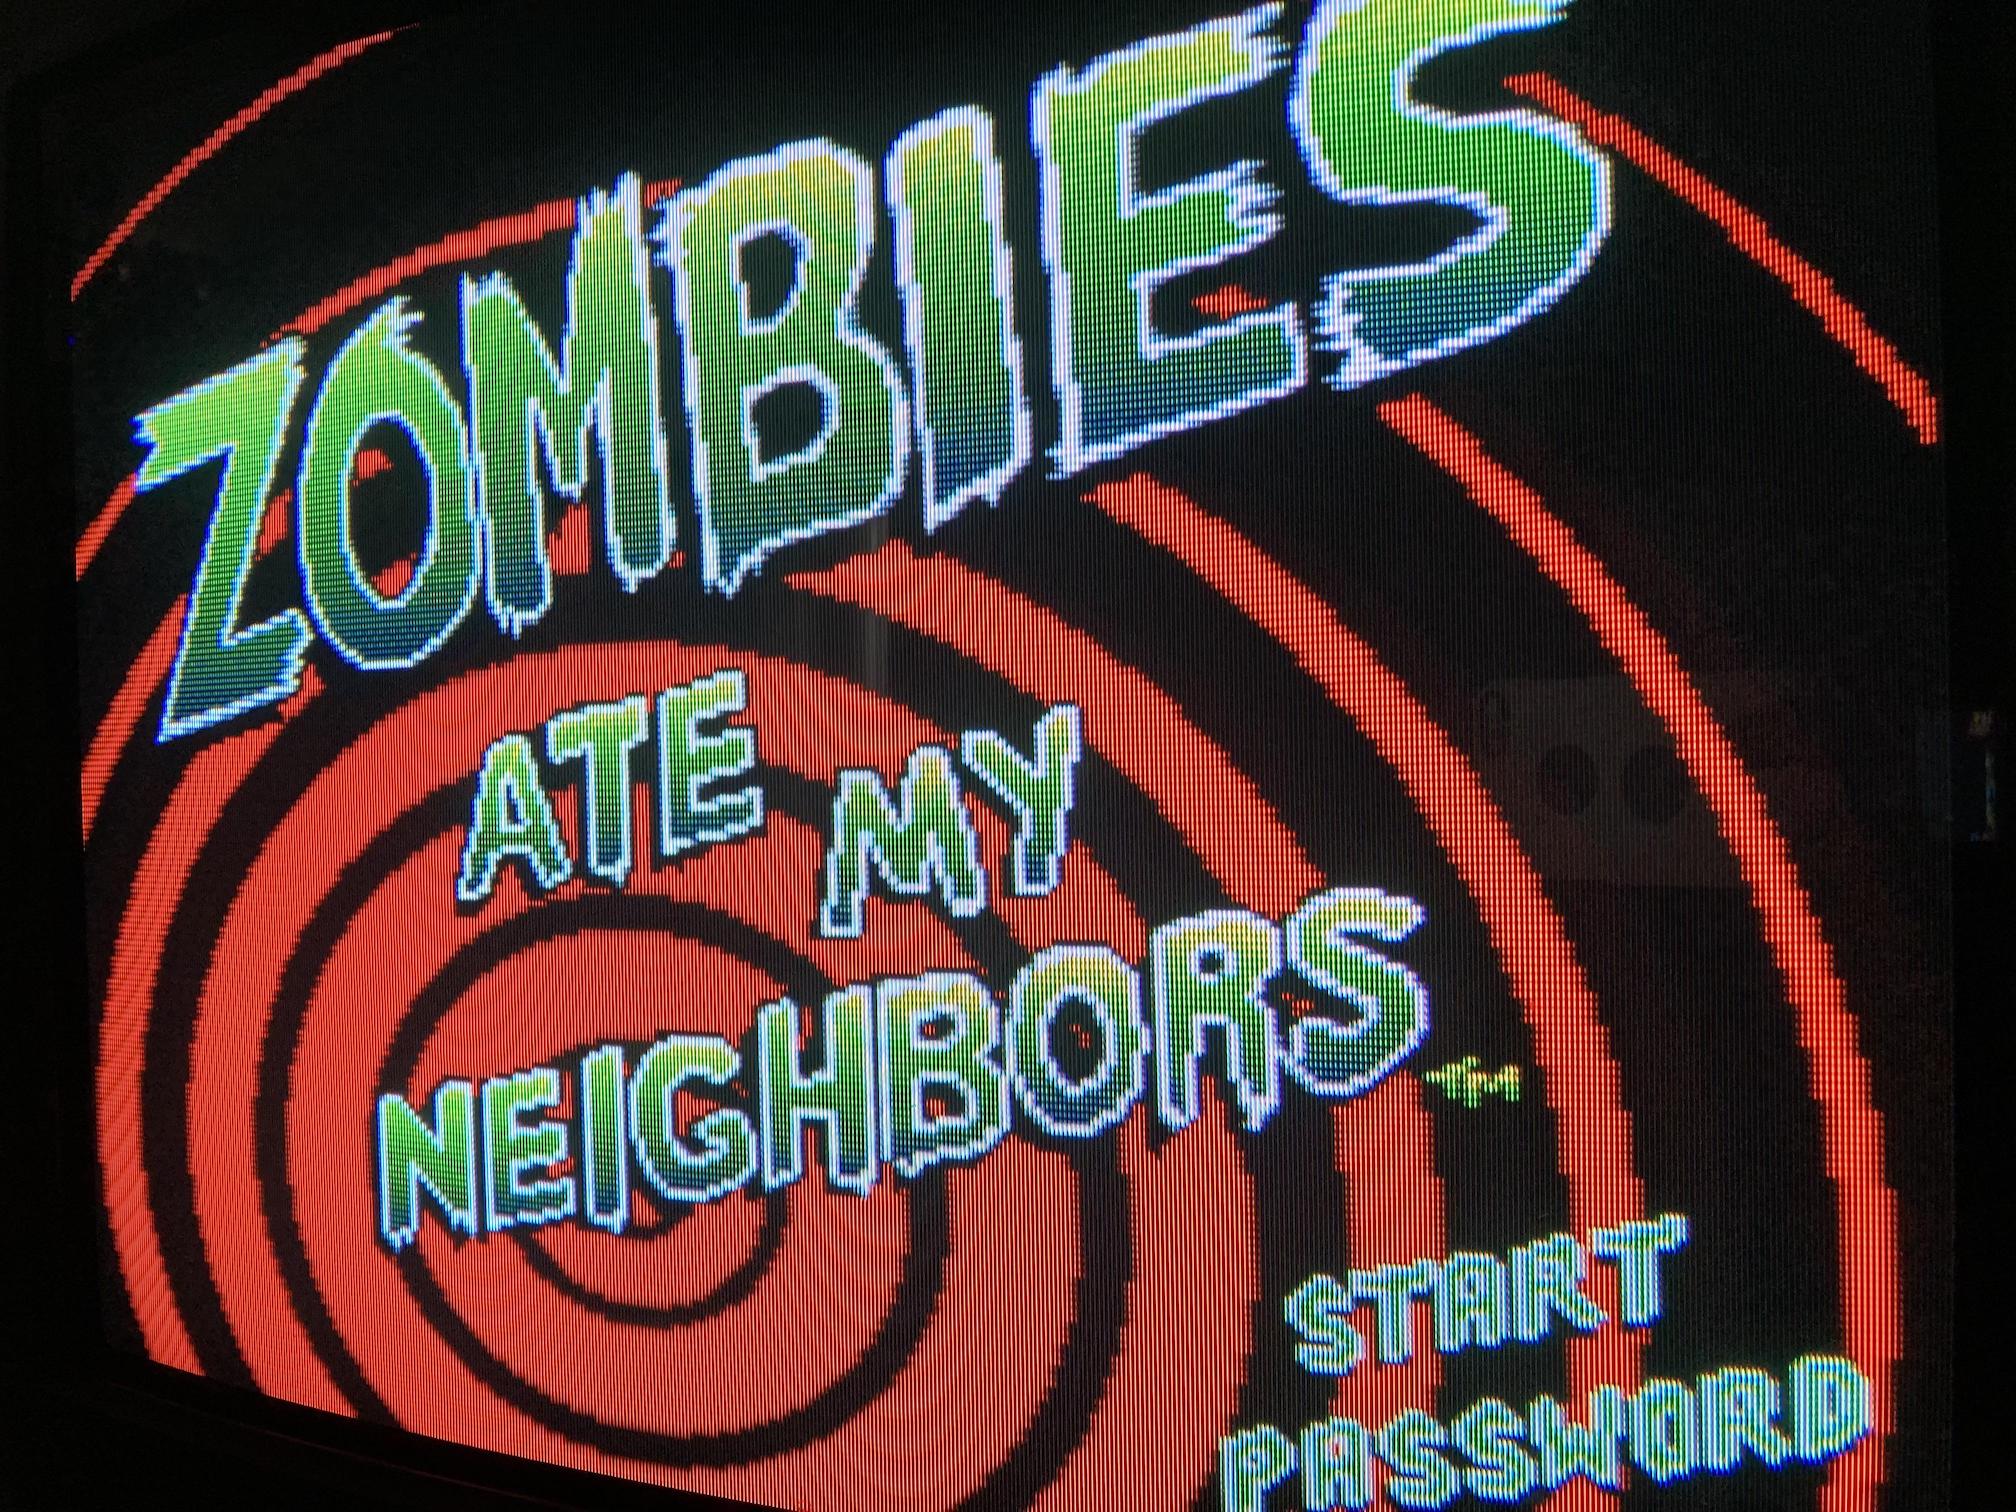
Closeup 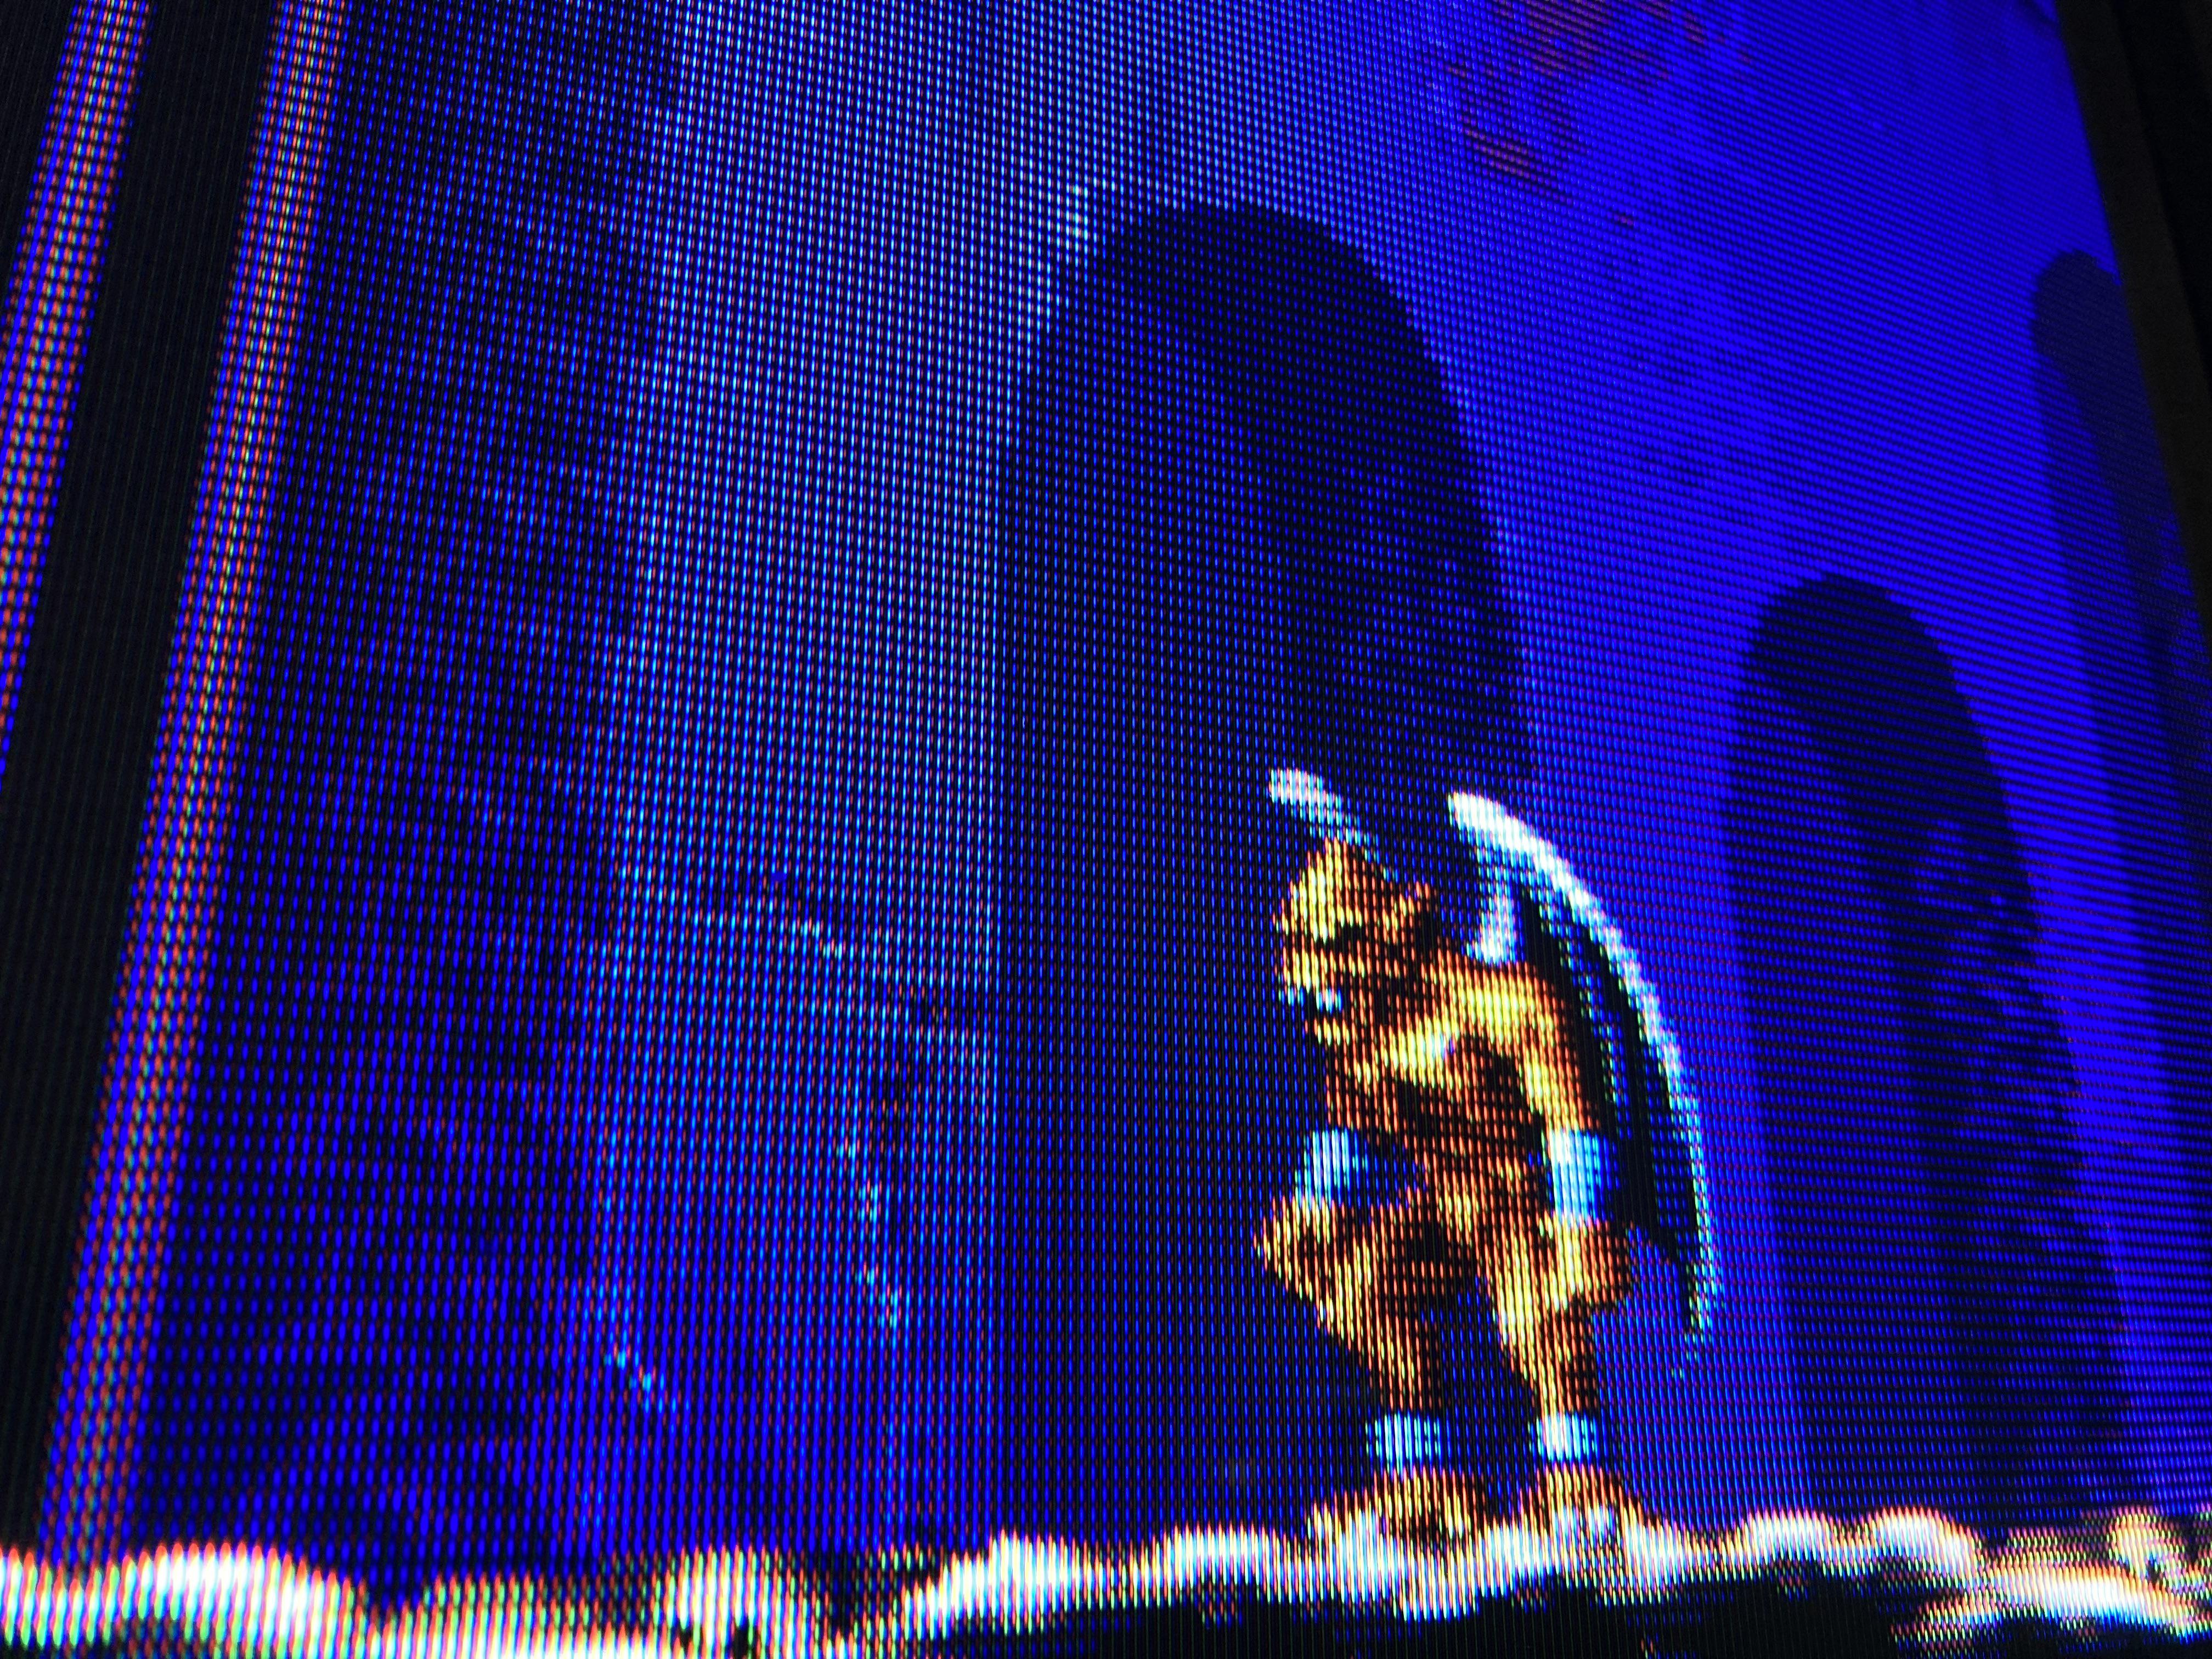
Patterns
Grid - KV-20S90 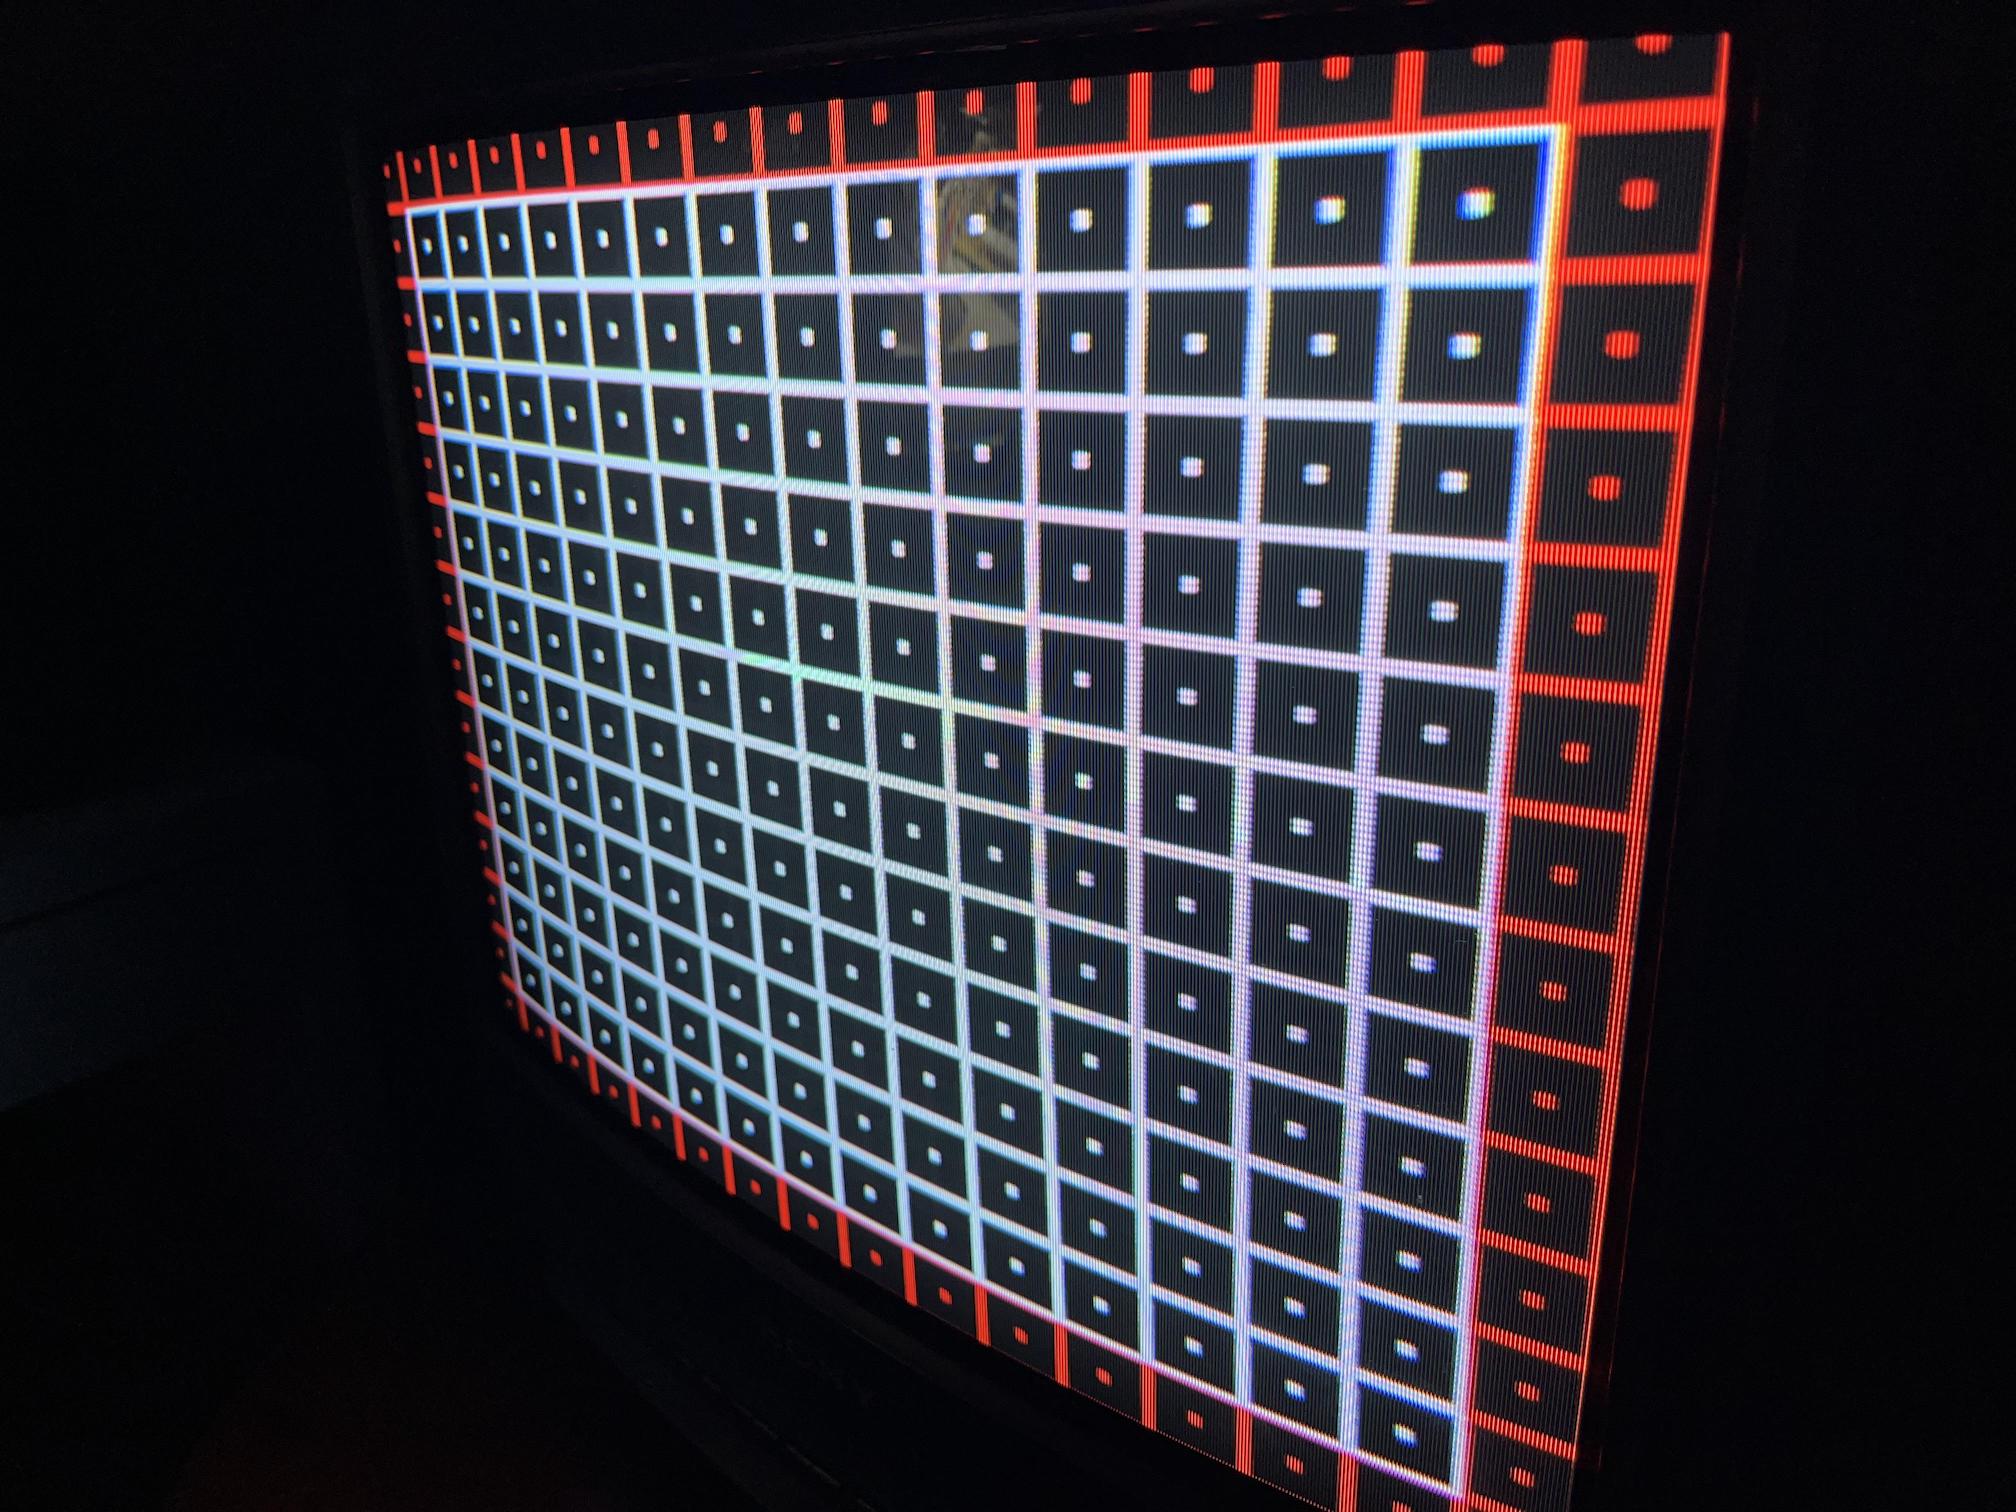
Pictures
Reference Photos