RGB Brightness
Let's fix that moody RGB brightness!
Ever jazzed up your set with some RGB magic and ended up with an image so dark it makes you question your modding skills? Don't worry; you're not alone in this head-scratching adventure.
I'm tackling this issue head-on because it's a puzzle that keeps popping up. What's even more puzzling is when the composite input is as good as it was before, but RGB image is darker. Particularly, if your set boasts a Toshiba chroma IC, this little quirk loves to make an appearance.
Take a peek under the hood of that IC, and here's the kicker—the RGB input avoids the brightness and contrast controls altogether. Crafty, right? Time to decode the mysteries of RGB brightness!
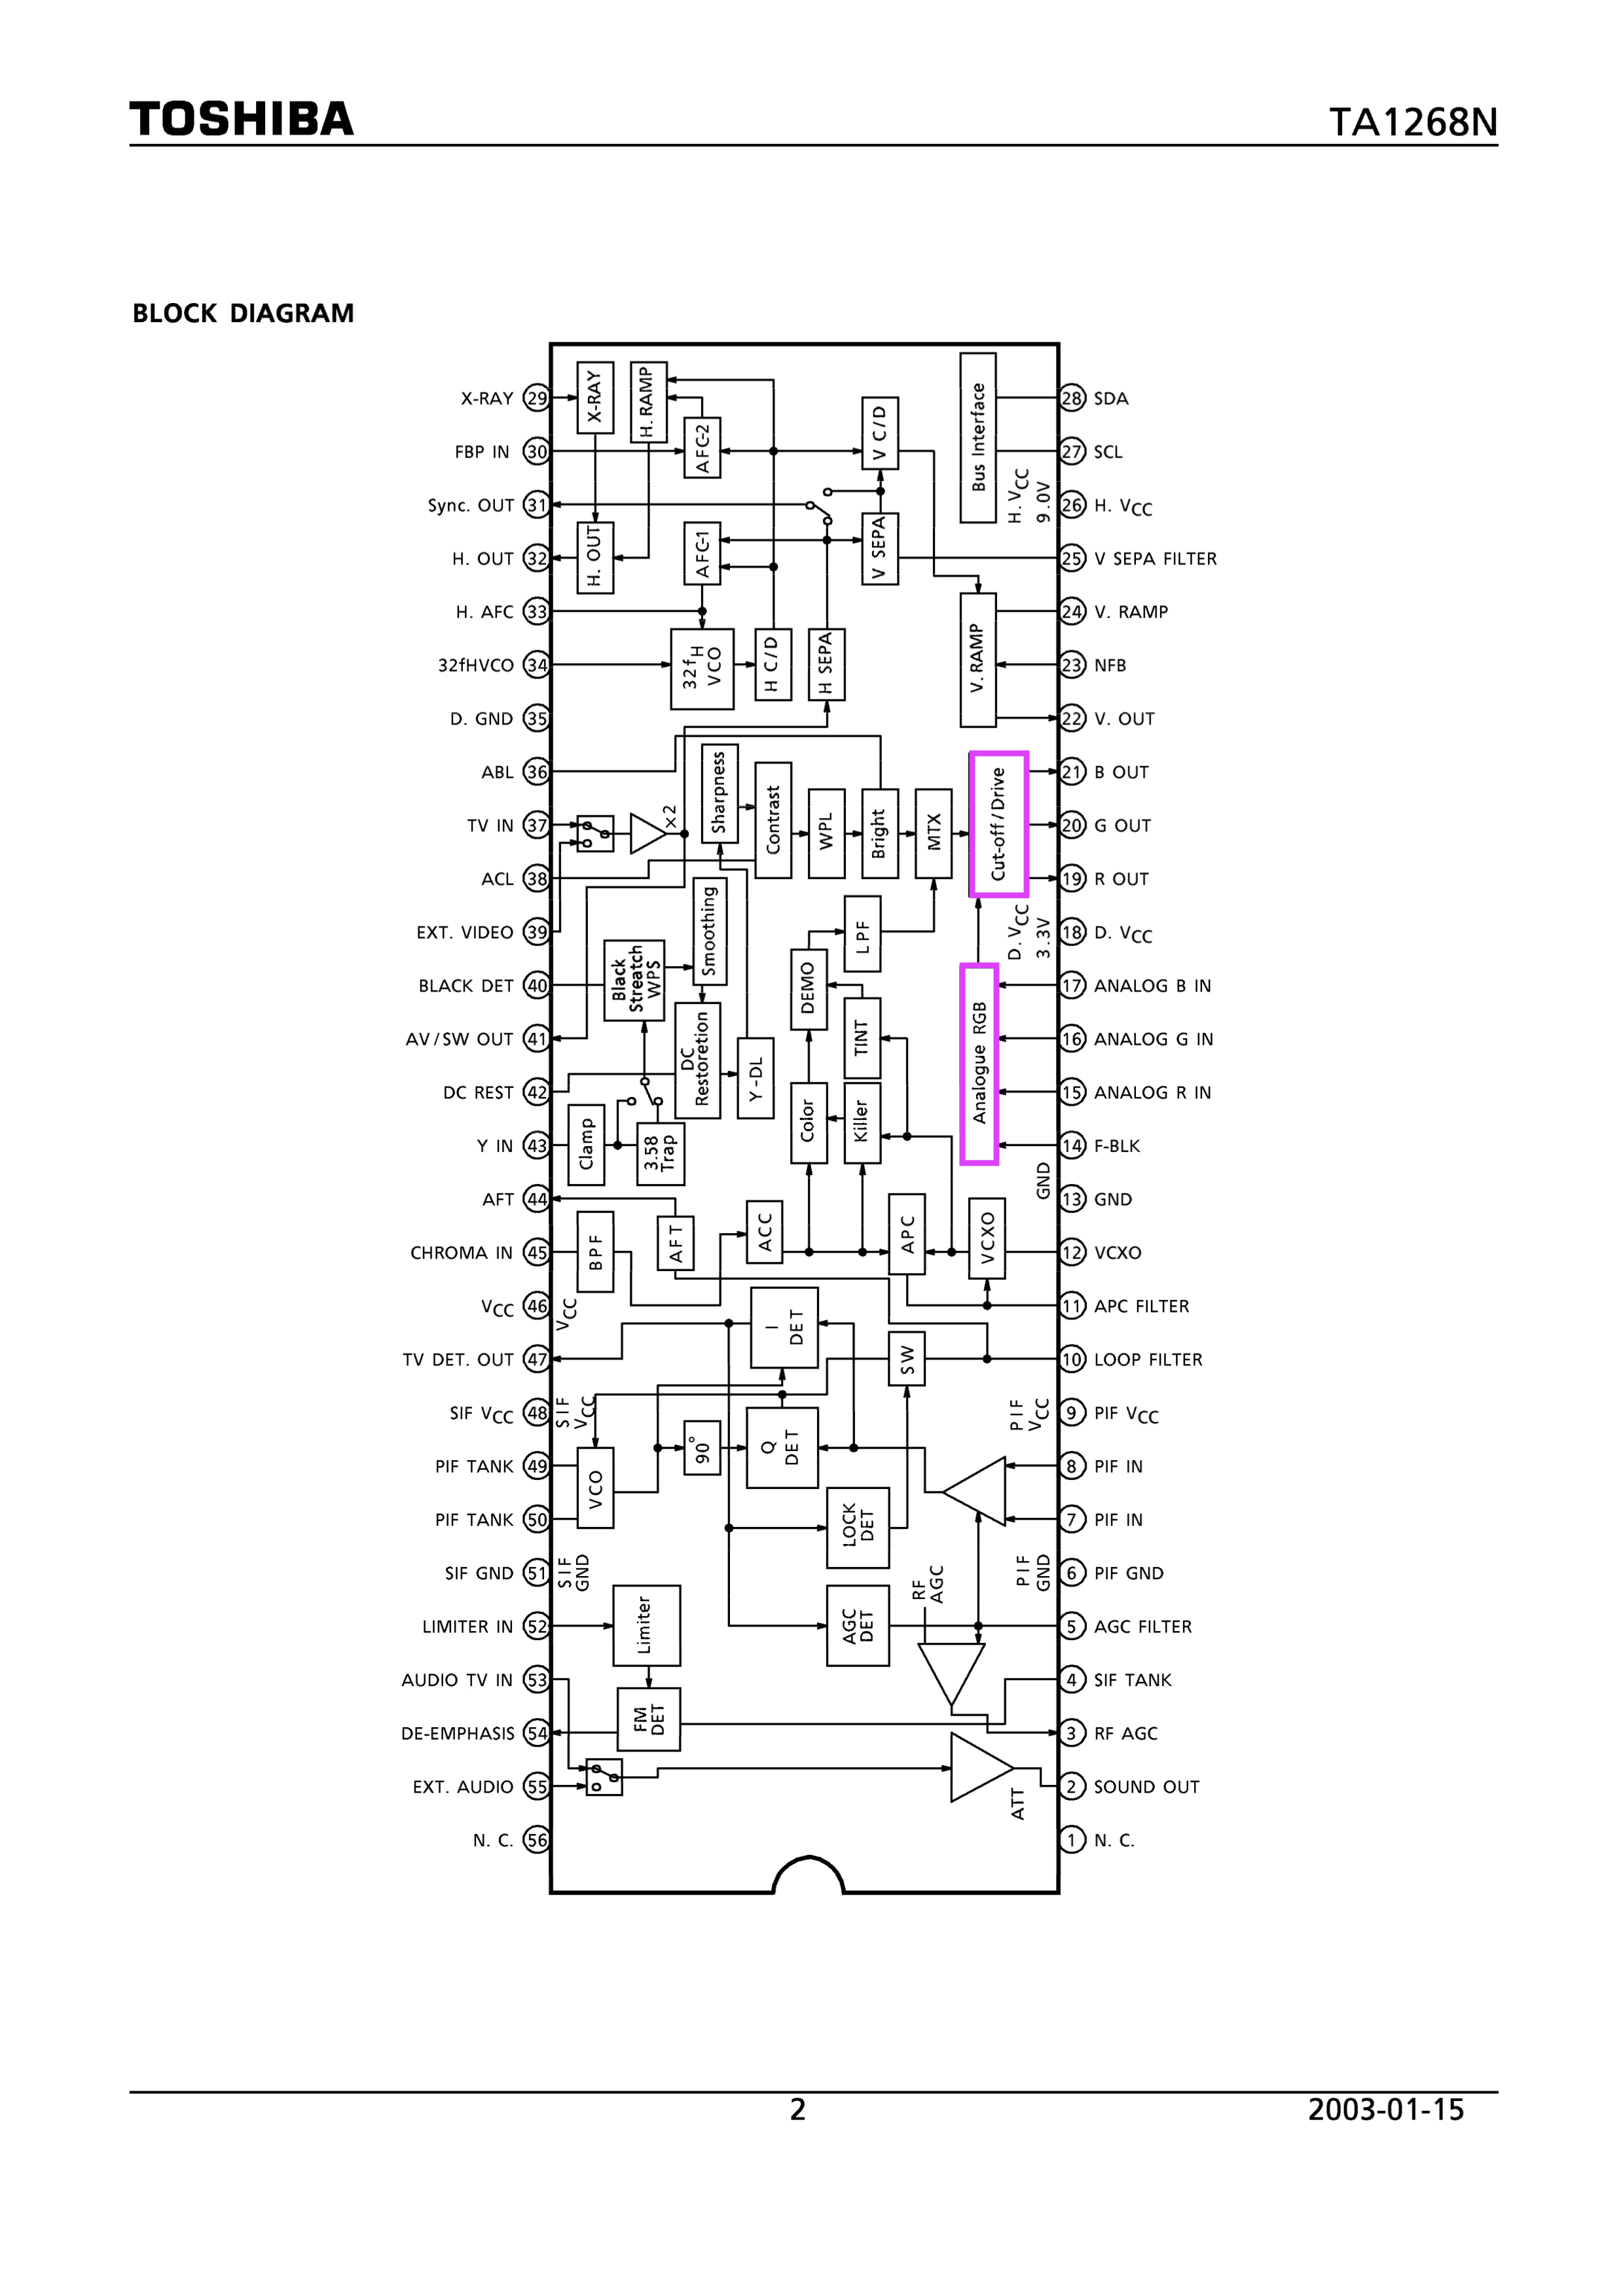
In the diagram above, you'll notice the RGB input goes through the "RGB cutoff/drive" block. This means you can't adjust the RGB brightness through service menu. However, all hope is not lost!
What levers do we have?
There are five primary levers we have that we can adjust to fix this issue.
- Flyback voltage
- Service menu brightness/contrast
- User menu brightness/contrast
- RGB termination resistance
- RGB/Cut off drive
However, not every lever in this list can be used to tweak the newly added RGB input. To make sense of these levers, we need to grasp which ones influence the RGB input vs the composite input. Keep in mind, this information is specific to the example IC mentioned earlier. Yet, it appears to follow a consistent pattern in various sets I've modded, including those from Samsung, Toshiba, and Sharp.
| Lever | RGB | Composite |
|---|---|---|
| Flyback voltage | Yes | Yes |
| Service menu brightness/contrast | No | Yes |
| User menu brightness/contrast | No | Yes |
| RGB termination resistance | Yes | No |
| RGB cut off/drive | Yes | Yes |
The best way to understand the usage of these levers is through practical examples.
Example: Sharp CJ13M10
Let's walk through the modification of a Sharp CJ13M10 following the guidance on the RGB theory page. According to the theory, the termination resistance should be 75 ohms, and RGB inline resistance should be 1200 kohms. Sounds good, right? Well, here's the catch—the RGB image ends up darker and less vibrant.
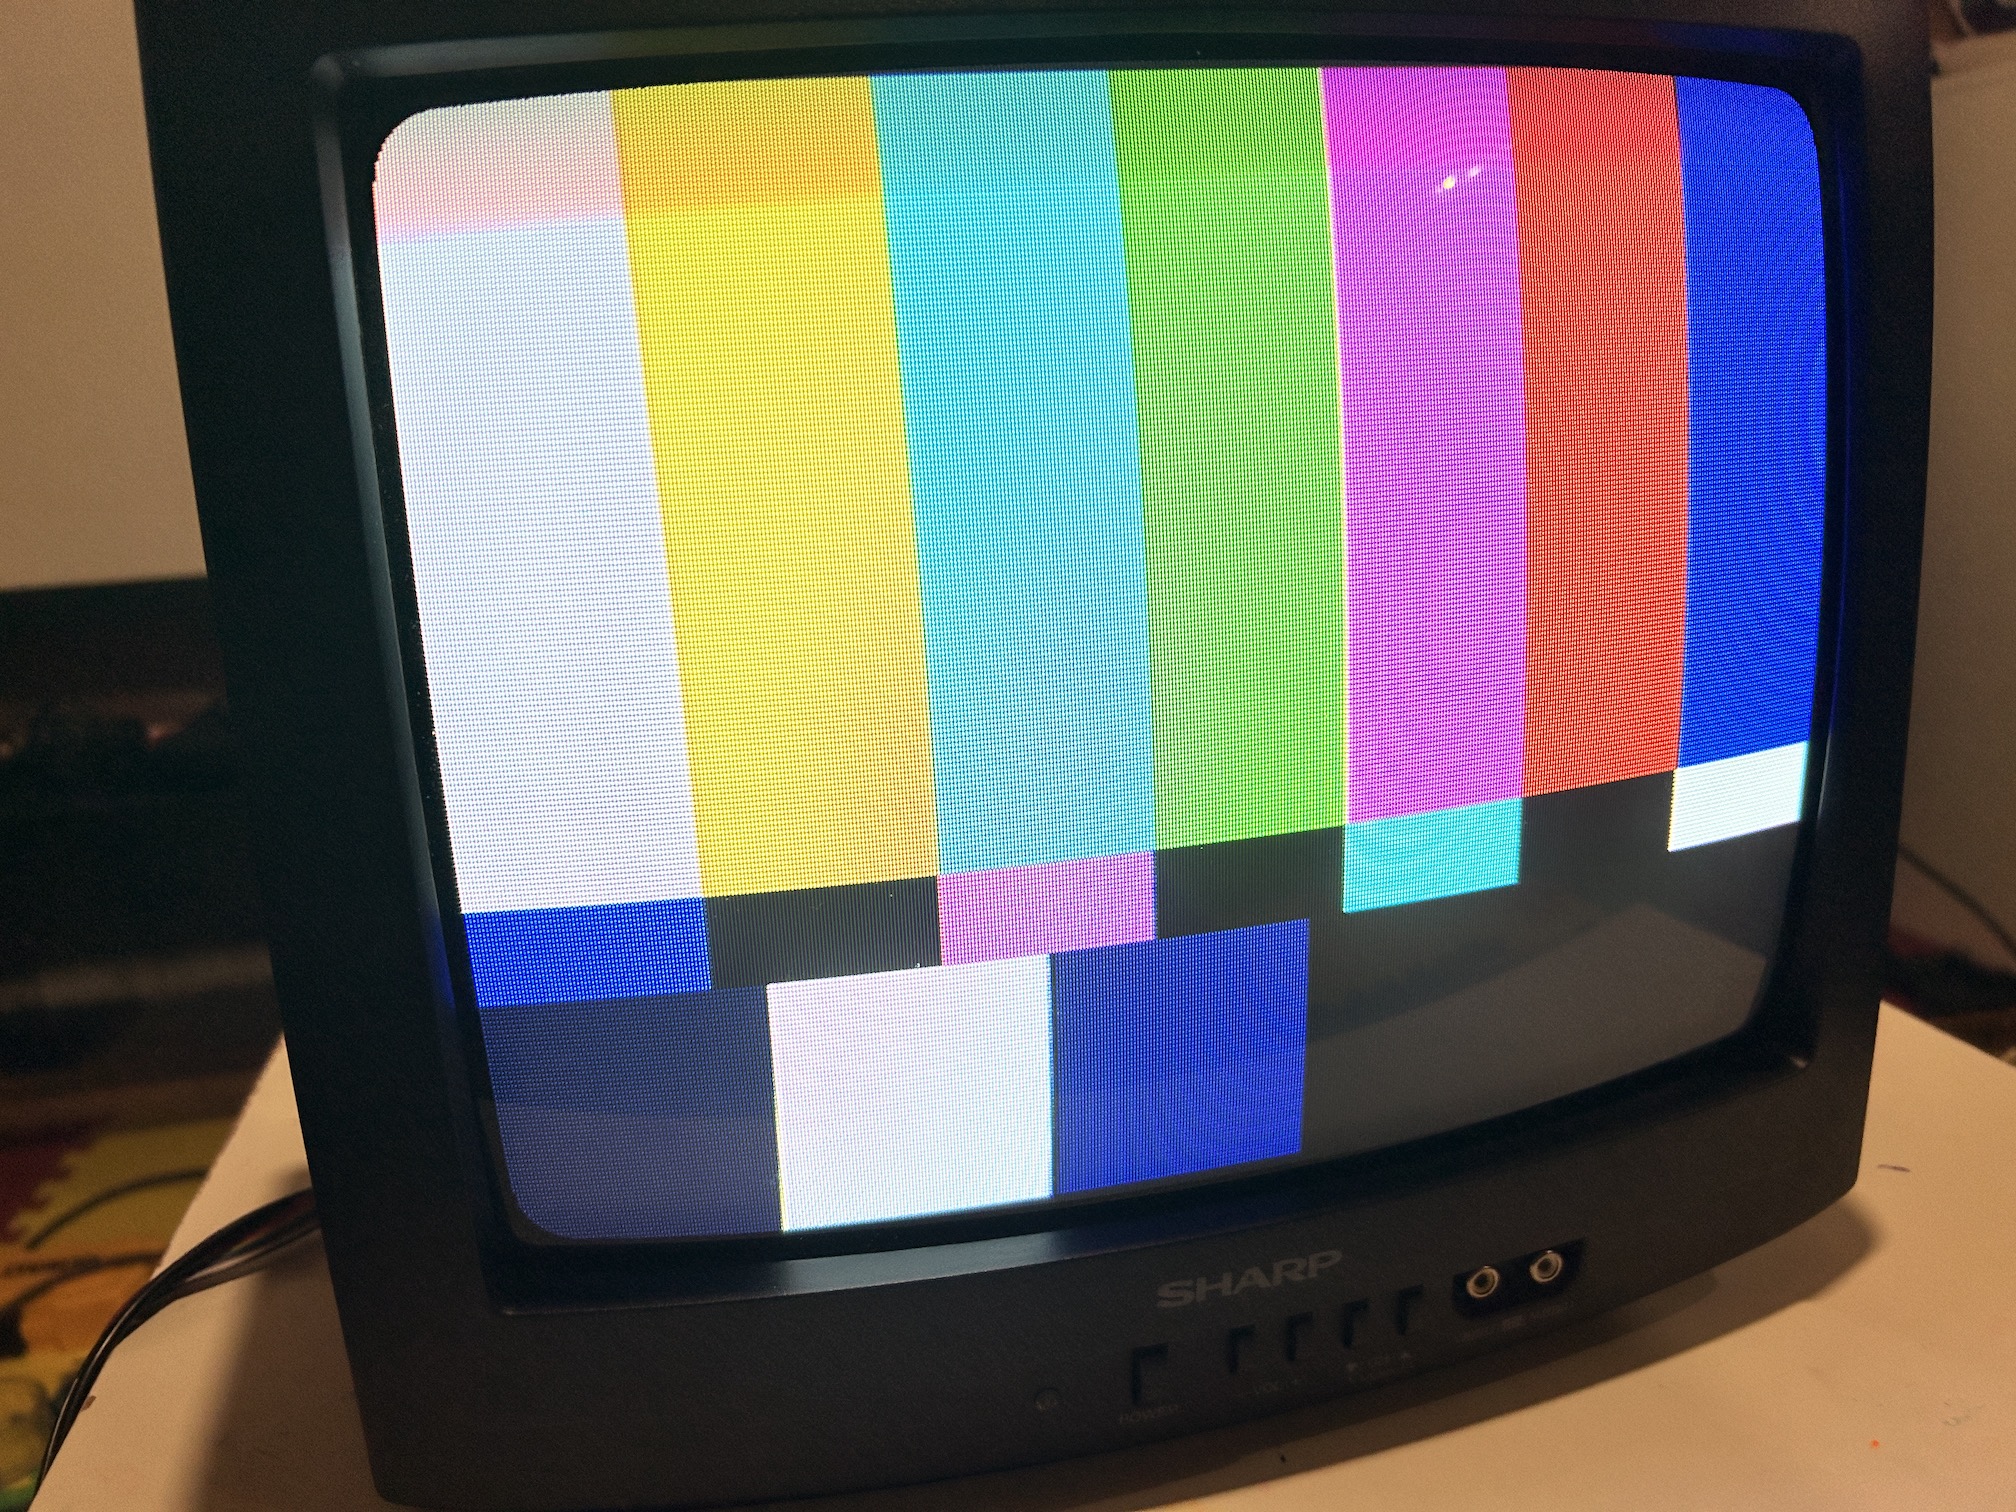
Step one: Amp up the flyback voltage to bring the RGB picture to a more reasonable state. Check if the 240p color bars sit above the midpoint; that's your green light.
Next, unplug the RGB input. Surprise! The no-input screen is now brighter than it should be. Time to dive into the service menu and dial down the brightness level. In the Sharp example, I made an adjustment from hex value 55 to 42. Yes, it's a significant drop, but this is the spot where your background becomes just dark enough where you can't see any light bleed through the black screen.
Now, we've got a sweet spot between RGB and the no-input screen. Yet, connect composite, and you'll notice the image is still too bright and washed out. Head into the user menu, tweak the brightness down, and maybe throw in a bit of contrast adjustment.
Once you strike a balance between the RGB image, no-input screen, and composite input screen, it's time to fine-tune with RGB cutoff/drive values. Word of caution: avoid touching these unless you've swapped a new tube and need a slight tint adjustment.
As a finishing touch, to amp up the RGB image's vibrancy, tweak the external RGB termination resistance from 75 ohms to something a bit higher. Aim for the magic range of 120 ohms to 220 ohms. An RGB tuner can be your best friend in this scenario. Some sets don't need this adjustment and are just fine with the default 75ohm termination resistors. But, it's good to have this lever in your back pocket just in case.
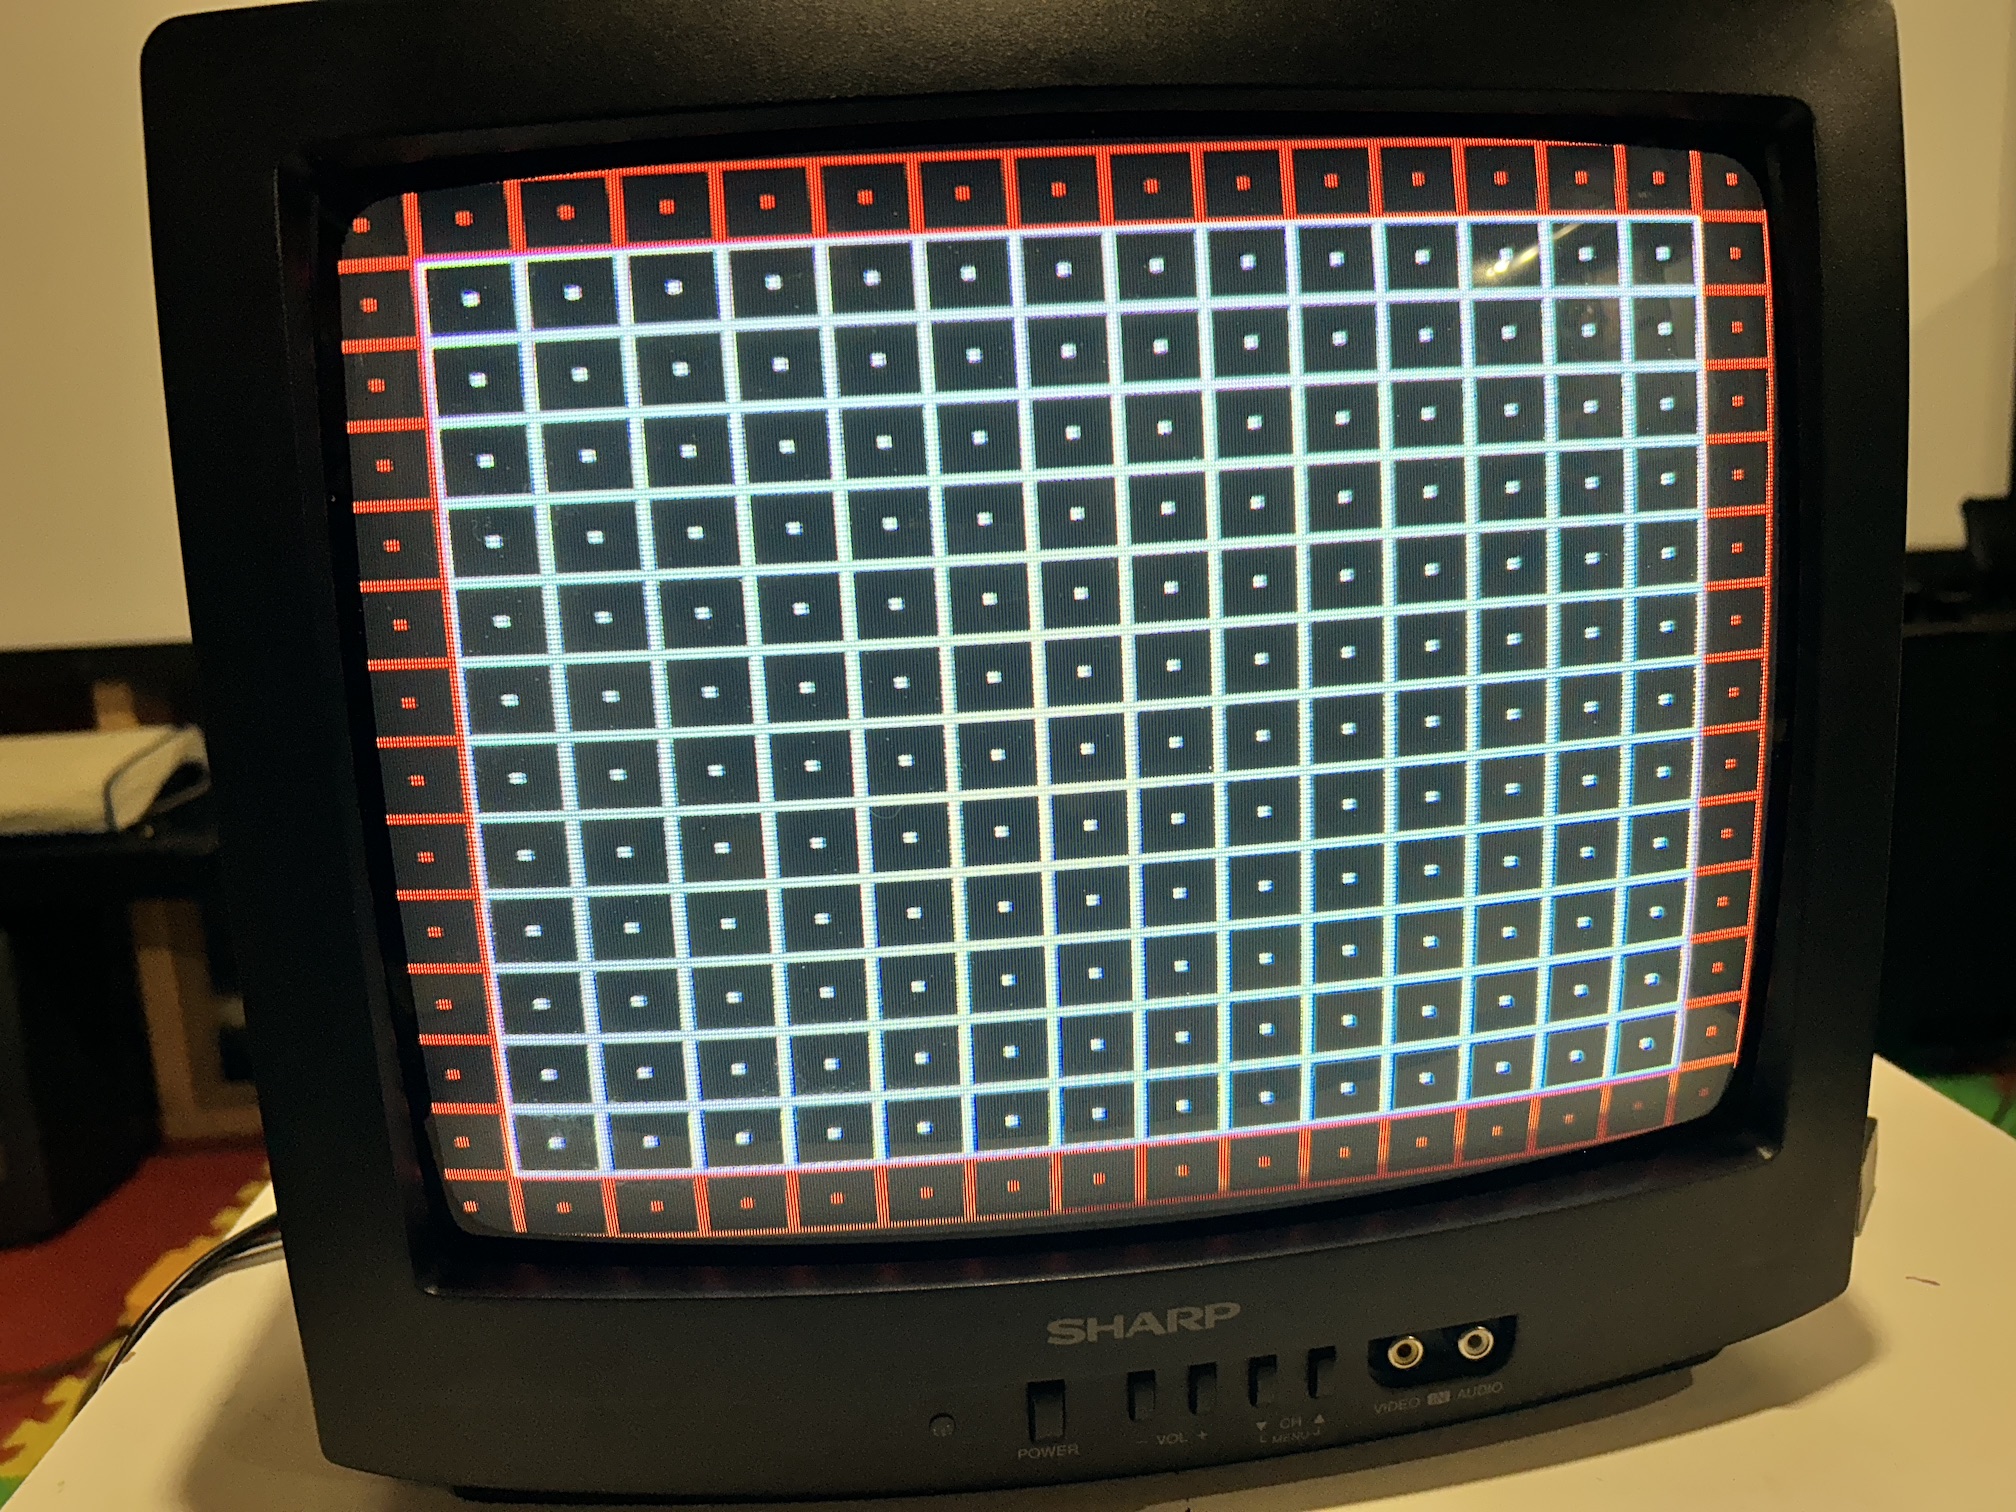
And there you have it—check out the dazzling final results!
Exceptions
The above guidelines won't be applicable if you're dealing with a dim tube or encountering other RGB mod-related issues. For instance, scenarios like feeding analog RGB to digital RGB inputs or lacking the appropriate coupling capacitors on the RGB input fall outside the scope of the discussed adjustments.