Plan of attack
About 1 min
- Review the Schematics and PCB images from the Service Manual and internalize the mod to be performed
- Read the CRT safety link above, even if you are experienced. (Your safety is #1 priority)
- Understand what components need to be removed/replaced (resistors, capacitors etc.)
- Understand where the wires (Red, Green, Blue, Blanking, Sync, Audio, Ground) should be connected
- Understand the external RGB and blanking inline resistor values needed for your particular CRT.
- Review the SCART MUX circuit diagram
- Get ready to perform the mod.! Make sure you have all the tools. Tube discharger, capacitor discharger, multimeter.
- Don't use rosin flux or any other flux if possible. Rosin flux can cause interference.
- Change capacitors that tend to be typically faulty (i.e. C407)
- Make sure the connections are good and there are no shorting (use a multimeter to do continuity tests prior to firing up the CRT TV)
- Build your own SCART circuit or use the PCB that I have designed to make your life simpler.
- Test the CRT TV with a signal going through a SCART connector
- If everything is well, create a trace for the SCART connector, cut out a port for the SCART connector and mount the MUX adapter.
- Button everything up.
- Profit.!!!
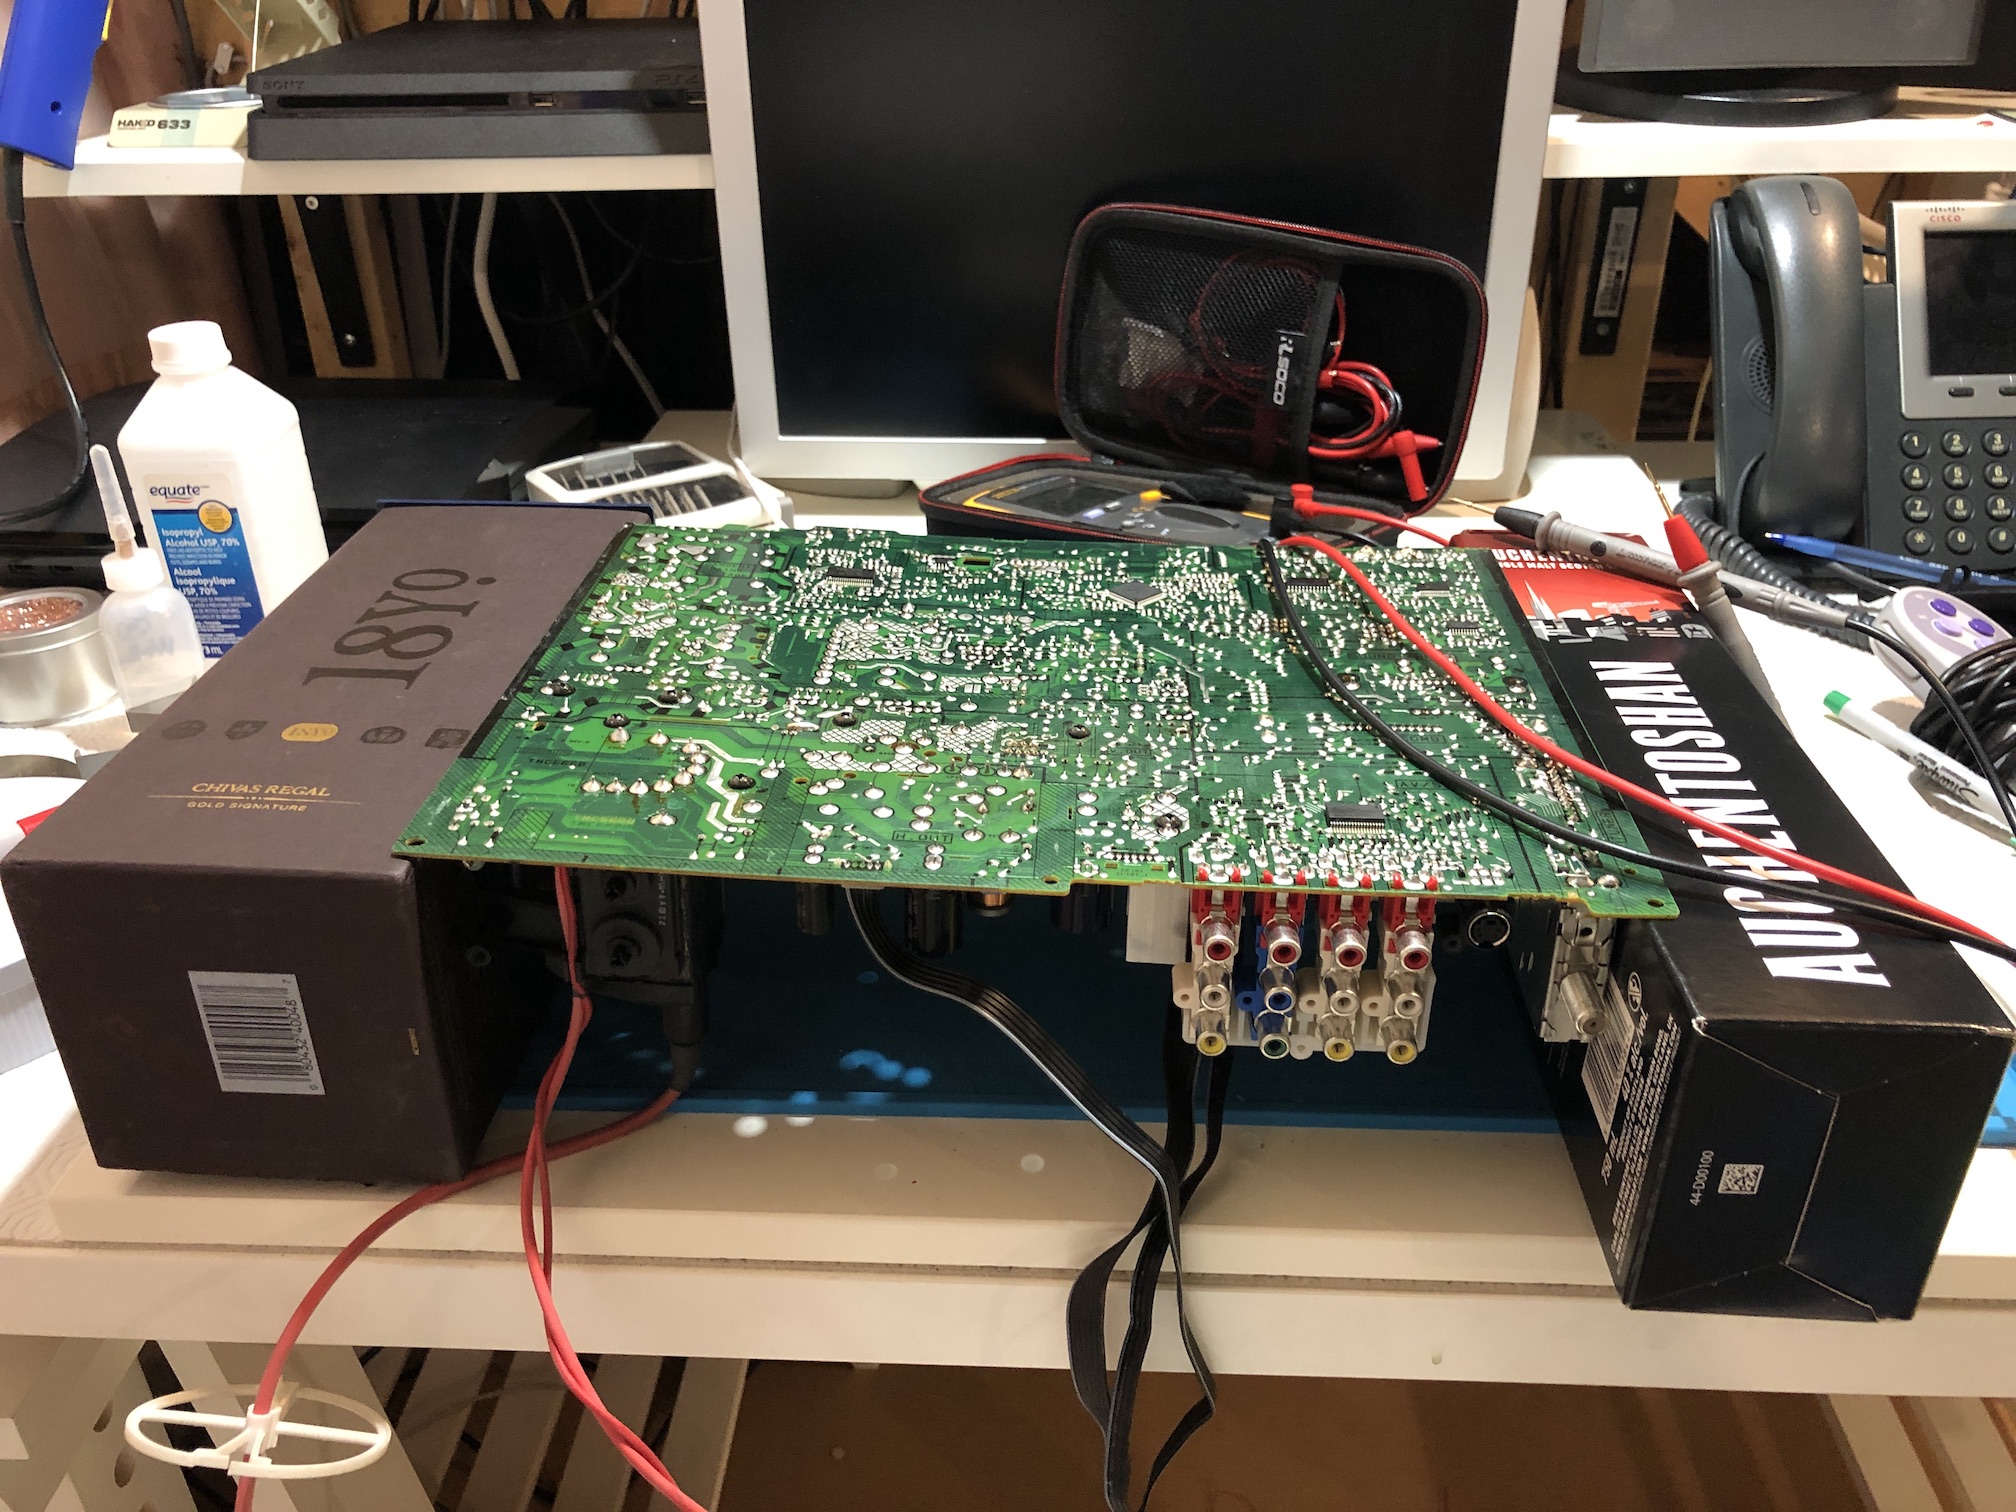
Preparing the board
Place the board on a comfortable place. Make sure you are not putting pressure on the flyback or other components. Placing the board un-evenly can crack the board and traces. Please keep in mind, some of the CRT boards are larger with heavier components on it and will crack at the first opportunity. It can be brittle due to age and stress it has been through. Take care of the board.