RGB Calibration
Custom 240p test suite
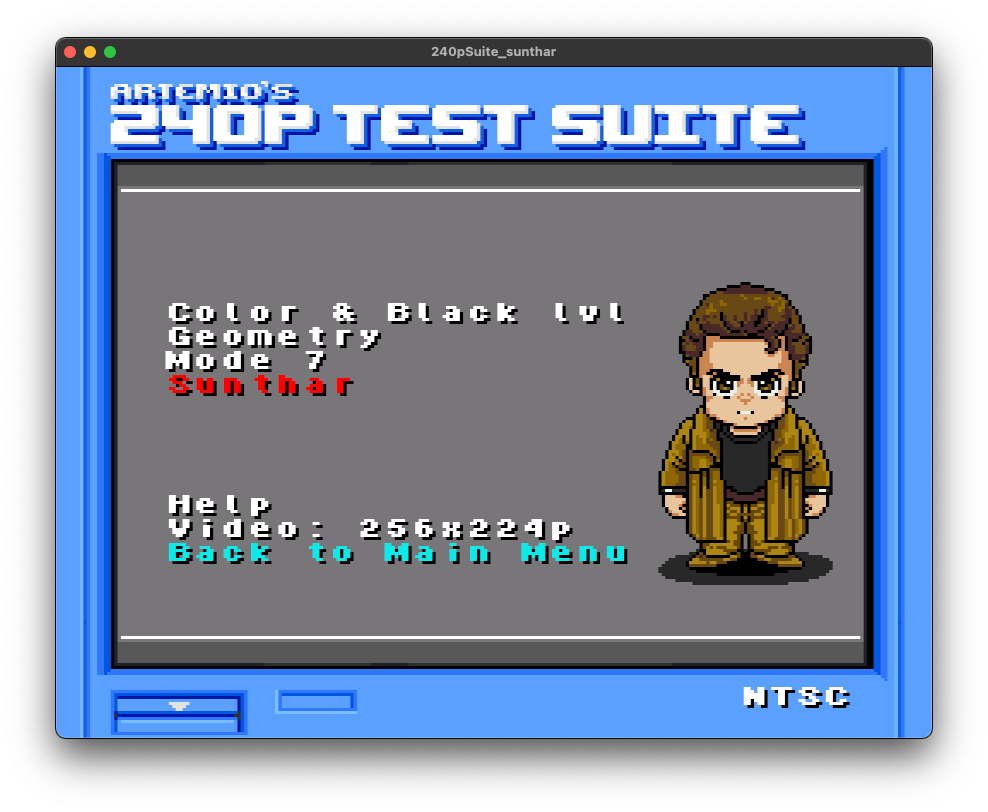
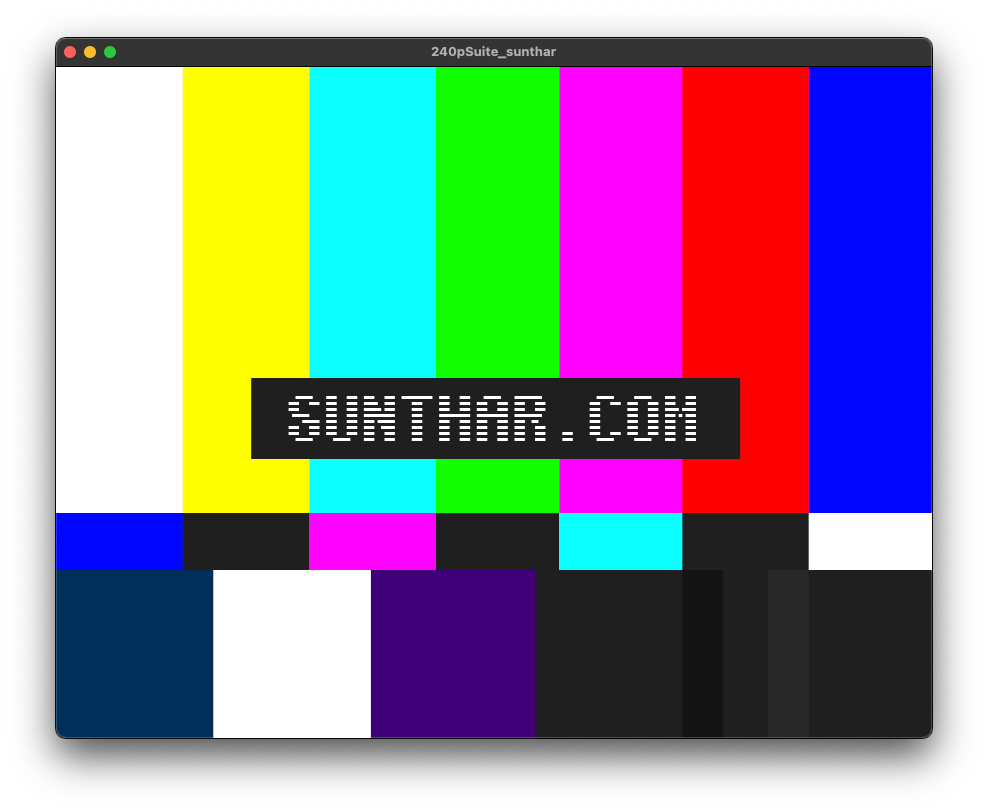
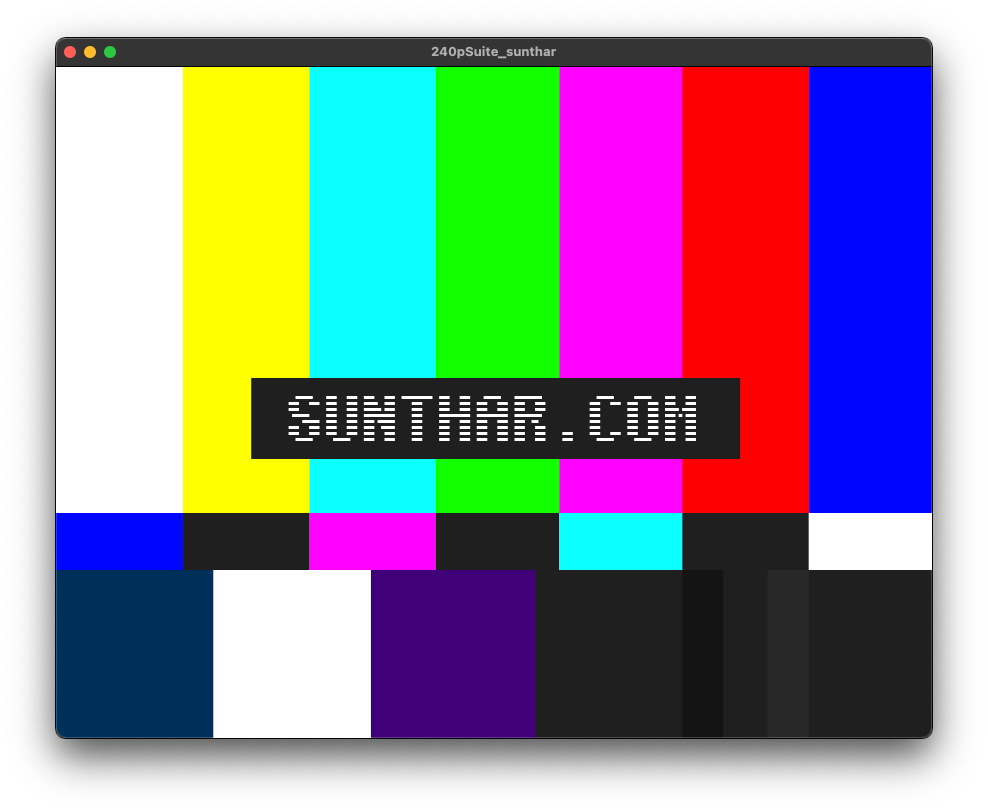
I compiled the latest Artemio's 240p test suite for the SNES, incorporating a few of my assets to showcase some of my sets.
Compiled September 2024
In the future, I'll provide a more detailed tutorial on how I calibrate my CRT sets.
Fixing the Yoke
Below article is still a work in progress!
READ THIS!
I'm sharing my experience of how I calibrated my set, but this is not a recommendation for you to do the same. This is an extremely dangerous area to work on. The neck of the CRT is a particularly fragile spot and can cause an implosion. I use safety glasses, always operate with an isolation transformer, wear high voltage-rated rubber gloves, and have enough experience to handle this safely. If I'm using bare hands to calibrate, doesn't mean you should also. If you're new to this, it's best to seek help from a professional. If you choose to follow any of my material, you do so at your own risk.
Many people think that simply dusting the outside of your beloved CRT television is sufficient, but there's a crucial area to consider for those interested in preserving the set for the long term: the inside of the yoke. The yoke is typically suspended on the tube neck by 3 or 4 rubber wedges. Over time, these rubber wedges can deteriorate, with the oils inside them and the adhesive used to secure them melting due to heat, which can start to corrode the yoke assembly coils. Additionally, dust and soot can accumulate in the yoke assembly over time. Therefore, it's important to inspect the inside of the yoke, clean it, and, if needed, reseal it with varnish before using it again.
Note: I never wash the yoke assembly with water. Water can seep into the network of copper coils and won't evaporate properly. Any trapped water can cause damage to the coils over time.
First, I loosen the yoke ring. Occasionally, the yoke may have bonded to the neck of the tube. In that case, I apply some isopropyl alcohol and gently move the yoke assembly back and forth until it comes loose. Sometimes, you might need to use your fingernail to lightly lift the plastic tabs to free them. I rely on common sense and adjust my approach based on the situation.
Next, I inspect the yoke and clean the assembly with a soft cloth. Avoid using microfiber cloths, cotton swabs, or paper towels, as they can scratch the varnish or enamel. If there is dust and soot piled up, use a gentle paintbrush and vaccuum the dust away.
In my particular case, my yoke showed a slight wear. My yoke had a minor black/blue residue. I was able to clean that with some isoproply alcohol. After cleaning I appled this special varnish . Make sure to use varnish in a well ventilated area. Follow all precautions. I wouldn't have done this if the yoke looked good or if the yoke has a short or severe damage. If the yoke had severe damage, I would've got a spare part to fix the issue. But, fortunately I haven't run into that situation often.
Next, I clean the neck area with a soft cloth, being careful not to apply alcohol over the DAG area on the CRT. This is the carbon-like coating you see on the set, and it should not be removed or damaged. In most cases, I can clean sets with just a dry cloth, but I have also used a damp cloth to clean the back of the CRT tube. For areas that are purely glass and have oil/dielectric residue, I use isopropyl alcohol, but I’m careful and strategic about how it's applied.
Once done with getting the yoke ready, place it back on the neck of the tube very carefully.
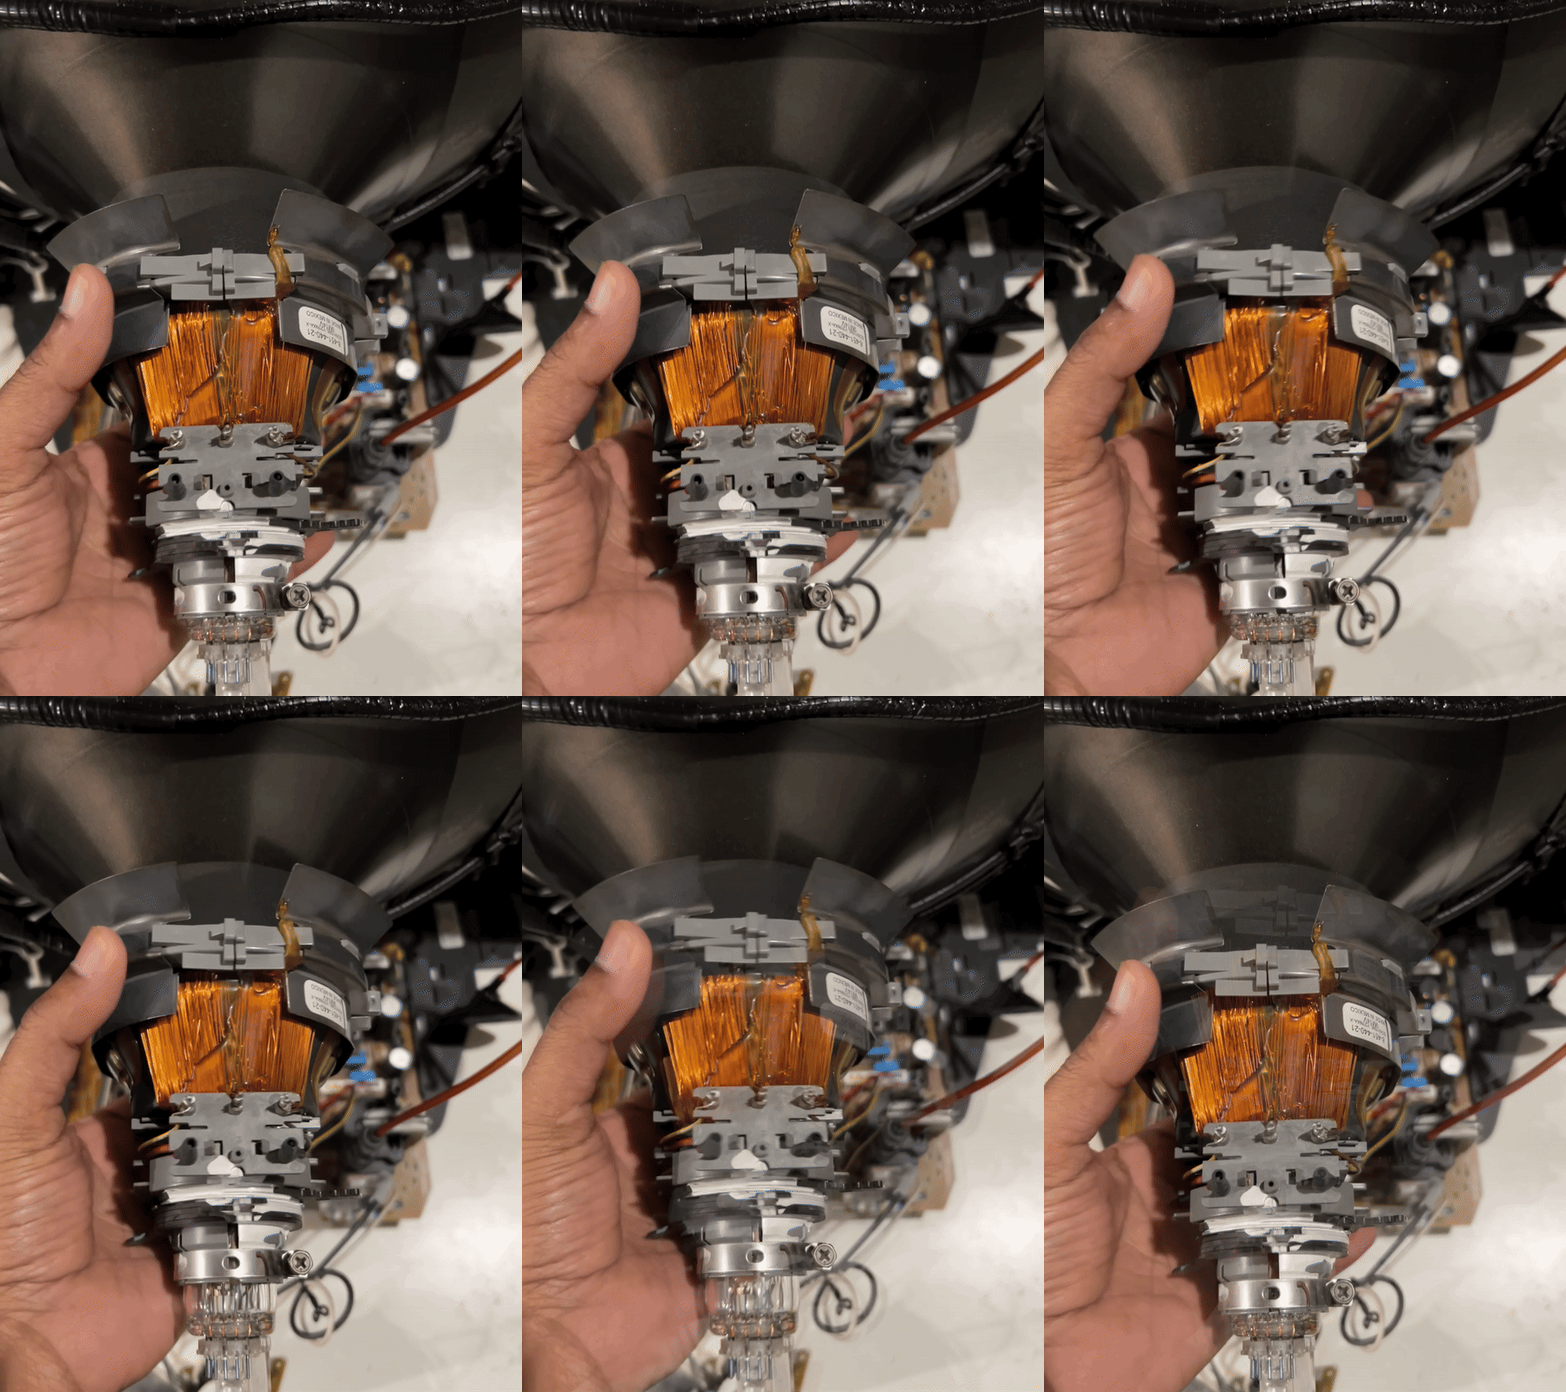
Orienting the yoke
Ensure the yoke is positioned as close to the tube as possible. The farther the yoke is from the tube, the more likely you'll encounter purity issues. Aim for just a few millimeters of space between the yoke and the tube.
Tighten the screw gently—not too tight—so you can still rotate the yoke.
Next, display a grid pattern on the screen. Rotate the yoke until the grid is perfectly aligned. Be cautious where you place your hand, as there’s a risk of receiving a strong shock.
Top rubber wedge
Place the rubber wedge on top of the yoke, ensuring there’s no sagging in the grid or monoscope pattern.
Next, position the other wedges snugly around all sides of the yoke, but don’t push them in—just make sure the yoke is resting securely on the wedges.
Finally, double-check the grid pattern and make any final adjustments as needed.
Tighten yoke
Once the yoke is rotated into the correct position, tighten it securely but avoid over-tightening—just finger-tighten enough to avoid damaging the tube.
If the results aren’t satisfactory, repeat the steps. At this stage, you can ignore any convergence issues.
Convergence
The first step is typically to ensure the center convergence is correct. If the convergence rings are sealed, the center convergence usually remains unaffected, so I wouldn't recommend breaking the seal or adjusting the rings. Convergence adjustment is a more complex topic on its own.
To fix corner convergence, you’ll need to use magnetic strips or, in some cases, small ferrite magnets, which can often be salvaged from older CRTs that are no longer functional.
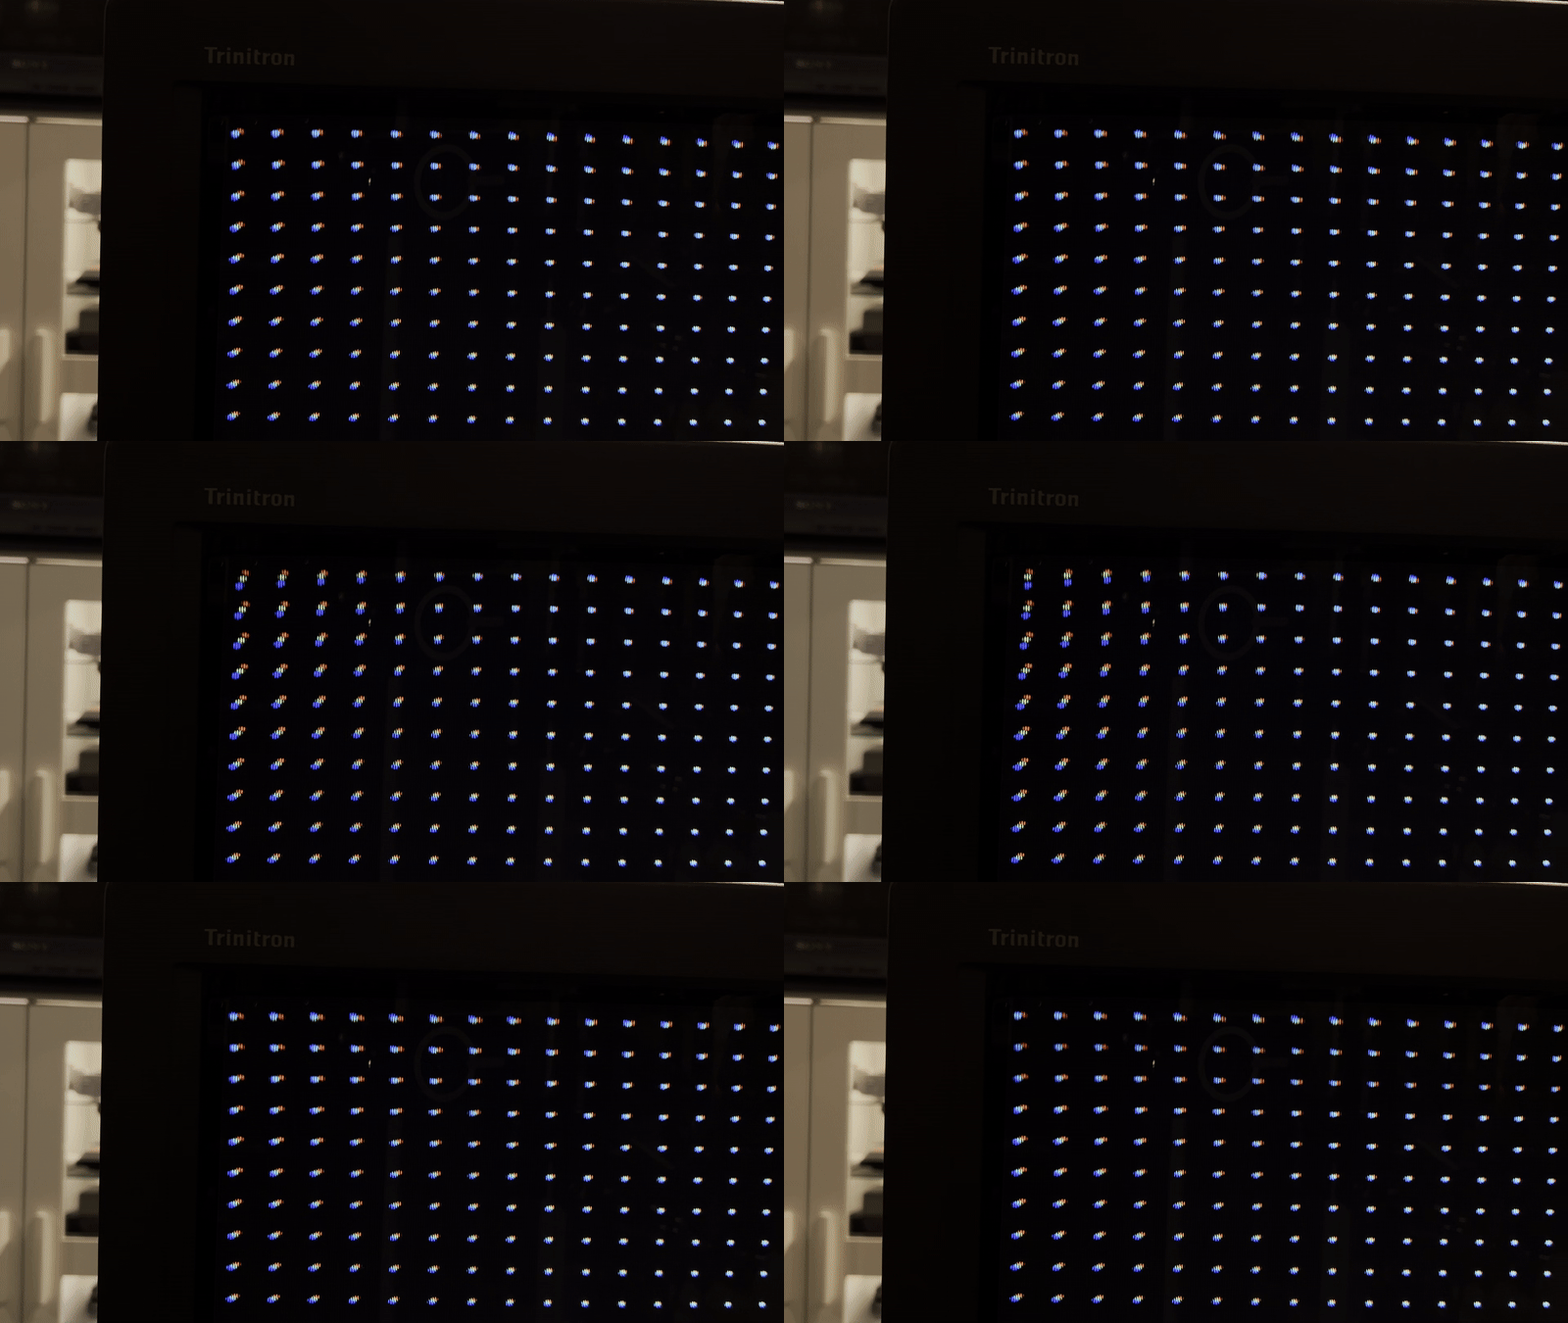
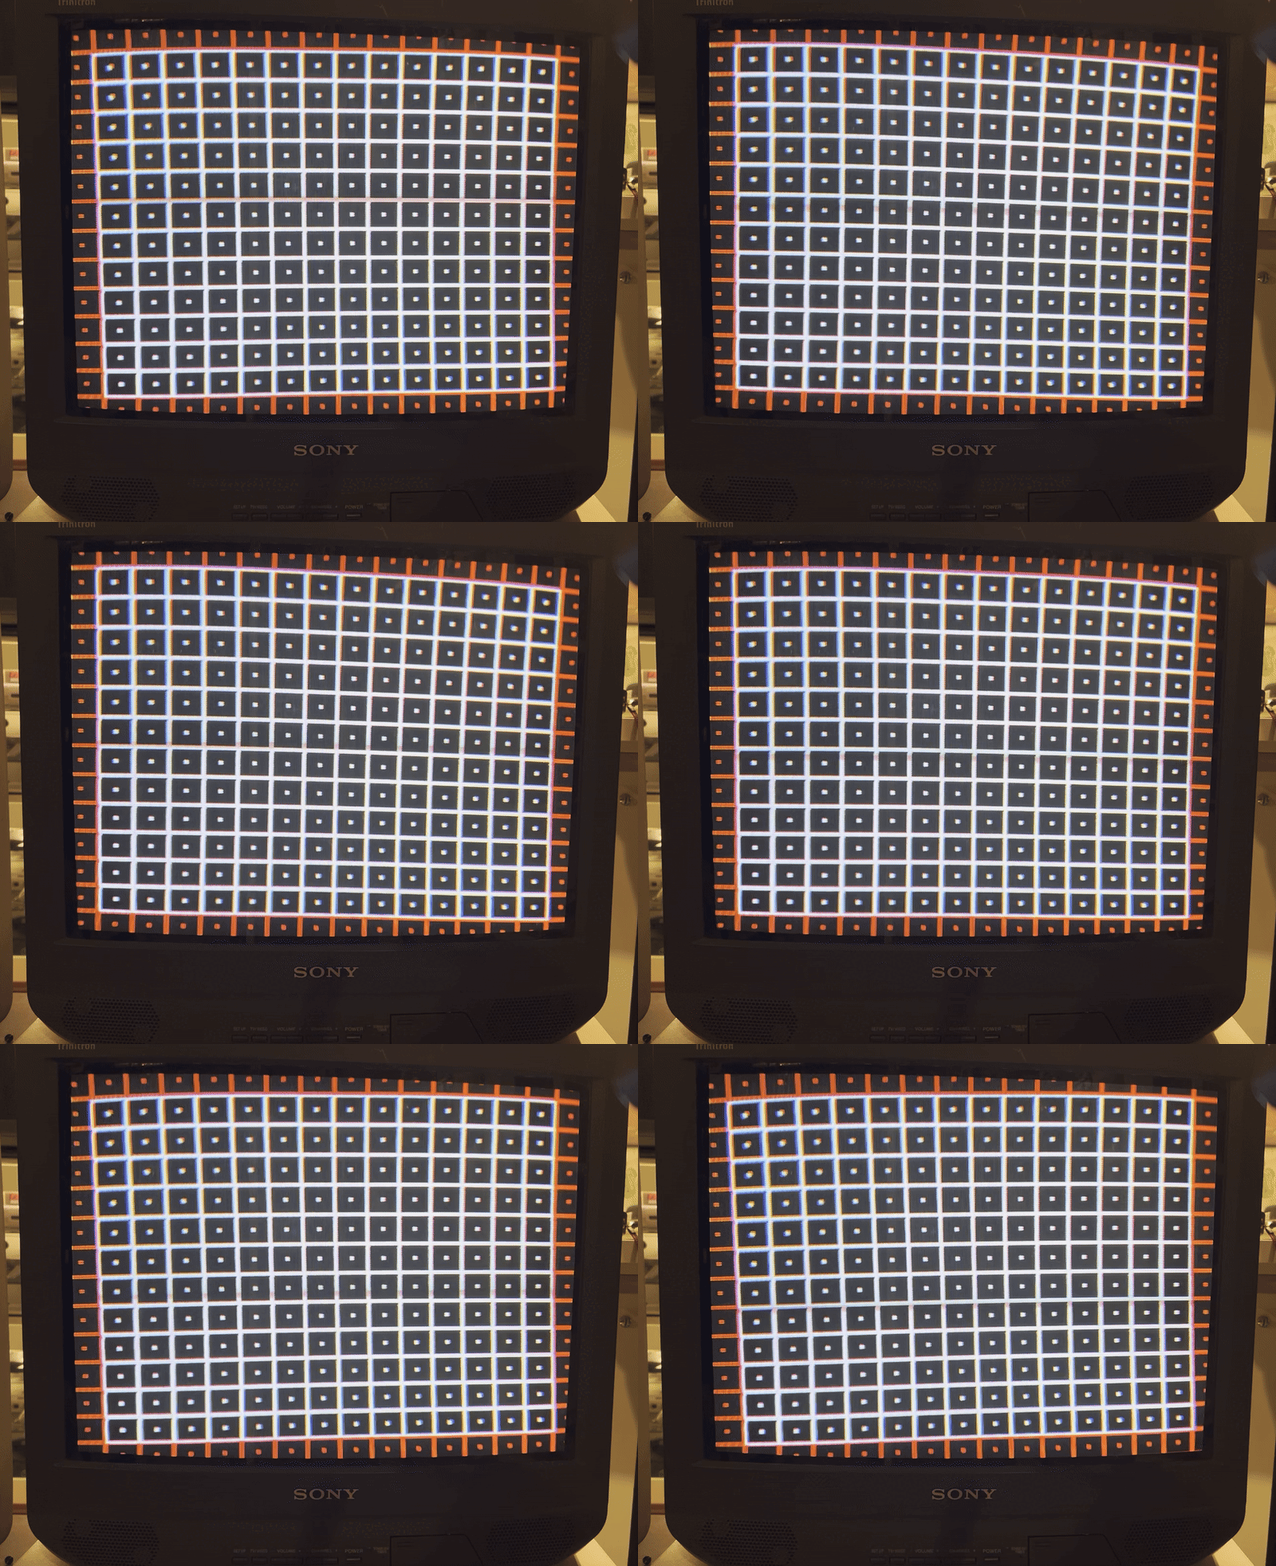
For this process, you'll need a good convergence pattern to fine-tune the adjustments. In the image below, you can see how the convergence shifts when the magnet is moved around.
