SCART cutout
Cut a decent scart input on your CRT
Here I have shown some steps to make a decent SCART input cutout on the CRT back chassis. This requires some skill, tools and patience. My first cutout was not the best, but as you do more, you improve your skills to make a perfect hole.
Please wear a mask when you cut and file. The plastic dust is not healthy for your lungs or your health.
CRT safety
Caution
This tutorial is for information purpoes only. Try this at your own risk. You can die doing this! So read carefully! CRT TV is not a toy. Do not open a CRT TV. If you don't have any prior knowledge about handling high voltage devices, this guide is not for you. CRT TV contains high enough voltage (20,000+ V) and current to be deadly, even when it is turned off.
Tools needed
- SCART Template (you can make one with your female SCART connector)
- Drill
- Small saw/crafting knife
- Filing set
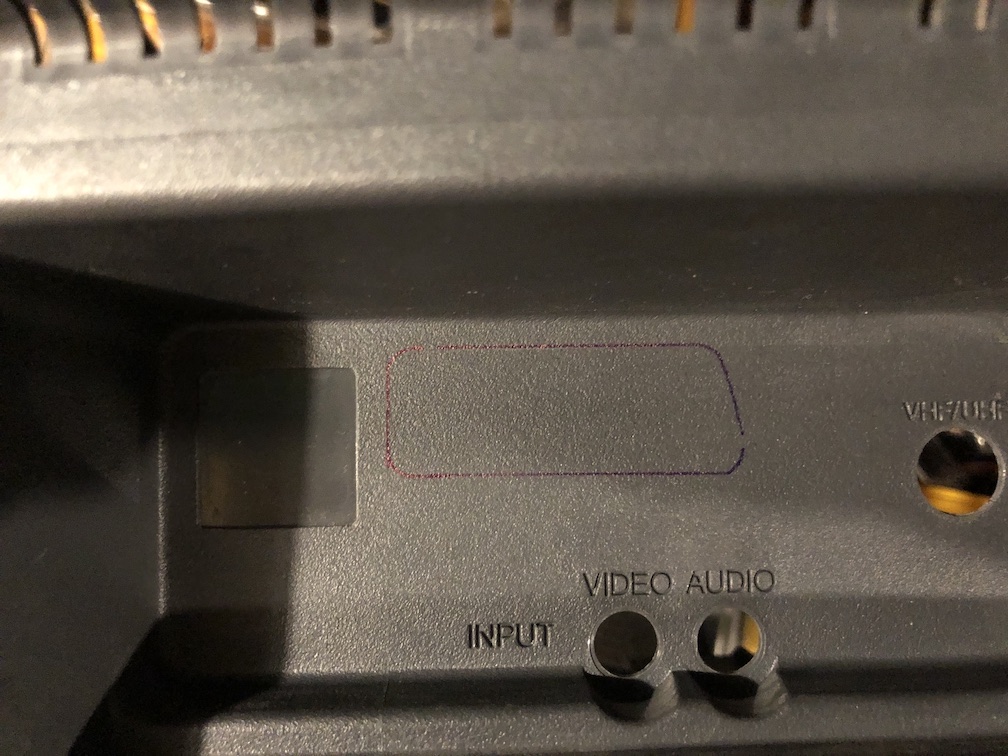
Step 1: find the location
Open up the CRT and get access to the back chassis. Use a template and mark where you want the SCART input plug to go. You might want to put some thought into the location.
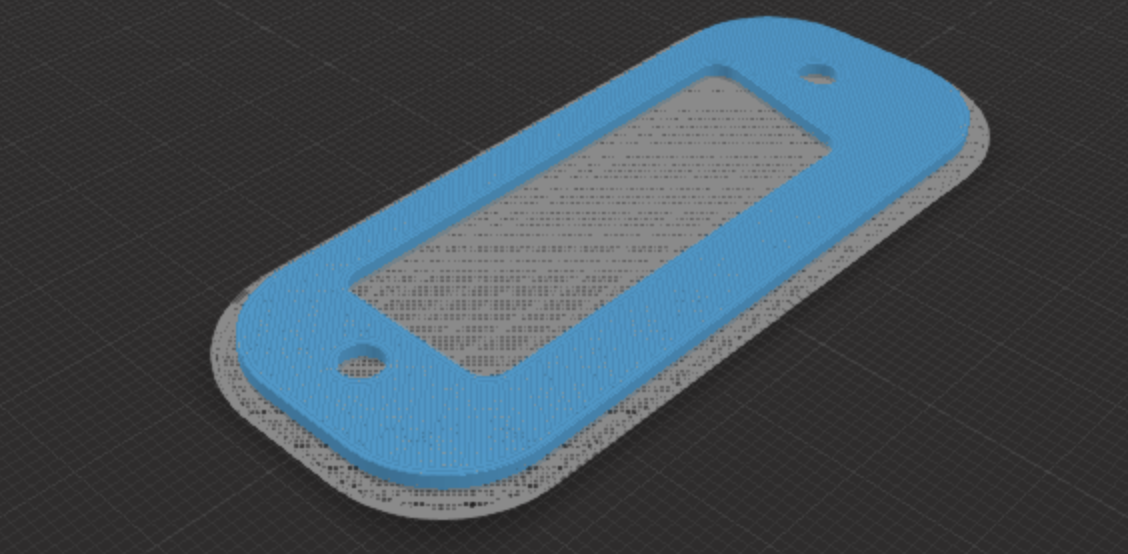
You can also download and print this 3D template/trim plate
- How close it is to the flyback?
- Orientation of the cable when connected
- Is this in a location where the SCART input would look OEM?
Toshiba AF example 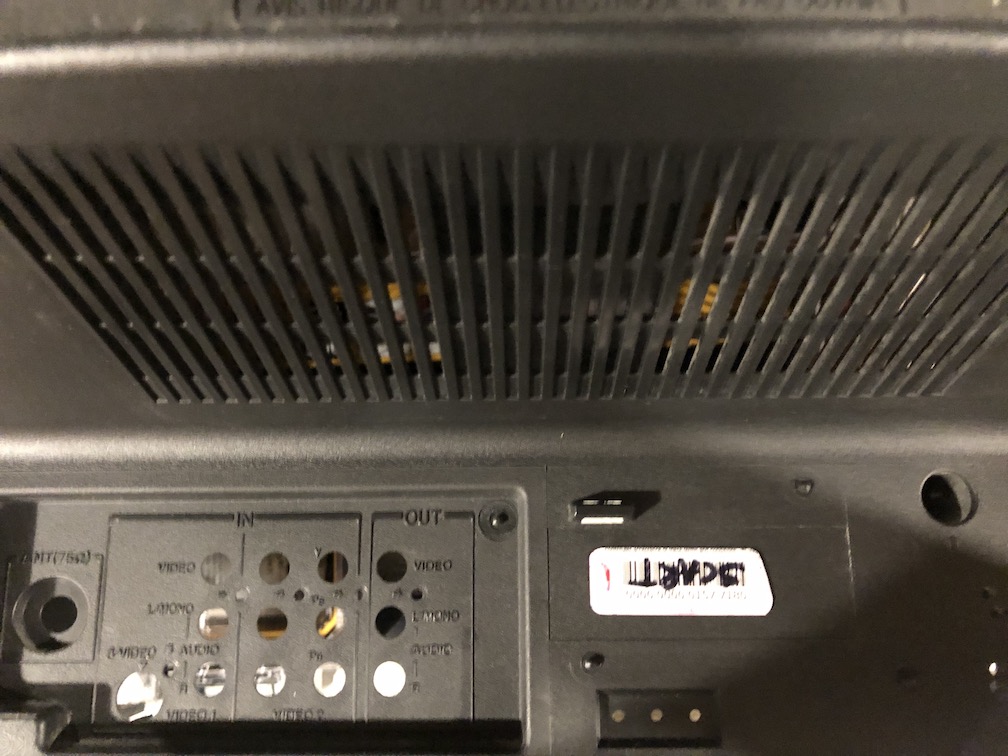
JVC example 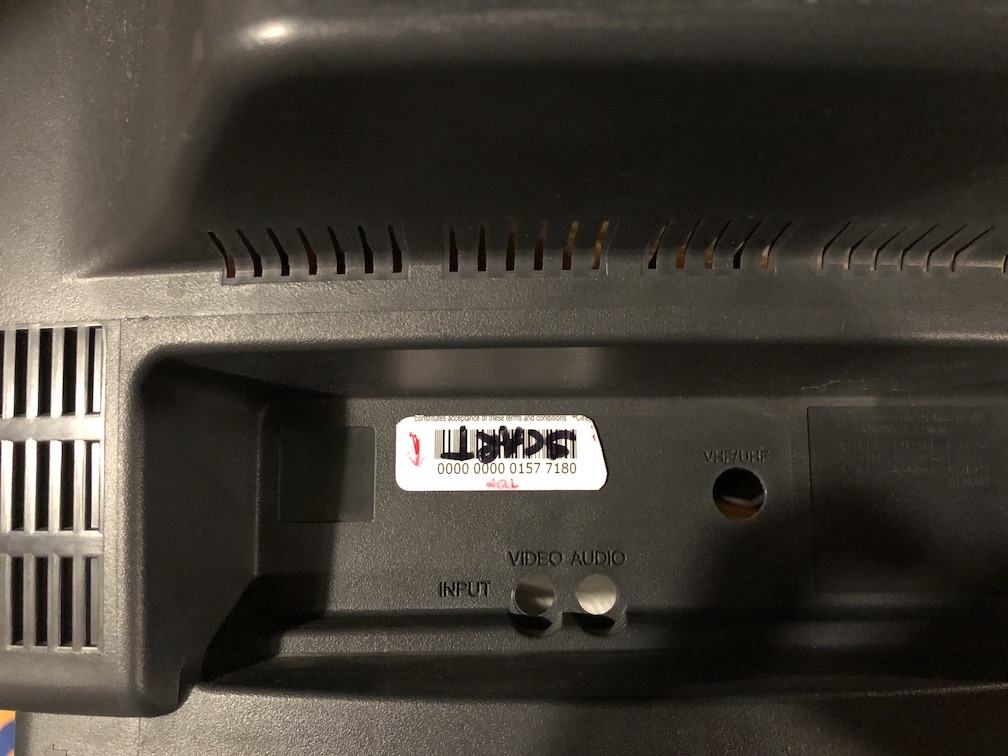
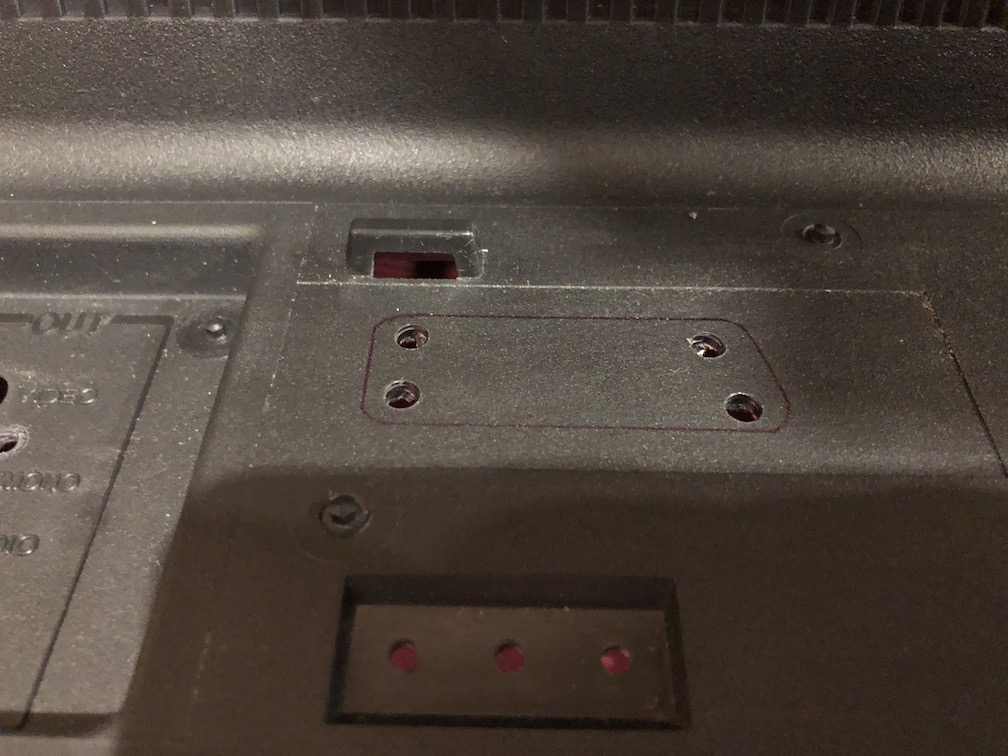
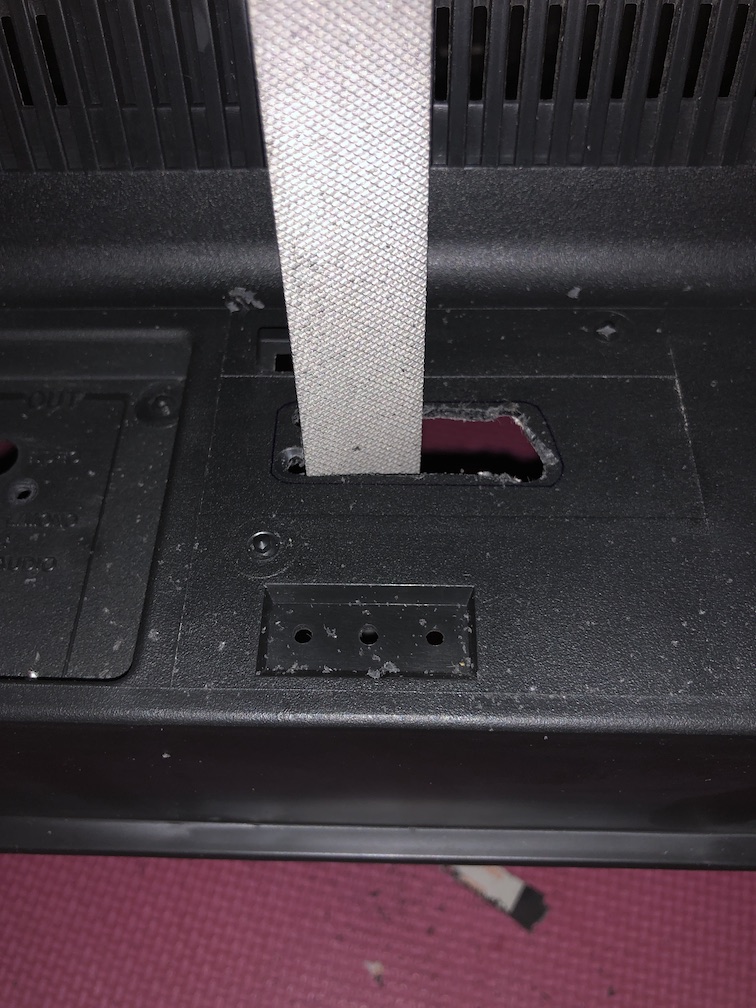
Step 2: mark the location
Create an outline where this hole needs to be cut.
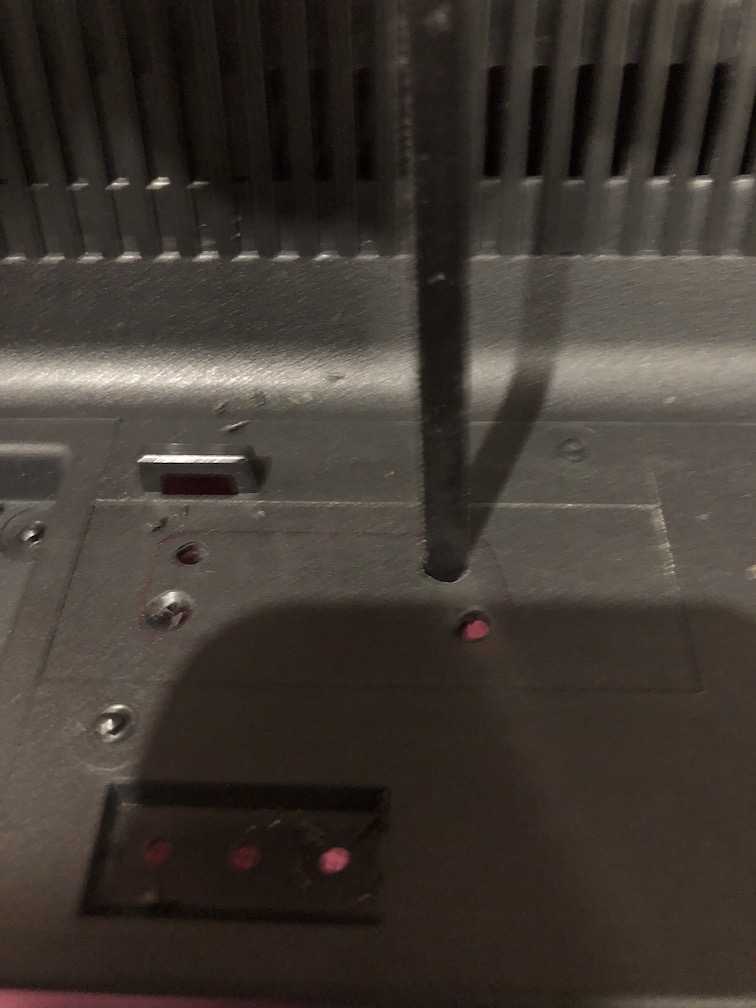
Step 3: drill holes
This is the technique I use to make the cutting easier. Maybe there are other methods.
Step 4: make a rough cut using a small saw, crafting knife
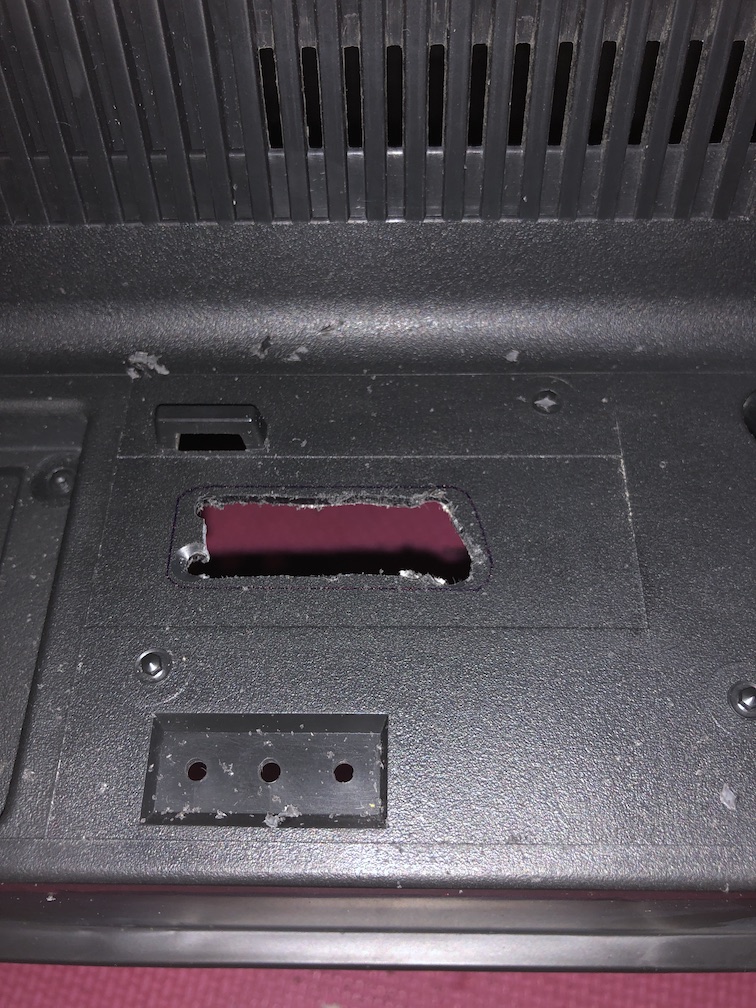
Step 5: file for smoother finish
You can use the flat and rounded edged files to make the edges smooth and aligned with the outline.
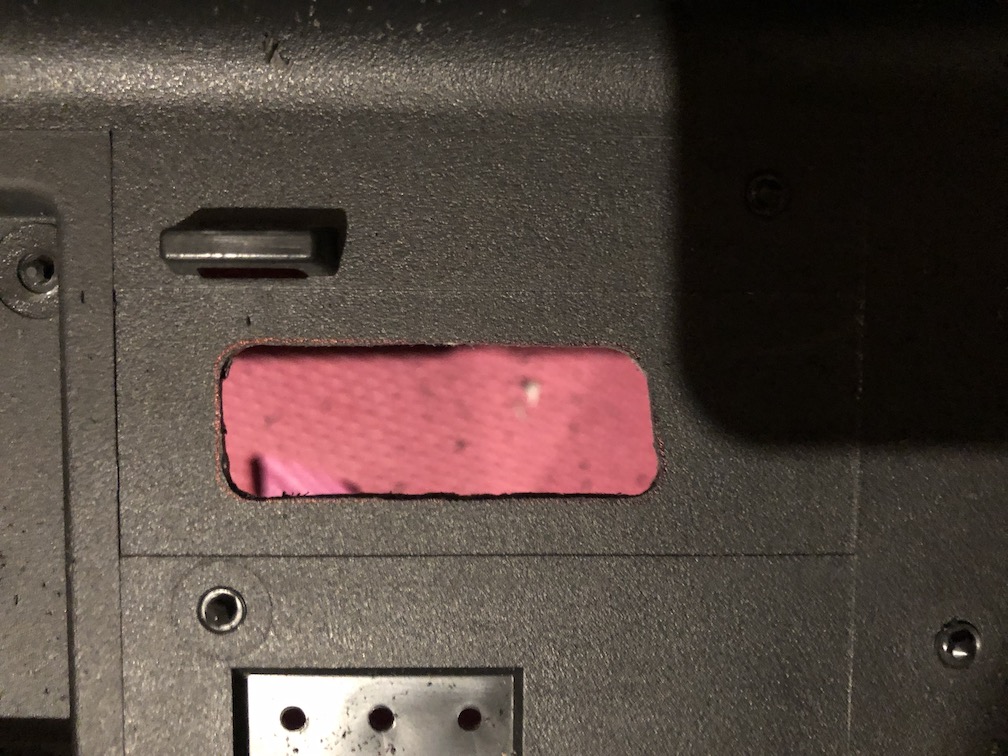
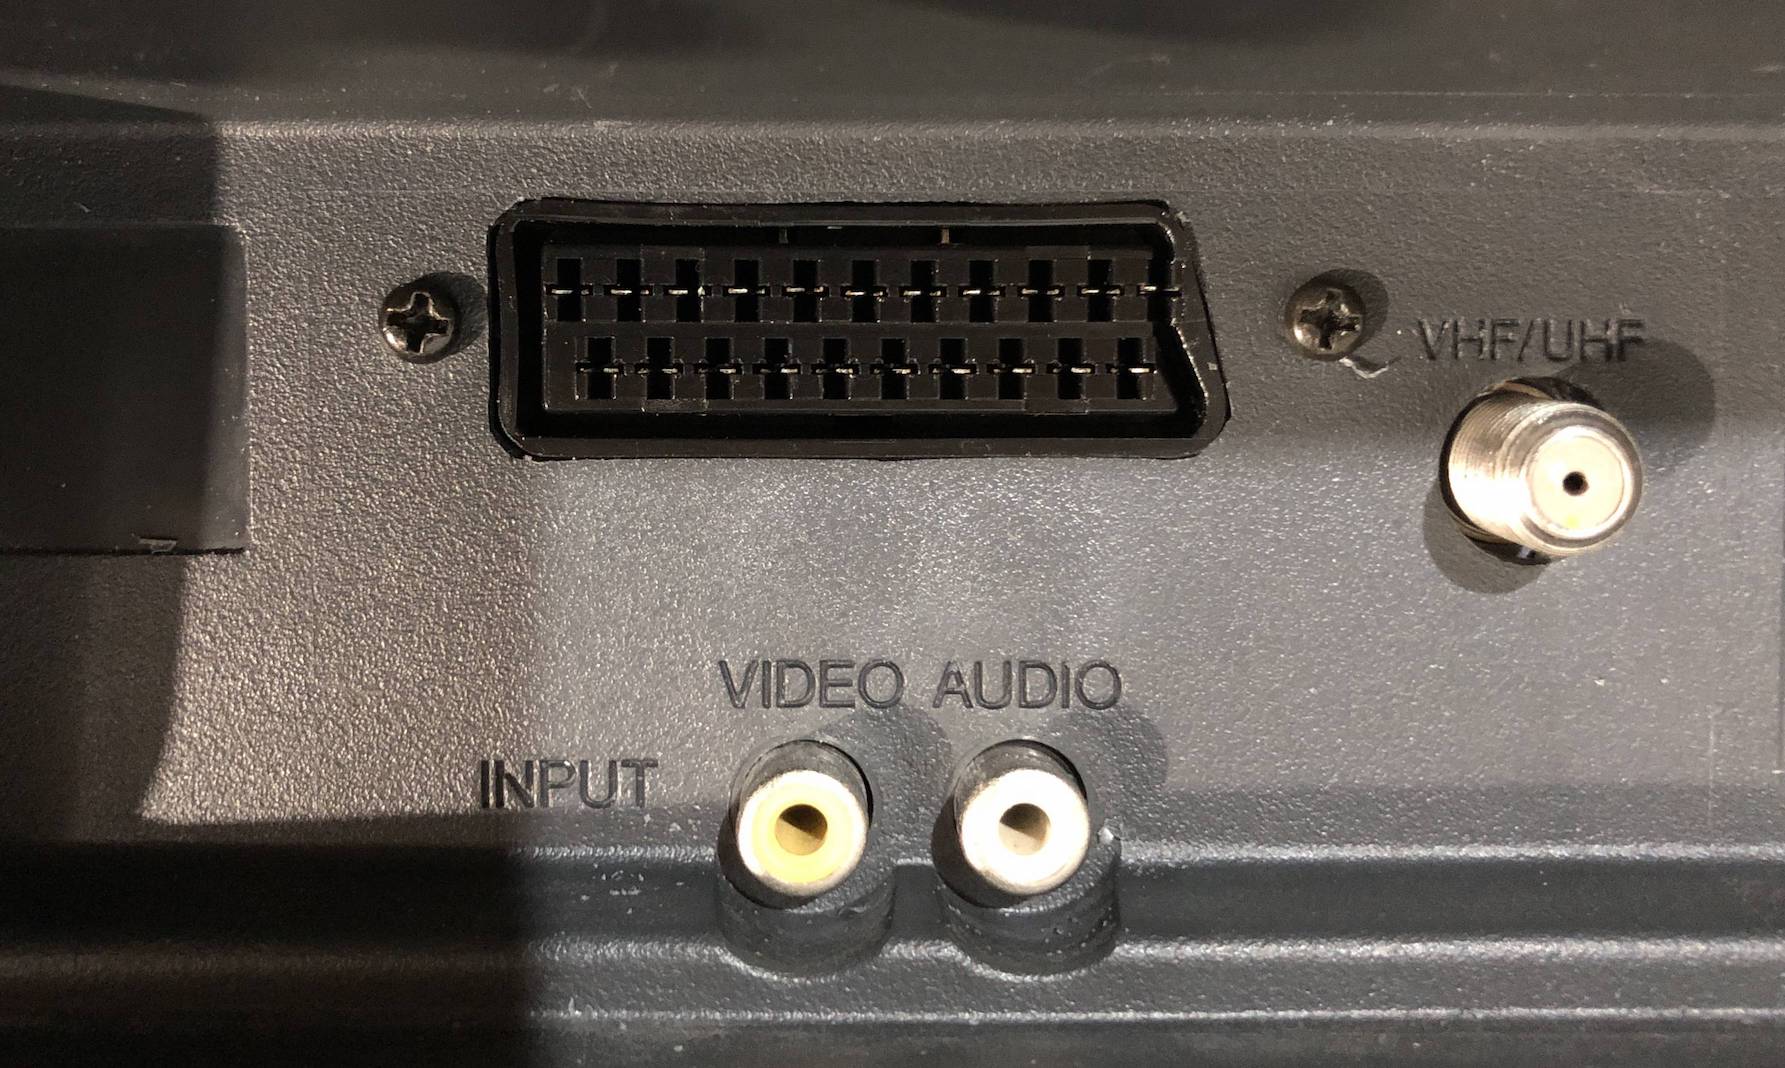
Step 6: finished cut
You can test with your female SCART plug to see, if there is a snug fit.
Toshiba 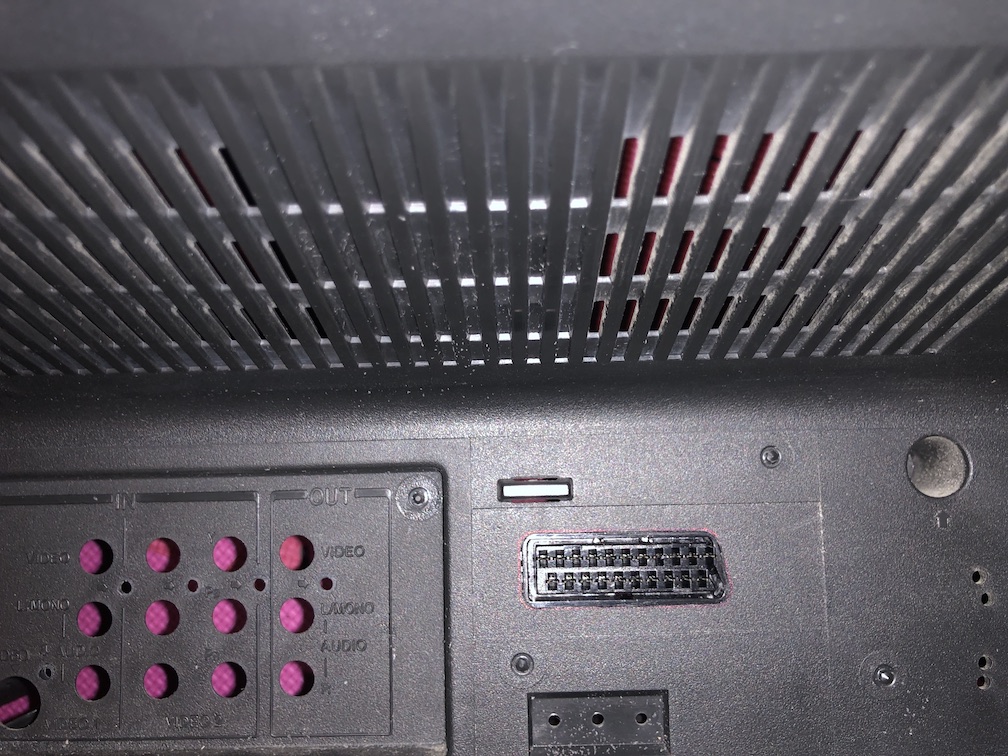
JVC 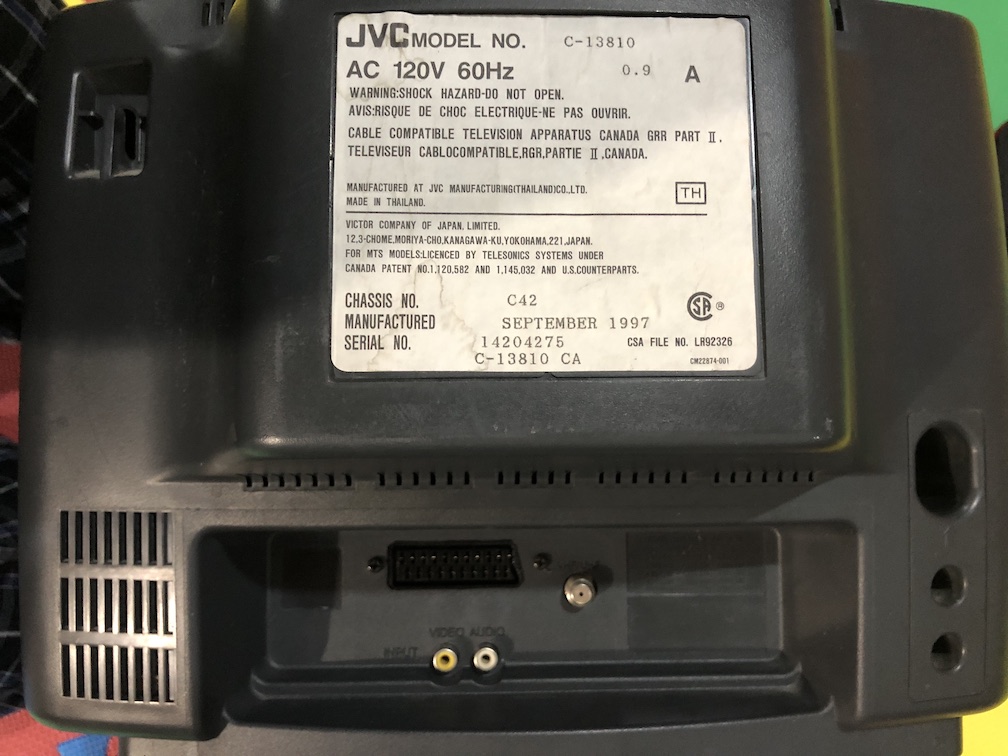
JVC - Zoomed