Sony KV (BA-2)

Sony KV (BA-2)

SuntharAbout 5 minCRT RGB modKV-20S10

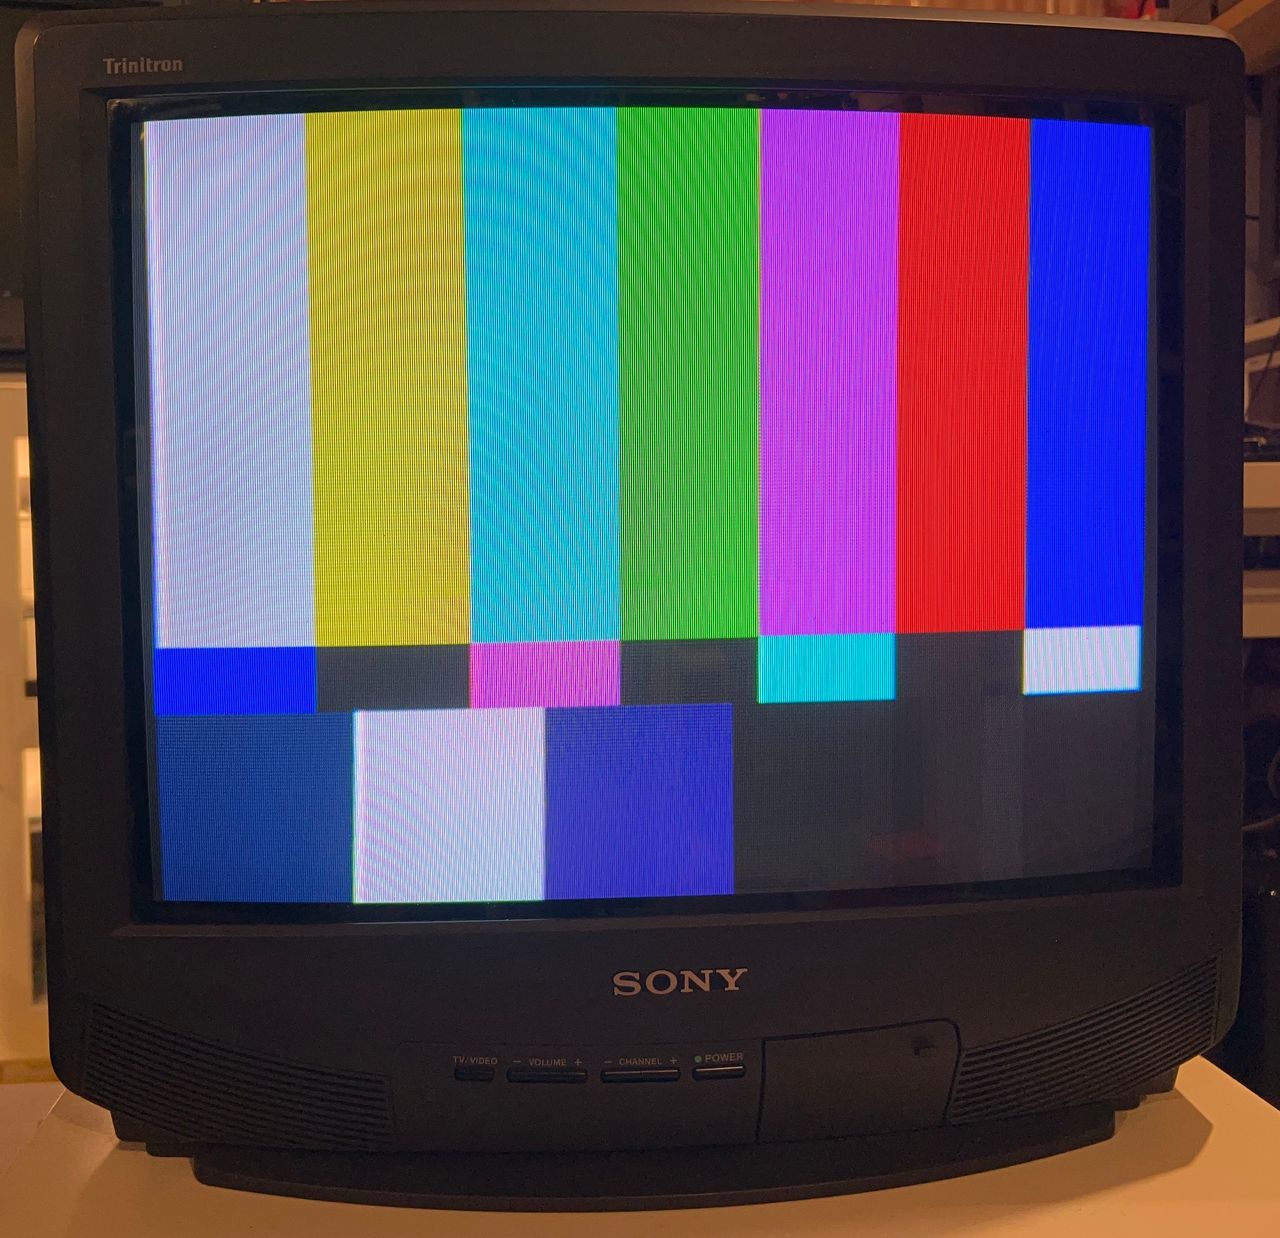
Sony BA-2 chassis CRT RGB mod

RGB mod was performed on a 20" Sony KV-20S10. This Trinitron model, featured a single chassis, supported stereo speakers and a single composite input at the back. Additionally, it included a lone headphone output on the front panel. Performing an RGB mod on this set was relatively straightforward, as there was an unused analog RGB input available that I could easily utilize.

Sony BA-2 schematics

The RGB image showed a minor underscan, which was not noticed in the composite input. To address this, I performed a reflow on the board and replaced all capacitors in the horizontal/vertical deflection and video sections. Additionally, a capacitor on the neck board was also swapped out. While most capacitors were technically within specs, some showed slight drifts in terms of ESR. None of the above helped with the RGB underscan situation, but it definitely improved the quality of the image. I didn't spend more time fixing the underscan issue.

CRT safety

Caution

You can die doing this! So read carefully! CRT TV is not a toy. Do not open a CRT TV. If you don't have any prior knowledge about handling high voltage devices, this guide is not for you. CRT TV contains high enough voltage (20,000+ V) and current to be deadly, even when it is turned off.

READ THIS BEFORE CONTINUING

Plan of attack

READ THIS TO PREPARE

Theory

Sometimes it is nice to know the theory behind the mod. I have put this on a separate page. This shows how the various resistor values are calculated.

READ THE RGB MODDING THEORY

Service manuals

Specs

Sony KV-20S10

  • Manufactured: October 2001, Mexico
  • NTSC, 60 Hz
  • Chassis: BA-1
  • Tube: A51JUH51X
  • Jungle Chip: CXA1465AS
  • Audio: Stereo

Schematics

Service Manual Schematics

Sony BA-2 schematics

RGB mux diagram

Sony BA-2 RGB mux diagram

Performing the mod

You can't ask for a more straightforward RGB mod.

Fortunately this chassis doesn't require any muxing. You can pass R, G, B through a 0.1uF, 75ohm terminated wire directly to the chroma IC301. Blanking (Ys) can be fed through a 1kΩ + 0.7V didoe to pin 15 of the chroma.

STEP 1: Free the RGB inputs

  • Remove the R325 ground resistor (10kΩ) from the board.
  • Carefully cut the traces on the board to ensure that the R, G, and B traces are no longer connected or shorted together.
  • Make sure R, G and B are not connected to the ground either.

img

Cutting traces is the best approach and can be easily reversed back if needed.

STEP 2: Connect RGB wires

See picture below to see where R, G, B wires should be connected. They are connected directly to the chroma IC. Red, Green, Blue lines are exposed on chroma pin 16, 17, 18 respectively. Since the gap here is really small, take care when soldering the wires.

img

STEP 3: Connect blanking

See picture below and reference the mux diagram above to connect the blanking. Inductor leg closer to the OSD was lifted and a diode was added (pay attention to where the stripe is pointing). Blanking was then injected in the middle.

img

STEP 4: Connect Sync, Audio and Ground

Sony KV-20S10 supports stereo. Therefore, audio left and audio right were wired as below. Suppose your BA-2 board only supports mono, you can twist both audio left and right and connect it to the mono audio input. 1 KkΩ audio resistors on the mux board will ensure right and left channels are mixed properly.

img

Sync wire (yellow) should be connected directly to the composite input.

Black wire is the common ground wire. With the latest 1.2B/1.2C PCB design you can leave both purple and orange wires floating or connect them to ground.

STEP 5: Build your mux board (using the micro RGB board)

Below mod uses the RGB mux board. However, it is optional for BA-1 chassis. Using the mux board makes the mod neater and easier. Please note for this mod, 0.1uF caps were used in place of R4, R5, R6 resistors.

Buy your RGB mux board with the necessary parts to complete this mod

TV ModelKV-20S10
Audio LR (R7, R8)1kΩ
RGB termination (R1, R2, R3)75Ω
RGB inline caps (R4, R5, R6)0.1uF
Diode (R9)1N4148
Blank Ground Resistor (R10)1kΩ
Blanking Resistor (R11)1kΩ

Caps were used on the mux board instead of RGB inline resistors.

img

img

Buy your RGB mux board with the necessary parts to complete this mod

STEP 6: Attach the female SCART connector to TV

I decided to mount the SCART connector on the top part of the input cavity.

img

Creating a SCART cutout and mounting it is an art. I have a dedicated section for it.

How to create and mount a SCART female plug?

img

img

img

Service Menu

On the remote, press keys in this sequence DISPLAY, 5, VOL +, POWER

1 and 4 to select 3 and 6 to adjust

MUTING, ENTER to write to memory.

Pictures

Mux overlay

img

Games

img

img

img

img

img

img

Patterns

RGB Grid img

Composite Grid img

RGB SMPTE img

Composite SMPTE img

RGB Colors img

Set

Tube - A51JUH51X img

Full Chassis img

Neck Board img

Chroma img

OSD img

Flyback img

Open Back img

Capacitors

img

RegionCap LocationuFVoltageRadius
Power SupplyC60947020025mm
Power SupplyC6233316016mm
Power SupplyC62210002510mm
Power SupplyC62847255mm
Power SupplyC625100165mm
Neck BoardC70622505mm
DeflectionC52722505mm
DeflectionC5201025010mm
DeflectionC5223316016mm
DeflectionC5154702510mm
DeflectionC51447255mm
DeflectionC5284.71606.5mm
DeflectionC5184702510mm
VerticalC50222505mm
VerticalC509100506.5mm
VerticalC5174701610mm
VerticalC50622505mm
VerticalC53047255mm
VerticalC51310505mm
VerticalC5114.7505mm
YCJC3351505mm
YCJC3410.47505mm
YCJC33610505mm
YCJC3280.47505mm
YCJC347100165mm
YCJC345100165mm
YCJC3241505mm
YCJC3190.47505mm
YCJC315220165mm
YCJC31022505mm
YCJC3051505mm
YCJC3080.47505mm
YCJC30410505mm
A/V InputC40310505mm
A/V InputC404100165mm
A/V SwitchC63147255mm
A/V SwitchC4061505mm
A/V SwitchC4071505mm
A/V SwitchC40110505mm
A/V SwitchC204100165mm
A/V SwitchC41010505mm
A/V SwitchC4021505mm
A/V SwitchC4011505mm
Audio ControlC40910505mm
Audio ControlC41210505mm
Audio ControlC1014.7505mm
Remote ControlC53147255mm
Remote ControlC40810505mm
Remote ControlC0421505mm
Remote ControlC04647255mm
Remote ControlC0171505mm
Remote ControlC63210505mm
Remote ControlC038470168.3mm
Remote ControlC691470168.3mm
Remote ControlC69247255mm
Remote ControlC6900.47505mm

Service Menu Settings

NameDefault
AFC0
VFRE16
VPOS21
VSIZ31
VLIN8
VSCO6
HPOS6
VCOM2
GAMP21
BAMP14
GCUT6
BCUT7
CROM26
SPIX30
SHUE25
SCOL30
SBRT24
SVOL0
SHAp7
VSMO0
REF2
ROFF1
GOFF1
BOFF1
ABLM1
NOTC0
DRGB0
DISP4
PADJ43
ID064
ID19
ID264
ID31
ID416
Last update: