Sony PVM 1270Q
Sony PVM 1270Q
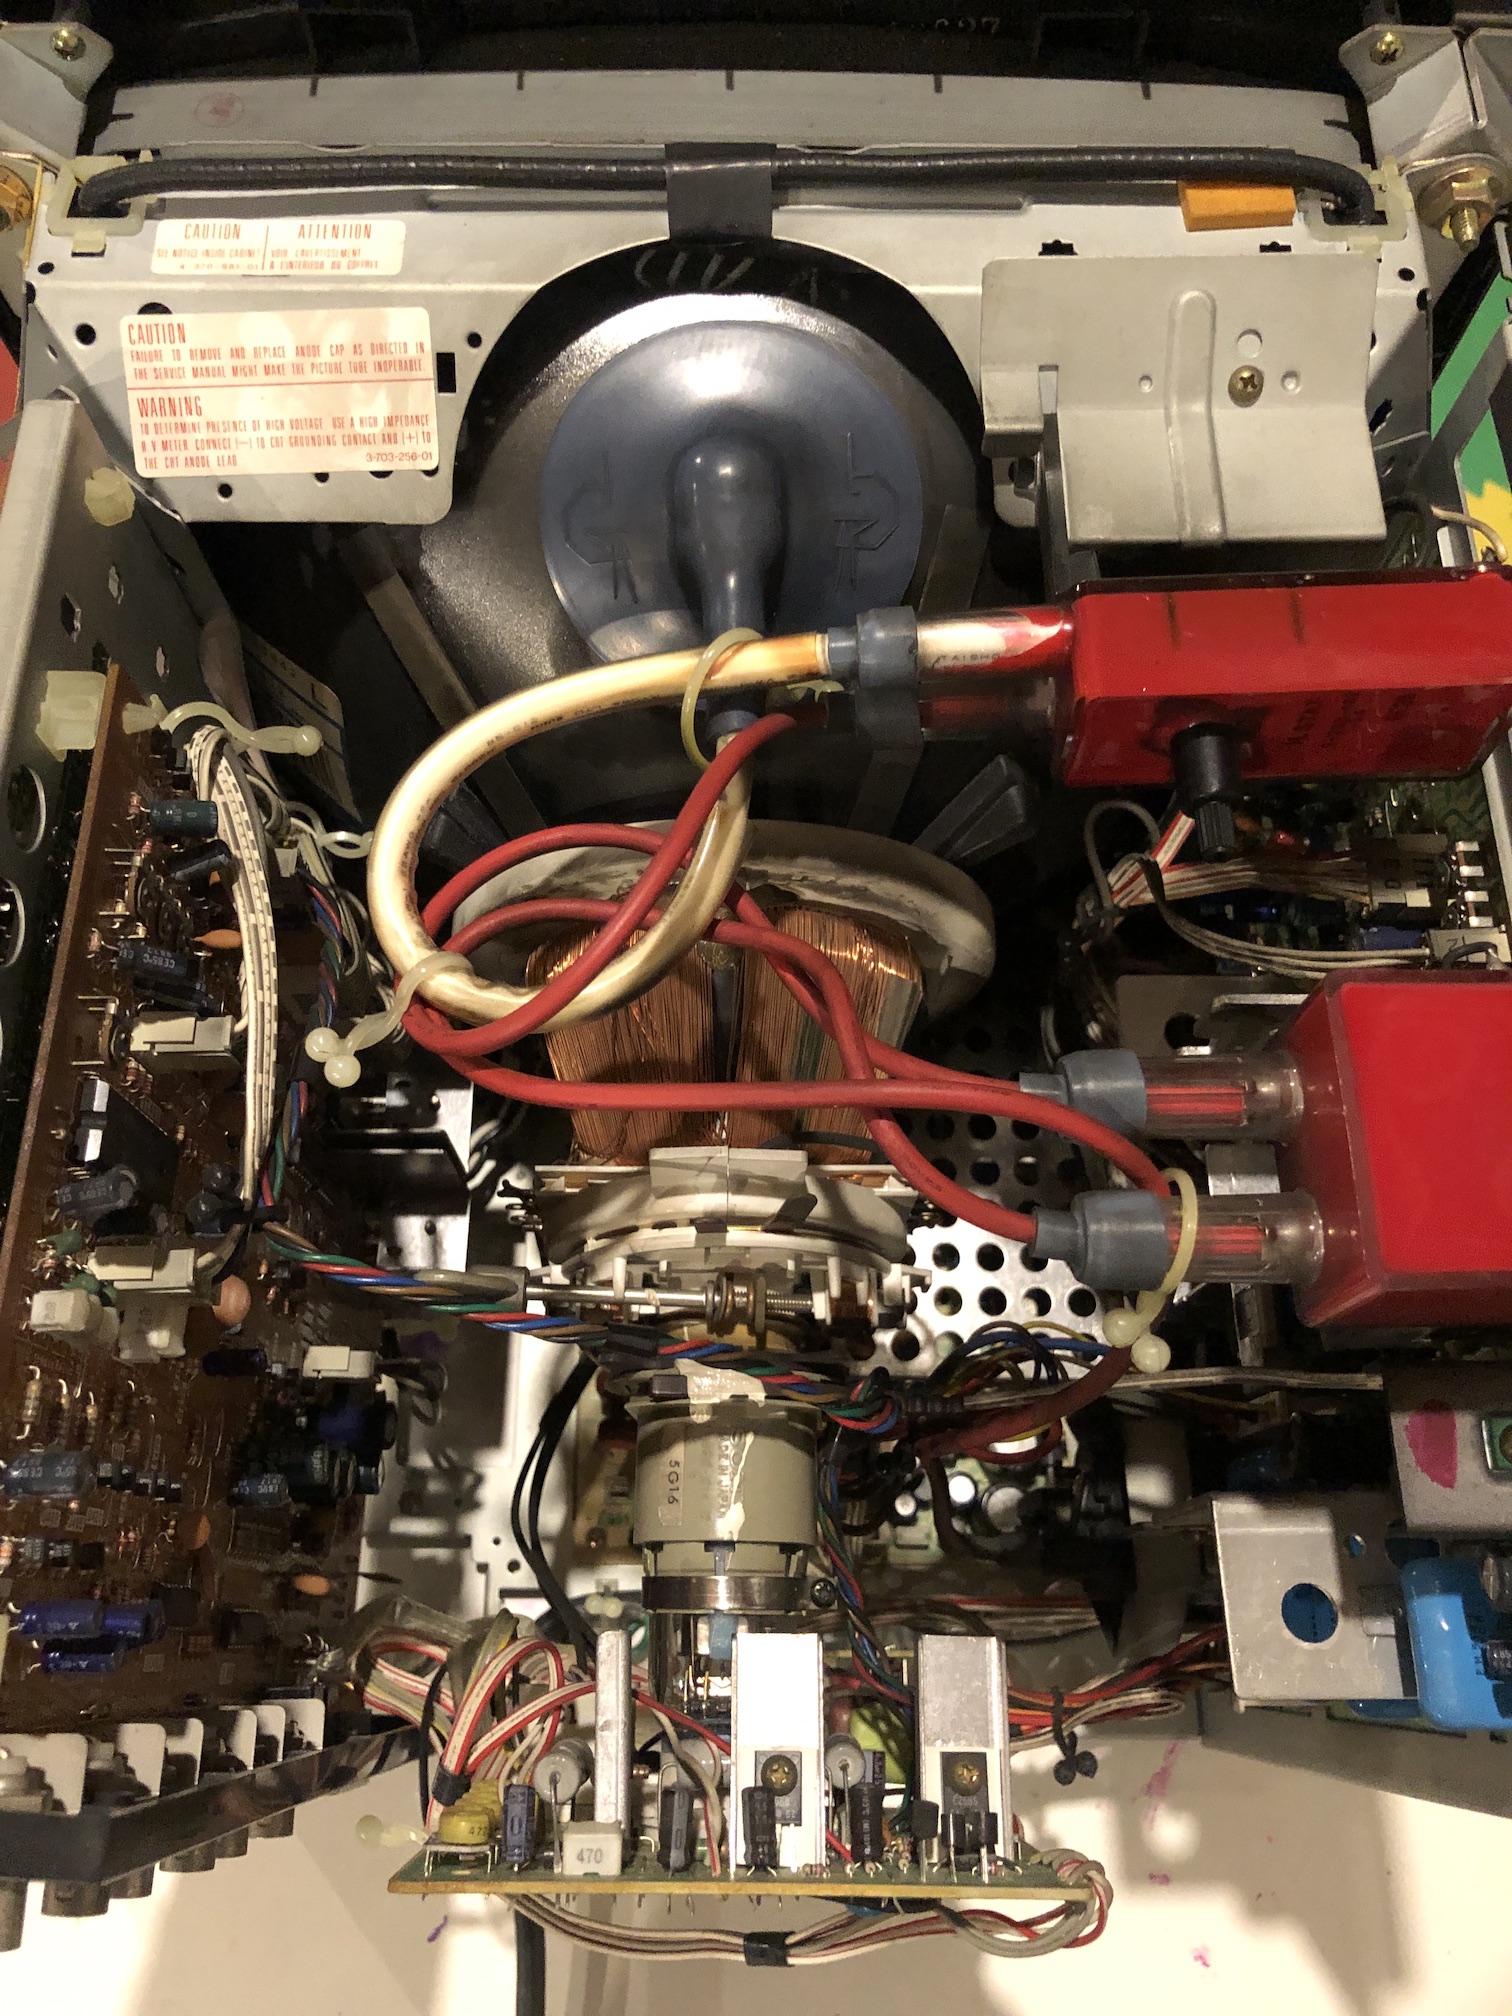
This is a really beautiful PVM from the 80s. The TV does not have a service mode, so all adjustments must be made through the pots scattered throughout the internal boards.
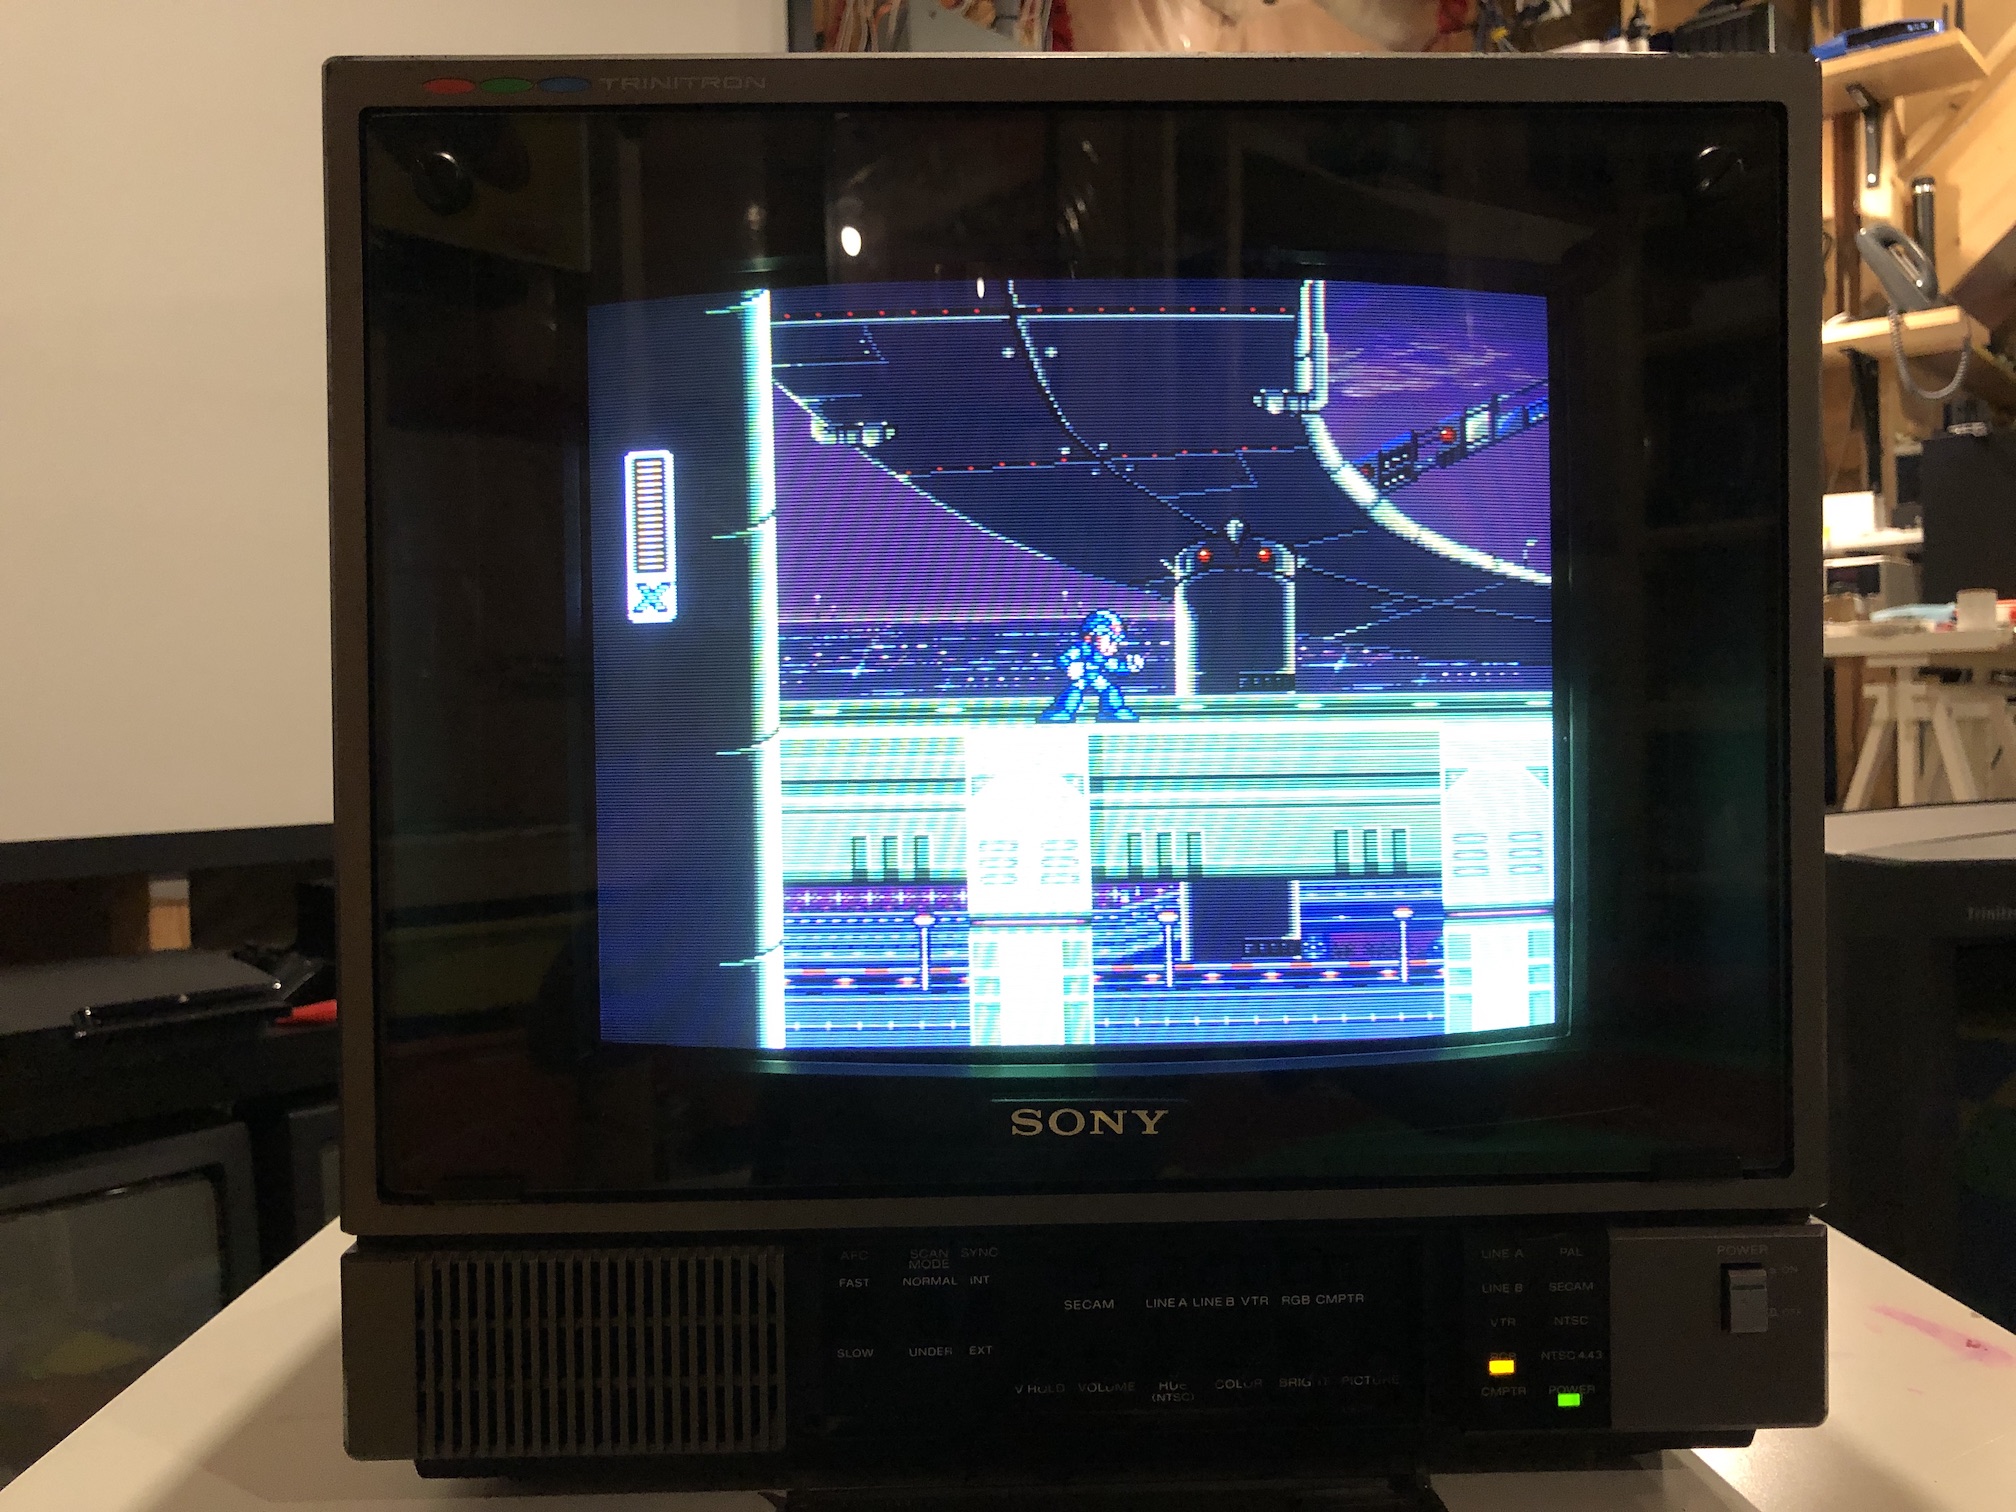
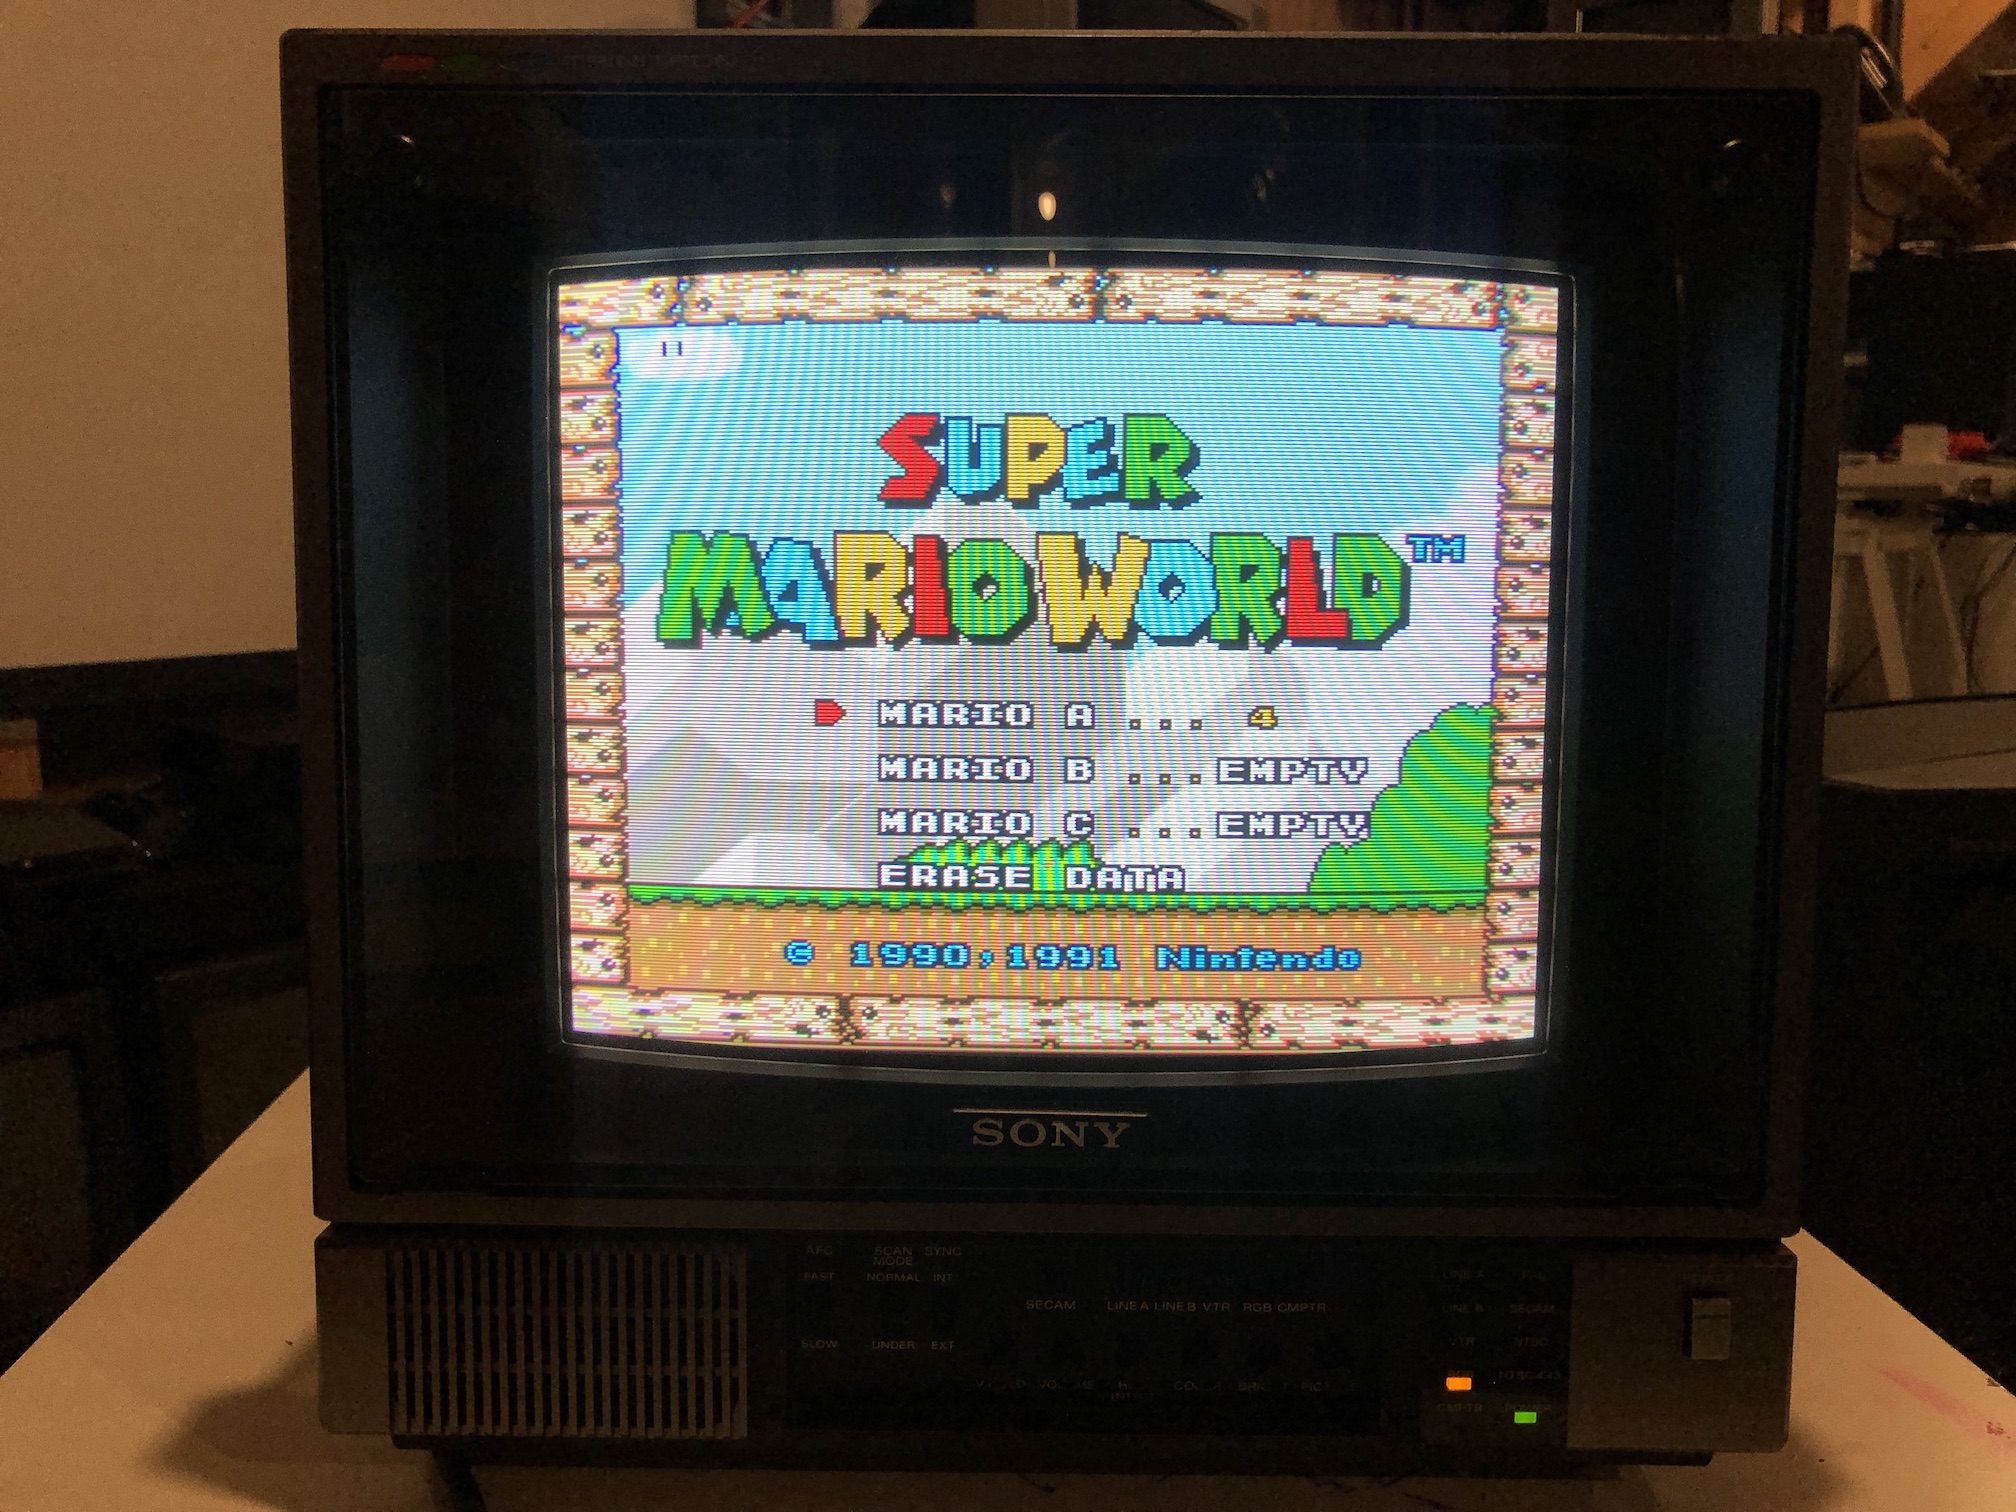
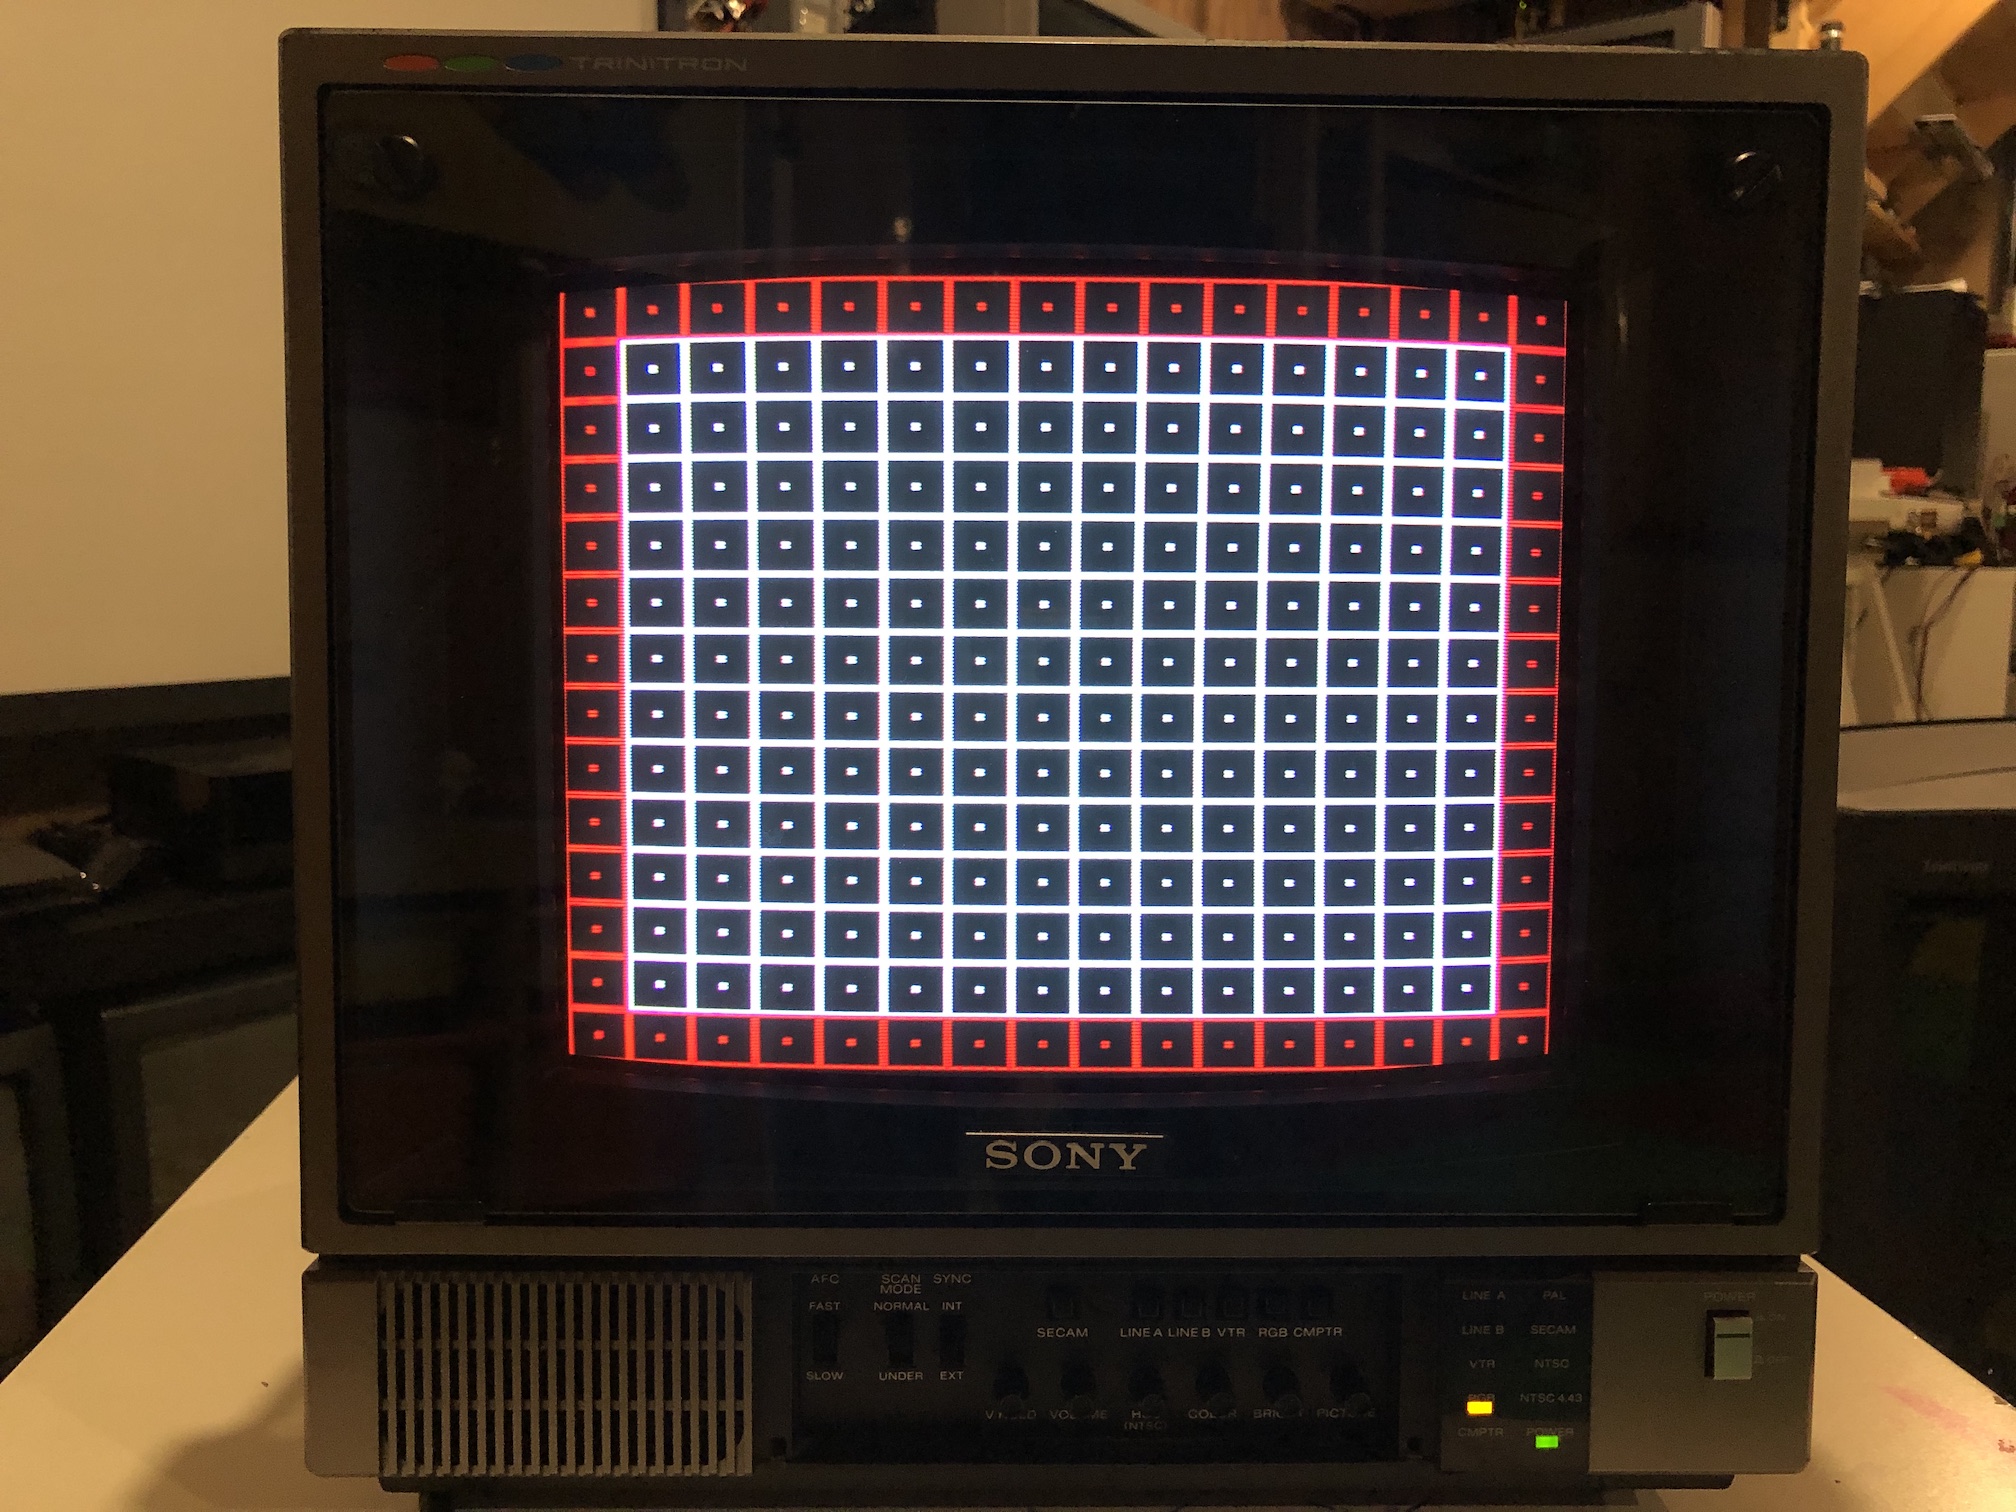
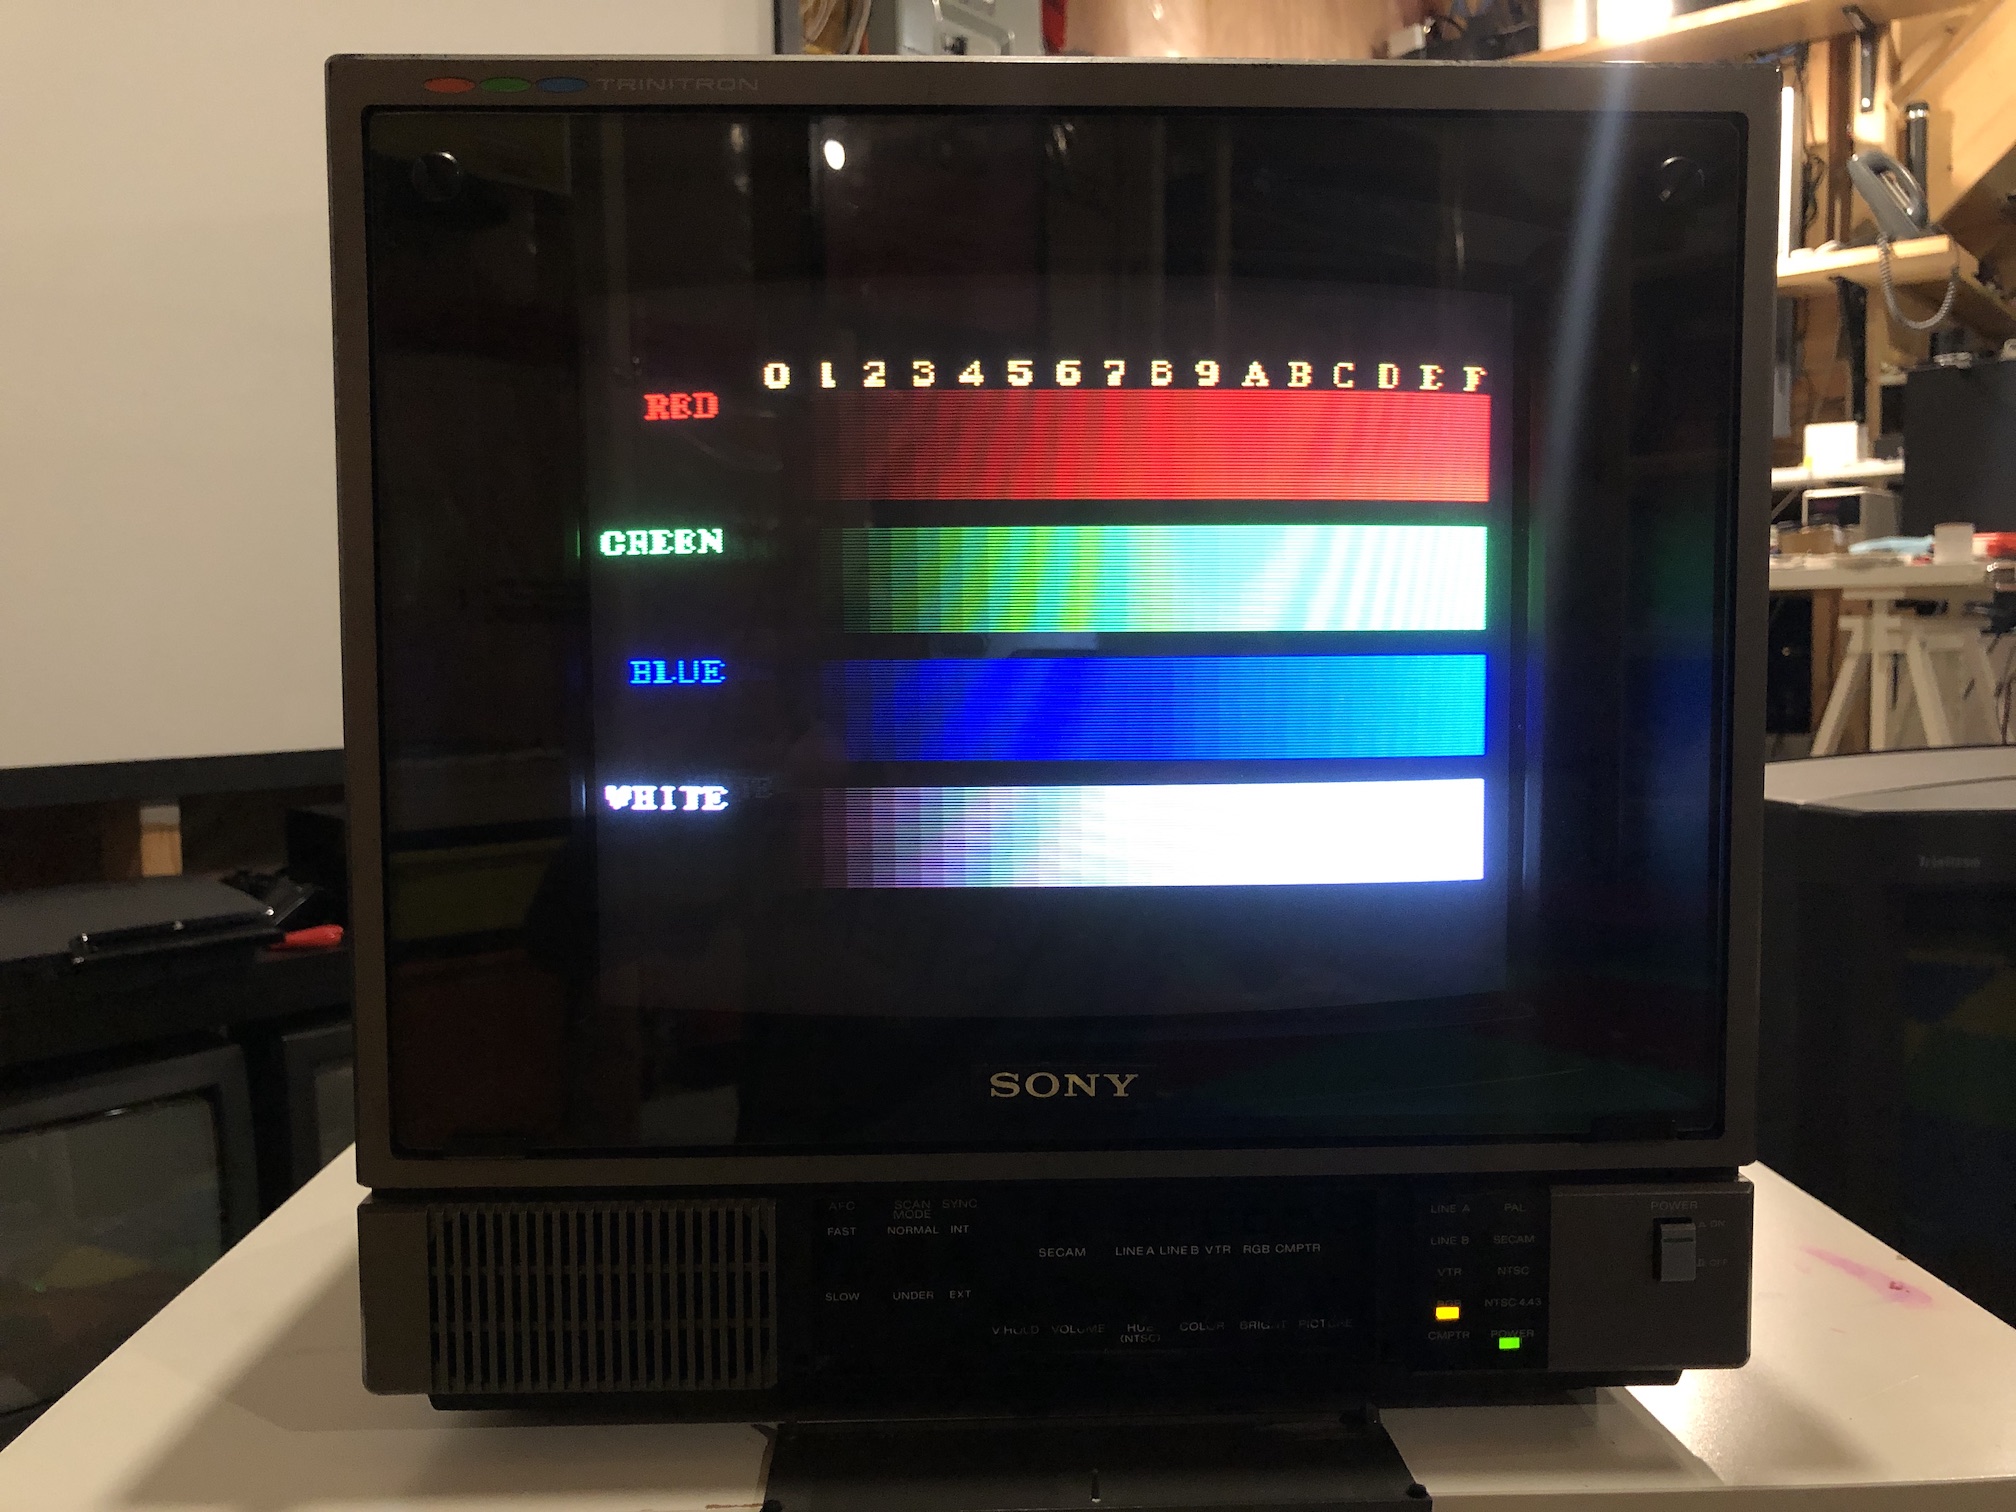
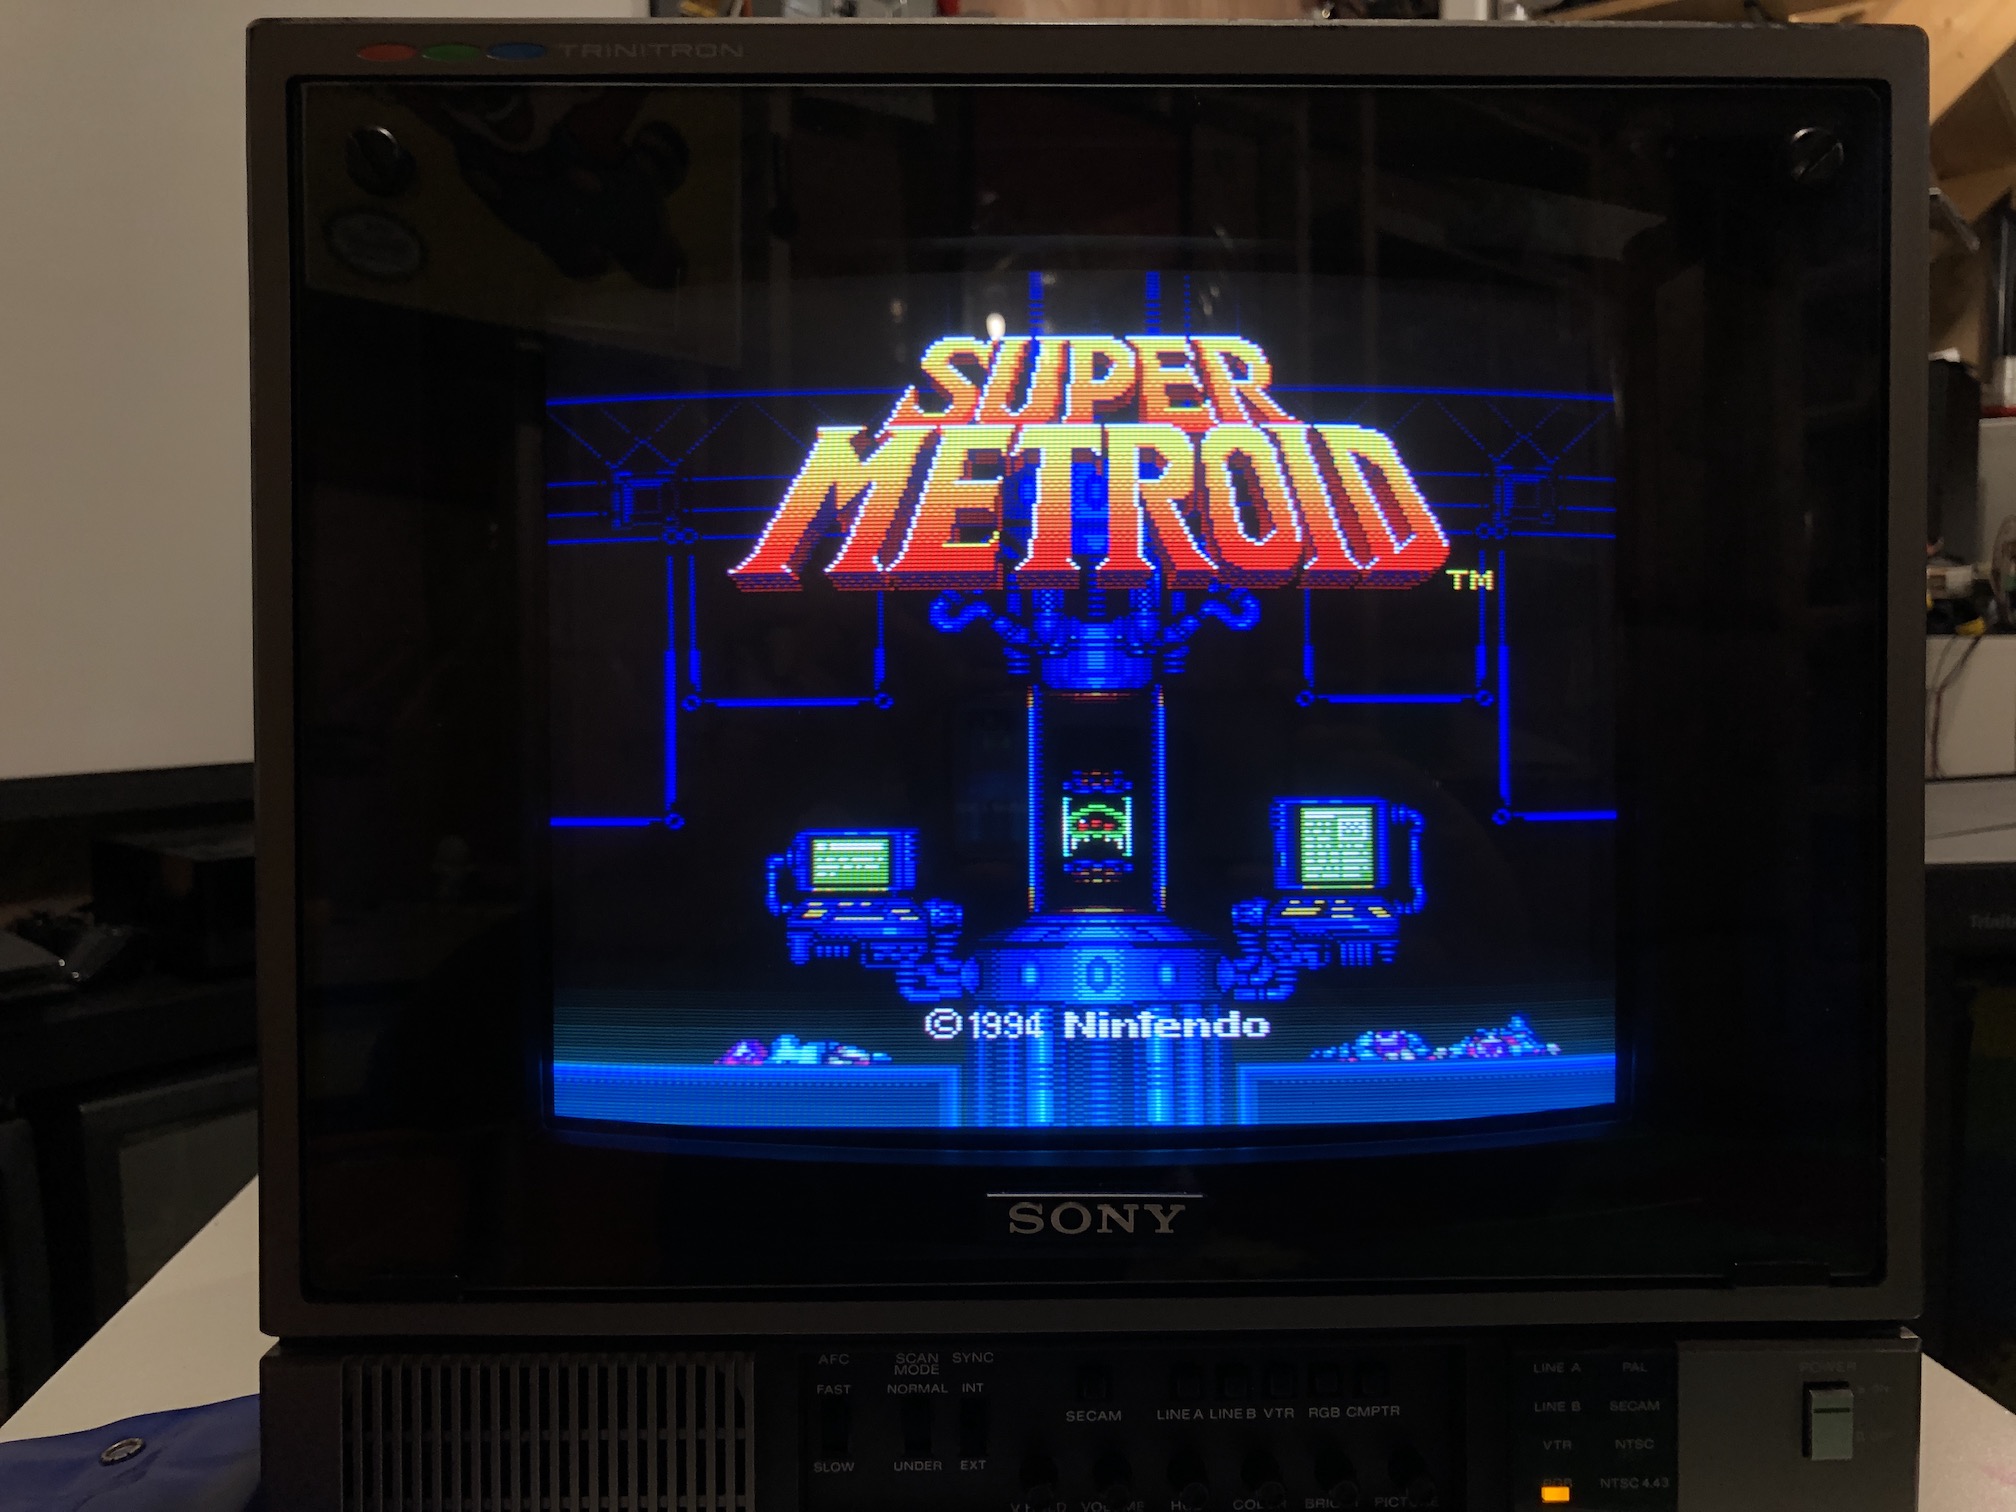 Picture taken after adjustments
CRT safety
Caution
You can die doing this! So read carefully! CRT TV is not a toy. Do not open a CRT TV. If you don't have any prior knowledge about handling high voltage devices, this guide is not for you. CRT TV contains high enough voltage (20,000+ V) and current to be deadly, even when it is turned off.
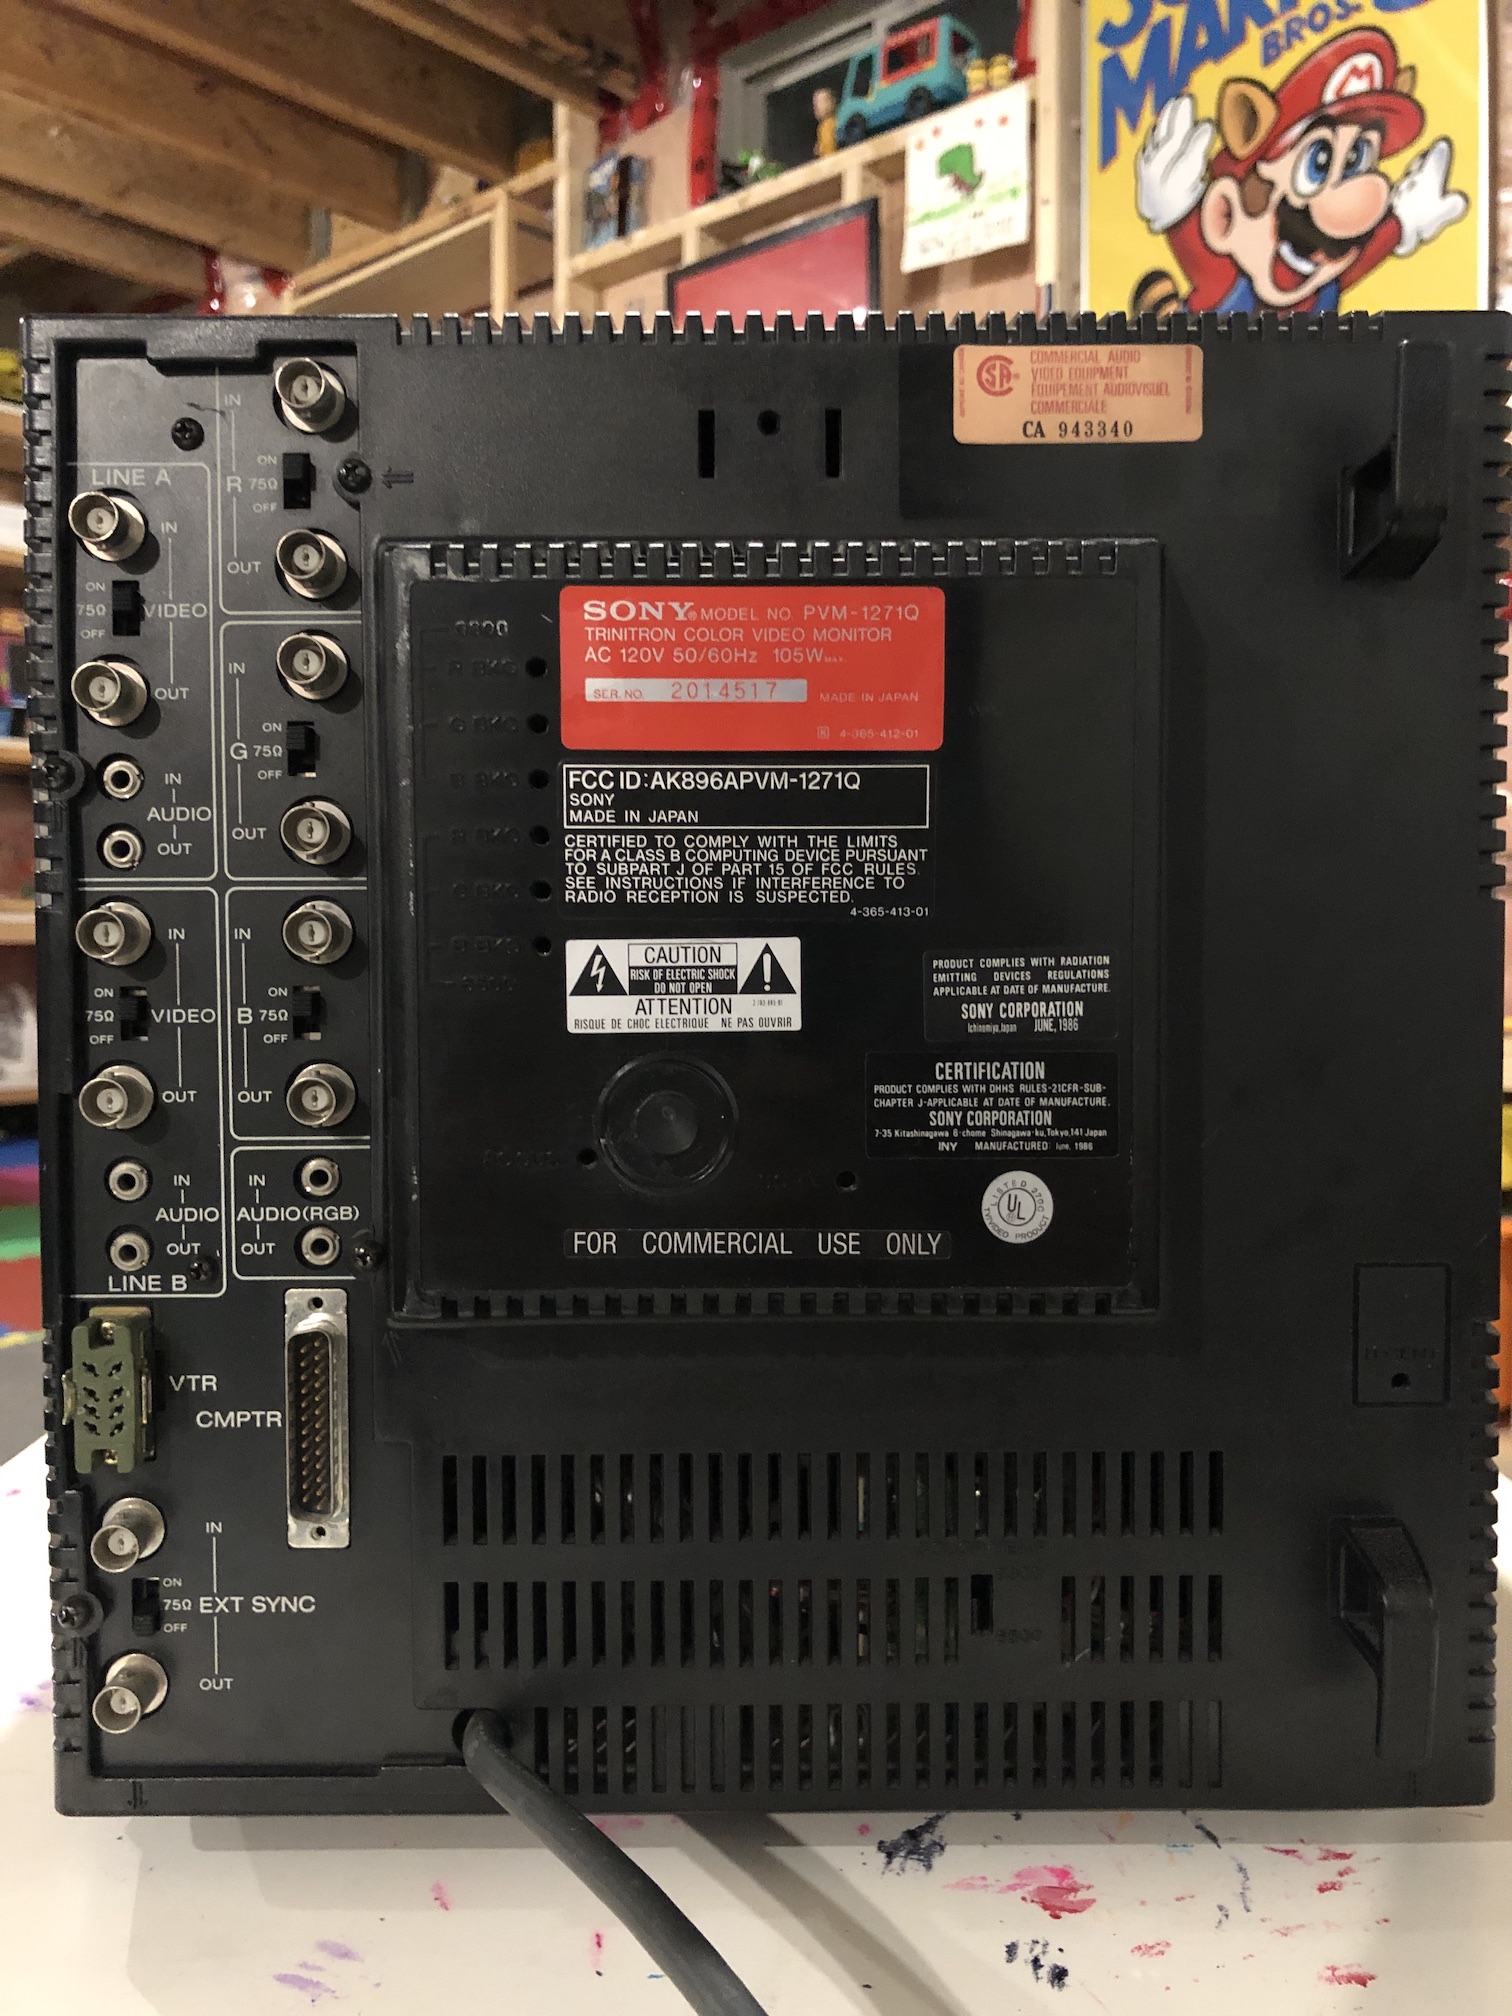
Specs
Service Manuals
Sony PVM 1270Q
- Manufactured: 1986 June, Made in Japan
- NTSC/PAL, 50/60 Hz, 105 Watts
- 15kHz 240p/480i
Inside the PVM
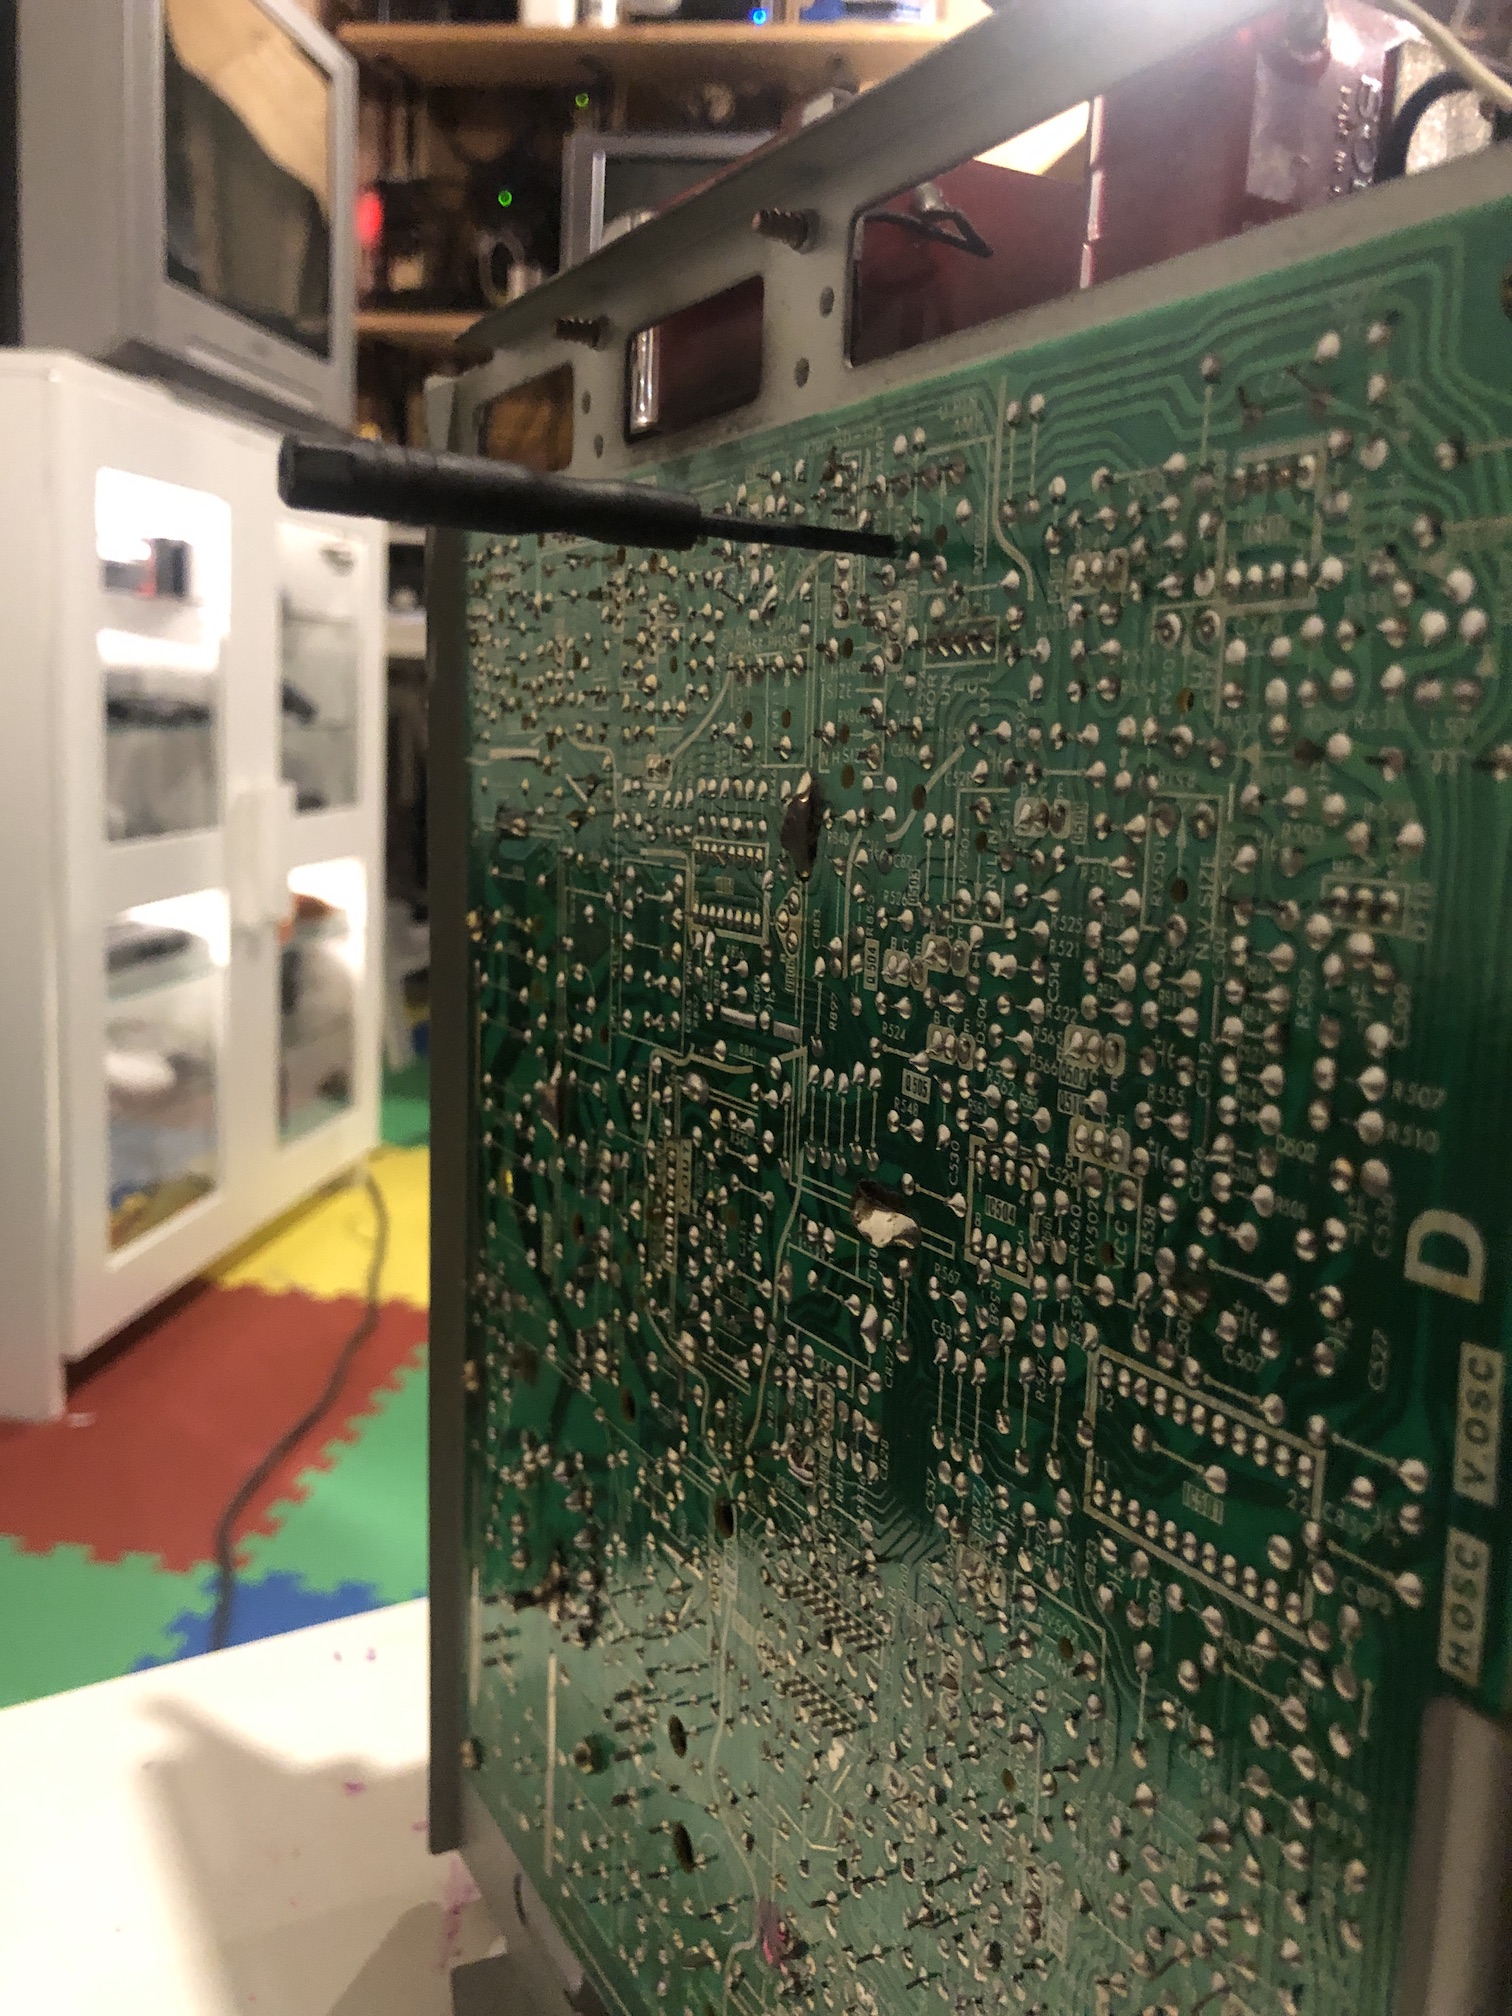
There are multiple screws to remove to get inside the PVM. There are also two screws at the bottom of the chassis. Once you open the back cover, you will see this. Yes, it is a bit crowded in there.
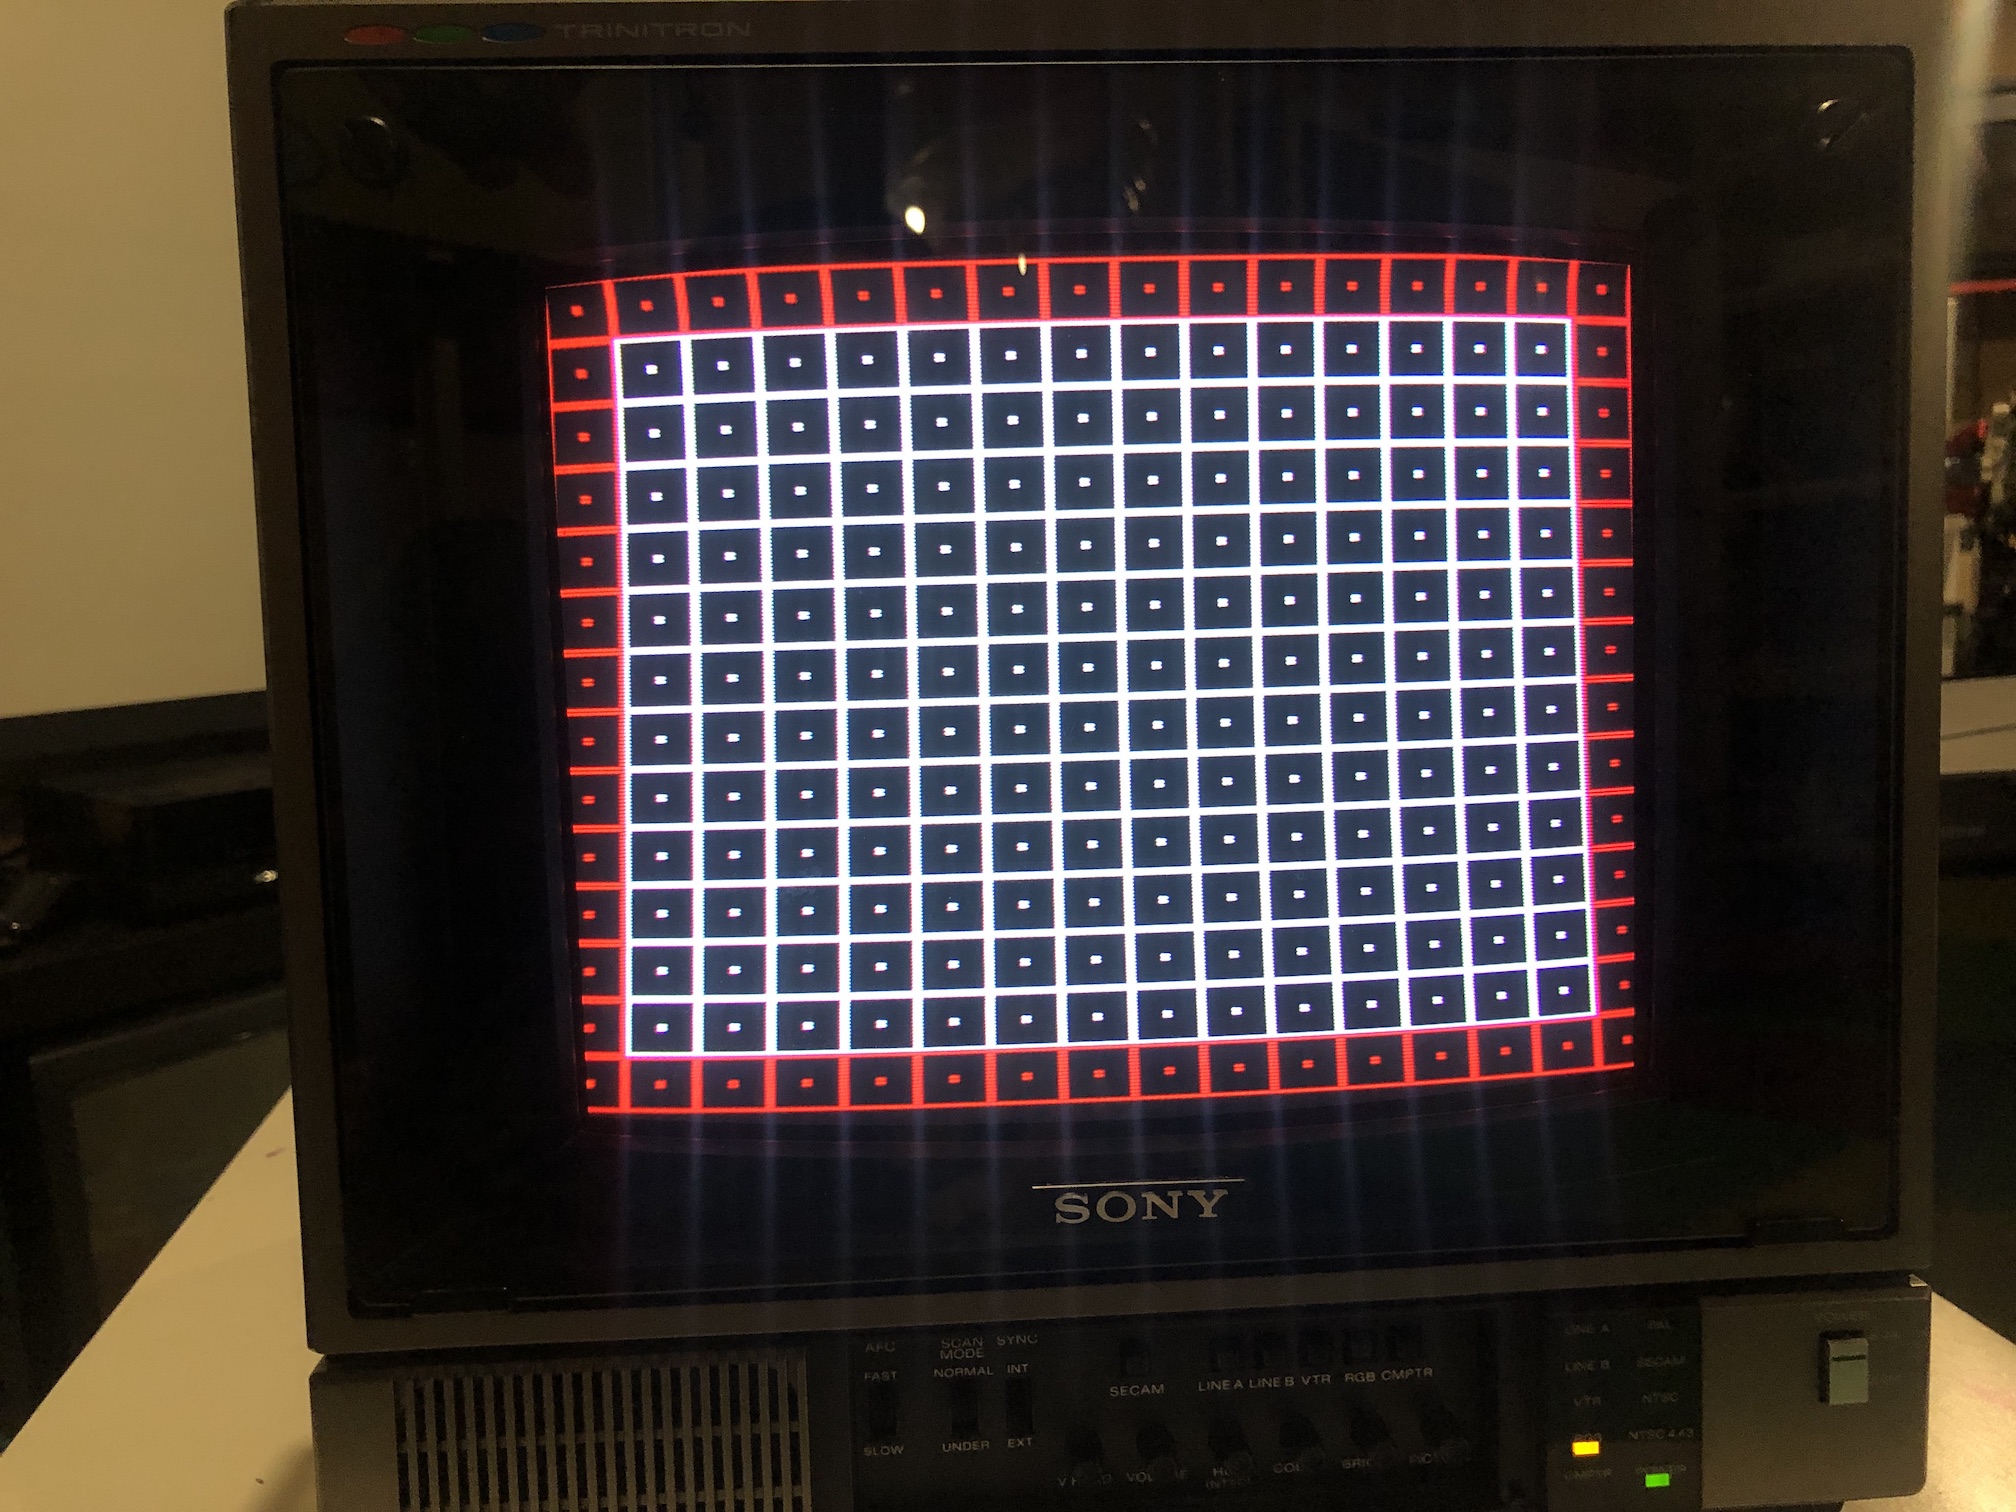
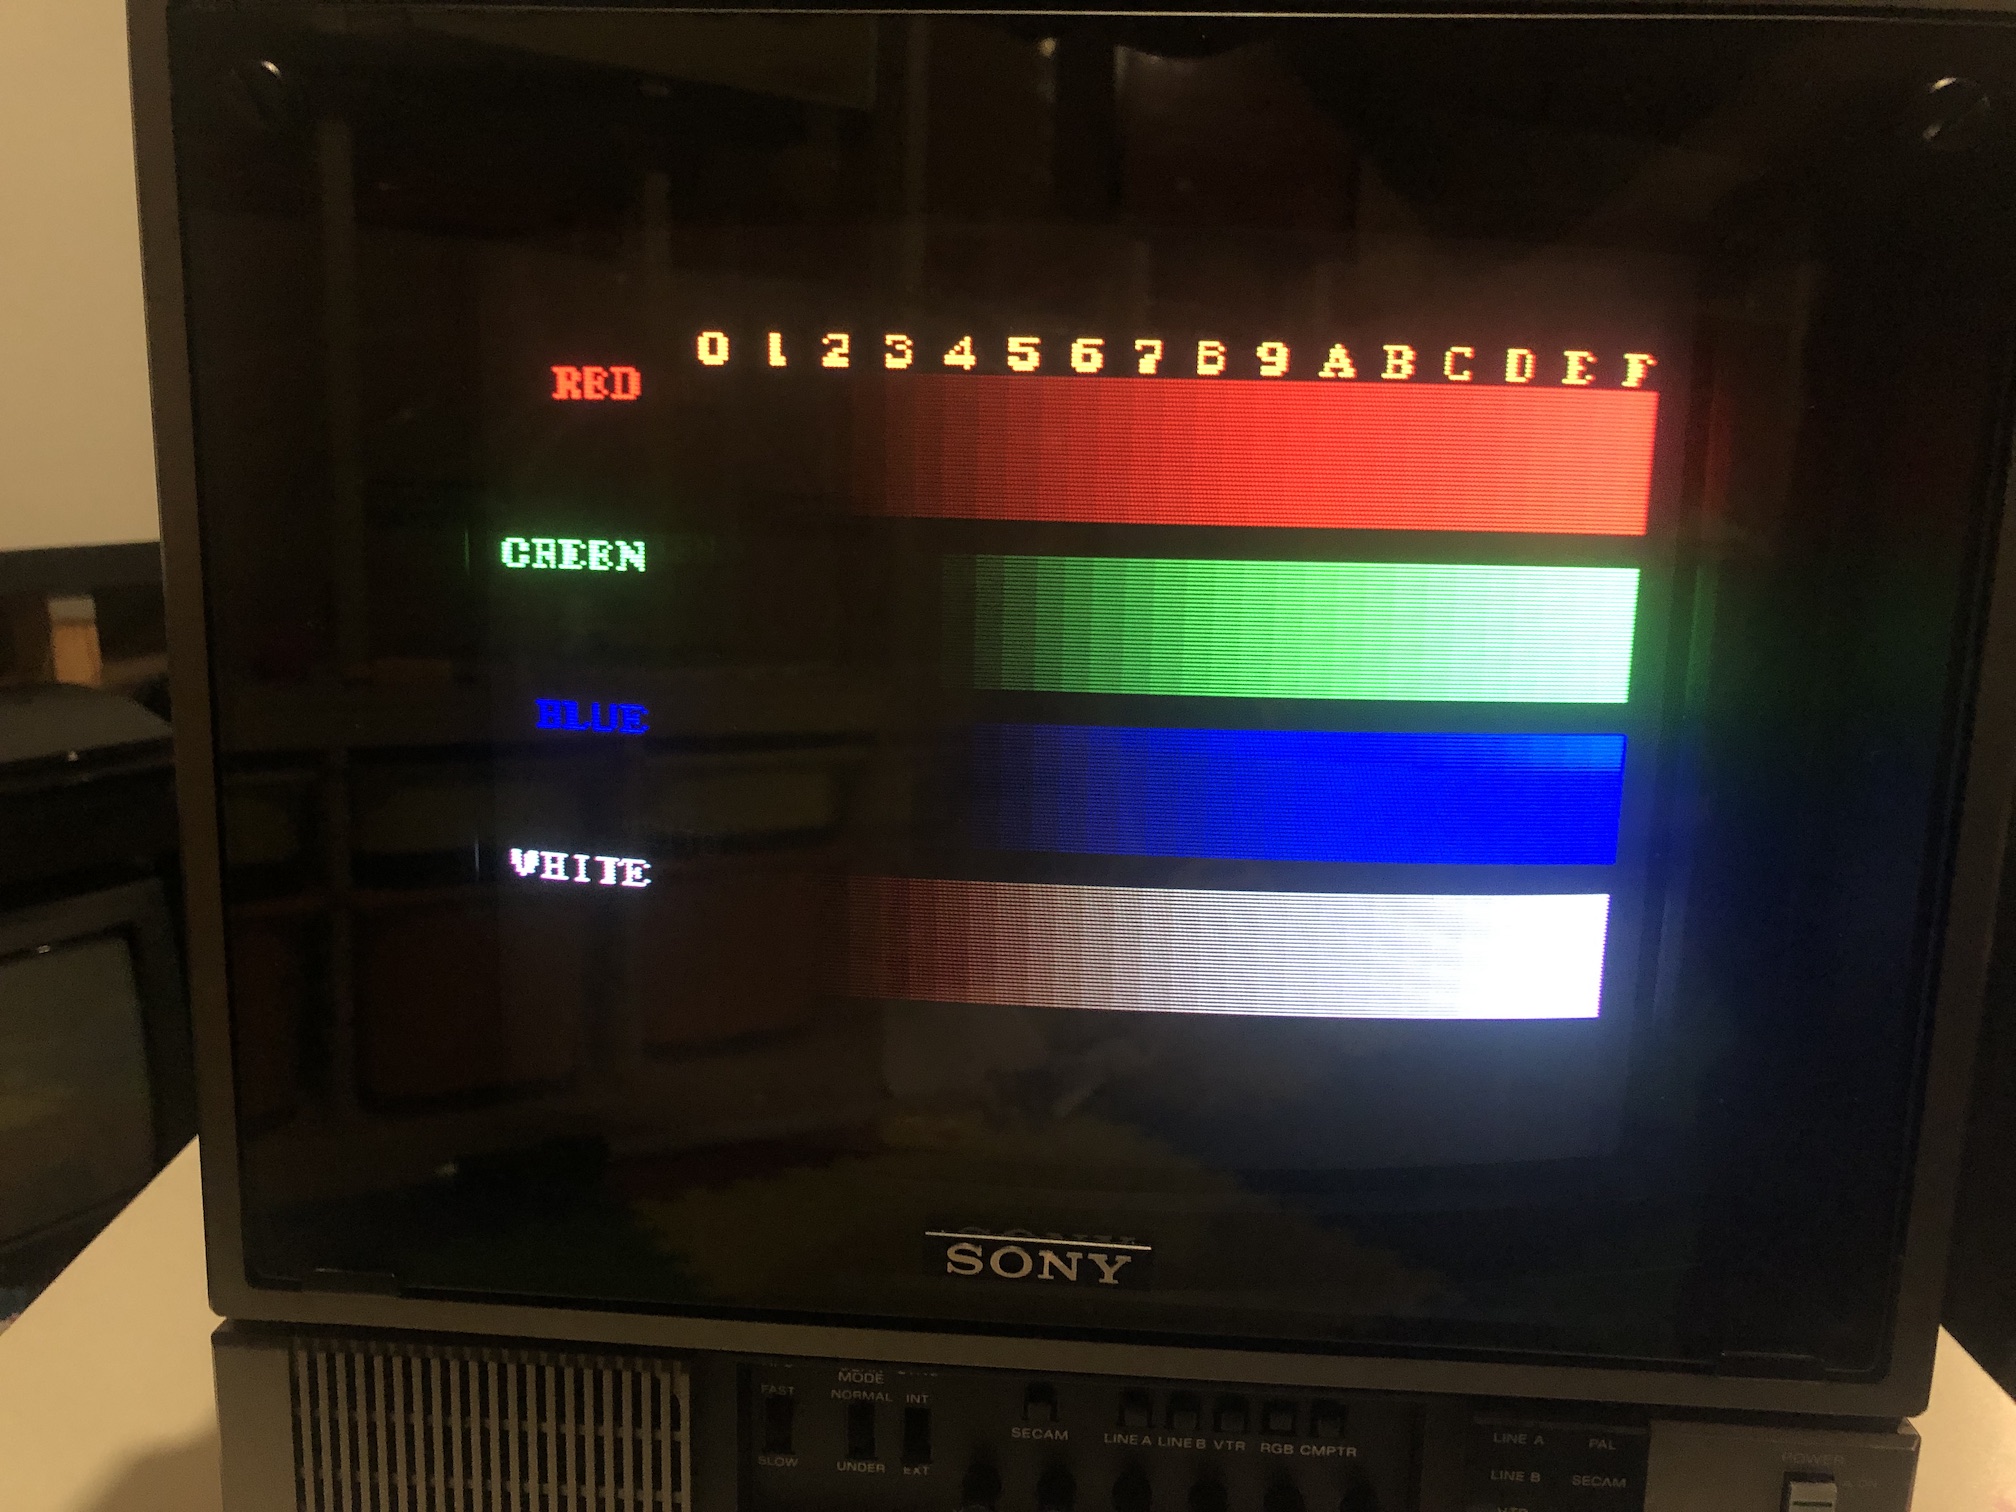
Here are some before/after pictures. There was a minor horizontal shift when I got the PVM. I was able to adjust this using a white knob that was on the D-board.
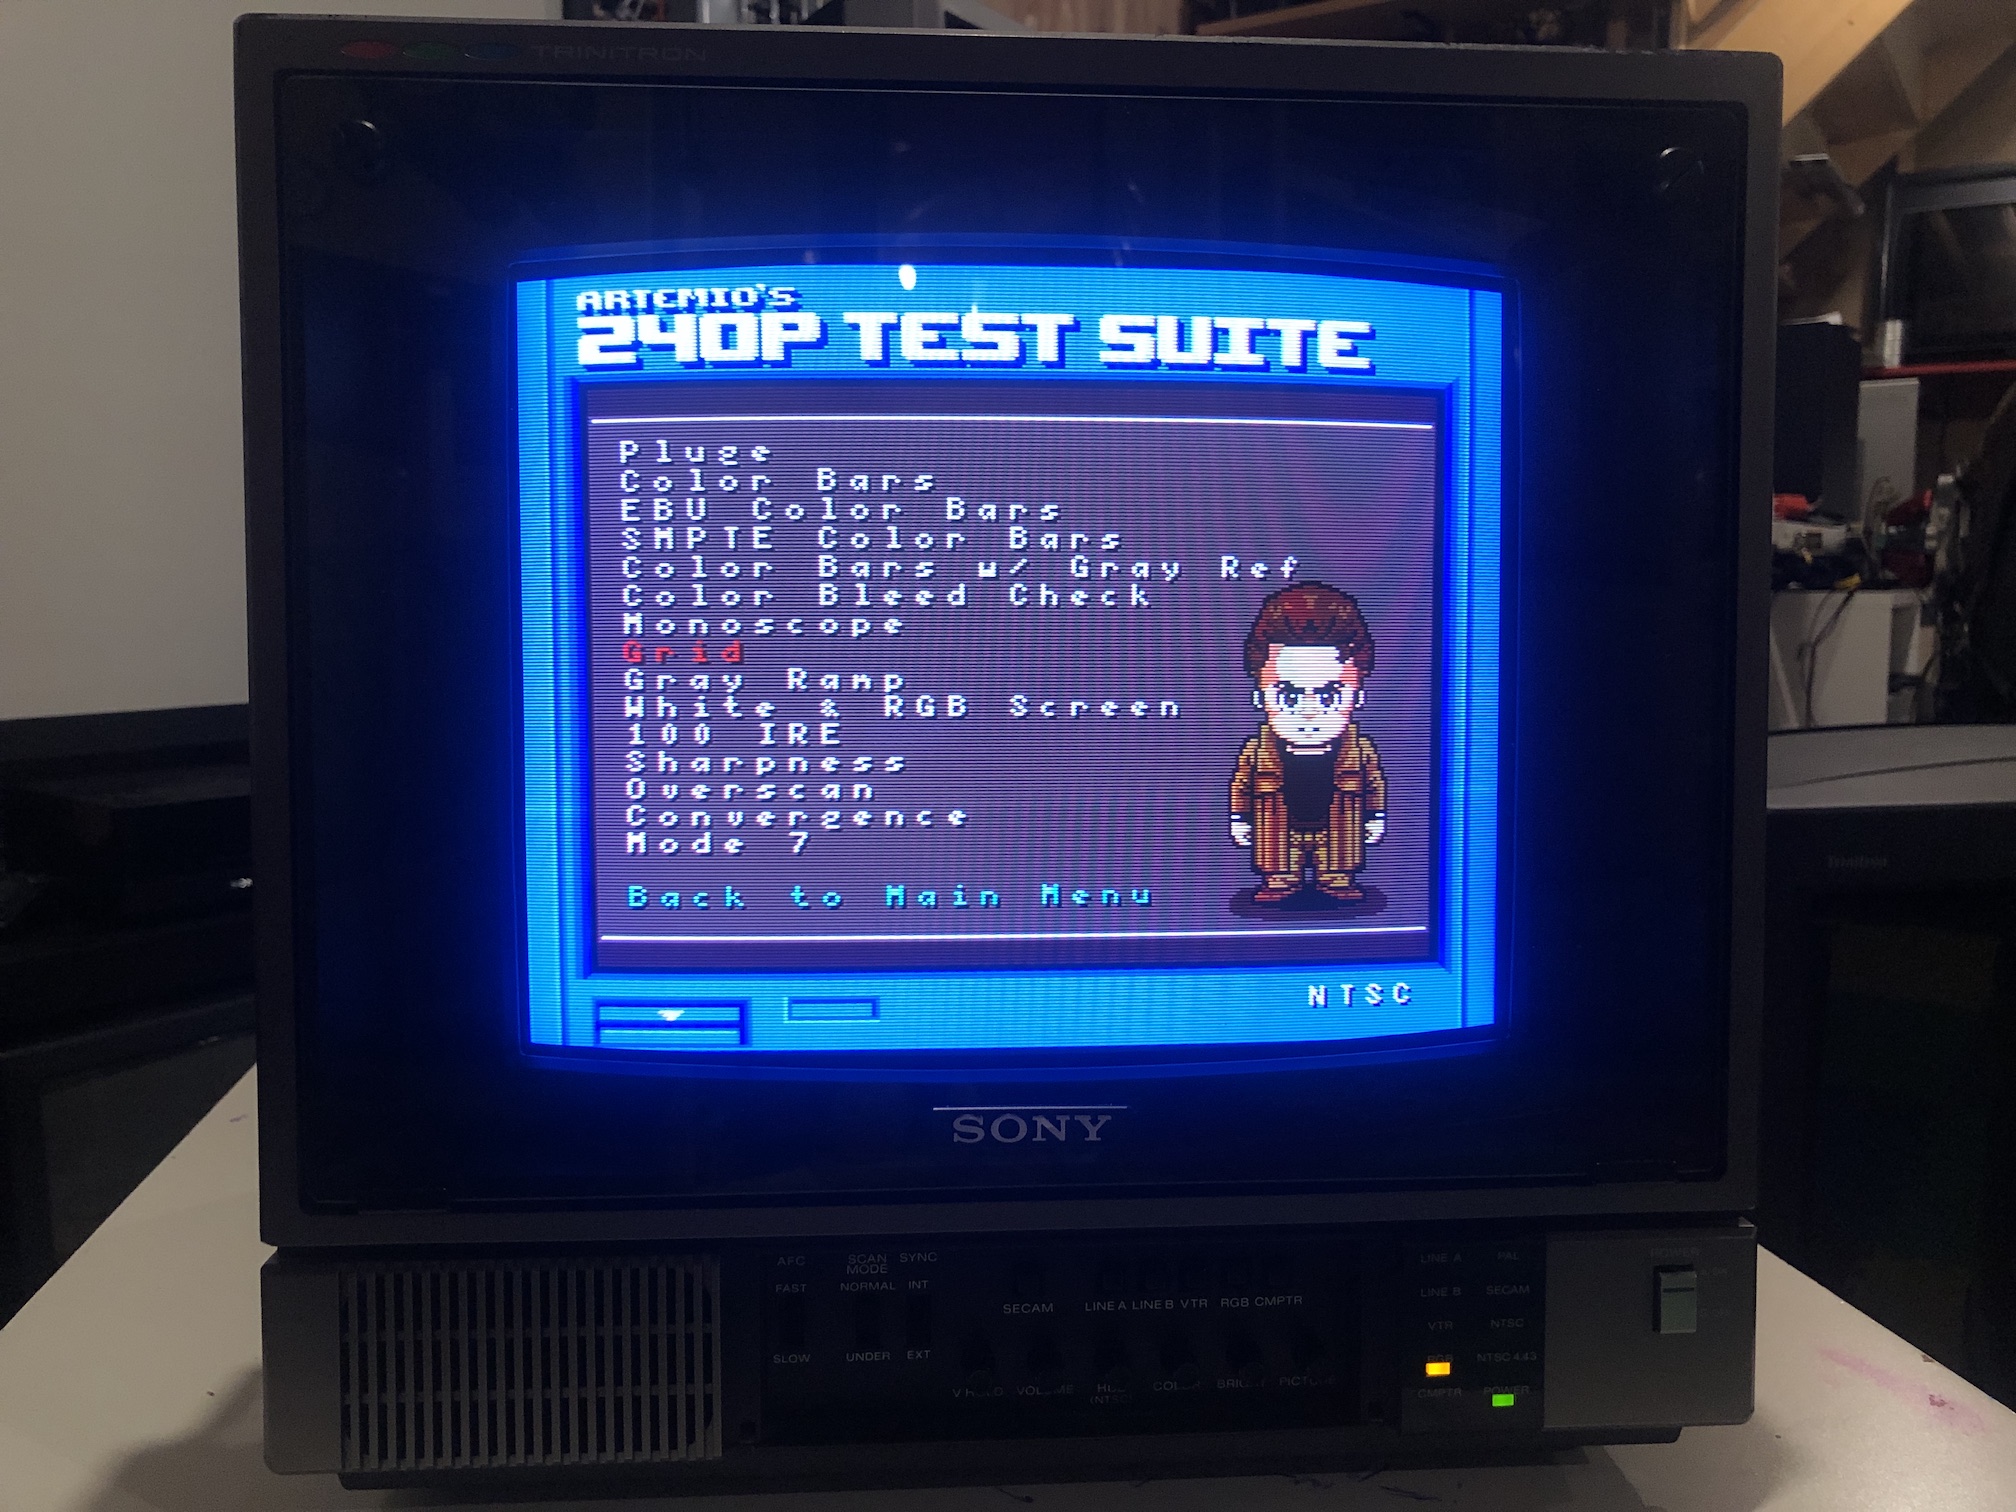
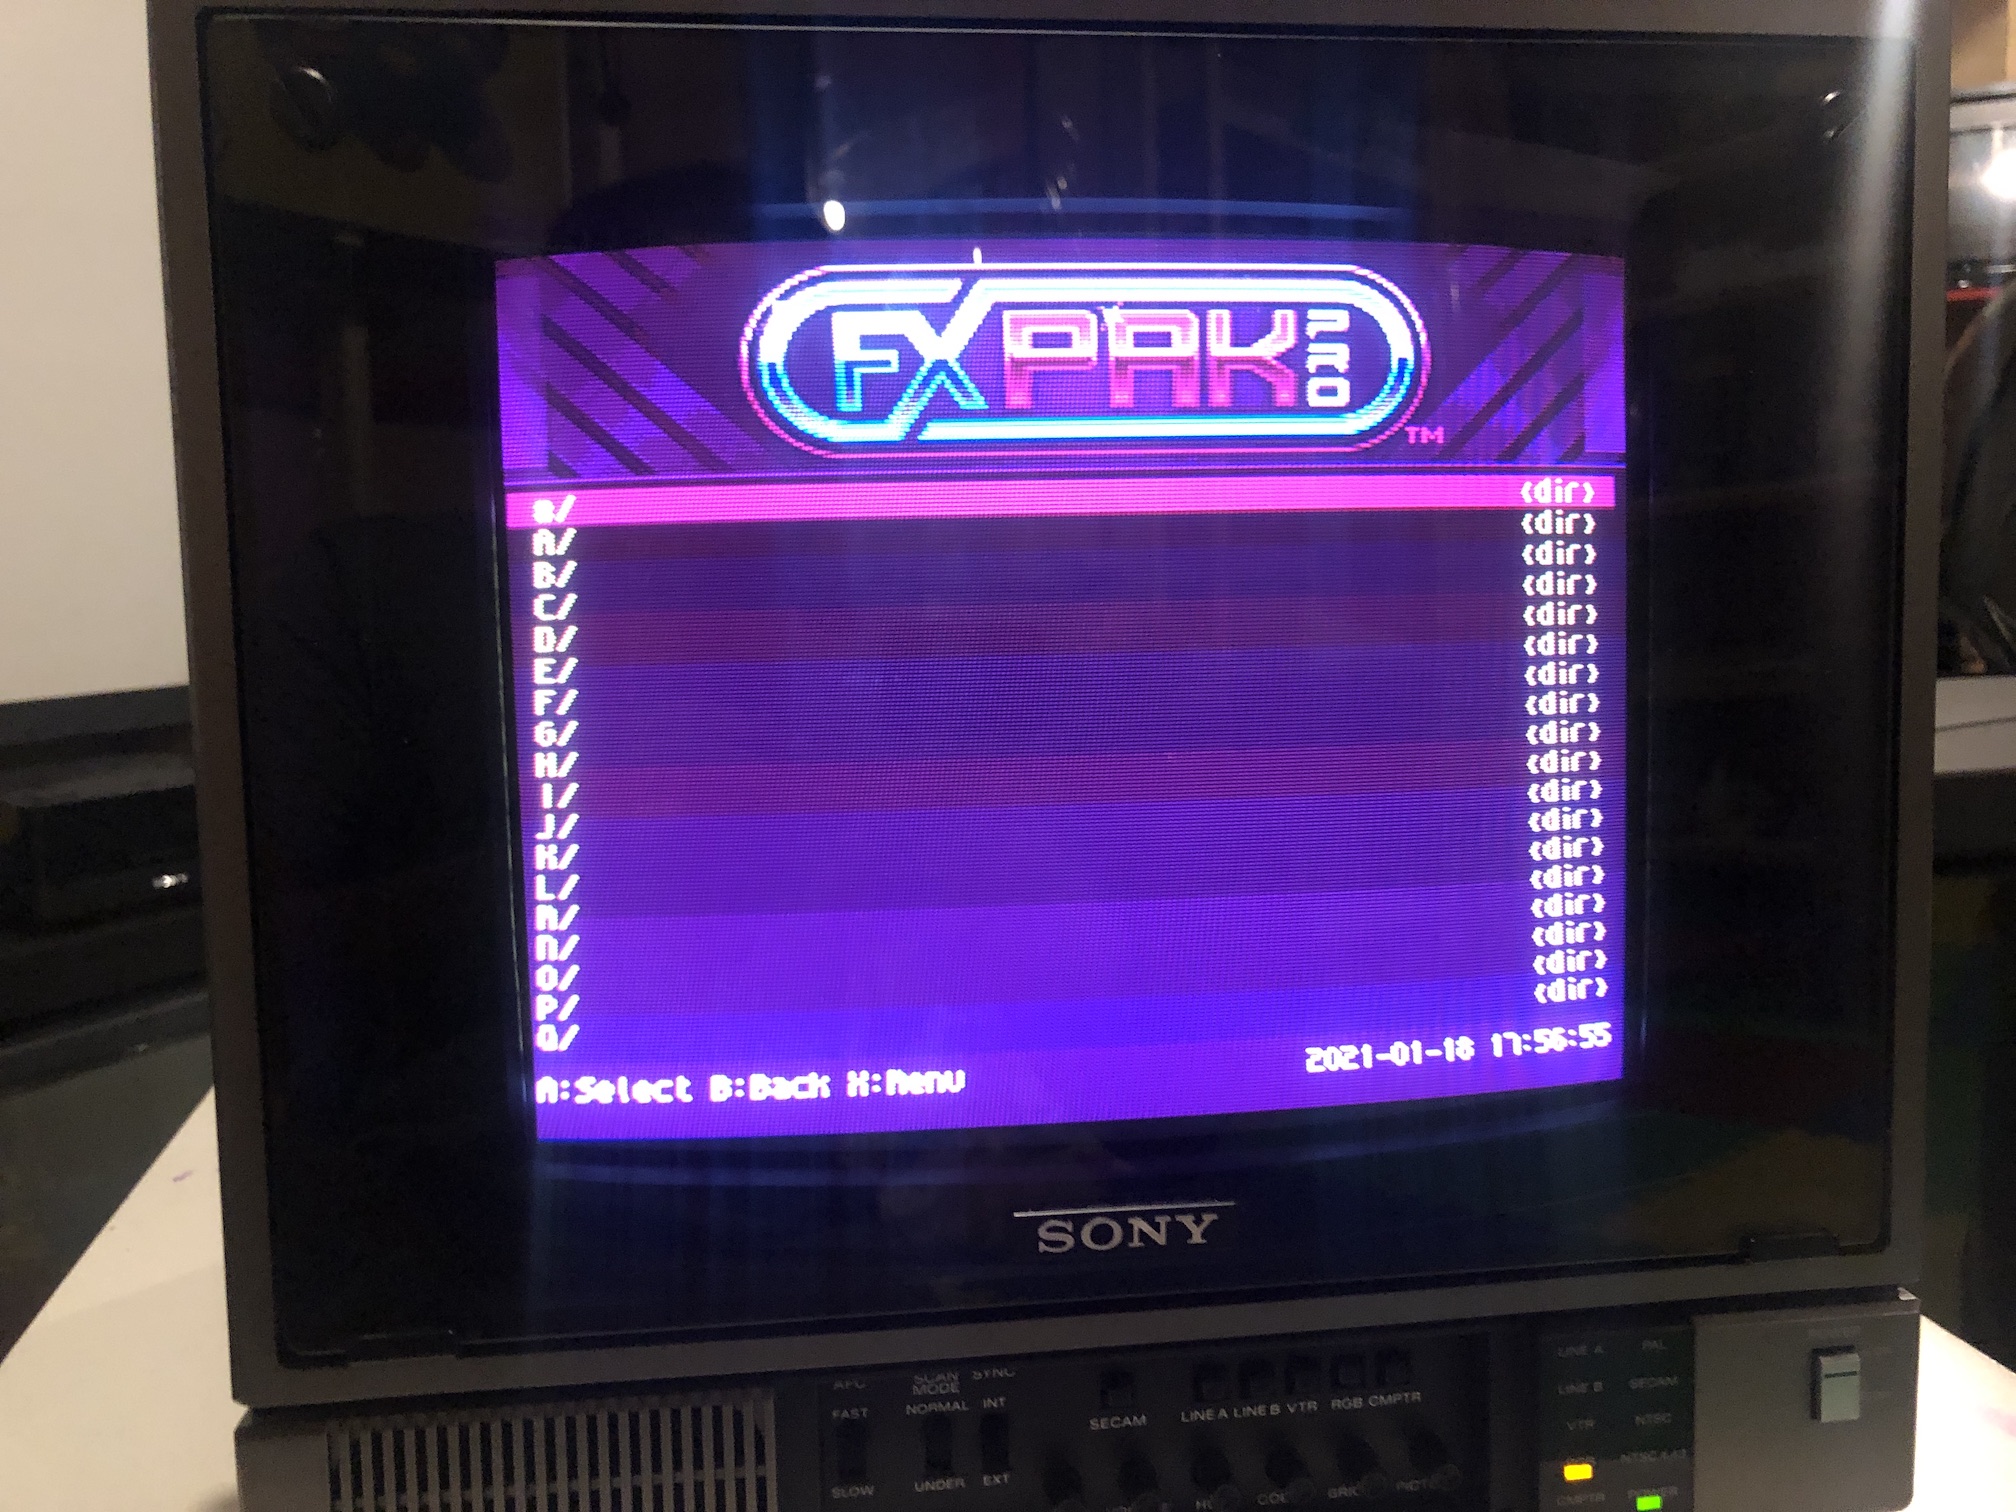
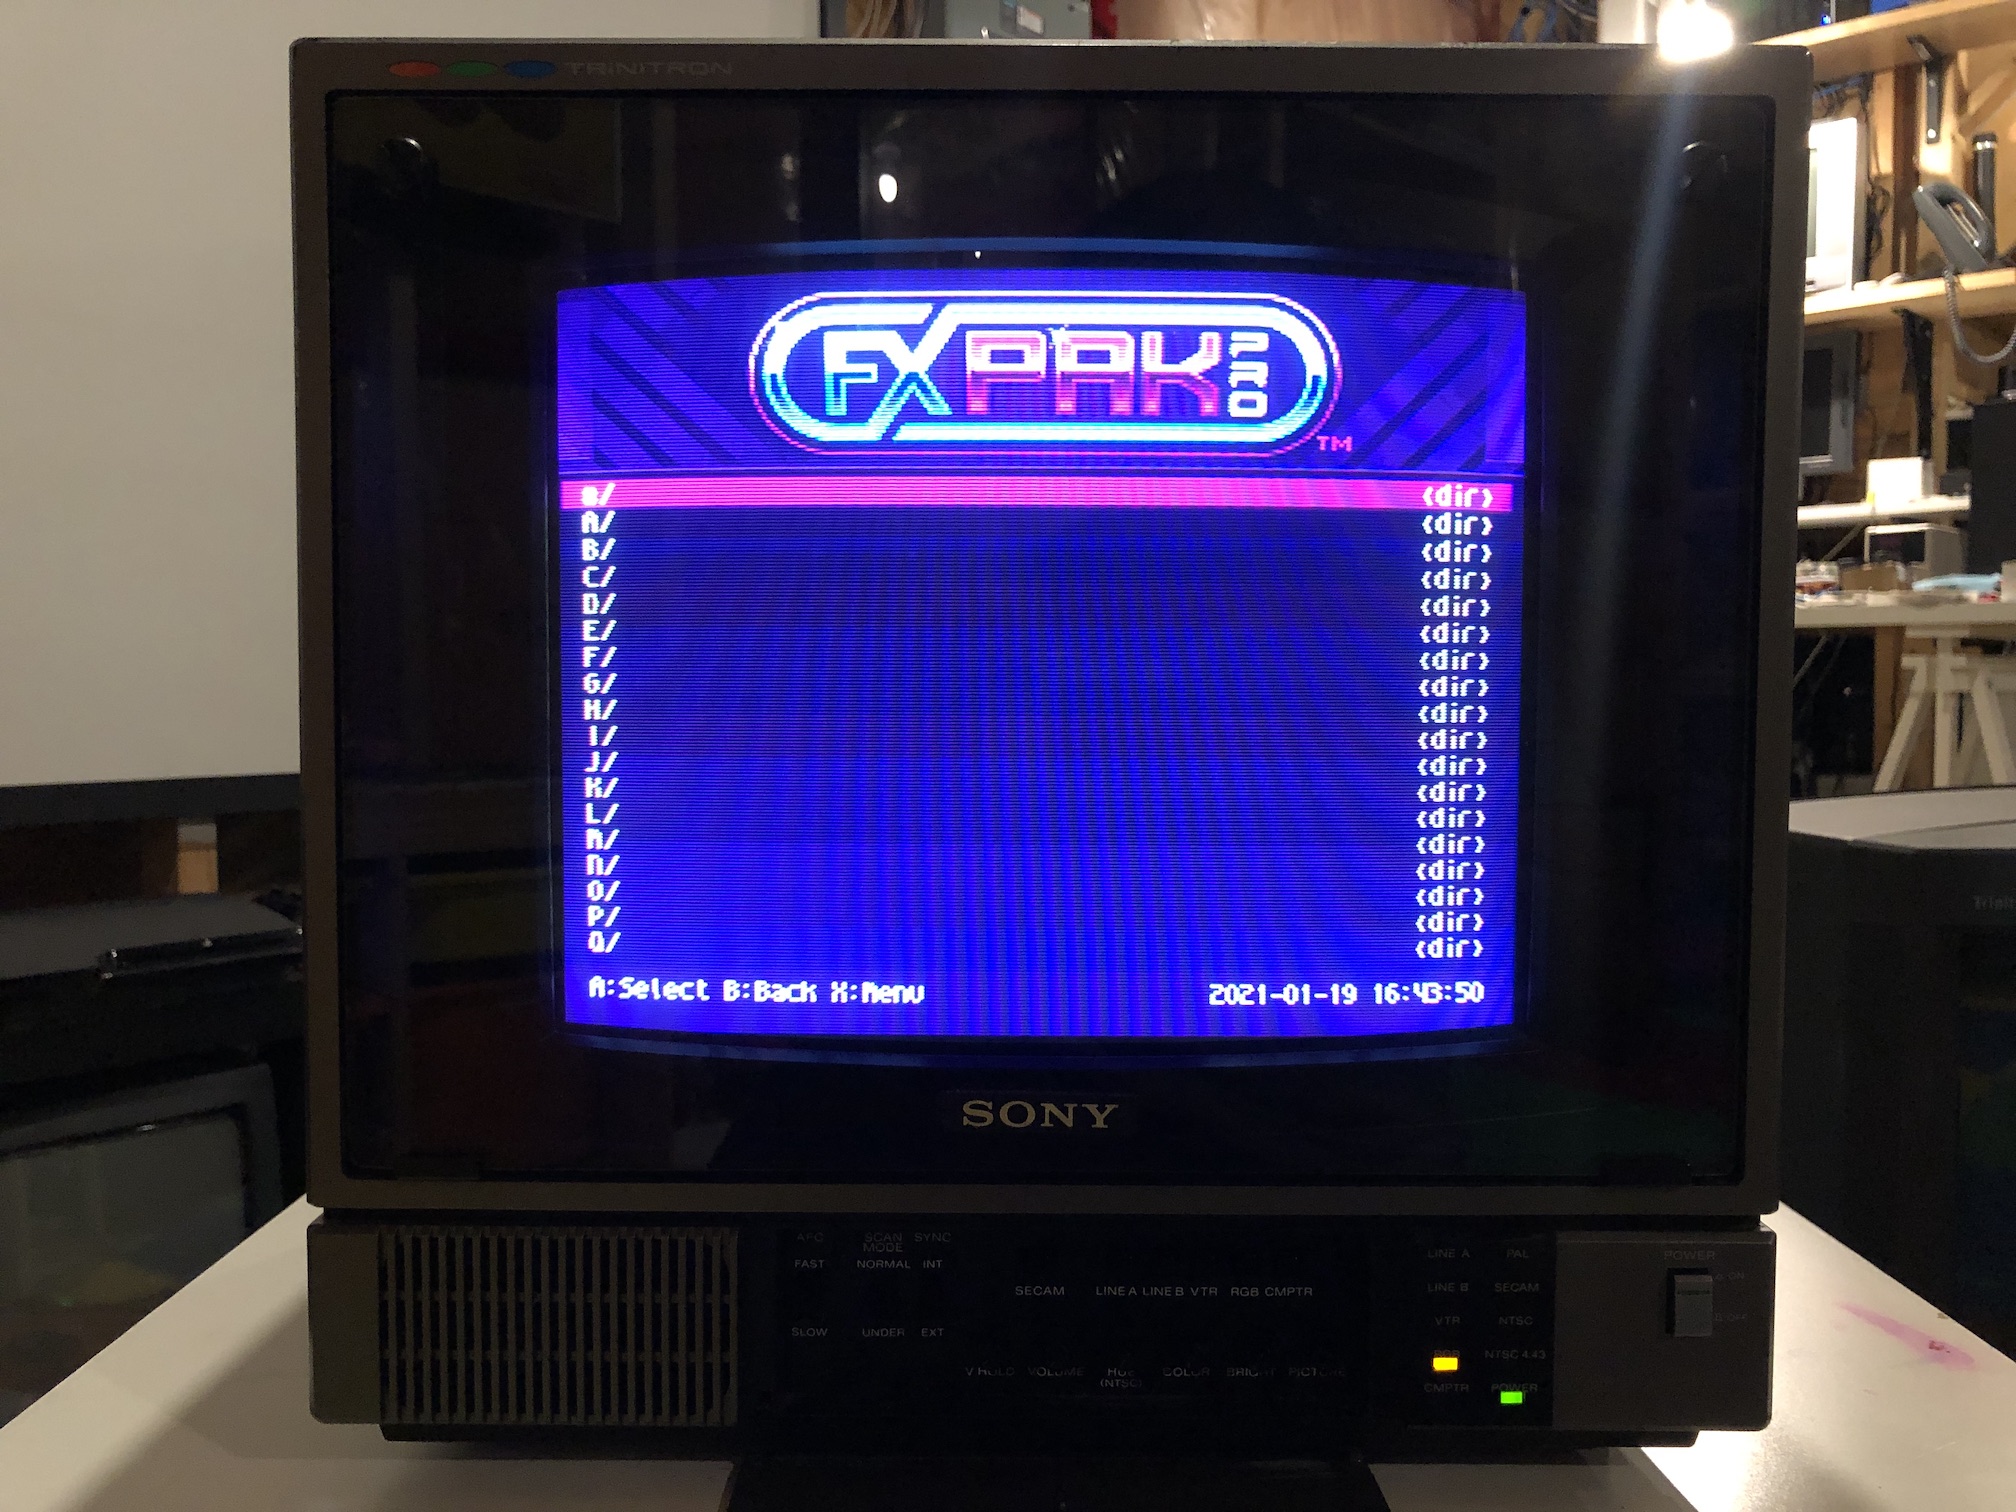
Everdrive Menu
Grid pattern
Adjusting the PVM
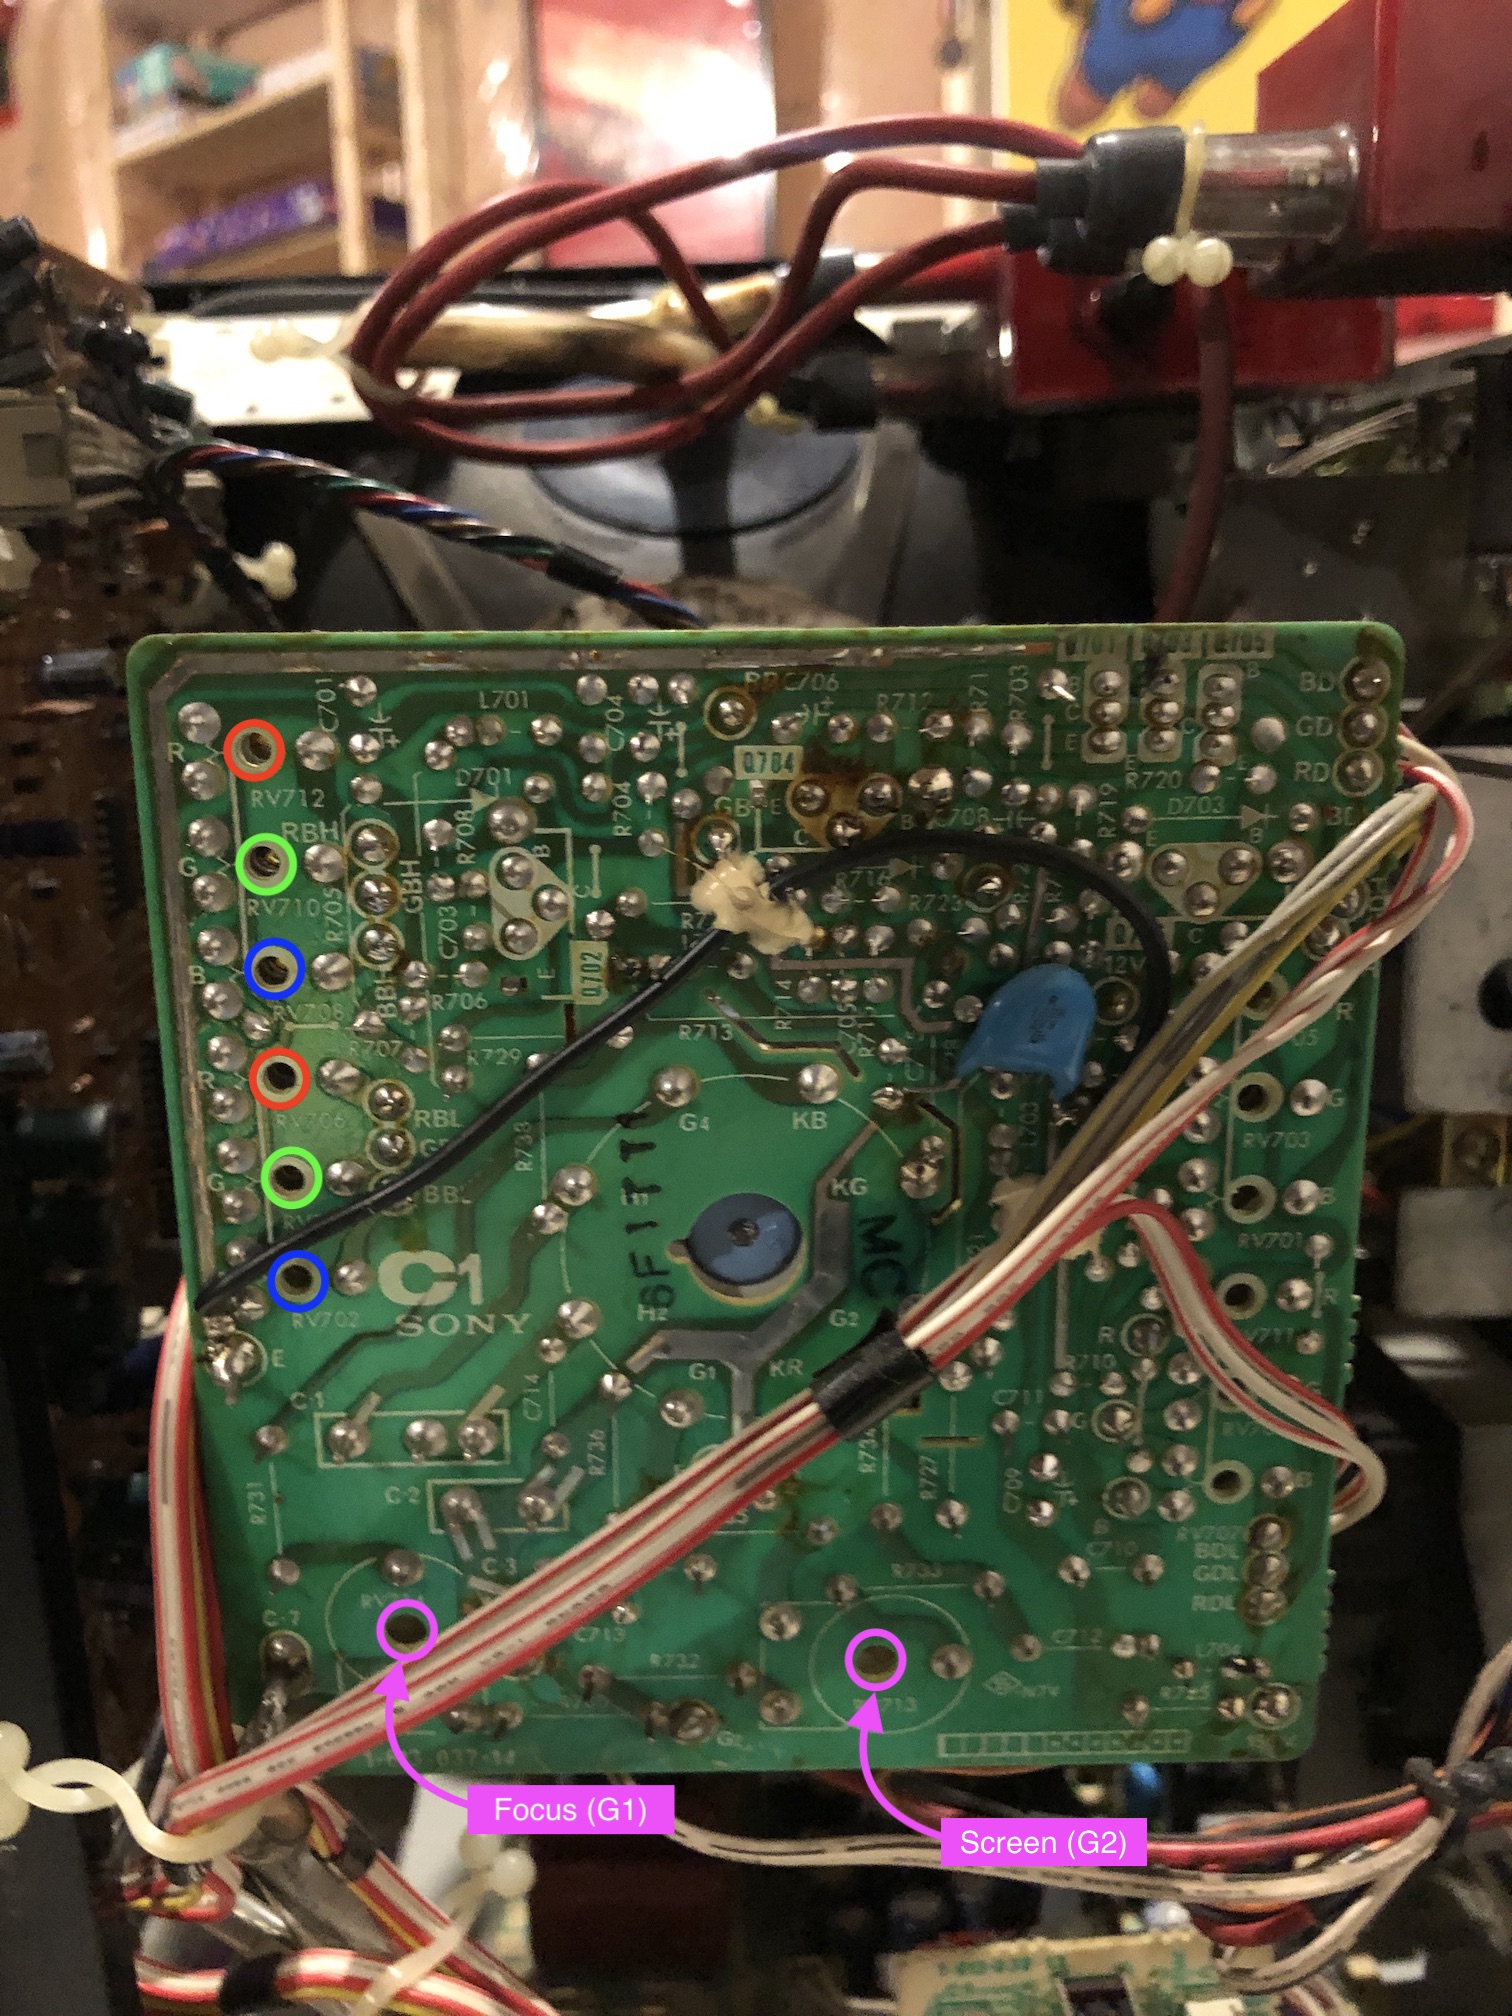
I was able to make all the necessary adjustments without having to remove any extra screws. The majority of the pots I adjusted to fix the geometry were located on the D board.
All the pots that have U in front of them are to adjust the under scan picture mode. All the pots that have N in front of them are to adjust the normal picture mode. I only focused on adjusting the "N" mode.
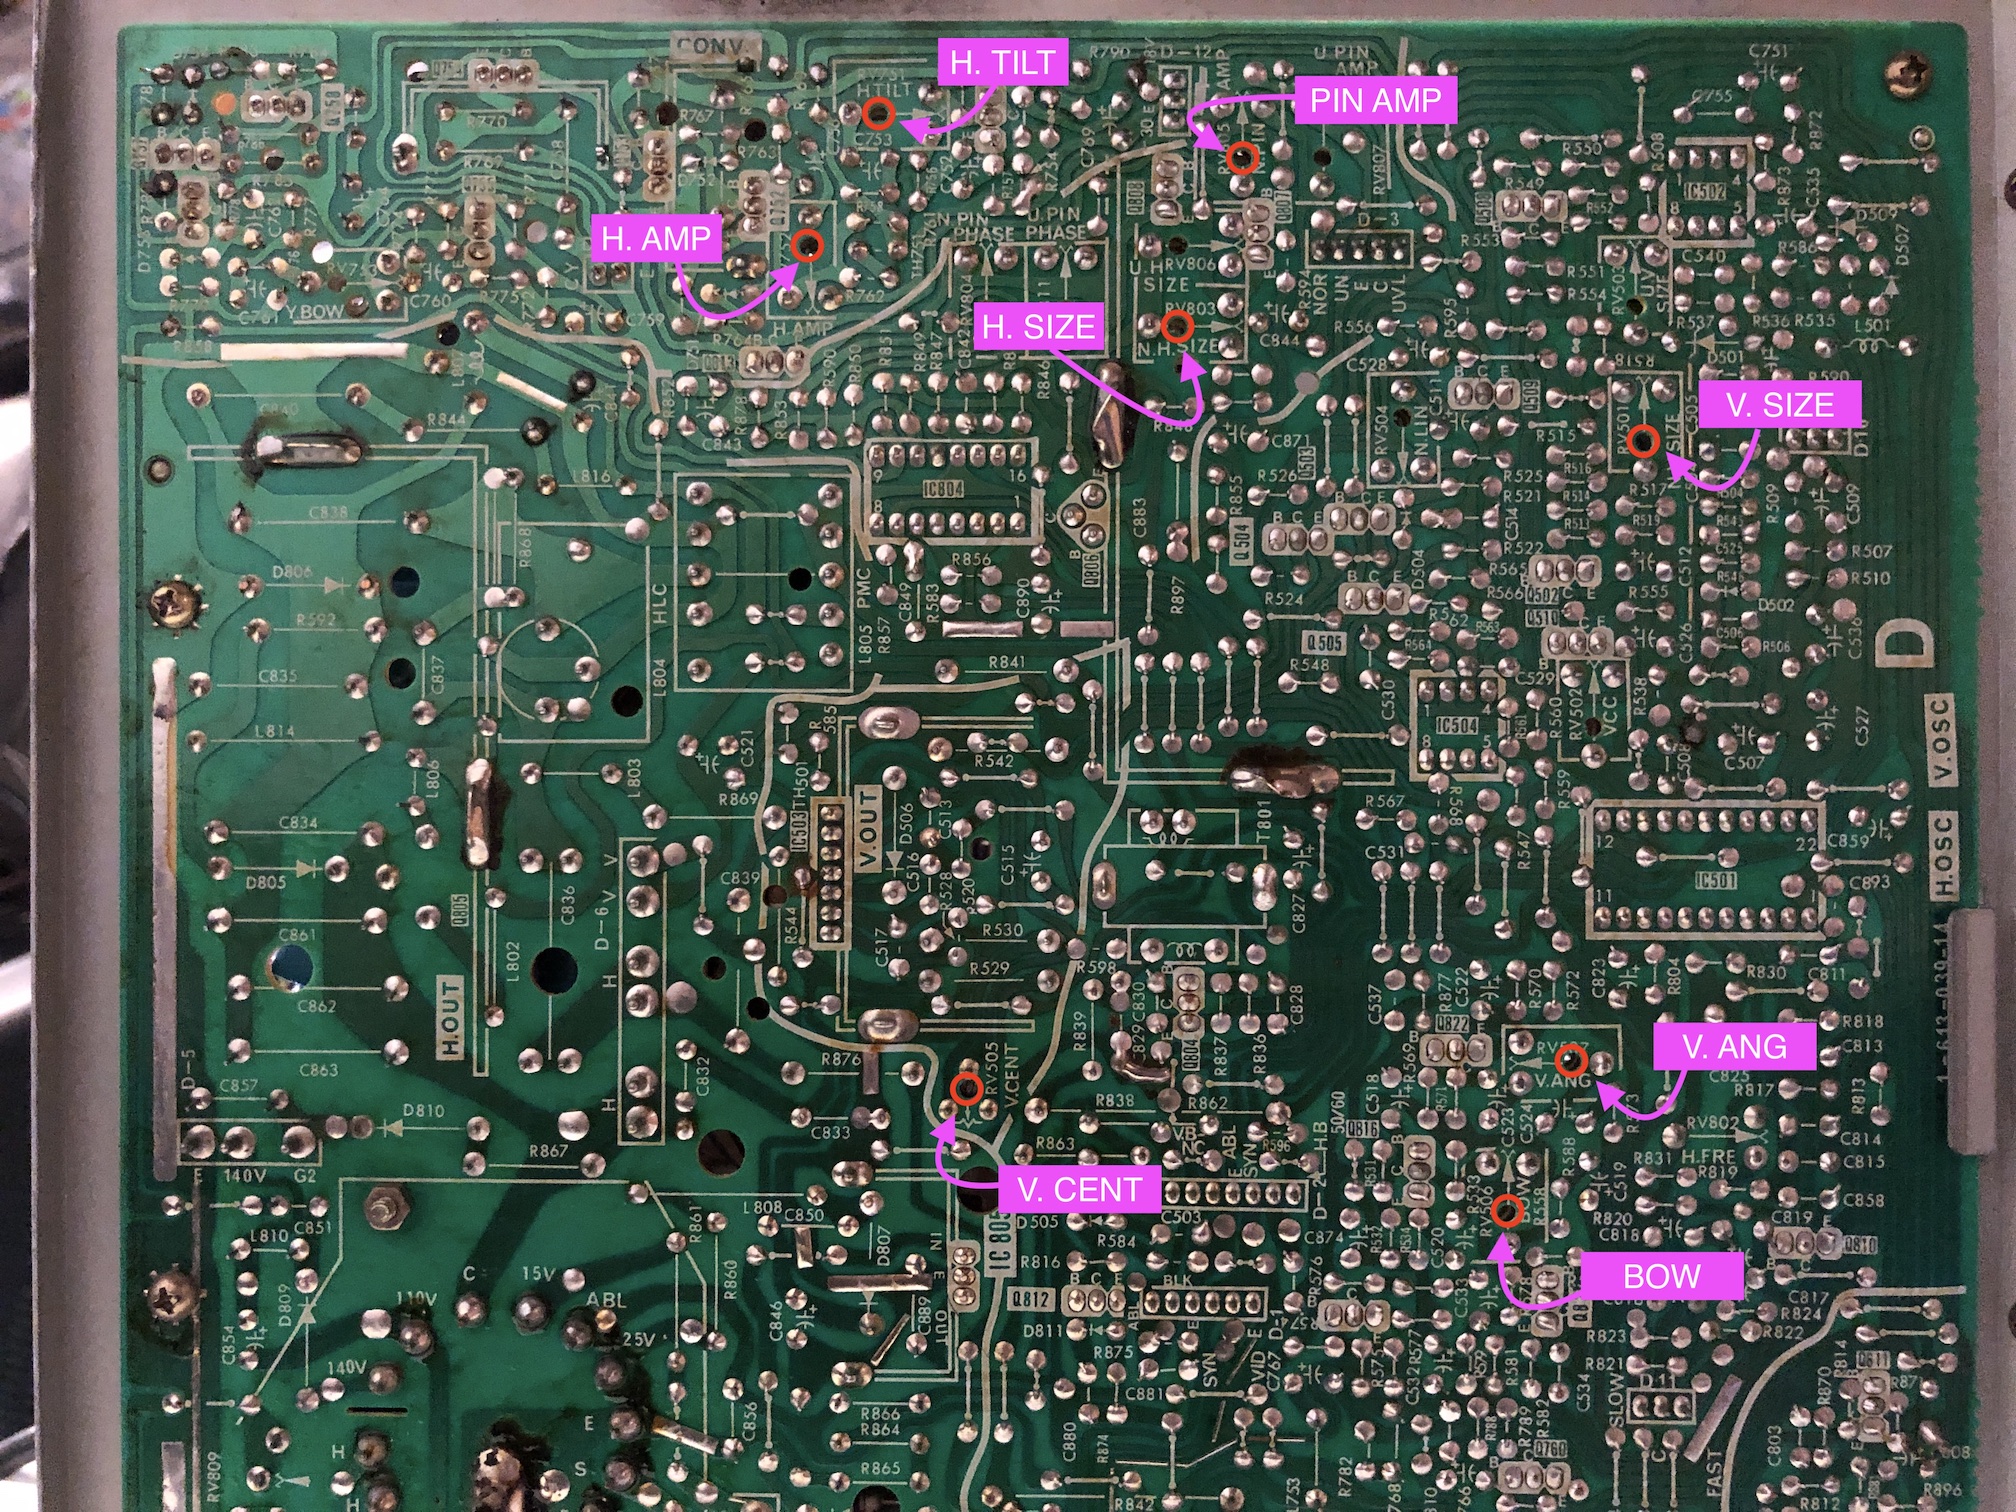
I have marked where all the pots are located. Please note, I had to find a really small flat head screw driver that was able to go through the pcb holes and adjust the pots on the other side. I added some insulation to the screw driver as you definitely don't want to touch the wrong part of the pcb and short something out.
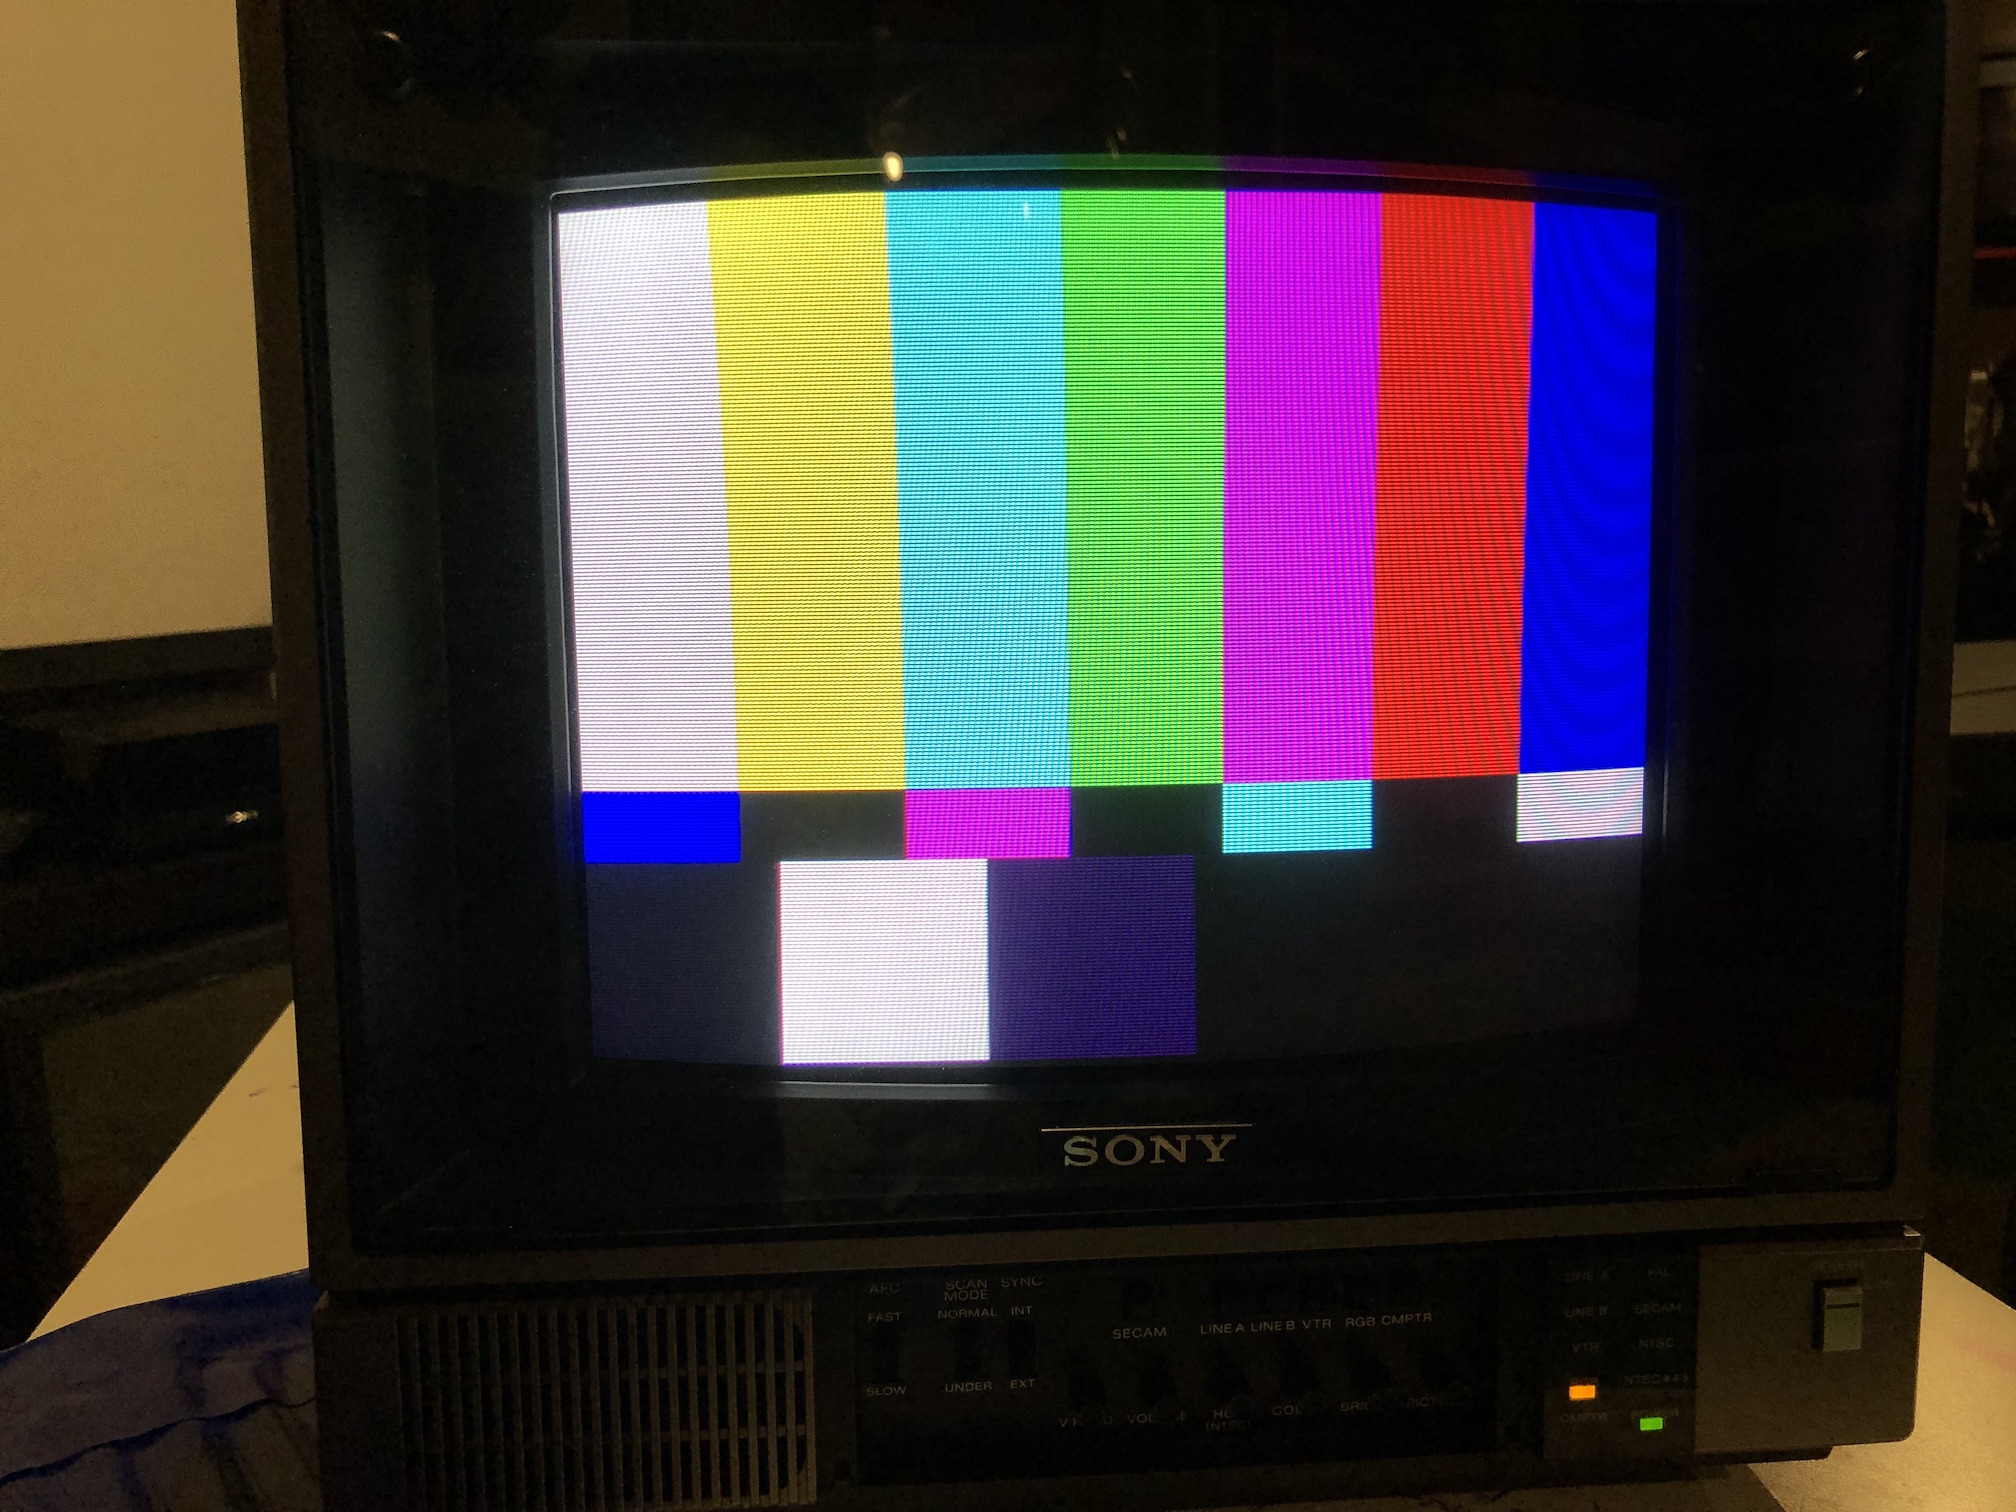
To adjust the colors, there are several pots on the neck board. I primarily only had to adjust just the R, G, B and cutoff slightly.
More Pictures
Picture quality looks amazing in person. Unfortunately with the glare from the front screen, it was very difficult to capture good pictures.