Sony (G3F) KV-F29MF1
Sony KV-F29MF1 CRT RGB mod
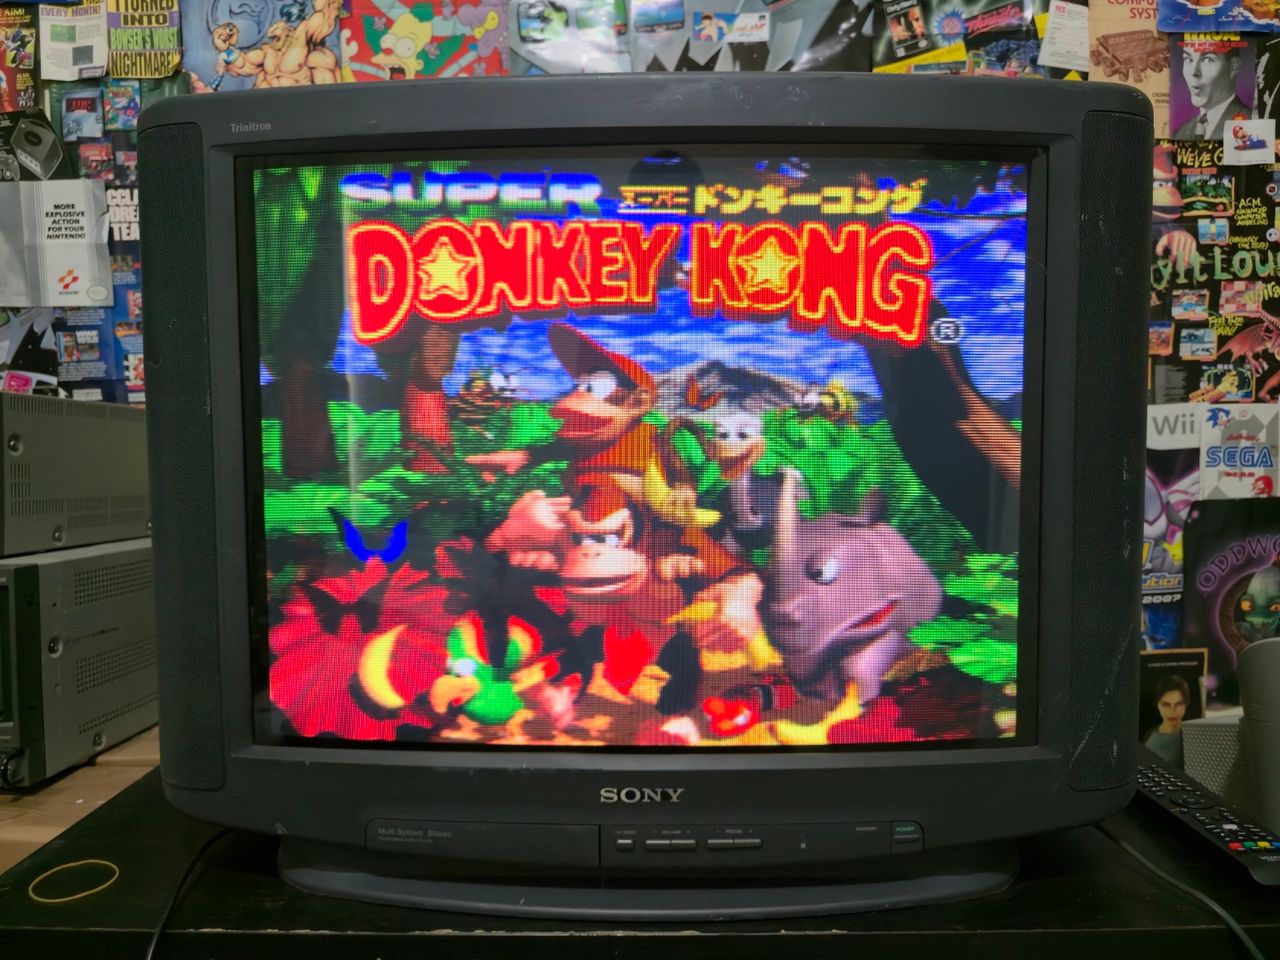
The Sony Trinitron KV-F29MF1 is a versatile, 29" multisystem CRT television from the mid-90s. Built on Sony’s G3F chassis, it is praised for its ability to handle multiple broadcast formats (PAL, SECAM, NTSC) and its standout built-in speaker and surround sound.
This set is RGB moddable.
View full CRT details and more mod examples →
Contributors
Thank you to everyone who contributed to this guide:
- Retrogamer.ae — showcase author
- RetroGamer.ae — contributor, RGB mod details
CRT safety
Caution
You can die doing this! So read carefully! CRT TV is not a toy. Do not open a CRT TV. If you don't have any prior knowledge about handling high voltage devices, this guide is not for you. CRT TV contains high enough voltage (20,000+ V) and current to be deadly, even when it is turned off.
Plan of attack
Manuals and Datasheets
Specs
- Chassis: G3F
- OSD Chip: CXP80424A-081S
- Screen Size: 29"
Performing the mod
Now that you roughly know what needs to be done, prepare for the mod. Place the board on a comfortable place. Make sure you are not putting pressure on the flyback or other components. Taking out the chassis is fairly straight forward on this CRT. There are few wires that needs to be disconnected.
- Degauss wire
- Power wire
- Ground wire attached to the neck board
- Yoke deflection coil wire
- Anode wire (this is the one with the rubber cap)
- Left and right audio wires
Please remember that wires 1-5 are critical for the CRT to function and should not be omitted. Having any of these wires disconnected while powering up can damage the board and can have adverse effects.
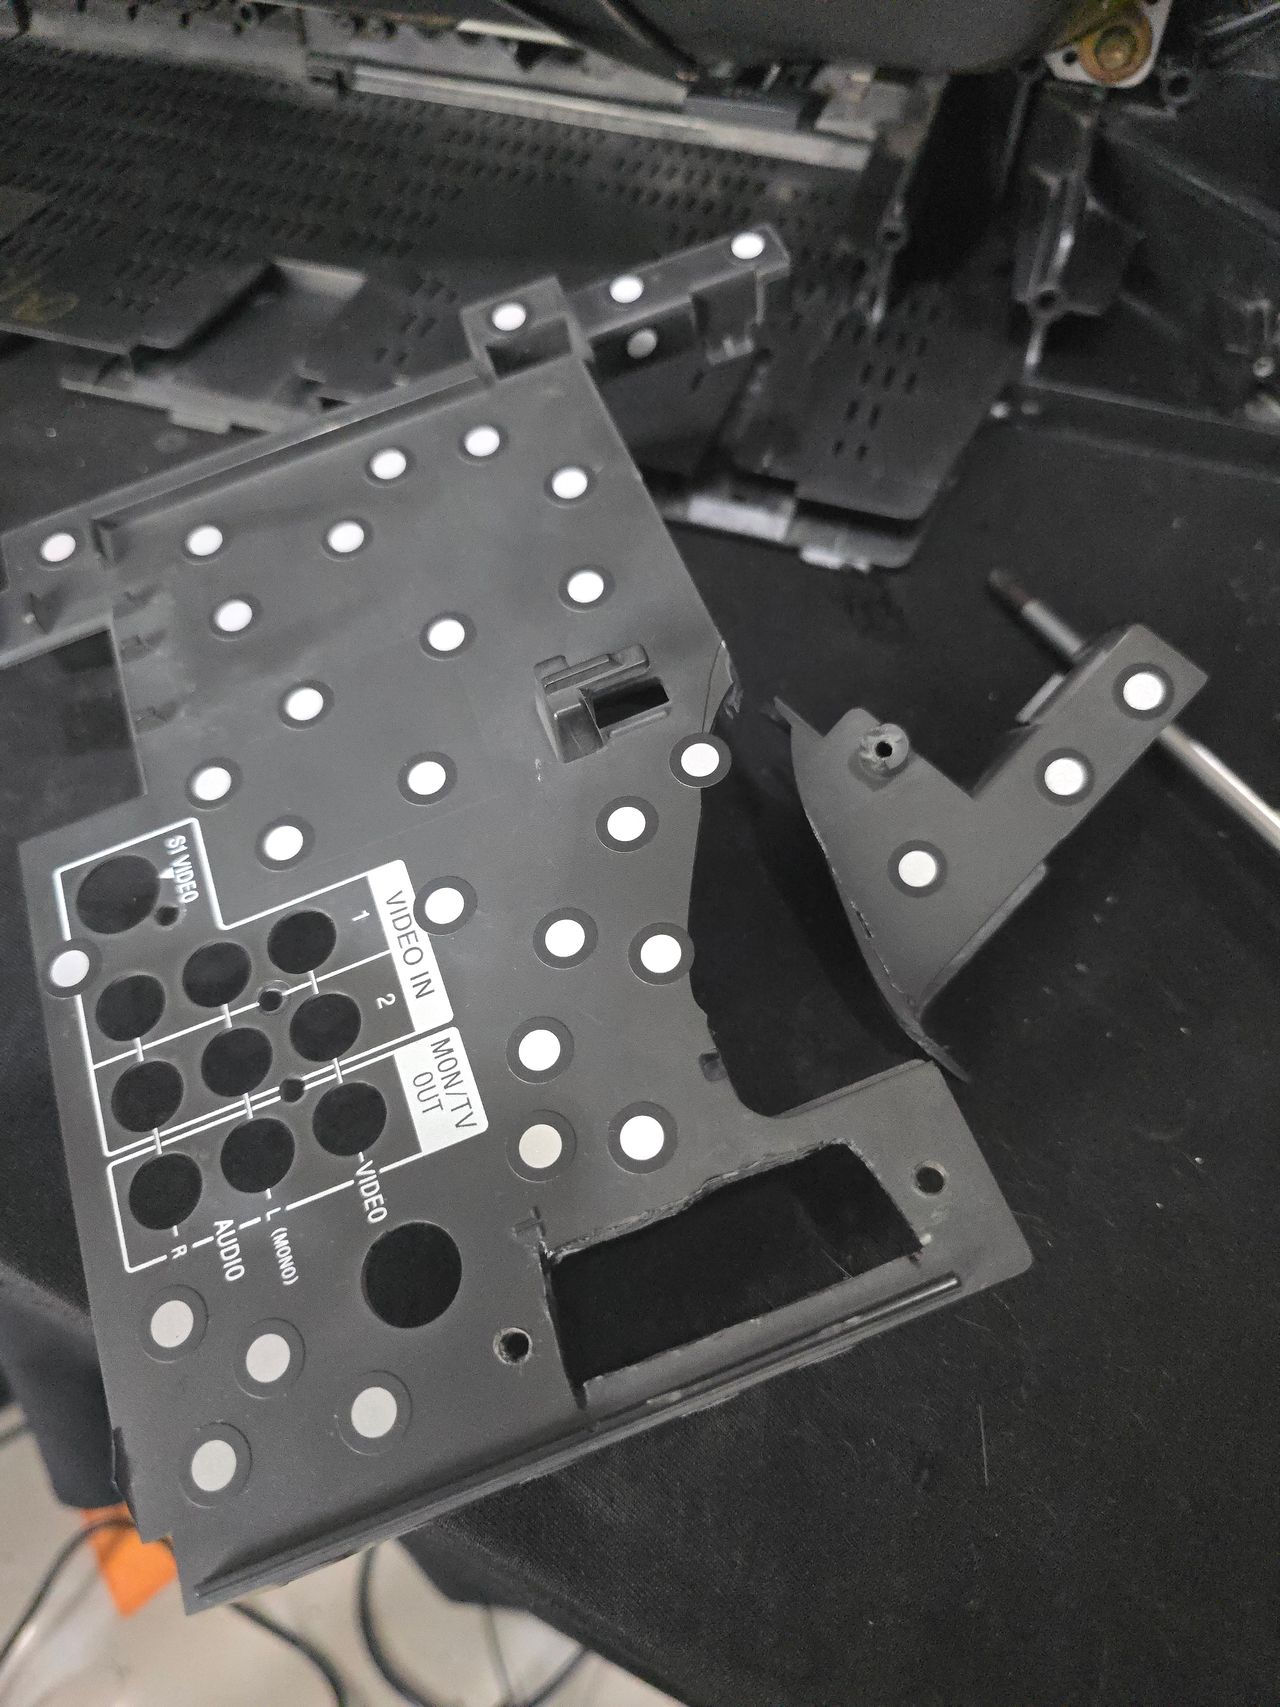
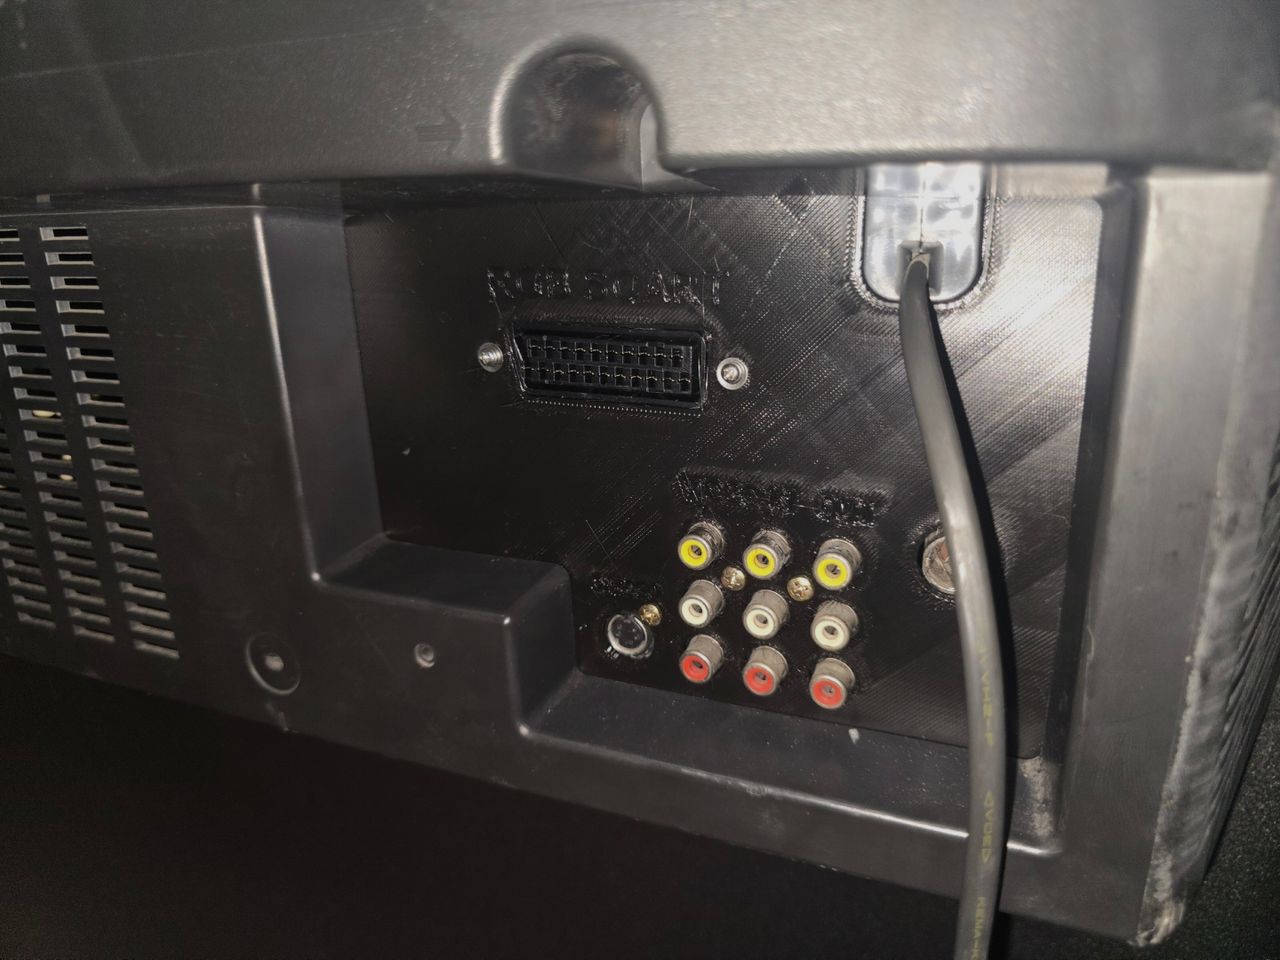
See pictures below from Rami and how he modified this set.
Pictures
Photos by Retrogamer.ae
Wanted to share a quick picture guide of this model with a mux mod since none are available in Sunthar's guides for the G3F Sony chassis. Mux mod kit purchased from Sunthar for a nice and tidy install.